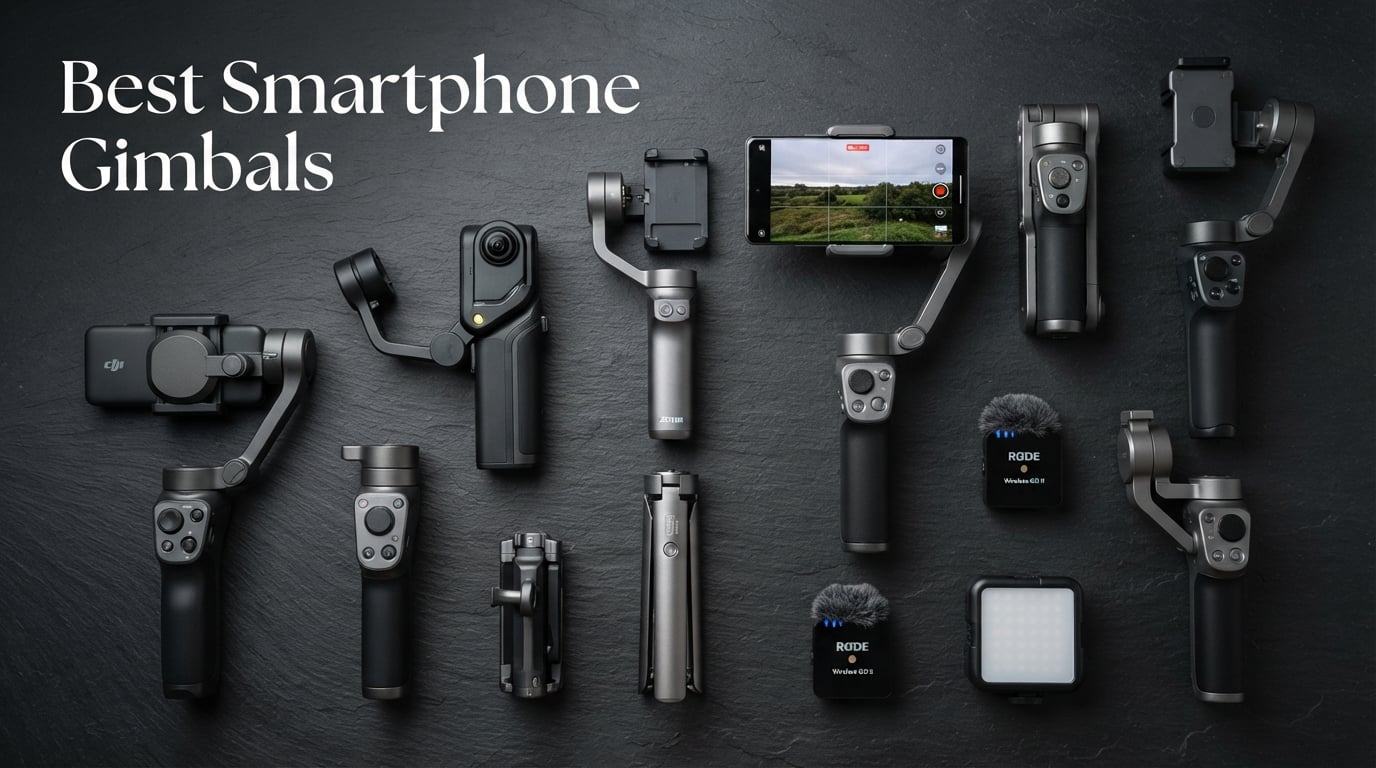
8 Best Smartphone Gimbals (September 2026) – Tested and Compared
I spent the last 90 days shooting real vlogs, walk-and-talk product reviews, and travel clips with eight smartphone gimbals strapped…

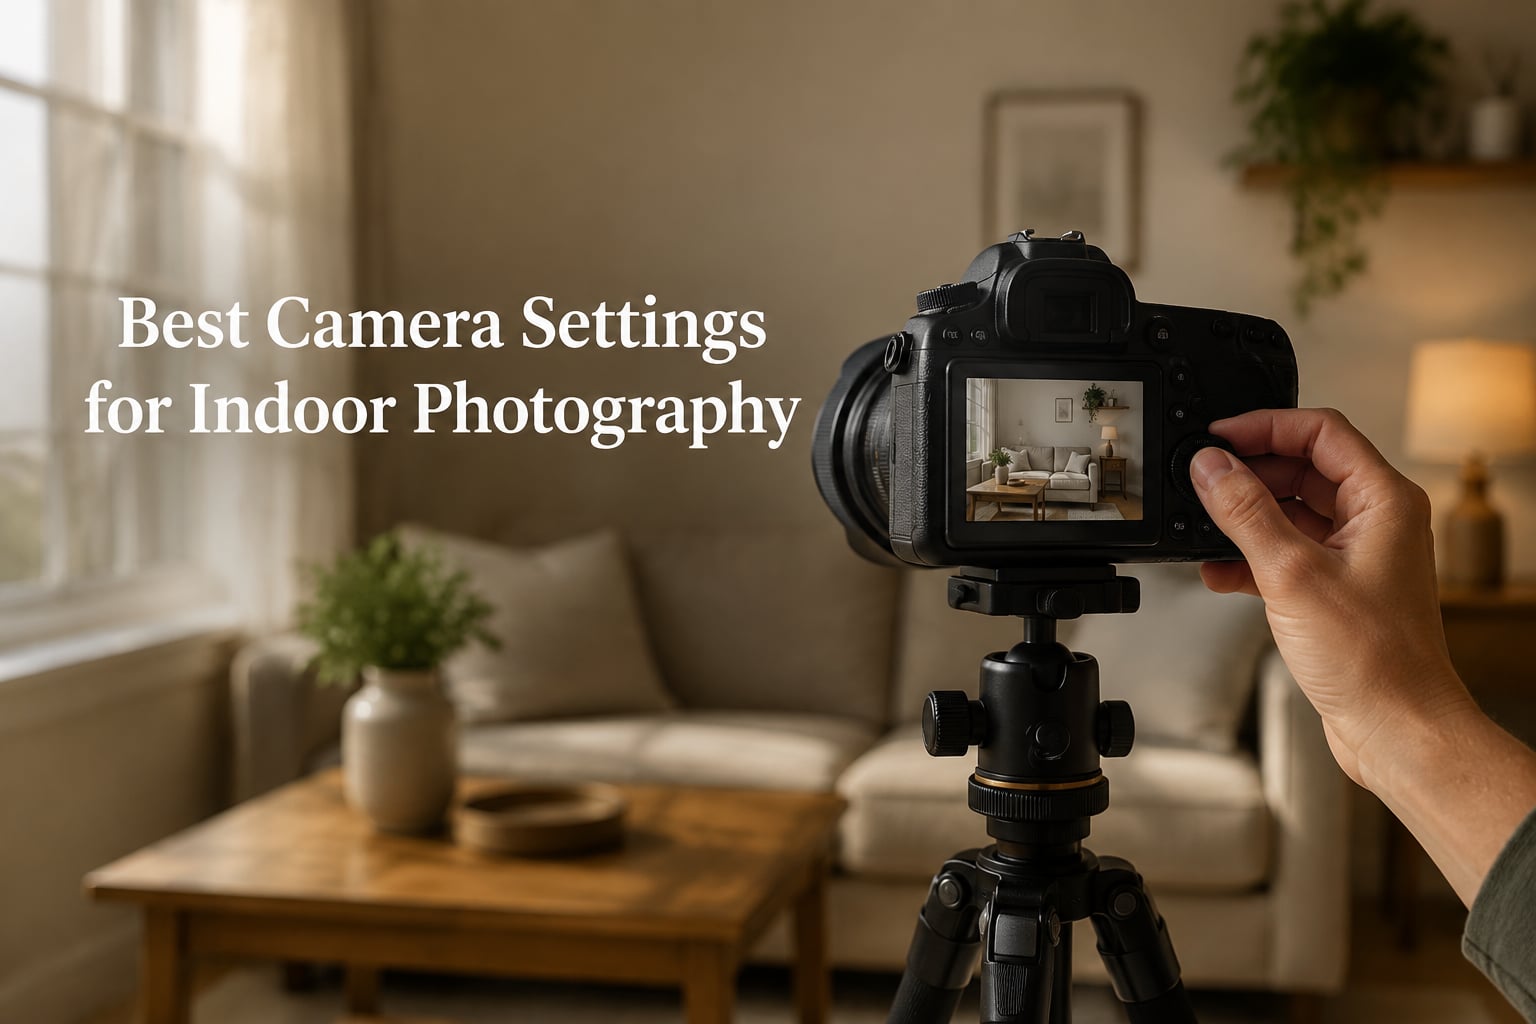
Indoor photography separates casual shooters from people who actually understand their camera. Light is dim, mixed color temperatures fight each other, and your auto mode produces mush.
I have spent the last decade shooting weddings and family sessions in homes, churches, gyms, and reception halls with bad overhead lighting. The best camera settings for indoor photography are not a secret recipe. They are a small set of reliable starting points that you adjust for every room. In this guide, I will walk you through the exposure triangle for indoor light, the exact aperture, shutter, and ISO ranges I use, and how to handle white balance when nothing in the room is the same color.
This is the same workflow I teach in workshops and the same approach that has powered [revell photography’s](https://revellphotography.com/) indoor sessions for years. You will walk away with settings you can dial in today.
If you only have a minute, here are the indoor photography camera settings that work in most rooms:
Those numbers are starting points. The rest of this article explains how they fit together and how to adjust them on the fly.
Indoor light is harder than outdoor light for one simple reason: there is less of it. A typical living room sits around 100 to 300 lux. A bright sunny day delivers 50,000 to 100,000 lux. Your camera sensor needs to make up a 100x to 1000x difference.
Your camera makes that difference by opening the aperture wider, slowing the shutter, or raising the ISO. Each of those tradeoffs introduces a problem: shallow depth of field, motion blur, or image noise. Indoor photography is really the art of choosing which compromise hurts your specific shot the least.
Add in mixed light sources (window light, tungsten lamps, fluorescent ceiling panels, LED bulbs) and you also have to manage color casts. That is why indoor photography camera settings always include a white balance decision, not just an exposure decision.
Aperture controls how much light enters the lens and how much of your scene stays in focus. For indoor work, your aperture choice depends entirely on what you are shooting.
For indoor portraits, open up. f/1.4 to f/2.8 lets in 4 to 8 times more light than f/5.6 at the same shutter and ISO. That extra stop is the difference between a usable 1/200 shutter at ISO 1600 and a blurry mess at ISO 6400. Wide apertures also create that creamy background blur that makes portraits pop, even in cluttered living rooms.
For interior and real estate shots, stop down. f/8 to f/11 keeps the whole room sharp from the coffee table in the foreground to the doorway at the back. You will need a tripod because these apertures cut your light by another 3 stops, but the depth of field is worth it.
For events and group photos indoors, sit around f/4. You will not get the dreamy background, but you will keep two rows of family members in focus. f/4 is also a sweet spot for most modern lenses: sharp wide open to one stop down, with minimal softness in the corners.
Shutter speed controls motion blur, both from your subject and from your own hands. The handheld minimum for sharp indoor shots depends on your lens and your stability, but here are reliable rules.
For static subjects like interior details or posed portraits, 1/80 to 1/125 is the floor. Slower than that and camera shake creeps in, especially if you are zoomed past 50mm. For people moving naturally indoors, 1/160 to 1/250 freezes most motion. For kids, pets, and dancers, push to 1/320 or 1/500.
The single biggest mistake I see in indoor photography is dropping shutter speed below 1/60 to chase a lower ISO. The result looks fine on a 6 inch phone screen and grainy mush at 100 percent. If you cannot hit 1/80 handheld, either grab a tripod, widen the aperture, or raise the ISO. Never sacrifice shutter speed for ISO if your subject might move.
Modern cameras handle high ISO far better than cameras did ten years ago. A full-frame body from 2026 is clean through ISO 6400 and usable to ISO 12800 for color work. Crop sensors run a stop or two behind but are still respectable at ISO 3200.
The right indoor ISO is whatever ISO gives you a sharp shutter speed and the aperture your scene needs. Stop obsessing over ISO 100. For indoor portraits I usually land between ISO 800 and ISO 3200. For indoor events with movement, ISO 1600 to ISO 6400 is normal. The grain from these ISOs is far less destructive than the motion blur from chasing a low number.
If you are shooting on Auto ISO, set a ceiling of 6400 for portraits and 12800 for events. That gives the camera permission to do its job without producing unusable noise. Most modern bodies also have a noise reduction setting you can switch on at higher ISOs. Turn it on for JPEG shooters and leave it off if you shoot RAW.
White balance is the single most skipped setting in indoor photography, and it is the reason most beginners’ indoor shots look orange, green, or just off.
Tungsten and old incandescent bulbs sit around 2700K and need a Tungsten white balance preset or a manual Kelvin of 2800-3200 to look neutral. Fluorescent tubes need the Fluorescent preset or around 4000K. Daylight from a window reads around 5500K. Most modern LEDs land somewhere between 2700K and 4000K depending on the bulb.
Mixed lighting is where it gets ugly. A living room with overhead LEDs at 3000K and a window at 5500K is two light sources that the sensor cannot reconcile. The fix is custom white balance using a gray card held in the dominant light source, or shoot RAW and fix it in post. RAW lets you set white balance after the fact with a single click, which is why indoor photographers almost always shoot RAW.
If you are starting out, shoot in Aperture Priority indoors, not full Manual. Set your aperture and let the camera pick the shutter and ISO. You get the depth of field you want, and the camera compensates for the dim light.
Move to full Manual when you start chasing consistent results across a series of shots, like a real estate walkthrough or a wedding ceremony. Manual fixes all three sides of the exposure triangle, so every frame matches in color and brightness. For event work, this consistency saves hours of editing later.
A middle path is Manual mode for aperture and shutter, Auto ISO for everything else. This gives you full control of motion and depth of field, while the camera floats the ISO up and down as the light shifts. It is my default for almost every indoor session.
Window light is the single biggest indoor photography upgrade that costs nothing. One north-facing window gives you soft, directional light that flatters any subject and lets you drop your ISO by 2 to 4 stops compared to overhead room lights.
Place your subject at a 45 degree angle to the window, facing it. That gives you a soft key light on one side of the face with gentle shadow on the other. Pull a white sheet or reflector on the shadow side to bounce light back and fill the shadows. The difference between facing a window and facing away from it is usually a 5-stop exposure gap.
Window light also gives you one consistent color temperature, which solves the mixed lighting problem. Turn off the overhead lights when you can. Your camera will thank you, and your white balance will actually work.
Prime lenses rule indoor photography. A 50mm f/1.8 is the single best indoor lens you can buy, period. It is small, cheap, sharp wide open, and lets in 4 stops more light than a kit zoom at f/5.6. On a full-frame body it gives you a natural field of view. On a crop sensor it acts like a short telephoto, perfect for portraits.
If you want more reach, a 35mm f/1.8 or 35mm f/2 works for wider indoor scenes and tight rooms. If you shoot events, a 24-70mm f/2.8 zoom covers everything from wide groups to headshots at a constant wide aperture. Skip the variable aperture kit zooms indoors. The f/5.6 to f/6.3 limit kills indoor light.
For interior and real estate work, a 16-35mm wide zoom at f/8 is the standard. You give up the wide aperture because depth of field matters more than shutter speed when the camera is on a tripod. If you want to know more about how camera technology has evolved to handle indoor light better, [our camera trends guide](https://revellphotography.com/camera-trends/) covers the sensor and processor improvements that make high ISO look as good as it does today.
RAW files capture 12 to 14 bits of color data per channel instead of the 8 bits a JPEG stores. That extra headroom is what lets you recover shadow detail under window-lit portraits and pull a workable image out of an underexposed indoor shot.
RAW also stores the full sensor data without in-camera sharpening or noise reduction. That means you can apply targeted noise reduction in Lightroom or Capture One without softening the entire image. For indoor shots at ISO 3200 and above, this is the difference between a printable file and a noisy JPEG.
The downside is file size. A RAW file runs 25 to 50 MB depending on the camera, and you need to edit each one. That is why serious indoor photographers build a fast editing workflow. The trade is worth it: RAW gives you a do-over for white balance, exposure, and shadow recovery that JPEG simply does not.
Here is a quick reference table. Treat the numbers as starting points, not rules.
The pattern: wide aperture and high ISO for handheld people work, narrow aperture and low ISO for tripod work. White balance always depends on the dominant light source.
ISO 800 to 3200 is the typical indoor range for handheld portraits and events. Lower ISOs only work on a tripod or in strong window light. Modern cameras in 2026 handle ISO 3200 cleanly and ISO 6400 with minor noise.
ISO 400 works indoors only if you have plenty of window light or a tripod. In dim rooms with overhead lighting, ISO 400 forces a shutter speed below 1/60, which causes motion blur. Push to ISO 1600 or higher when shooting handheld.
f/2.8 is one stop faster than f/4, which means you can shoot at half the ISO or twice the shutter speed. For handheld indoor portraits and events, f/2.8 is the better choice. For tripod work or when you want more depth of field, f/4 is fine.
The 20-60-20 rule is a shooting discipline guideline: spend 20 percent of your time finding the best light in the scene, 60 percent composing and waiting for the right moment, and 20 percent capturing the shot. It helps indoor photographers slow down and avoid firing too soon in poor light.
Indoor photography camera settings are not a single dial you set and forget. They are a triangle of decisions you make for each room, each subject, and each moment. Start with the aperture that gives you the depth of field you want. Pick the shutter speed that freezes your subject. Let ISO fill in the rest.
The biggest leap you can make is to stop being afraid of ISO 1600 and higher. The grain is far easier to fix in editing than motion blur is in a one-time moment. Pair that with a 50mm f/1.8 prime, a custom white balance, and a habit of shooting RAW, and you have a complete indoor setup that costs less than a mid-range zoom lens and produces professional results. For more on how indoor light connects to broader photography techniques, our [forced perspective photography guide](https://revellphotography.com/forced-perspective-photography-guide/) walks through working with controlled indoor lighting setups in more detail.
Take these settings into your living room tonight. Shoot ten frames at the recommended settings, ten at a stop higher, and ten at a stop lower. Compare them on a real monitor. The pattern will click in five minutes, and you will never go back to indoor auto mode again.