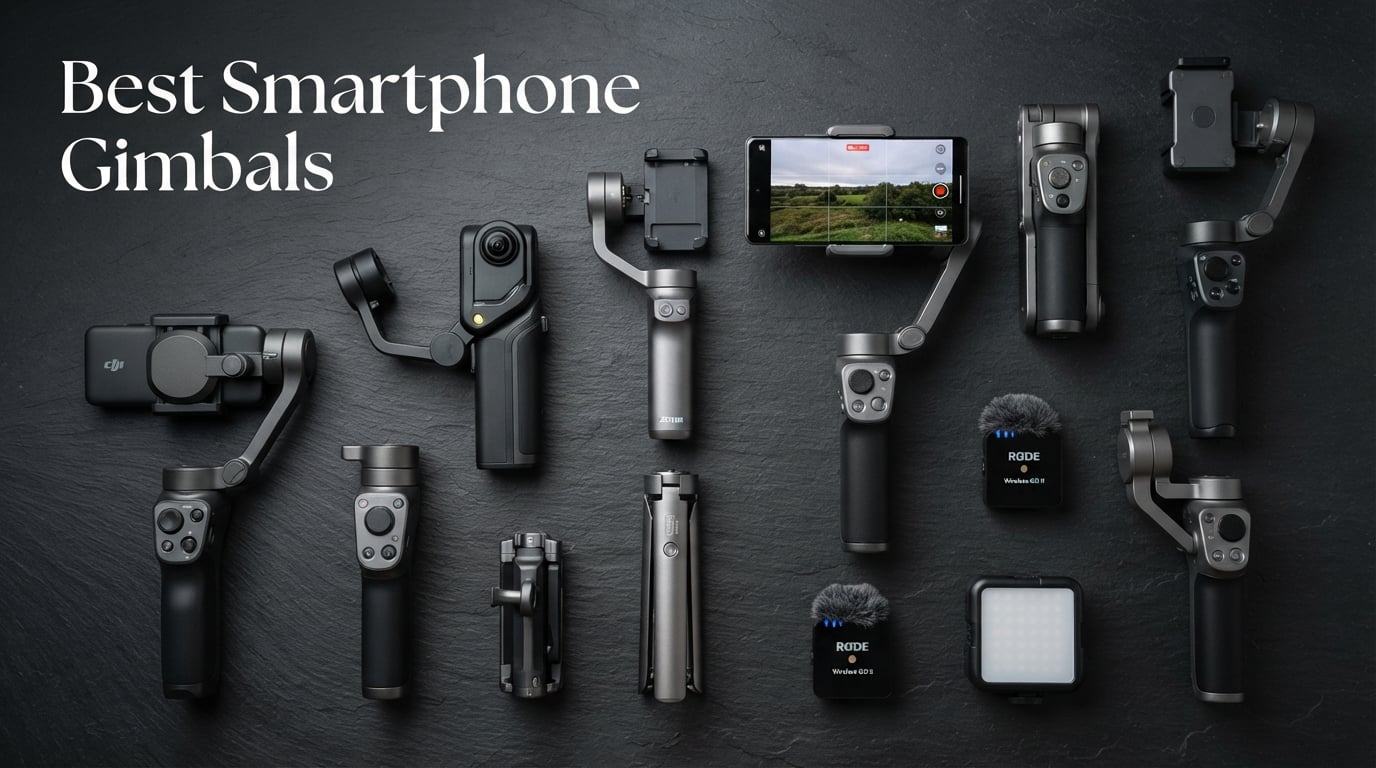
8 Best Smartphone Gimbals (October 2026) – Tested and Compared
I spent the last 90 days shooting real vlogs, walk-and-talk product reviews, and travel clips with eight smartphone gimbals strapped…

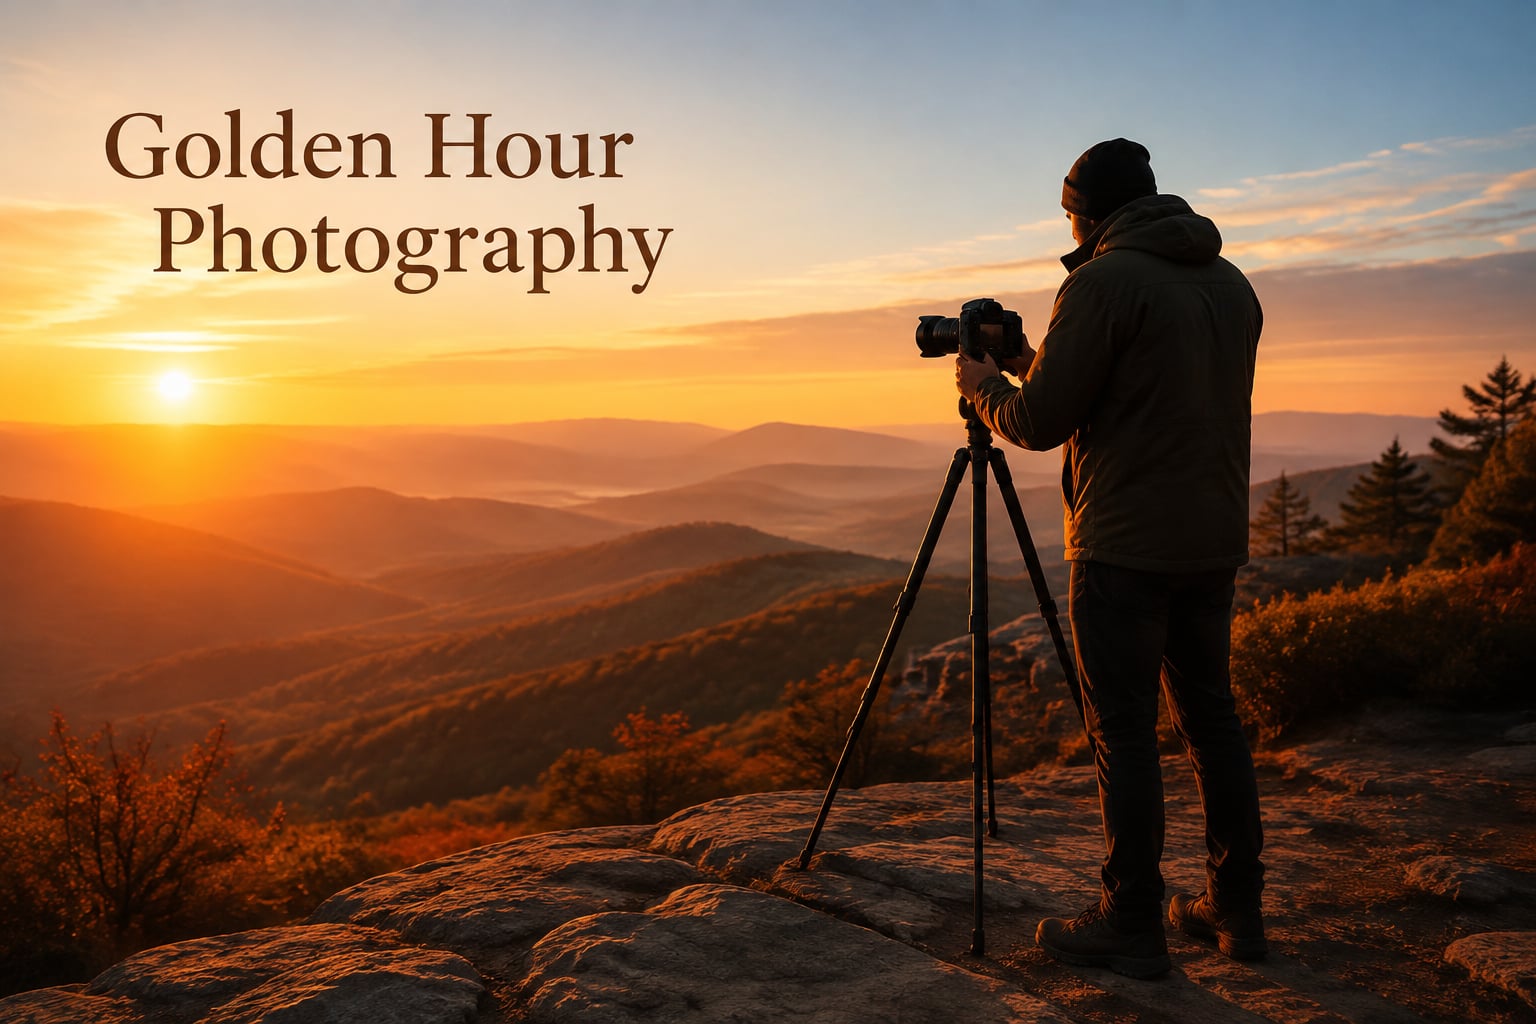
Golden hour photography is the technique of shooting during the first hour after sunrise or the last hour before sunset, when the sun sits low on the horizon and bathes everything in soft, directional light. I have spent the last three years chasing this light on early mornings and late evenings, and I can tell you it is the single most powerful natural lighting condition you will ever work with. In this guide, I will walk you through everything I have learned: what golden hour actually is, the camera settings that get clean results, the lighting techniques that turn ordinary scenes into something special, and how to plan, shoot, and edit like a working photographer.
If you have ever wondered why your midday shots look flat or why portraits taken at sunset seem to glow, the answer lives in this guide. I tested these settings across portraits, landscapes, weddings, and even smartphone sessions, and the results changed how I plan every shoot. Whether you shoot with a full-frame camera or just an iPhone, you will find something useful here.
This is 2026, and golden hour photography has only grown more popular as more photographers learn how light shapes every decision behind the lens. Let me get you shooting in the best light of the day.
Golden hour is the period shortly after sunrise and shortly before sunset when the sun sits low enough that its light passes through a thicker slice of the atmosphere. That extra atmospheric distance filters out harsher blue wavelengths and leaves you with warm, soft, directional light that flatters almost every subject. Photographers call it golden hour because of the honey-colored glow that fills the scene, and you will often hear working pros refer to it as the magic hour for the same reason.
The exact timing depends on your latitude and the season, but the rule of thumb I use is roughly 60 minutes after sunrise and 60 minutes before sunset. In summer, when the sun arcs high across the sky, that window can shrink to about 30 to 40 minutes. In winter, when the sun stays low longer, you can stretch it to nearly 90 minutes of usable light. The color temperature during this window usually falls between 2500K and 4000K, which is why everything takes on that warm amber cast.
Right after golden hour ends, you slide into the blue hour, the period when the sun has dropped below the horizon but still scatters cool blue light across the sky. Blue hour is another favorite among photographers for cityscape work, and you can check out this [aries constellation facts](https://revellphotography.com/aries-constellation-facts/) guide for another example of capturing that transitional twilight light. Knowing where golden hour ends and blue hour begins is part of planning a successful shoot.
The light during golden hour is softer than midday sun because the sun strikes your subject from a low angle, spreading light across a larger area and reducing the intensity of any single shadow. When you shoot a portrait at noon, the light comes from directly overhead, creating dark eye sockets and harsh shadows under the chin. Shoot that same portrait during golden hour and the light wraps around the face from the side, filling shadows naturally and adding depth.
The warm color temperature is the second reason. Our eyes associate warm tones with comfort, intimacy, and beauty, which is why sunset light feels cinematic. Photographers lean into this by leaving the white balance slightly warmer than neutral. The directional quality of the light is the third reason. Because the sun sits low, every surface catches raking light that reveals texture in rocks, hair, fabric, and skin.
I have shot the same backyard at 1 p.m. and again at 6:45 p.m. in autumn, and the difference is dramatic. The midday shot looked flat and uninteresting. The golden hour version of the same scene looked like a painting. That is the power of waiting for the right light.
Camera settings during golden hour need to balance the changing light with the look you want. I follow a starting framework and then adjust based on the scene. Here is the workflow I use and teach to my workshop students.
Choose your aperture based on what you want in focus. For portraits, I shoot wide open between f/1.8 and f/2.8 to blur the background and make the subject pop. For landscapes, I stop down to f/8 to f/11 so the entire scene is sharp from front to back. For environmental portraits where you want both the subject and the location in focus, f/5.6 is a sweet spot.
Keep your shutter speed fast enough to freeze any motion. For handheld portraits, I never go slower than 1/125s, and for action or kids I push to 1/500s or faster. For landscapes on a tripod, you can drop to 1/30s or slower to gather more light, but only if your subject is static. When the light is fading fast at the end of golden hour, a tripod becomes essential.
The best ISO for golden hour is the lowest setting that still gives you a clean exposure, typically ISO 100 to ISO 400. Modern full-frame cameras handle ISO 800 with no visible noise, so do not be afraid to push up if your shutter speed demands it. On crop-sensor bodies, I try to stay at ISO 400 or below to keep images clean. The forum users over at r/AskPhotography often point out that raising ISO too early is the fastest way to lose the rich tones that make golden hour special.
Set your white balance to Daylight or slightly warm during golden hour to preserve those amber tones. Shooting in RAW gives you the flexibility to adjust this later without quality loss. If you shoot JPEG, set white balance to Cloudy or Shade to warm the image in-camera by about 500 to 1000 Kelvin.
Use spot metering on the brightest area of the scene to avoid blown highlights, or use matrix metering and dial in exposure compensation of minus one-third to minus one stop to keep highlights from clipping. The 20-60-20 rule in photography is a useful reminder here. Spend 20 percent of your time planning, 60 percent of your time shooting, and 20 percent of your time reviewing your images on the back of the camera. Adjust your settings during that last 20 percent.
Always, always shoot RAW. RAW files capture far more dynamic range than JPEGs, which matters most during golden hour when the contrast between bright sky and shadowed subject can be extreme. You will thank yourself in post-processing when you can recover highlights that looked blown on the back of the camera.
Once your settings are dialed in, the creative part begins. Golden hour gives you access to lighting techniques that are difficult or impossible at other times of day. Mastering these is what separates snapshot photographers from image makers.
Backlighting means placing the sun behind your subject so the light wraps around the edges of the hair and shoulders. The result is a soft halo effect that separates your subject from the background. To make backlit portraits work, expose for the face, not the sky, and use a reflector or fill flash to lift the shadows on the front of your subject. I worked with a wedding photographer last summer who taught me this trick, and my portrait results improved overnight.
Rim lighting is a sharper version of backlighting. By positioning the sun just behind one shoulder of your subject, you create a bright outline that defines their shape against the background. Rim light works beautifully for active subjects like dancers, athletes, and children running through tall grass.
Silhouettes are easy during golden hour. Expose for the bright sky, place a recognizable subject in front of the sun, and let the foreground go dark. Trees, single people, and architectural shapes work best. Expose for the sky by using spot metering on the brightest area.
Stopping down to f/16 or f/22 turns the sun into a starburst with defined rays. Partially hiding the sun behind a tree branch, a mountain, or an architectural element gives you the cleanest burst. Some photographers avoid lens flare, but a well-placed flare can add atmosphere. To control flare, use a lens hood or your hand to shade the front element. Check out this [forced perspective photography guide](https://revellphotography.com/forced-perspective-photography-guide/) for more tricks on creative light placement.
Great golden hour images start with planning the night before. I use a three-step approach for almost every shoot.
Apps like PhotoPills, Sun Surveyor, and The Photographer’s Ephemeris give you the exact minute golden hour begins and ends at your location. These tools also show you the direction the sun will be moving, which lets you plan whether your subject will be backlit, side-lit, or rim-lit at the peak of the light.
Arrive at your shooting location at least 30 to 60 minutes before golden hour begins. Walk around, identify your backgrounds, and pick two or three compositions. Decide where the sun will be relative to your subject so you can plan your shooting angle. If you are working with clients, this is the time to brief them on where to stand. For product or styled shoots, this is when you adjust your lighting setup, much like you would for [jewelry photography ideas](https://revellphotography.com/jewelry-photography-ideas/) where every reflection counts.
Clear skies give the cleanest golden hour colors, but partly cloudy skies often produce the most dramatic shots. Clouds catch the warm light and reflect it back onto your subject, filling shadows naturally. Overcast conditions can extend the golden hour effect throughout the day, though the warm color temperature disappears. Even snowy weather produces beautiful results. The techniques for shooting in snow, like those in this [snow photography ideas](https://revellphotography.com/snow-photography-ideas/) guide, share a lot of overlap with golden hour planning because both rely on soft, directional light.
Shooting is only half the job. Post-processing decides whether your golden hour images look good or stunning. I spend about 20 to 30 percent of my total workflow time on editing, and these are the steps that matter.
If you shot in RAW, fine-tune your white balance slider toward the warm side. I usually push temperature between 5500K and 6500K for a balanced look, and warmer for a more cinematic feel. Watch the skin tones and pull back if faces start looking unnatural.
Golden hour shots often have deep shadows on the face and bright skies. In Lightroom or your editor of choice, raise the shadows slider to bring out detail in dark areas, and pull the highlights slider down to recover detail in the sky. This simple adjustment is the difference between a flat file and a magazine-ready image.
The HSL panel lets you adjust individual color channels. Pull the orange saturation up slightly to enhance skin warmth, and push the yellow and red luminaries up to brighten skin and golden tones. Reduce blue saturation if the sky looks too cool.
Shoot to edit means making exposure choices in the camera that give you the most flexibility in post. Expose to protect highlights, and trust that you can recover shadows. Review your histogram often, especially as the light fades, and watch for blinking highlights.
The technique changes slightly depending on what you are photographing. Here is what I have learned from shooting each genre during golden hour.
For portraits, never put the sun directly in your subject’s face. Position the sun behind them or to one side so the light wraps softly across the features. Use a reflector or a small flash to fill in shadows on the front of the face. Ask your subject to close their eyes, then open them on your count, so they are not squinting into the light. Shoot from a slightly lower angle to keep the warm sky as your background.
For landscapes, use a tripod so you can stop down to f/11 and use longer exposures without camera shake. Compose with the horizon along the lower third of your frame to emphasize the colorful sky. Look for leading lines like rivers, paths, and roads to add depth. Shoot more frames than you think you need because the light changes every minute during golden hour.
Smartphones handle golden hour surprisingly well, especially modern iPhones and Google Pixels. Tap and hold on the sky to lock exposure, then drag the sun icon up or down to adjust brightness. Use portrait mode for people and avoid digital zoom because it degrades quality. Some phones have a built-in golden hour or sunset mode that automatically adjusts white balance and exposure. For creative compositions, look at everyday scenes with fresh eyes. The same approach works for [toy photography ideas](https://revellphotography.com/toy-photography-ideas/) where ordinary subjects take on new character in beautiful light.
Golden hour is the period roughly 60 minutes after sunrise and 60 minutes before sunset when the sun sits low on the horizon, producing warm, soft, directional light with a color temperature between 2500K and 4000K. This light flatters portraits, landscapes, and most outdoor subjects.
The best ISO for golden hour is the lowest setting that still gives you a sharp, properly exposed image, typically ISO 100 to 400 on full-frame cameras. You can push to ISO 800 or higher if shutter speed demands it, but stay as low as possible to preserve the rich color and shadow detail that golden hour is known for.
Take golden hour photos during the first hour after sunrise and the last hour before sunset. In summer the window is shorter, around 30 to 40 minutes, while in winter it can stretch to nearly 90 minutes. Use a golden hour calculator app to find the exact start and end times for your specific location and date.
To make photos look like golden hour in editing, warm the white balance to around 5500K to 6500K, raise shadows, pull highlights, and use the HSL panel to boost yellow and orange saturation while slightly reducing blue. Shooting in RAW gives you the most flexibility to dial in the warm, cinematic look in post-processing.
The 20-60-20 rule is a time-management guideline that suggests spending 20 percent of your shoot planning and scouting, 60 percent actively shooting, and 20 percent reviewing your images on the back of the camera to confirm exposure and adjust settings before the light changes.
Golden hour photography rewards preparation and patience. The light is gorgeous but short, and the difference between a great shot and a missed shot often comes down to whether you arrived early, picked the right angle, and adjusted your settings in time. Use the camera settings and lighting techniques in this guide, plan your shoot with a calculator app, and trust the warm tones golden hour gives you.
I encourage you to shoot one golden hour session this week. Pick a familiar location, follow the settings I outlined, and review your results. After three or four sessions you will start seeing the light the way working photographers do, and your images will never look the same again. Golden hour is the best light of the day, and now you know how to use it in 2026 and beyond.