8 Best Light Meters (September 2026) Tested and Ranked
I have spent the last three months testing handheld light meters side by side, ranging from budget-friendly lux meters under…

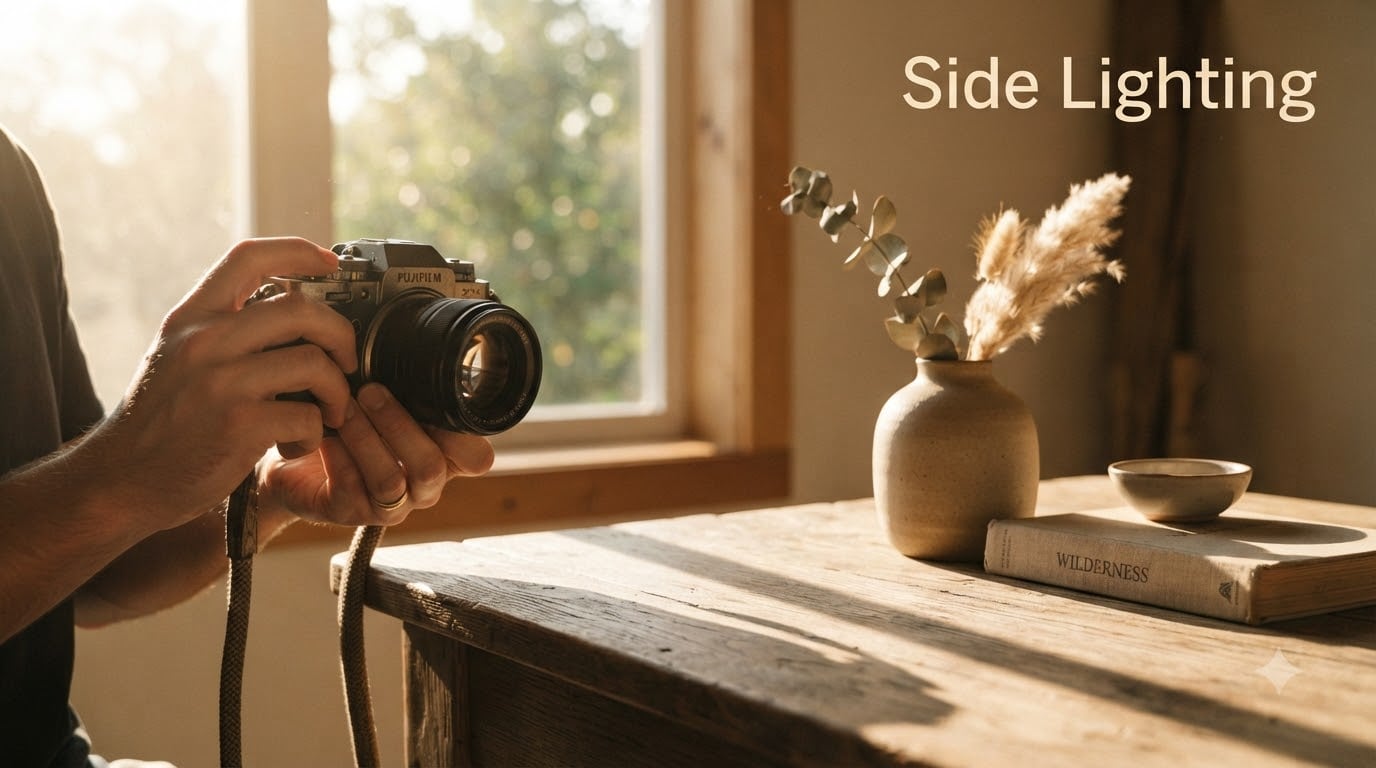
Side lighting in photography is one of those techniques that, once you understand it, completely changes how you see light. I still remember the first time I positioned a subject with the sun coming from a low side angle and watched an ordinary portrait turn into something with real depth and mood. The shadows told a story the flat front light never could. That moment is what this guide is about.
Whether you shoot portraits, landscapes, food, or architecture, side lighting gives you a tool for shaping dimension, texture, and emotion in your images. In this guide, our team walks through the angles, the light quality, the gear-free setups, and the small decisions that turn a side-lit photo from “okay” to “wow.” If you are shopping for lighting gear, our guide to AI studio lighting deals is a useful companion piece.
Side lighting in photography is a technique where the light source is positioned to one side of the subject, illuminating one side while leaving the opposite side in shadow. This directional contrast creates depth, dimension, and a sense of three-dimensionality that flat, front-facing light cannot replicate. Photographers use side lighting to add mood, emphasize texture, and shape the form of a subject through shadow.
When I explain side lighting to newer photographers, I describe it as the difference between looking at a sculpture under a single window versus under a ring light. The single window gives form. The ring light flattens it. Photography works the same way.
Side lighting is popular because it solves a specific problem photographers keep running into: flat images. When your subject looks two-dimensional, viewers tend to scroll past. Side lighting fixes that with a simple physics trick. Shadows are what our brain reads as form, and side lighting is the cleanest way to introduce them.
The biggest benefits I have seen in my own work and our team’s test shoots:
One photographer on a forum I follow put it simply: “Front light describes the subject. Side light reveals it.” That line has stuck with me through hundreds of shoots.
The angle between your light source and the camera-subject axis changes everything. A 60-degree, a 45-degree, or even a 30-degree angle will all produce effective side lighting, but each position creates a unique look. I keep a mental diagram of these three positions whenever I walk onto a set.
At 90 degrees, the light comes directly from the side of the subject, dividing the face or object into a clearly lit half and a clearly shadowed half. This is called split lighting, and it is the most dramatic of the three angles. The shadow line typically runs down the center of the nose.
Split lighting is what I reach for when I want a moody, character-driven portrait. Actors, musicians, and writers often look incredible under split light because the shadows emphasize the structure of the face. The trade-off is that split light can feel too harsh for softer subjects, so I always watch the shadow line carefully.
At 45 degrees, the light sits between front and side, creating a small shadow loop from the nose on the shadow-side cheek. This is the most commonly used portrait angle because it flatters almost everyone. Move the light a bit further toward the side and the nose shadow merges with the cheek shadow, forming a triangle of light on the shadow-side cheek. That triangle is the signature of Rembrandt lighting.
I use 45-degree side lighting as my default starting position for portrait sessions. It gives shape without going full drama, and I can adjust by degrees from there. If you remember nothing else from this guide, remember that 45 degrees is the friendliest side lighting angle to start with.
At 30 degrees, the light is almost front-of-subject but still slightly to one side. The shadow on the far side of the face is small. From here, you can choose broad lighting (light on the side of the face turned toward the camera, shadow on the side turned away) or short lighting (the opposite, light on the side turned away, shadow on the side toward the camera). Short lighting tends to slim the face, which is why I prefer it for round or fuller faces. Broad lighting opens up narrower faces and is more forgiving for softer features.
This is one of the few areas where our research really separated our guide from competitors. Most articles skip face-shape considerations, but the difference between a flattering portrait and a harsh one often comes down to this 30-degree decision.
Side lighting quality matters as much as the angle. Hard light comes from a small, distant source like the bare sun, a bare flash, or a small reflector. It creates sharp-edged shadows, deep contrast, and exaggerated texture. Soft light comes from a large, close source like an overcast sky, a large softbox, or a window with a diffuser. It creates gradual shadow transitions and gentler texture.
For dramatic portraits and most landscape work, hard side light is the right choice. The crisp shadows give the image a graphic, almost sculpted look. For beauty work, food photography, and any subject where you want the texture to feel inviting rather than gritty, soft side light is the better tool.
Side lighting is a portrait photographer’s best friend. I have run portrait sessions with everything from a small piece of foam board as a reflector to a strobe with a softbox, and side lighting delivered in every setup. The angle is what matters, not the gear.
For a standard portrait session, I position my key light at 45 degrees to the subject, slightly above eye level, and angle it down toward the face. Then I place a reflector or fill light on the opposite side at about half the power of the key light. This creates a controlled shadow side without losing all the detail in it.
This is where many guides fall short, and it is also the most-asked question in photography forums. Different face shapes benefit from different side lighting approaches:
Side lighting is not always the answer. For beauty shots, skincare advertising, and glamour photography, side lighting tends to emphasize texture that the client wants minimized. In those cases, our team switches to butterfly lighting, clamshell lighting, or a soft front setup. Recognizing when to skip side lighting is part of mastering it.
Forum users have echoed this point. Several photographers on Reddit mentioned that side lighting is “too revealing” for senior portraits and bridal beauty shots, where the goal is smooth, even skin.
For landscapes, side lighting is most powerful during the golden hour, the period shortly after sunrise and before sunset when the sun sits low on the horizon. At that angle, sunlight rakes across the landscape sideways, throwing long shadows, revealing every ridge, leaf, and ripple of texture, and painting the scene in warm color temperatures. Our team plans most landscape shoots around this window for exactly this reason.
Midday side lighting from a clear sky creates harsh, contrasty landscape images that work well for black and white but can feel overwhelming in color. Overcast side lighting produces gentle, even textures that suit minimalist compositions. Each season shifts the sun’s path, so the timing of your golden hour changes throughout the year.
For architecture, side lighting turns flat facades into sculptural studies. The shadows reveal window depth, molding details, and material texture. I have shot simple suburban homes that looked like magazine features once the morning sun raked across them at 60 degrees.
Here is how the three main lighting directions compare. Each has a place, and choosing the right one is part of your job as a photographer.
| Feature | Side Light | Front Light | Back Light |
|---|---|---|---|
| Shadow direction | Across the subject | Behind the subject | Toward the camera |
| Texture emphasis | High | Low | Low to medium |
| Depth and dimension | High | Flat | High (silhouette effect) |
| Mood | Dramatic, moody | Bright, neutral | Dreamy, ethereal |
| Best for | Portraits, landscapes, texture | Beauty, product, documentation | Silhouettes, rim light, hair light |
| Common challenge | Harsh shadows | Flat, uninteresting light | Lens flare, underexposed subject |
Here is the setup I use most often for a one-light side lighting portrait in a controlled environment. It also works outdoors with a reflector.
One common question from forum discussions is whether the fill light should sit on the same side as the camera or the opposite side. The short answer: opposite the key light, so it lifts the shadows without flattening them. Placing fill on the camera side mostly kills the side lighting effect.
For natural side lighting outdoors, the steps simplify. Find the sun at a low side angle (golden hour or blue hour), position your subject so the light rakes across them at 30 to 90 degrees, and use a small reflector or shadowed surface to add fill where needed. That is the entire setup.
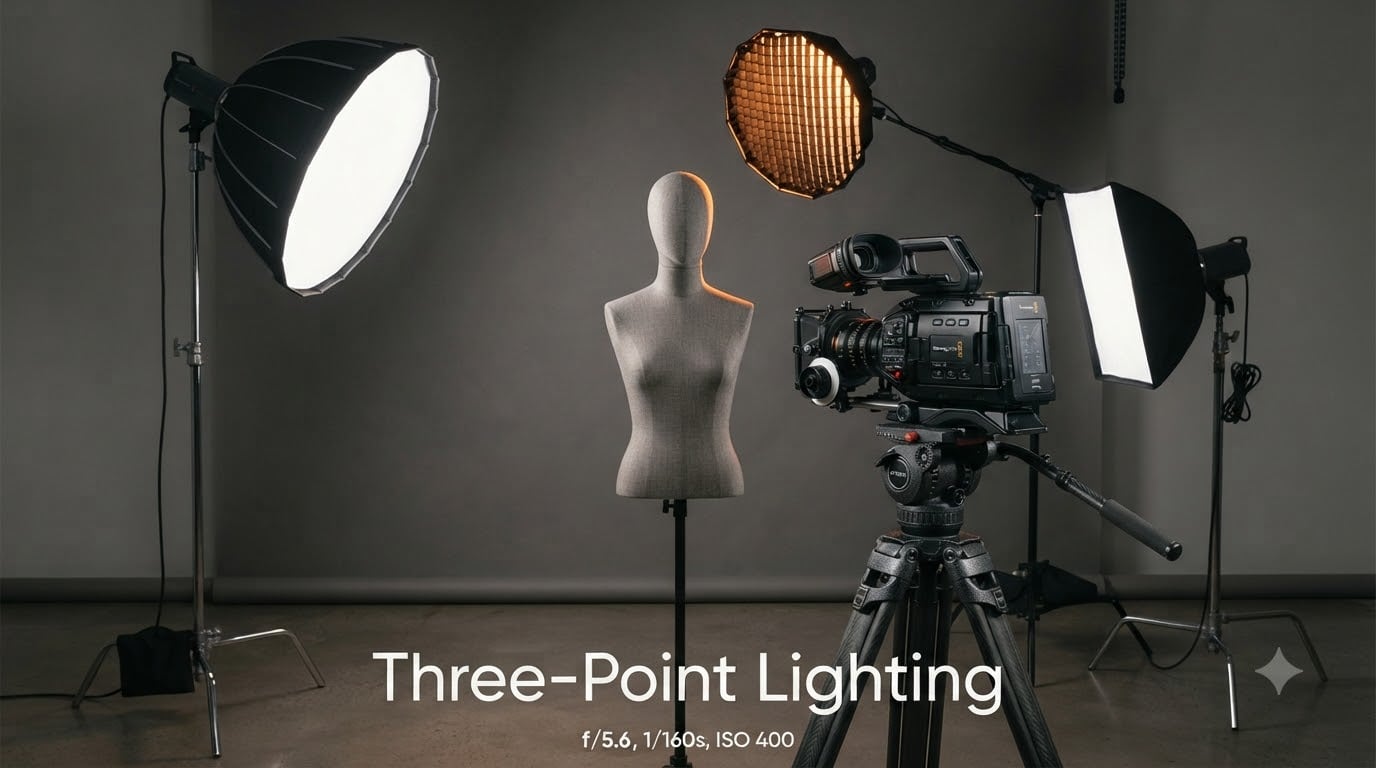
The three-point lighting rule uses a key light as the main source, a fill light to control shadow intensity, and a back light to separate the subject from the background. Side lighting typically uses the key light positioned to one side, with the fill light opposite it and the back light behind the subject.
The 20-60-20 rule refers to the 20 percent of an image that is the main subject, 60 percent that supports the story, and 20 percent that adds negative space or breathing room. Side lighting helps draw the eye to the main subject by creating contrast and shadow direction.
The main types of side lighting are split lighting at 90 degrees, Rembrandt lighting at about 45 degrees, loop lighting at 30 to 45 degrees, broad lighting, and short lighting. Each creates a different shadow pattern on the subject’s face or form.
Side lighting in photography is a technique where the light source is positioned to one side of the subject, illuminating one side while leaving the opposite side in shadow. This creates depth, dimension, and dramatic mood through directional shadows.
Skip side lighting for beauty and glamour photography, skincare close-ups, and any subject where you want smooth, even skin texture. In those cases, butterfly, clamshell, or soft front lighting works better. Side lighting also struggles in flat, overcast conditions for dramatic effect.
Side lighting is one of the most versatile techniques in photography, and the best part is how little it asks of you. A window, a piece of foam board, and a willing subject are enough to start. The angles we covered (90, 45, and 30 degrees) are the foundation. The light quality (hard or soft) gives you the mood. The face-shape adjustments turn a good portrait into a flattering one.
I encourage you to spend an hour this week practicing one of these setups. Pick a single subject, set your light or find your window at 45 degrees, shoot 30 frames, and watch how the shadow changes as you rotate the subject. Side lighting rewards experimentation, and the learning is fast.
For 2026 and beyond, side lighting remains one of the simplest ways to add dimension, story, and atmosphere to your work. Try it, break the rules once you know them, and share what you find. Our team is always looking for new examples to learn from.