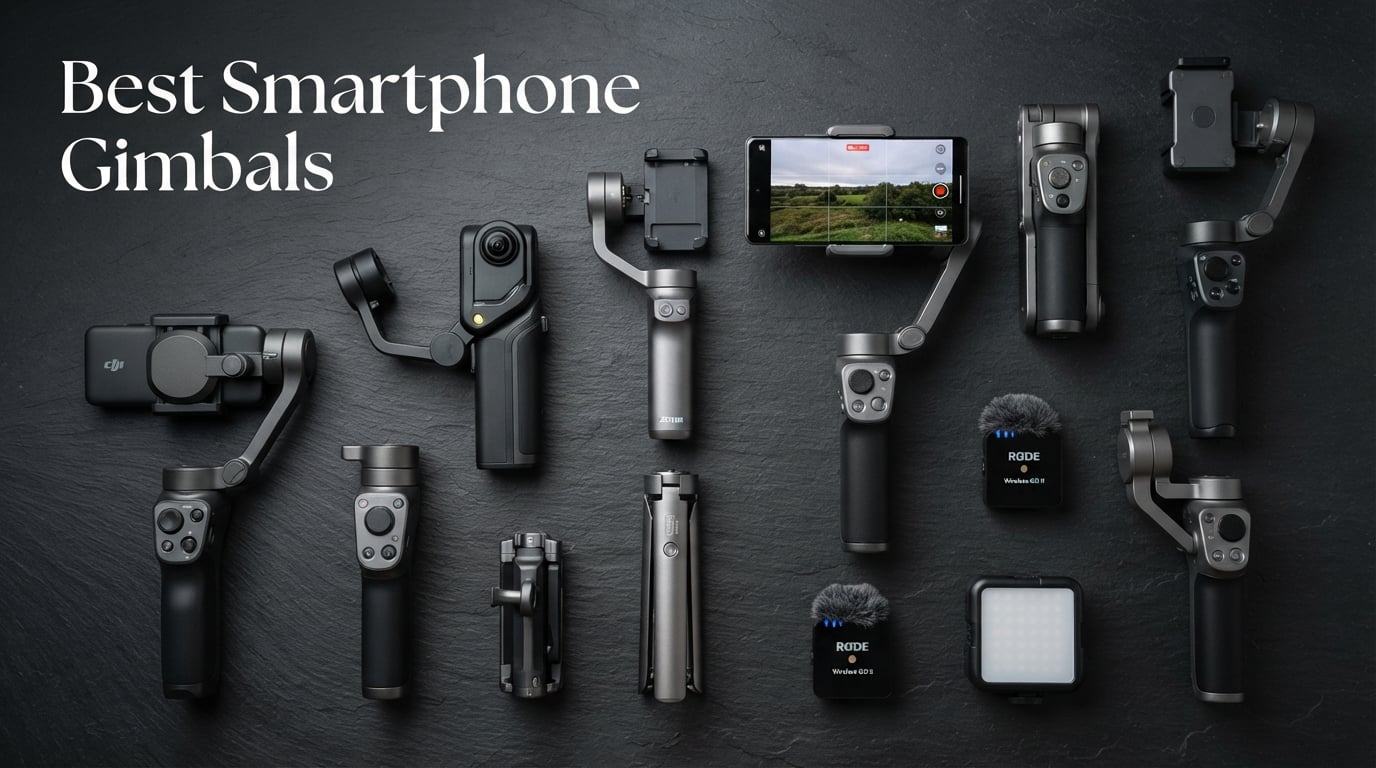
8 Best Smartphone Gimbals (October 2026) – Tested and Compared
I spent the last 90 days shooting real vlogs, walk-and-talk product reviews, and travel clips with eight smartphone gimbals strapped…

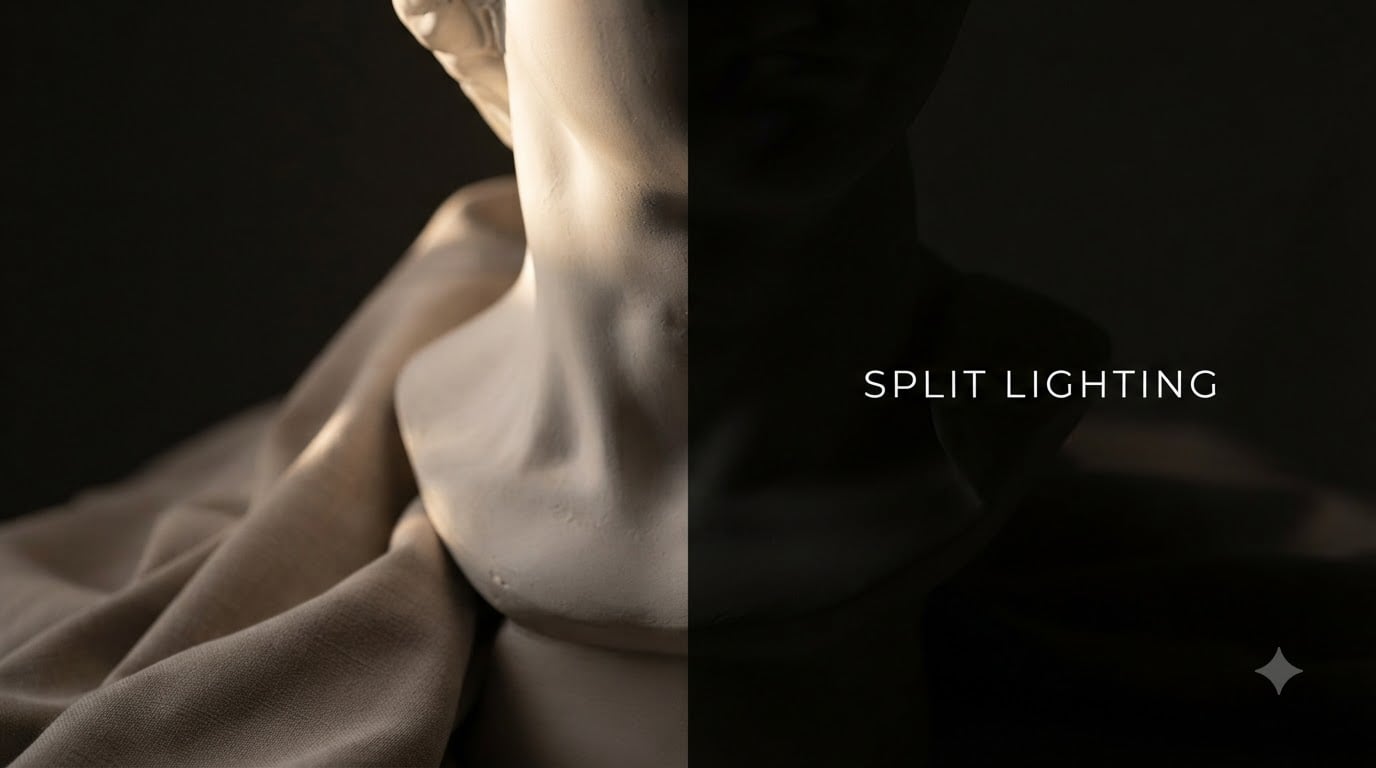
Split lighting is one of the most powerful portrait photography techniques, and after teaching it to dozens of photographers over the years, I can tell you it is also one of the easiest to learn. In this guide, I break down exactly how to use split lighting to create dramatic, high-contrast portraits that emphasize mood and intensity, with step-by-step setup instructions, common mistakes to avoid, and natural light alternatives you can try right now.
By the end, you will know how to position your key light at a 90-degree angle, choose the right subjects, balance shadow and contrast, and even pull off split lighting with nothing but a window. Let us walk through the complete technique together.
Split lighting is a portrait photography technique that places the key light at a 90-degree angle to one side of the subject, so exactly half of the face is illuminated while the other half falls into shadow. The result is a hard vertical line down the center of the face that splits the lit and shadowed sides.
I use split lighting whenever I want my subject to look intense, powerful, or mysterious. The technique works because the human eye reads the shadow side as hidden, controlled, or guarded, while the lit side feels open and present. That tension is what gives split lighting its emotional weight.
You will see split lighting used heavily in film noir, music promos, character portraits, and editorial fashion. It is also a favorite in actor headshots when a performer wants to convey depth or moral ambiguity.
Split lighting is not a flattering everyday lighting pattern, and that is exactly the point. I reach for split lighting when the mood of the portrait calls for drama, intensity, or mystery, not when I am shooting a soft, approachable corporate headshot.
The technique works exceptionally well for character portraits, musician promotional shots, and editorial fashion. According to photographers on Reddit’s r/photography community, split lighting is also a favorite for actor headshots because it visually communicates depth and range. One user noted it is “meaningful for self-portraits when you want to illustrate how you see the world.”
Split lighting also has a practical benefit: it visually narrows wider faces by pushing one entire side into shadow. If your subject has a round or wide face and wants a more sculpted look, split lighting creates definition that flatter lighting cannot match. On the flip side, I avoid split lighting for thin or narrow faces, where the shadow side can look hollow.
Here is the exact setup process I walk through every time. I have tested this with studio strobes, speedlights, LED panels, and window light, and the core positioning is identical regardless of source.
Step 1: Choose your light source. For beginners, a single speedlight or continuous LED panel works perfectly. A studio strobe gives you more power and control for larger modifiers. For natural light, a bare window on a sunny or overcast day will do the job.
Step 2: Position your subject. Have your subject sit or stand facing the camera directly, head level and shoulders squared. Symmetry is critical here because the split depends on a clean vertical division down the nose. I ask my subject to look straight into the lens for the most direct, intense feel.
Step 3: Position your light at 90 degrees. Place the light at the same height as your subject’s face, directly to one side. The angle should be exactly 90 degrees from the camera-subject axis. If your subject is at 12 o’clock from your camera, the light goes at either 3 o’clock or 9 o’clock.
Step 4: Shape the light if needed. A bare, unmodified light creates very hard shadows. For a slightly softer transition along the center line, I add a softbox, umbrella, or even a sheet of diffusion. Hard light emphasizes texture and grit; soft light keeps the shadow side readable.
Step 5: Set your exposure. Meter for the lit side of the face. I usually meter at the cheekbone on the lit side and dial in my exposure so that side reads around middle gray. The shadow side will fall two to four stops below depending on how much fill you use.
Step 6: Add optional fill. A small white reflector on the shadow side lifts detail without killing the contrast. Skip the reflector entirely if you want pure, dramatic shadow.
Step 7: Direct your subject’s gaze and expression. This step is overlooked and it matters. A direct, level stare into the lens intensifies the mood. Looking slightly off-camera softens the feel. I coach my subject to relax the jaw and let the eyes do the work since the rest of the face will be in shadow anyway.
The defining feature of split lighting is the 90-degree angle between your key light and the subject’s nose line. Anything less than about 80 degrees starts to look like Rembrandt or short lighting. Anything more than 100 degrees becomes butterfly or frontal lighting.
I think of the subject as the center of a clock face. The camera sits at 6 o’clock. The light goes either at 3 o’clock or 9 o’clock for a pure split. If you slide the light slightly forward toward 2 o’clock or 10 o’clock, you get short lighting. Slide it back toward 4 o’clock or 8 o’clock and you are heading toward broad lighting territory.
Light height also matters. Keep the light roughly level with your subject’s nose for the classic split. Raising the light high adds downward shadows that hide the eyes, useful for villains or somber moods. Lowering the light creates an upward glow that feels theatrical and unsettling, a favorite for horror-style portraits.
Split lighting is one member of a wider family. Here is how it compares to the patterns you will encounter most often.
Split lighting places the light at 90 degrees, creating a hard vertical divide with one half in shadow. It delivers the highest contrast and most dramatic mood of the standard portrait patterns.
Rembrandt lighting sits the light at about 45 degrees in front of the subject and slightly above. It creates a small triangle of light on the shadow-side cheek, named after the painter Rembrandt who used it constantly in his portraits. It feels softer and more painterly than split lighting.
Butterfly lighting places the light directly in front of the subject, high enough to cast a small butterfly-shaped shadow under the nose. It is glamorous and flattering, often used in classic Hollywood portraits.
Short lighting lights the side of the face turned away from the camera while the near side falls into shadow. It shares split lighting’s dramatic quality but the light angle is closer to 45 degrees, so both eyes remain visible.
Broad lighting does the reverse: illuminate the side of the face turned toward the camera. Broad lighting makes faces look fuller and is generally used to add visual weight to narrow faces.
Use this quick rule of thumb: 90 degrees for split, 45 degrees for Rembrandt or short lighting, frontal for butterfly or broad.
These are the mistakes I see beginners make constantly. Avoid them and you will save hours of frustration.
Light placed too far forward or behind. If your shadow line curves around the cheek instead of running straight down the center, your light is not at a true 90 degrees. Pull it further to the side until the shadow edge runs straight down the nose and chin.
Too much fill. A reflector or fill light that lifts the shadow side too far kills the contrast that defines split lighting. Use fill sparingly, or skip it entirely for the most dramatic results.
Harsh shadows emphasizing skin issues. Beginners on photography forums often complain that split lighting makes blemishes and wrinkles pop. That is true with hard light. Add a softbox or diffusion and the texture softens while the split remains.
Wrong subject. Split lighting is unforgiving on rounder faces because the shadow side can look flat and heavy. Use it on subjects with defined bone structure for the best results.
Inconsistent results across sessions. Mark your light position with tape on the studio floor once you find the angle that works. Small shifts in light placement change the entire feel.
You do not need a studio strobe to pull off split lighting. Window light works beautifully when you set it up correctly.
Position your subject so a window is at a 90-degree angle to one side of their face. The window acts as a large soft light source, which means the shadow transition will be softer than a bare strobe. That softer edge actually makes window light split lighting very forgiving for beginners.
For maximum drama, shoot on a sunny day with the window partially shaded, or use blackout curtains to control how much of the window is exposed. A small reflector or white foam board opposite the window gives you adjustable fill without expensive gear.
Outdoor split lighting is trickier because the sun moves and ambient bounce light softens the shadow. Look for open shade near a wall, with the sun coming from a clear 90-degree angle to your subject.
Editing split lighting portraits is mostly about protecting contrast and refining the shadow side.
I start by setting a clean white and black point so the lit side has true highlights and the dark side falls to a true shadow, not muddy gray. Then I dodge the lit cheekbone slightly to draw the eye, and I burn the shadow edge along the nose to sharpen the split.
Skin retouching on the lit side should stay subtle. Over-smoothing the lit side flattens the sculpted look the lighting creates. Keep the shadow side retouching minimal since the eye will not focus there anyway. A slight clarity and texture boost on the lit side emphasizes bone structure.
If you want even more drama in post, drop the shadow side a half stop with a radial filter. That deepens the contrast without losing detail.
A split light in photography is a portrait lighting technique where the key light is placed at a 90-degree angle to the subject, illuminating exactly half of the face while the other half falls into shadow. The result is a sharp vertical division down the center of the face that creates a dramatic, high-contrast effect.
The 90-degree rule in split lighting means placing your key light directly to one side of your subject at a right angle to the camera-subject axis. If the camera is at 6 o’clock relative to the subject, the light goes at either 3 o’clock or 9 o’clock. This produces the clean, vertical shadow line that defines the pattern.
The three most common portrait lighting directions are split lighting at 90 degrees, Rembrandt lighting at about 45 degrees, and butterfly or frontal lighting directly in front of the subject. Each creates a different mood: split for drama, Rembrandt for painterly depth, and butterfly for soft, glamorous portraits.
Yes, split lighting works very well with natural window light. Position your subject so the window is at a 90-degree angle to one side of their face. Window light acts as a large soft source, which gives a softer shadow transition than a bare strobe and is very forgiving for beginners.
Split lighting places the light at 90 degrees and hides half the face in shadow, while Rembrandt lighting uses a 45-degree angle that leaves a small triangle of light on the shadow-side cheek. Split lighting is more dramatic; Rembrandt is softer and more painterly.
Split lighting is one of the most powerful tools in any portrait photographer’s kit. It is also one of the simplest techniques to learn, because the rule is just one number: 90 degrees. Place your key light directly to one side of your subject, keep the head facing the camera, and let the shadow do the storytelling.
I use split lighting whenever the subject and mood call for intensity, mystery, or sculptural definition. It is my first stop for musician portraits, character studies, and dramatic editorial work. If you have never tried it, grab a speedlight or stand by a window this week, mark your light position with tape, and shoot five frames at slightly different angles. You will see the mood shift in real time.
For more portrait lighting techniques and gear guides, check out our breakdown of studio lighting deals and keep experimenting. Split lighting rewards photographers who commit to the contrast.