7 Best Photoshop Alternatives (September 2026): Top Picks
I tested the seven best Photoshop alternatives that do not lock you into Adobe’s subscription, and what I found surprised…

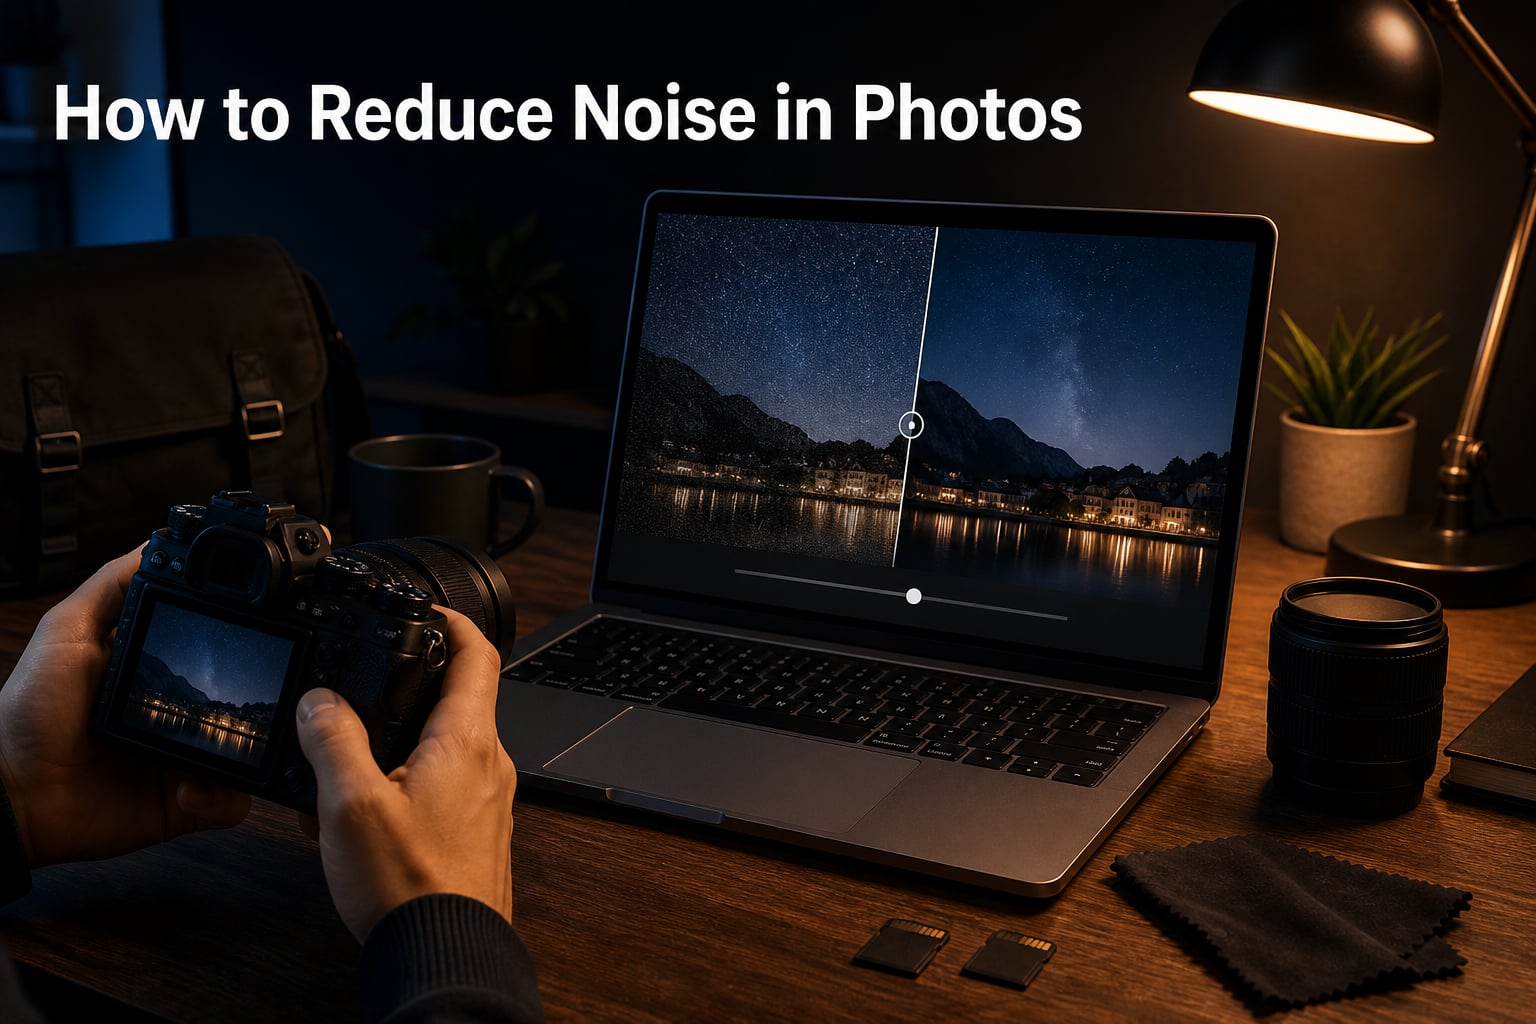
If you have ever zoomed into a low-light shot and noticed speckles, color dots, or a grainy haze ruining an otherwise great frame, you already know how frustrating photo noise can be. After spending a decade shooting in dimly lit venues and on night-time trails, our team has collected the techniques that actually move the needle. This guide on how to reduce noise in photos in 2026 covers the methods we trust, from the moment we press the shutter to the final click in Lightroom.
We will walk through what noise is, why it shows up in the first place, and then give you a practical, five-step in-camera plan that prevents most of it. After that, we will cover the post-processing workflow that cleans up whatever remains, including dedicated guidance on how to reduce noise in photos on iPhone since that question catches a lot of people off guard. By the end, you will have a clear roadmap instead of guesswork.
Photo noise is the random variation in brightness or color across an image, appearing as speckles, dots, or a grainy haze that is not part of the original scene. It is essentially unwanted electrical and statistical interference in the signal your camera records. Two main types show up in practice: luminance noise (gritty, film-grain-like texture) and color noise (those distracting red, green, or blue speckles, sometimes called chroma noise).
Noise reduces image clarity, hides fine detail, and makes colors look blotchy in shadows. It is most obvious in smooth areas like skies, skin, and shadow regions where the eye expects clean gradients. Whether you are shooting a [flower garden at dusk](https://revellphotography.com/flower-photography-ideas/) or capturing stars through a [telescope at night](https://revellphotography.com/photos-through-a-telescope/), understanding noise is the first step toward clean, professional-looking results.
Noise happens because every digital sensor is an imperfect light counter. When you do not give it enough photons to count, it falls back on amplifying the signal it has, and that amplification also magnifies the random electronic chatter. This is why high ISO shots look grainy, why long exposures generate heat-induced noise, and why brightening an underexposed image in editing always reveals more noise than you noticed on the camera’s rear screen.
Specific causes include high ISO amplification, long exposures that heat up the sensor, small sensor sizes (smartphones and compact cameras have more noise per pixel than full-frame bodies), and pushing shadows in post. Even temperature matters: shoot in cold weather and you will see noticeably less thermal noise than in summer heat. One of the strongest pieces of advice we picked up from the r/photography community is that the only true cure for noise is to capture more light in the first place, with denoise software acting as a backup plan rather than the primary fix.
Prevention always beats correction. These five in-camera habits will eliminate most noise problems before you ever open an editing program, and they form the foundation of any reliable how to reduce noise in photos workflow.
Lower ISO means less amplification, which means less noise. The trick is to find the lowest ISO that still lets you handhold the shot or freeze motion. If your scene is static, drop to ISO 100 or 200 and lean on a tripod. If subjects are moving, find the slowest shutter speed that works, then raise ISO only as far as you need. Most modern full-frame cameras stay clean up to ISO 3200 to 6400; APS-C and Micro Four Thirds bodies lose detail a stop or two sooner.
For a practical test, shoot the same dim scene at ISO 800, 1600, 3200, and 6400. Zoom in on the shadow regions in your editing software and decide which noise level you can live with. That number becomes your personal ISO ceiling for that camera, and it matters far more than marketing claims.
RAW files contain far more data than JPEGs, especially in the shadow regions where noise hides. A JPEG throws away most of that subtle information during compression, which is why the same exposure looks noisier out of camera when shot as JPEG. RAW also gives you the headroom to recover shadows and adjust white balance without amplifying noise as severely.
The trade-off is file size and the need for editing software. If you are not yet ready for a full RAW workflow, at least shoot RAW on your noisiest scenarios: indoor events, blue hour, concerts, and night scenes. For casual daylight work, JPEG is fine. If you want more photography fundamentals, our [complete guide to flower photography](https://revellphotography.com/flower-photography-ideas/) covers similar exposure trade-offs in detail.
This is the single biggest lever you have. Underexposing forces you to brighten shadows in editing, and every stop of brightening roughly doubles the visible noise. Instead, expose to the right (ETTR): meter for the highlights, push exposure as bright as the histogram allows without clipping, and you will be rewarded with cleaner shadows when you pull the file back into a normal range in editing.
Use your camera’s histogram or blinkies for highlights, not just the rear screen which lies in bright sunlight. A simple rule: if your shutter speed allows, expose one to two stops brighter than the meter suggests, then recover in post. The signal-to-noise ratio improves dramatically, especially in mid-tones and shadows.
When your subject is still, swapping a faster shutter and higher ISO for a slower shutter at lower ISO will almost always produce a cleaner file. A 2-second exposure at ISO 200 contains a fraction of the noise of a 1/60 second exposure at ISO 6400, even if both look identical in exposure.
This is where a tripod or a stable surface earns its keep. Resting your camera on a railing, a bag of rice, or a mini-tripod at concerts lets you drop the ISO without camera shake. Just remember the next rule when exposures stretch past a second or two.
Long exposure noise reduction works by taking a second exposure of the same length with the shutter closed, then subtracting the noise pattern of that dark frame from your real shot. It is highly effective at removing hot pixels and the fixed-pattern noise that builds up over several seconds. The catch is that it doubles your total exposure time, which is a problem for moving subjects, star trails, and event work.
Use it selectively. Turn it on for static scenes longer than 1 to 2 seconds (architecture, fireworks, light painting, deep astrophotography) and turn it off when timing matters (sports, concerts, anything with people moving). For dynamic scenes, you can recreate the dark frame subtraction manually in Photoshop using the Layers panel.
Even with perfect in-camera technique, some scenes will still need cleanup. Lightroom, Adobe Camera Raw, and most modern editors include powerful noise reduction tools. The goal is always the same: smooth away noise without turning your image into a watercolor painting.
Open your RAW file and head straight to the Detail panel. You will see two sliders: Noise Reduction (luminance) and Color Noise Reduction. Here is the workflow our team uses on nearly every low-light file we edit.
Step 1: Zoom to 100 percent or larger on a shadow region with visible noise. This is your judging area; do not evaluate noise reduction at fit-to-screen.
Step 2: Drag the Luminance slider up slowly until the grain disappears. Stop the moment it starts eating fine detail like hair, eyelashes, or fabric texture. Going past that point creates the dreaded plastic or watercolor look.
Step 3: Adjust the Luminance Detail slider (pulls back sharpness lost to smoothing) and the Luminance Contrast slider (restores micro-contrast in mid-tones). A starting point of 50 Detail and 0 Contrast works for most files.
Step 4: Pull the Color slider up until color speckles vanish, typically between 20 and 40. Color noise reduction rarely damages detail, so be generous here.
Step 5: If you used aggressive luminance reduction, add a small amount of masking to the Sharpening panel (Amount around 40, Radius 1.0, Detail 50) so edges regain bite. Hold Alt or Option to see the mask and brush sharpening only where needed.
Step 6 (Optional): In recent versions of Lightroom and ACR, the AI-powered Denoise button does in one click what used to take ten slider adjustments. Try it as a baseline, then fine-tune with the sliders if needed.
For very noisy files, a layered approach works better: apply heavy noise reduction to a duplicate layer, mask out the subject, and let the subject layer retain its original detail. The r/photography community regularly shares that this selective method produces the best balance between smooth backgrounds and crisp subjects.
The iPhone PAA question catches a lot of people off guard because the answer has changed dramatically since iOS 17. Today’s iPhones have both automatic noise management and dedicated tools. In the Camera app, leave Deep Fusion and Smart HDR enabled; these run in the background on most shots and reduce noise without you lifting a finger. In low light, Night Mode triggers automatically when the phone is steady, and it stacks multiple short exposures to average out noise. Hold the phone still for the full timer the icon displays, since cutting the exposure short reintroduces grain.
For photos already in your library, open them in the Photos app and tap Edit, then the noise reduction wand. iOS 18 introduced an even stronger Clean Up tool that handles both noise and small distractions. Third-party apps like Lightroom Mobile, Snapseed, and Darkroom also include luminance and color sliders similar to the desktop versions. If you shoot regularly in dim bars, restaurants, or concerts, Snapseed’s Tonal Contrast and Details toolset gives you surprisingly granular noise control for a free app.
AI denoise has changed the game since 2026. Tools like Topaz DeNoise AI, Nero AI Image Denoiser, and the Denoise button inside Lightroom and Photoshop can recover startling amounts of detail from extremely noisy files. They use neural networks trained on millions of image pairs to separate noise from genuine detail better than traditional sliders ever could. For a one-time rescue of a treasured high-ISO shot, Topaz DeNoise AI is hard to beat. For batch work, Nero AI’s web tool is fast and free for low-resolution exports. Inside your existing workflow, the Lightroom Denoise button (Camera Raw 16+) is the most convenient option since it requires no export and preserves your non-destructive RAW edits.
Noise usually comes from too little light reaching the sensor combined with high ISO amplification. Shooting in dim conditions at ISO 1600 or higher, using long exposures that heat up the sensor, or brightening an underexposed image in editing are the most common causes.
The cleanest approach combines in-camera prevention (lower ISO, longer shutter, RAW format, exposure to the right) with post-processing in Lightroom or Adobe Camera Raw. Use the Luminance and Color Noise Reduction sliders in the Detail panel, or try the AI Denoise button in recent versions for a one-click fix.
Use Night Mode when the camera icon shows it, hold the phone still for the full timer, and keep Deep Fusion enabled. For existing shots, open them in the Photos app, tap Edit, and use the noise reduction wand, or use Snapseed or Lightroom Mobile for finer slider control.
Start with RAW noise reduction in Lightroom or Camera Raw: raise Luminance until grain disappears, then add Color reduction. If the file is severely noisy, run it through Topaz DeNoise AI or Lightroom’s AI Denoise. Mask sharpening back into the subject afterward to recover any lost edge contrast.
Learning how to reduce noise in photos is really about learning to give your sensor enough light to work with, then using software to clean up whatever remains. Stick to the lowest practical ISO, shoot RAW when the scene is dim, expose to the right, and let a tripod carry you to longer shutter speeds. After the shot, Lightroom’s sliders or the modern AI Denoise tools will rescue most files in under a minute.
Practice on the same dim scene a few times and watch how much cleaner your files get with each habit you adopt. If you shoot specialized subjects like birds or flowers, our [cardinal photography guide](https://revellphotography.com/best-bird-feeders-for-cardinals/) and [flower photography ideas](https://revellphotography.com/flower-photography-ideas/) build on these same fundamentals in different lighting conditions. Clean images start in the field, not just in the editing room, and the techniques above will keep your portfolio looking sharp well into 2026 and beyond.