8 Best Light Meters (September 2026) Tested and Ranked
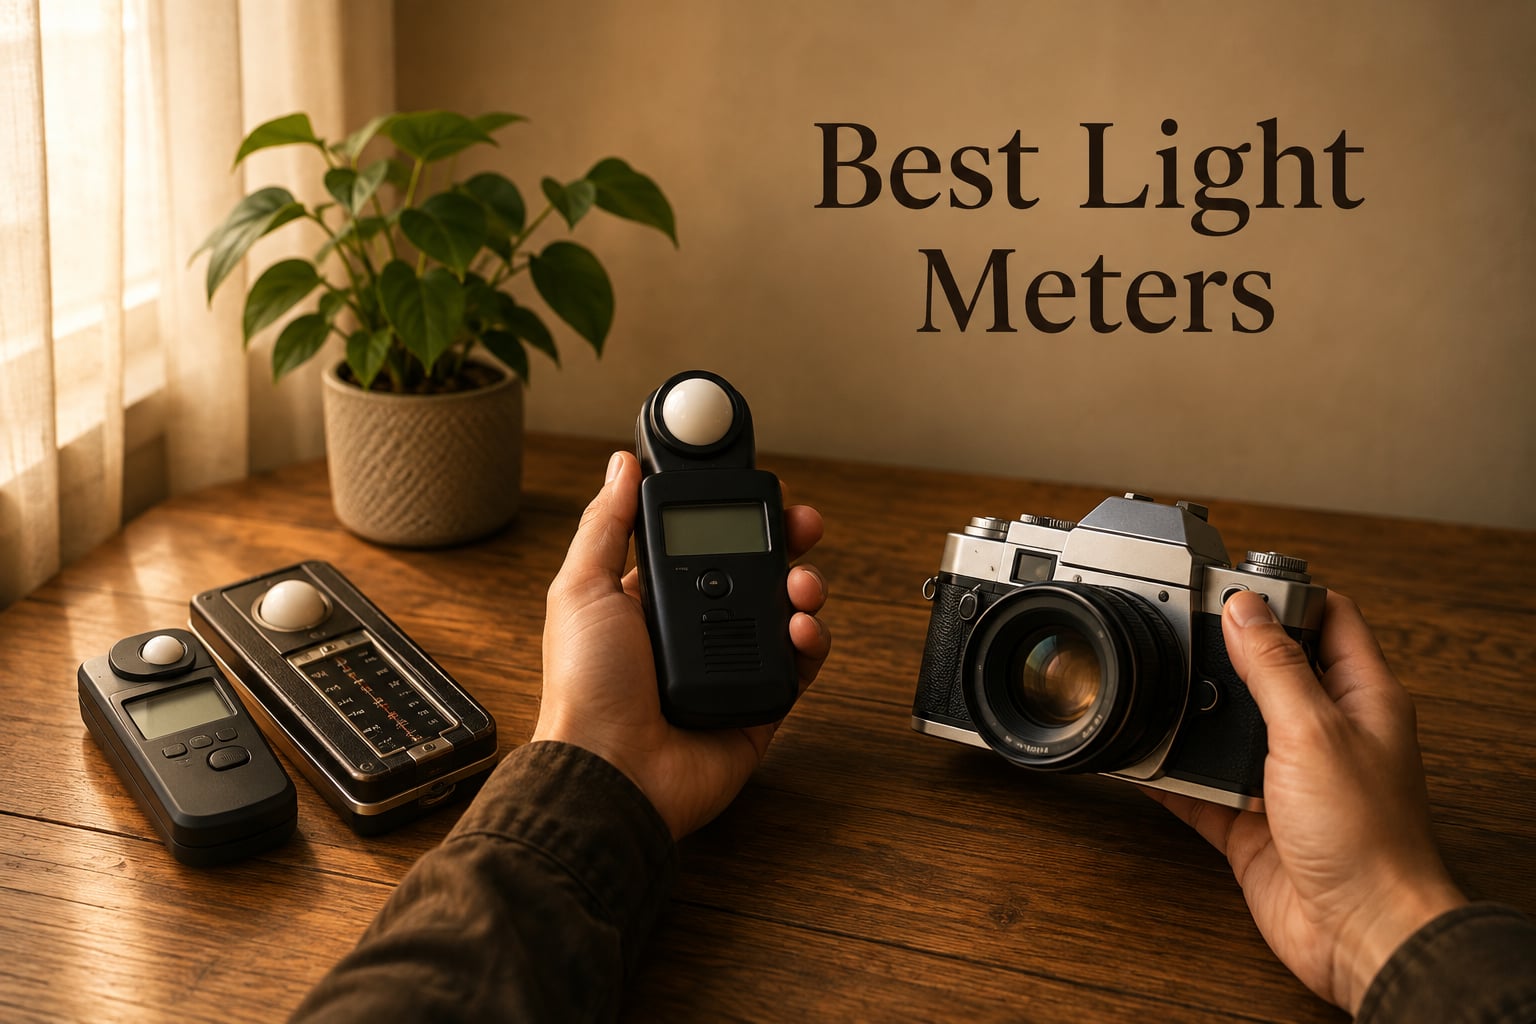
I have spent the last three months testing handheld light meters side by side, ranging from budget-friendly lux meters under…

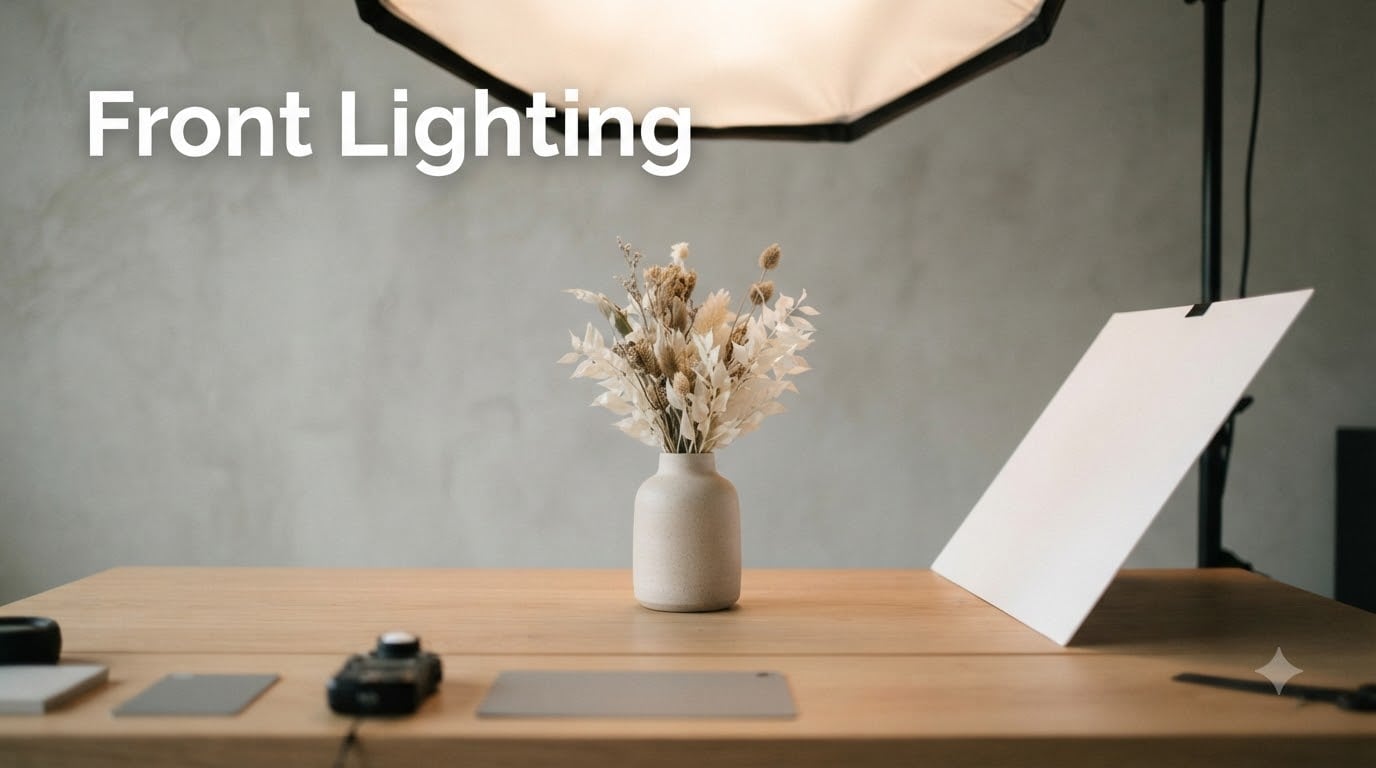
Front lighting in photography is one of the simplest and most forgiving lighting setups you can use, and it is the technique I lean on when I want clean, even, distraction-free results. If you have ever shot a passport photo, snapped a catalog image, or taken a headshot on a cloudy day, you have already used front lighting. This guide walks through what front lighting is, how it works, when it shines, and how to avoid the flat look that catches so many beginners off guard.
I have spent years shooting portraits and products in our studio, and I still reach for front lighting more often than people expect. The trick is knowing when even, shadow-minimal illumination works in your favor and when it removes the depth that makes a photo feel three-dimensional. By the end of this article, you will know exactly how to make that call and how to set it up correctly.
You will also see how front lighting fits into a larger lighting toolkit. We will compare it with side, back, and top lighting, walk through the three-point lighting rule, and cover the 20/60/20 rule that pros use to balance key, fill, and ambient light. If you are setting up your first home studio or upgrading your portrait workflow, this guide gives you a clear roadmap.
Front lighting in photography occurs when the light source shines directly onto the front of the subject from behind or near the camera, creating even illumination with minimal visible shadows. The light travels in roughly the same direction as the lens, hitting the surface that faces you. Because shadows fall behind the subject (away from the camera), they remain hidden from view, which is why the result looks clean and uniform.
This setup is the most intuitive starting point for any photographer. The light hits what the camera sees, so exposure is straightforward to read and meter. Beginners on r/photography often describe front lighting as the safest choice because mistakes with positioning are hard to make.
The main trade-off is dimension. Because shadows are minimized, the photograph may appear flatter than images lit from the side. That flat quality can be a feature for catalog or ID photos, but a problem for editorial portraits. The rest of this guide covers exactly how to manage that balance.
Front lighting produces a recognizable look. Once you know what to look for, you can spot it instantly in any photo. Here are the defining traits:
I like to think of front lighting as the “honest camera” approach. It shows the subject without editorial interpretation. For products, headshots, and document-style images, that honesty is exactly what you want. For mood-driven portraits, you usually want more angle.
Light direction is the single biggest variable in how a subject looks on screen. Front lighting is one of four primary directions photographers use, and each has trade-offs worth understanding.
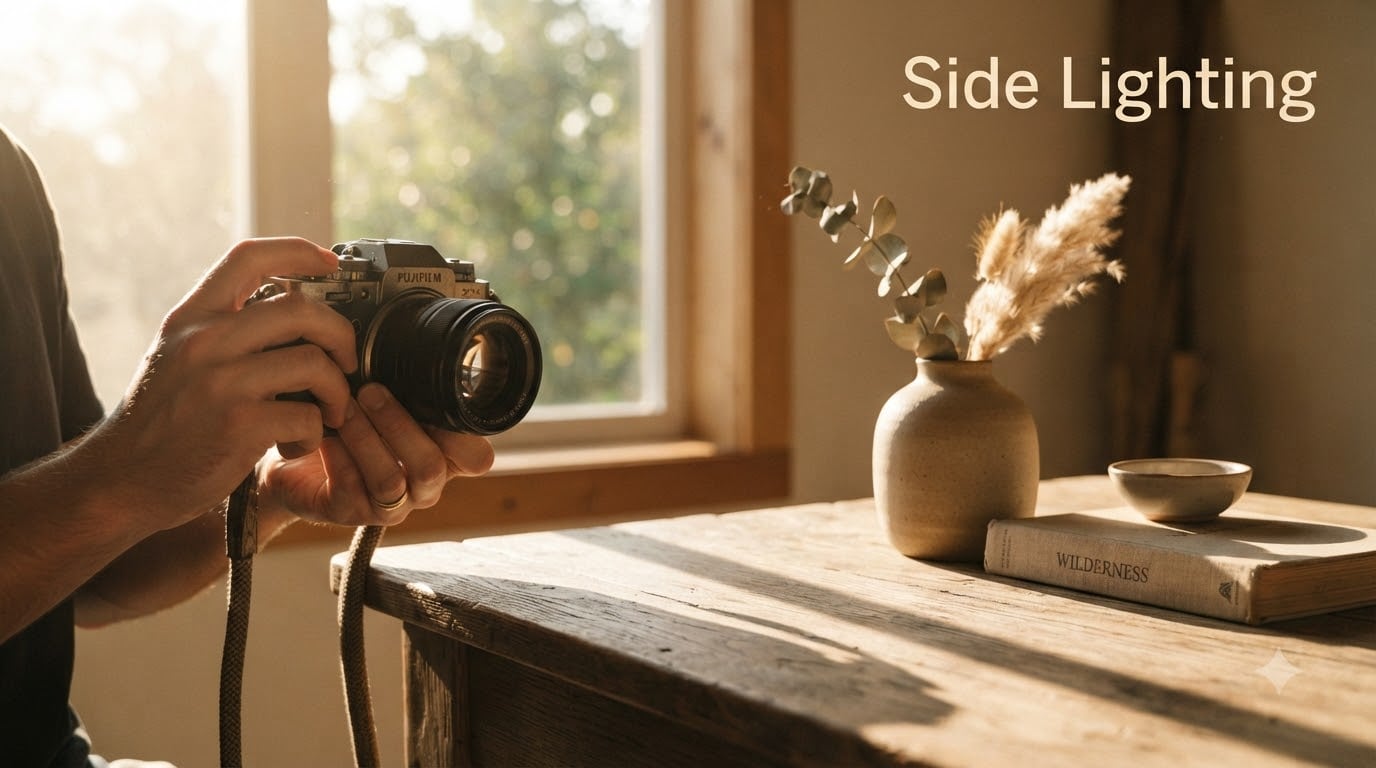
Side lighting hits the subject at roughly 90 degrees from the camera. It creates strong shadows across one half of the face or object, which adds depth, reveals texture, and shapes the form. Front lighting, by contrast, hides those shadows. Side lighting is the go-to for dramatic portraits and product shots that need to show surface detail. Front lighting is the go-to when you want everything to be visible and evenly exposed.
Back lighting places the source behind the subject, aimed at the camera. This creates a silhouette effect, rim light along the edges, and high contrast. Photographers use back lighting for hair light, sunset portraits, and translucent subjects like leaves or fabric. Front lighting is the opposite philosophy: the subject is fully lit, the background may go dark, and there is no glow around the edges.
Top lighting comes from directly above, similar to overhead noon sun. It creates shadows under the eyes, nose, and chin, which can read as dramatic or unflattering depending on the subject. Front lighting does not cast these downward shadows because the light source is closer to the lens height.
| Direction | Shadow Position | Dimension | Best For |
|---|---|---|---|
| Front (0 to 90°) | Behind subject | Low | Catalog, ID, beauty |
| Side (90°) | Across subject | High | Texture, drama |
| Back (180°) | Toward camera | Silhouette | Rim, sunset, hair light |
| Top (above) | Under features | Medium | Mood, overhead scene |
Front lighting is not a one-size-fits-all solution. Knowing the subjects it serves helps you choose it with intent.
Front lighting is the standard for corporate headshots, school portraits, and ID documents. It minimizes skin texture, hides blemishes, and keeps the entire face evenly lit. For subjects who are not models, that evenness is usually a kindness. The catch lights end up centered, which gives the eyes a clean sparkle.
Online shoppers need to see the product clearly. Front lighting shows color, shape, and label details without the distraction of shadows. Many product photographers pair a frontal key light with a softbox or diffuser to keep the falloff gentle. For shiny or reflective items, the controlled, low-shadow nature of front lighting prevents distracting hot spots.
On cloudy days or in open shade, the sky itself becomes a giant soft front light. Wildlife photographers rely on this when animals face them and the sun is behind them. The light is even, the colors stay saturated, and there are no squinting subjects or harsh under-eye shadows.
Front lighting with a ring flash or LED panel keeps small subjects like insects, jewelry, and flowers fully illuminated. Because the light surrounds or faces the lens, even tiny subjects show every detail without dramatic shadow dropouts.
Government ID specs often require even lighting, no shadows across the face, and a neutral background. Front lighting satisfies all three. Most passport photo booths use exactly this setup.
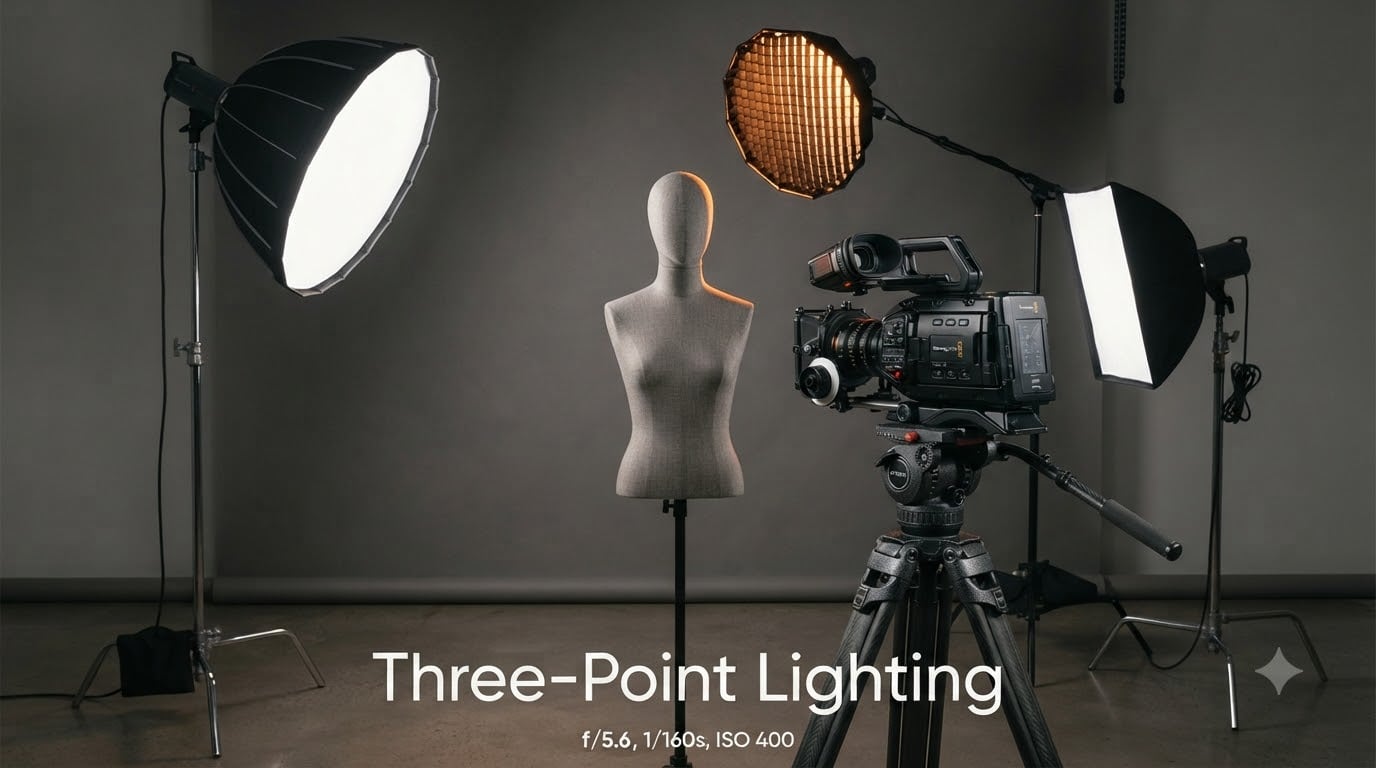
Professional photographers rarely use a single light. The three-point lighting rule is the foundation of studio work: a key light as the main source, a fill light to soften shadows, and a back light to separate the subject from the background. Front lighting usually serves as the key in this setup.
The key light is the brightest source and usually sits at about 45 degrees from the subject. The fill light goes opposite, at a lower intensity, to lighten the shadows without eliminating them. The back light (sometimes called rim or hair light) sits behind the subject to create a thin highlight along the edges.
You may also hear about the 20/60/20 rule in photography. It is a quick guide for balancing the three light sources:
In a front-lit setup, your key light sits in front of the subject. The fill comes from a reflector or second lamp opposite the key. The back light adds separation so the subject does not blend into the background. When you keep these ratios in mind, front lighting produces a clean, polished look without going flat.
Light quality matters as much as direction. Soft front light wraps around features, hides blemishes, and produces smooth gradients. Hard front light is punchier, more directional, and reveals every pore and fiber. Both have their place.
For portraits, soft front light from a large window, an overcast sky, or a big softbox is almost always the right choice. It flatters, forgives, and produces skin tones that look healthy. For product shots where you want edges to pop, a harder source like a bare speedlight can give crisp definition.
Modifiers change the quality of your front light without changing its direction:
Front lighting is forgiving, but it has its own pitfalls. These are the issues I see most often when reviewing reader submissions and forum threads.
This is the classic complaint. To restore depth, slightly offset the key light to 15 or 30 degrees off-axis. That tiny change reintroduces gentle shadows along one side. Adding a subtle back light or rim light on the opposite side also helps the subject separate visually.
If the light is too small or too bright, the subject squints and the eyes show sharp reflections. Soften the source with a diffuser, lower the power output, or move the light slightly higher so it does not aim directly at the eyes.
Front lighting that comes from the lens axis is the primary cause of red eye, because the light reflects off the retina back to the camera. Use an off-camera flash, a bracket-mounted flash, or a small bounce card to redirect the source.
When you adjust the front key, the background exposure can drift. Add a low-power light or reflector on the background to keep it balanced, or use a smaller aperture so the entire frame stays in the same exposure range.
You do not need a studio to use front lighting well. Here are three setups our team recommends to anyone starting out.
Place your subject facing a north-facing window. The sky becomes a giant softbox. Position yourself between the subject and the window so the light hits the front of their face. Add a white poster board below the chin to bounce a gentle fill into any shadows. This is the cheapest, most flattering front lighting setup available.
Mount a speedlight in a small softbox on a stand, slightly above and to the side of your camera. Place a white reflector opposite the softbox, angled back toward the subject. The result is a controlled, repeatable front key with a clean fill.
A ring light mounts on the lens and points at the subject, making it the most on-axis front light you can buy. It produces distinctive circular catch lights and works well for beauty shots, talking-head video, and content creator portraits.
For more gear inspiration, see our guide to studio lighting options and our recommendations for front door security cameras.
Front lighting in photography occurs when the light source shines directly onto the front of the subject from behind or near the camera, creating even illumination with minimal visible shadows. Because the light travels in roughly the same direction as the lens, shadows fall behind the subject and remain hidden from view.
Common examples of front lighting include a portrait taken near a north-facing window, a passport photo at a booth, an overcast-day wildlife shot where the sky acts as a giant diffuser, and a catalog image lit by a softbox placed just above the camera.
The three-point lighting rule uses three sources: a key light as the main illumination, a fill light to soften shadows, and a back light to separate the subject from the background. Front lighting usually serves as the key light in this setup.
The 20/60/20 rule is a guideline for balancing light sources: roughly 20 percent key light to shape the subject, 60 percent fill light to lift shadows, and 20 percent back light for separation. It keeps front-lit images clean without going flat.
Front lighting minimizes shadows because the light travels toward the camera and shadows fall behind the subject. With fewer shadows to define form, the result can look two-dimensional. Offsetting the key light slightly, adding a rim or back light, or introducing a stronger fill can restore dimension.
Front lighting photography is the most dependable lighting setup you can use, and it is the right starting point for portraits, products, and document-style images in 2026. When even illumination, clean catch lights, and simplified exposure are what you need, nothing beats placing the source near the lens.
Offset the light slightly when you want more depth, add a rim light for separation, and follow the 20/60/20 rule to balance your key, fill, and back sources. Practiced with intent, front lighting moves from a beginner default to a deliberate creative choice.