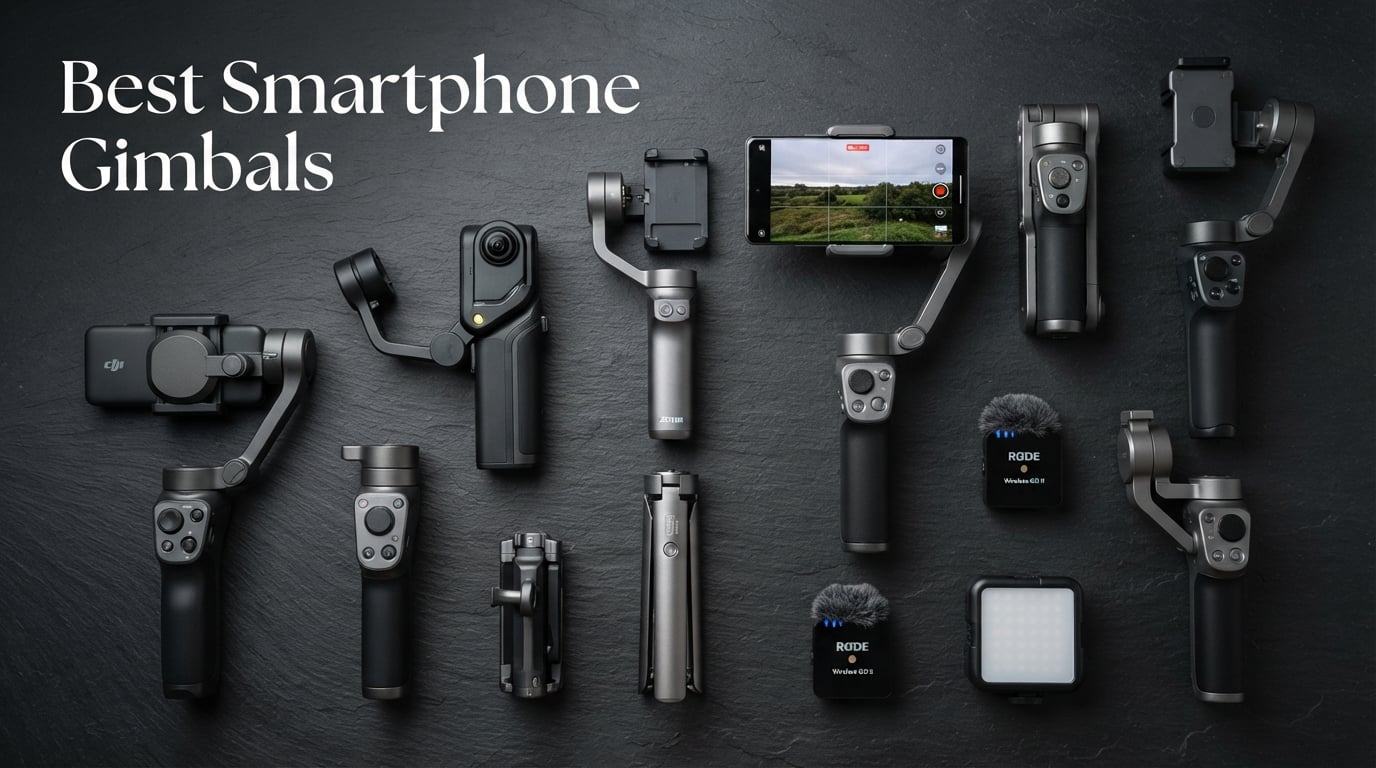
8 Best Smartphone Gimbals (October 2026) – Tested and Compared
I spent the last 90 days shooting real vlogs, walk-and-talk product reviews, and travel clips with eight smartphone gimbals strapped…

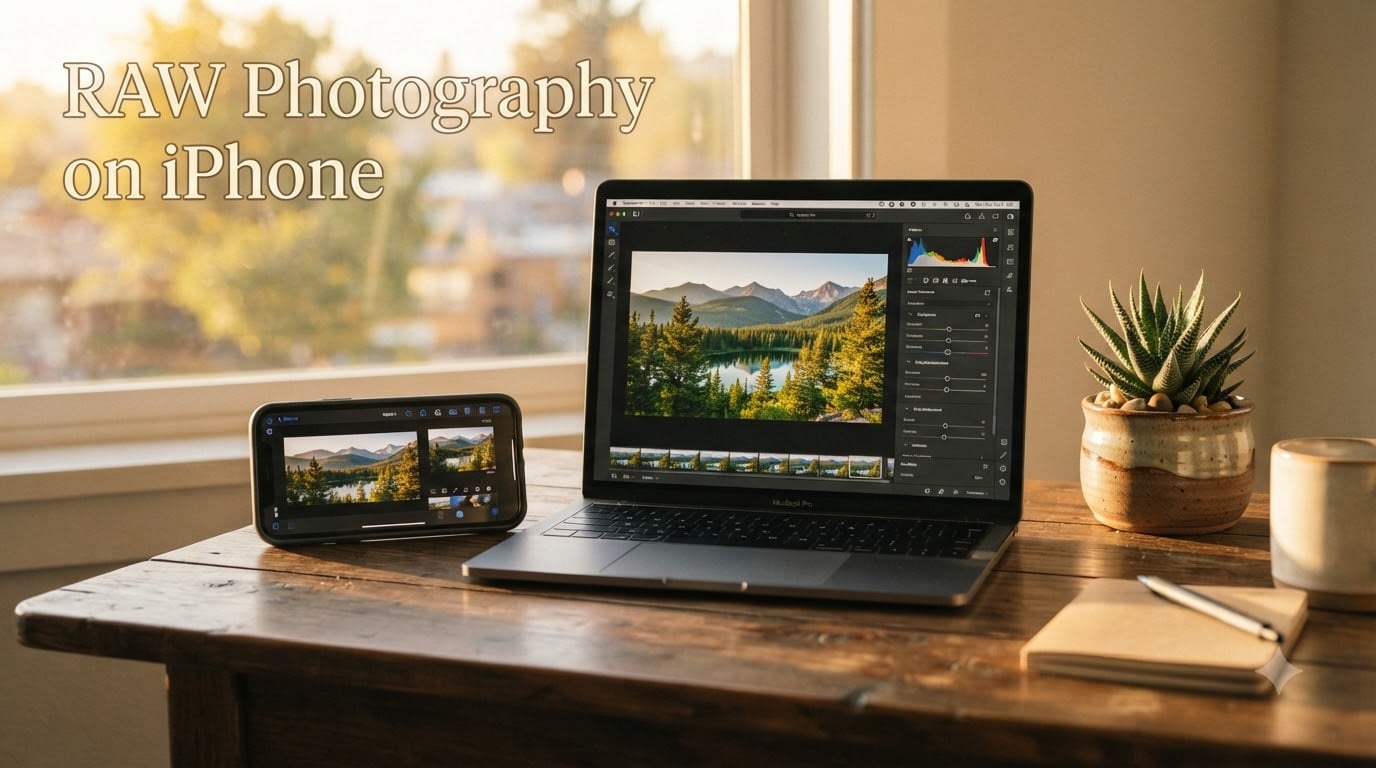
I remember the first time I opened a RAW photo from my iPhone in Lightroom. I had been stuck with flat, slightly muddy JPEGs for years, and suddenly I could pull detail out of shadows and recover blown skies with a single slider. That single file changed how I think about mobile photography, and it is the same experience thousands of iPhone shooters are chasing when they search for RAW photography on iPhone.
RAW on iPhone is not a gimmick. With Apple’s ProRAW format, you get a 12-bit DNG file that holds far more data than a regular HEIC or JPEG, and that extra data is what gives you real editing room. In this guide, I will walk you through what RAW actually is, which iPhones support it, how to turn it on in about 30 seconds, and when it is worth the extra storage.
Whether you shoot on an iPhone 12 Pro or just picked up the new iPhone 17, the steps below will get you shooting RAW in 2026 and help you decide if it fits your style.
RAW photography on iPhone means capturing an unprocessed or minimally processed file that holds all the data your camera sensor recorded. Unlike a JPEG, which gets compressed and “baked” inside the phone, a RAW file stays flexible so you can adjust white balance, exposure, and color later without destroying image quality.
Apple calls its version of this ProRAW. A ProRAW file is technically a linear DNG (Digital Negative), which is an industry-standard RAW format. The key difference from a true DSLR RAW is that Apple has already run some of its computational pipeline, like noise reduction and lens correction, before handing you the file. The result is still far more editable than a HEIC or JPEG.
You can think of a HEIC as a finished meal and a ProRAW as a box of fresh ingredients. With HEIC, the iPhone decides what dinner looks like. With ProRAW, you decide.
Not every iPhone can shoot RAW, and this is where a lot of confusion starts. Apple introduced ProRAW support with the iPhone 12 Pro lineup in 2020, and it has remained a Pro-exclusive feature since then.
Here is the quick compatibility breakdown for 2026:
If you have a standard iPhone, the SE, or a base-model iPhone 15 or 16, you will not see the ProRAW toggle in Settings. You can still capture RAW using third-party apps like Halide or ProCamera, which use the standard DNG pipeline on any iPhone with a recent processor.
For more on how different iPhone cameras behave, our guide on iPhone focal length explains how sensor size affects what you can capture.
Turning on ProRAW takes about 30 seconds, and once it is on, you can flip between RAW and HEIC with a tap in the Camera app. Here is the exact path I use on my iPhone 16 Pro.
One tip from my own testing: if you do not see the RAW icon in the Camera app, force-close and reopen Camera. iOS occasionally hides the toggle until the app reloads. This is one of those quirks that frustrates first-time users, and several readers on r/iPhonePhotography have reported the same behavior.
For tripods and stabilization when shooting RAW landscapes, our iPhone tripod roundup covers solid options that pair well with long RAW exposures.
Once you start editing ProRAW files, the benefits become obvious within a few minutes. Here is what you actually gain.
Massive highlight and shadow recovery. ProRAW files give you roughly 14 stops of dynamic range, which is close to entry-level mirrorless cameras. In a backlit sunset shot, I can pull a foreground subject out of near-black while keeping the sky from clipping to pure white. With HEIC, that same edit produces banding or noise.
True white balance control. HEIC locks white balance into the file. With ProRAW, you can change “tungsten” to “daylight” after the fact, and the color shifts cleanly because the original sensor data is preserved.
More color depth. ProRAW captures 12-bit color, which means about 68 billion possible colors per channel. HEIC is 10-bit at best, and JPEG is only 8-bit. The extra bits mean smoother gradients in skies and skin tones, with no banding.
Reduced noise reduction artifacts. Because ProRAW does some of its own demosaicing and noise reduction but leaves final decisions to you, you can dial in cleaner shadows than the iPhone would produce in a HEIC.
Choosing the right format comes down to what you plan to do with the photo. Here is how the three stack up.
Storage is the trade-off. A typical 48MP ProRAW shot on iPhone 16 Pro clocks in around 70 MB, while the same scene saved as HEIC is closer to 3 MB. If you shoot a hundred photos on a trip, that is the difference between 7 GB and 300 MB.
From a quality standpoint, ProRAW is the clear winner when you plan to edit. For straight-to-Instagram shots, HEIC is still excellent and saves your battery and storage for more captures.
RAW is not always the right choice, and shooting it all the time will fill your storage in a weekend. Here is how I decide on a shot-by-shot basis.
Shoot RAW when: the lighting is high-contrast (golden hour, harsh midday sun, mixed indoor lighting), when you plan to post-process the image in Lightroom or similar, when you are doing client work, or when you are capturing a once-in-a-lifetime moment you cannot reshoot.
Stick with HEIC when: you are shooting quick snapshots for sharing, you are running low on storage, you are capturing fast action like kids or sports where burst speed matters, or you do not plan to edit the file at all.
For a deeper look at how different conditions affect your settings, our guide on forced perspective photography shows scenes where RAW editing flexibility makes a real difference.
RAW on iPhone is powerful, but it has real limitations that nobody warns you about until you hit them. These are the issues I have run into and that other shooters report on r/iphonephotography.
Portrait mode does not work with ProRAW. When you enable Portrait mode, the Camera app automatically switches to HEIC. You will not get RAW depth data. If you need a portrait in RAW, shoot in standard Photo mode and add blur later in an editor.
RAW photos look soft or low-res in the iOS Photos app. This confuses almost everyone the first time. The Photos app shows a low-resolution preview, and the full 48MP file only loads when you tap to edit or share. The actual file is sharp; the preview is just slow to render.
ProRAW auto-disables. Apple occasionally turns the toggle off after iOS updates or if your iPhone detects storage pressure. Check Settings > Camera > Formats after any major update.
Burst mode and Live Photos are limited. ProRAW and high-speed burst do not play well together. If you need rapid-fire shooting, drop back to HEIC for that sequence.
Storage fills fast. A 256 GB iPhone holds about 4,000 ProRAW files at 48MP. Plan accordingly, or set up iCloud Photos to offload automatically.
ProRAW files need a capable editor. The stock Photos app can handle basic adjustments, but serious work calls for a dedicated tool. Here are the apps I keep installed.
Adobe Lightroom Mobile (free tier available). This is my daily driver for RAW on iPhone. It supports ProRAW natively, handles 12-bit color properly, and offers selective adjustments plus healing brushes. The free version covers most needs.
Halide Mark II. A premium camera app that not only shoots RAW on any iPhone, including non-Pro models, but also offers a fantastic RAW editor. Worth the subscription if you want to push the iPhone camera further.
RAW Power. Built specifically for Apple’s RAW pipeline. It is fast, handles ProRAW with proper color science, and integrates with the Files app for a clean workflow.
Apple Photos. For quick edits, the built-in Photos app has improved a lot. It reads ProRAW, supports Smart Adjust, and exports to HEIC or JPEG for sharing. Not as powerful as Lightroom, but it is already on your phone.
For macro and close-up RAW work, you may want a clip-on lens. Our iPhone microscope guide covers high-magnification options that pair well with RAW editing.
Yes, if you plan to edit your photos. ProRAW gives you up to 14 stops of dynamic range, 12-bit color, and the ability to recover highlights and shadows after the fact. If you only want quick snaps to share, HEIC is still excellent and saves storage.
Yes. iPhone 12 Pro and later Pro models support Apple’s ProRAW format natively in the Camera app. Non-Pro iPhones can still capture RAW using third-party apps like Halide or ProCamera that write standard DNG files.
Open Settings, tap Camera, then Formats, and turn on ProRAW u0026amp; Resolution Control. In the Camera app, tap the new RAW icon in the top toolbar to switch between RAW and HEIC for each shot.
ProRAW is a partially processed linear DNG. Apple applies some noise reduction and lens correction, but it preserves the full 12-bit sensor data so you still get far more editing room than a HEIC or JPEG.
HEIC is better for everyday shooting because it is smaller, fully processed, and ready to share. RAW is better for editing, low-light work, and high-contrast scenes where you want to recover detail later.
The iOS Photos app shows a low-resolution preview of ProRAW files, which can look soft compared to a fully processed HEIC. The full-resolution file is sharp once it loads, and editing it in Lightroom or another RAW editor reveals the real quality.
RAW photography on iPhone has grown from a niche Pro feature into a genuinely useful tool for anyone who edits their photos. With up to 14 stops of dynamic range and 12-bit color, ProRAW gives mobile shooters real flexibility that used to require a dedicated camera.
Start by enabling ProRAW in Settings, shoot a few comparison shots against HEIC, and pull the files into Lightroom. You will see the difference in your first edit, especially in shadows and skies. Just keep an eye on storage, and remember that the best format is the one that fits the moment.
For more ways to push your iPhone photography further, explore our other guides on tripods, lenses, and shooting techniques throughout 2026 and beyond.