Rifle Scope Objective Lens Diameter: Complete Guide 2026
Complete technical guide to rifle scope objective lens diameter. Learn how to choose the right size for your shooting needs,…

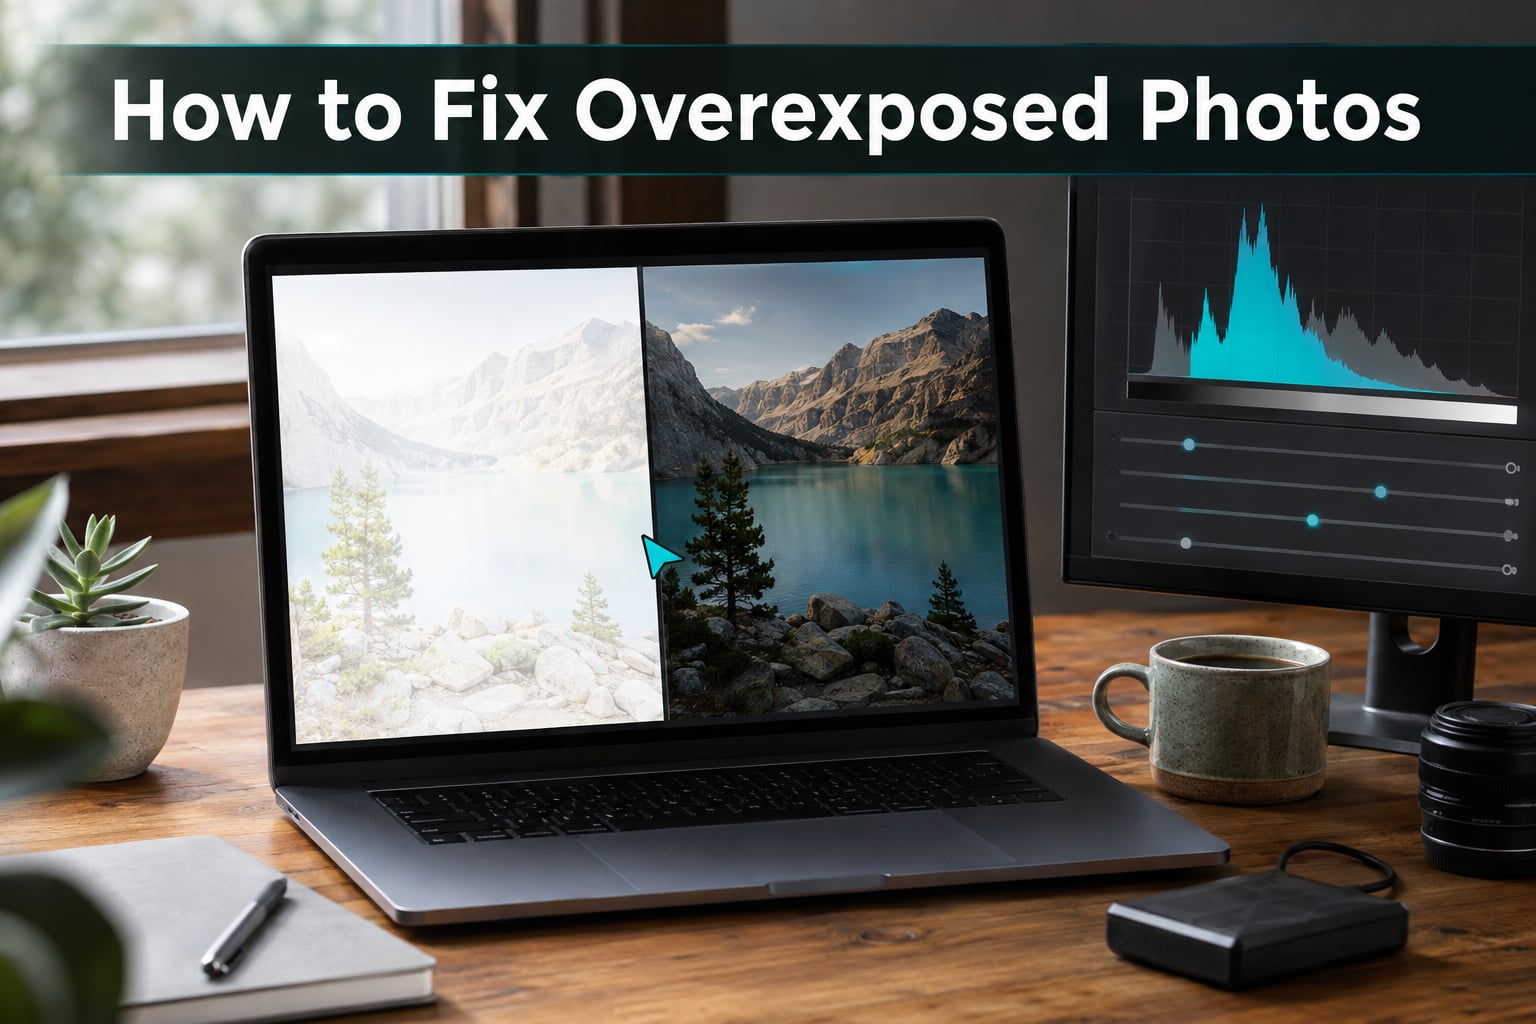
You came home from a wedding, a vacation, or a once-in-a-lifetime family event and opened the photos on your laptop, only to find white dresses, bright skies, and skin tones that look like glowing patches of pure white. If that sounds familiar, you need to learn how to fix overexposed photos before you give up on them.
I have walked readers through hundreds of editing fixes over the years at Revell Photography, and overexposure is one of the most common (and most fixable) issues. This guide walks you through exactly how to fix overexposed photos in 2026, from the quickest one-click mobile edits to professional desktop workflows that rescue detail from images you thought were ruined.
By the end, you will know how to spot blown-out highlights, read your histogram, and rebuild an overexposed image using exposure, highlights, whites, shadows, and selective masking. You will also learn how to dodge and burn specific areas, when AI tools can help, and how to prevent the problem next time you press the shutter.
Overexposure happens when too much light reaches your camera sensor (or your phone’s sensor), so the bright parts of the scene lose detail and turn into solid white pixels with no recoverable information. That white area is what photographers call blown out highlights, and it is the single most common reason a photo looks ruined.
You can spot an overexposed photo by looking for these visual signs:
Overexposure is not the same as high-key photography. High-key is an intentional style where bright tones dominate but detail is still preserved everywhere. Accidental overexposure is what you get when your settings, lighting, or meter misread the scene. If you want a deeper dive into creative framing, our flower photography ideas guide shows how intentional exposure choices shape mood.
Yes, in most cases you can fix an overexposed photo, especially if you shot in RAW. The amount of detail you can recover depends on how badly the highlights are clipped and what file format you used.
Here is what to expect:
If a highlight is only slightly clipped, you can usually pull it back. If the channel is fully blown (all 255 values), that information is gone and you cannot invent detail that was never recorded. That is when creative reframing, cropping, dodge and burn, or converting to black and white becomes your best option.
The histogram is a graph that shows every brightness value in your photo, from pure black on the left to pure white on the right. Learning to read it takes the guesswork out of overexposure, because you can see clipping instead of just trusting your eyes on a dim laptop screen.
Here is how to read it:
To enable the histogram in Lightroom, open the Histogram panel by pressing F2 or via the View menu. In Photoshop, choose Window then Histogram. On iPhone, open the Photos app, tap the histogram icon at the top of the Edit screen, and watch the graph shift as you adjust sliders.
If the histogram is slammed against the right wall with a vertical spike, expect limited recovery. If it slopes toward the right but stays inside the graph, you are in great shape to fix the photo.
Follow these steps in order. Each one builds on the last, and the workflow works in Lightroom Classic, Lightroom Mobile, Adobe Camera Raw, Photoshop Camera Raw Filter, and most other raw processors.
Step 1: Lower the Exposure slider. Start by pulling Exposure down by 0.5 to 2 stops. The Exposure slider controls the overall brightness of the image. A small change goes a long way, so move it slowly and watch the histogram.
Step 2: Pull the Highlights slider down. Drop Highlights to somewhere between -50 and -100. This recovers detail in the brightest areas without darkening the whole image. Start at -70 and adjust from there.
Step 3: Lift Shadows to balance the image. After darkening highlights, your midtones may now look dull. Raise Shadows to +20 to +60 to restore depth in the darker areas. This is the step that makes the photo look natural again.
Step 4: Set Whites and Blacks. Hold Alt (Option on Mac) while moving Whites to find the point where highlights just begin to clip, then back off slightly. Do the same with Blacks, looking for the moment the image just begins to lose shadow detail. This sets a true black and a true white anchor.
Step 5: Add contrast back with the Tone Curve. A gentle curve adds punch. Drag the top-right point slightly down and the bottom-left point slightly up to compress the extremes and lift the middle for a film-like response.
Step 6: Correct White Balance. Overexposure often hides color casts. Use the Temperature and Tint sliders to neutralize any warmth or coolness. Click the White Balance eyedropper and tap a neutral gray area of your image to set it automatically.
Step 7: Add a touch of Vibrance and Saturation. Once the exposure is correct, add +10 to +20 Vibrance to bring back muted colors without overcooking skin tones.
Here is the order to remember: Exposure, Highlights, Whites, Shadows, Blacks, Tone Curve, White Balance, Color. Always work in that order and your edits will look balanced.
Most real overexposure problems are partial: a blown-out sky, a window-lit face, a bright background behind a portrait. That is where masking saves you.
Lightroom and Camera Raw both offer powerful masking tools. Open the Masking panel (press M in Lightroom) and you will find:
For an overexposed sky, click Select Sky, then drop Highlights to -80. Your subject stays untouched while the sky recovers detail. For an overexposed face with a darker background, invert the mask of Select Subject and lower Highlights on the background only.
Photoshop users can use Select and Mask (formerly Refine Edge) along with Curves adjustment layers clipped to the mask. The principle is the same: target only the area that is too bright.
Dodge and burn is the darkroom technique of lightening (dodging) or darkening (burning) specific areas. It is one of the most powerful tools for fixing partially overexposed photos because it lets you recover detail without flattening the whole image.
In Photoshop:
Step 1: Create two new layers. Name them Dodge and Burn.
Step 2: Fill both with 50 percent gray (Edit, Fill, 50 percent Gray). Set the layer blend mode to Soft Light.
Step 3: Select the Dodge layer, pick a soft white brush, set Opacity to 5 to 10 percent, and paint over the bright areas you want to bring down. Soft Light with gray means white brush strokes lighten, black brush strokes darken.
In Lightroom, skip the layers and use the Adjustment Brush tool (K). Set Exposure to -0.50, paint over the blown area, and Lightroom only darkens where you paint. Feather the brush so the edit blends in.
Common targets for dodge and burn on overexposed photos include cheeks and foreheads that caught harsh light, white dresses or shirts that lost texture, and bright reflective surfaces like windows or water.
You do not need a desktop workflow to fix overexposed photos on iPhone or Android. The native Photos app and a few free tools can do most of the work.
In the iPhone Photos app, open the photo, tap Edit, and use the Light, Shadows, and Brilliance sliders. Tap the dial at the bottom right to switch tools. Pull Light down, lift Shadows up, and you have done the core fix. Tap the magic wand for Auto, then dial it back manually if Auto overcorrects.
Snapseed (free on iOS and Android) gives you more control. Open the photo, tap Tools, then Tune Image. Lower Highlights and Brightness, raise Shadows and Ambiance. Use Selective Tool to tap a blown area and bring it down in just that spot.
Lightroom Mobile is free for basic editing. The workflow mirrors the desktop version: Exposure, Highlights, Whites, Shadows, Blacks. You also get masking on a phone, including Subject and Sky masks, which is rare among free apps.
VSCO and Photoshop Express are also solid picks. The MakeUseOf guide on fixing overexposed photos on smartphones goes deep into app-by-app comparisons if you want to explore every option.
AI photo repair has gotten genuinely good in 2026, but it is not magic. Knowing when AI helps and when it fails saves you time and frustration.
AI tools work well for:
AI tools struggle with extreme clipping (pure white areas where the original signal is gone), skin tones that need to match surrounding shots in a series, and stylized photos where the AI guesses wrong on color and contrast.
Popular AI-assisted editors include Photoshop’s Generative Fill, Topaz Photo AI, Imagen AI, and Luminar Neo. Use them as a starting point, then refine with the manual sliders described above.
Fixing overexposed photos is easy to overdo. Watch out for them:
Prevention is faster than any fix. Build these five habits into your shooting:
1. Use exposure compensation. Most cameras and phones have an exposure compensation dial. Set it to -0.3 or -0.7 stops when shooting in bright conditions. This tells the camera to lean darker, protecting highlights.
2. Shoot RAW whenever possible. RAW files give you 2 to 4 stops of highlight recovery. The trade-off is larger file sizes. If you shoot events, weddings, or travel, RAW is worth it.
3. Check the histogram as you shoot. Modern mirrorless cameras and phones show a live histogram. Glance at it after each shot. If highlights are clipping, dial in negative exposure compensation.
4. Use spot metering for tricky light. In high-contrast scenes, switch from evaluative metering to spot metering on the midtones. This prevents the camera from averaging the scene and blowing out the bright areas.
5. Use a polarizing filter outdoors. A circular polarizer cuts 1 to 2 stops of light and reduces glare on water, leaves, and skin. It also deepens blue skies, making overexposure less likely.
For more on getting the shot right in the camera, our guides on how to take photos through a telescope and the Paper Shoot Camera review cover specific scenarios where exposure choices matter.
Yes, in most cases you can fix an overexposed photo. RAW files give you 2 to 4 stops of highlight recovery, so even badly overexposed RAW images usually have some detail to save. JPEG files have less room, but mild overexposure is still recoverable. If the highlights are fully clipped to pure 255 values, that detail is gone and you cannot recreate it. In those cases, use selective masking, dodge and burn, or creative reframing to work around the lost areas.
Open the photo in the Photos app, tap Edit, and use the Light and Shadows sliders. Pull Light down to darken the whole image, then lift Shadows to bring back detail in the darker areas. For more control, use Snapseed (free) or Lightroom Mobile and follow the same Exposure, Highlights, Shadows, Whites, Blacks workflow you would use on a desktop.
The fastest way to make pictures less overexposed is to lower the Exposure slider by 0.5 to 2 stops, then pull the Highlights slider to between -50 and -100. After that, raise Shadows to bring back midtone detail. This three-slider combo fixes most overexposed photos in under a minute.
Use the Exposure slider to lower overall brightness, then drop the Highlights slider to recover detail in the bright areas. Lift Shadows slightly to keep the image balanced, then set Whites and Blacks to anchor true white and true black. Finish with White Balance and a touch of Vibrance. If only part of the photo is too bright, use a selective mask (Sky mask, Subject mask, or a brush) to target just that area.
It is almost always better to underexpose than overexpose. Shadow detail is easier to recover than highlight detail because blown-out highlights cannot be reconstructed, while dark areas usually still contain usable information in RAW files. If you must choose, lean a third of a stop darker in bright scenes to give yourself recovery room later.
Learning how to fix overexposed photos is one of the highest-leverage editing skills you can pick up. Once you have the workflow down, you stop fearing blown-out highlights and start seeing them as a recoverable problem rather than a ruined shot.
The core process is simple: lower Exposure, drop Highlights, raise Shadows, set Whites and Blacks, refine with a tone curve, and use selective masks or dodge and burn for partial fixes. Practice this on your own back catalog, and within an hour you can rescue photos you almost deleted. If you want to keep building your editing and shooting skills, the rest of our photography guides here on Revell Photography walk through specific scenarios where exposure choices matter.
![Rifle Scope Parallax Adjustments: Complete Guide [cy]](https://revellphotography.com/wp-content/uploads/2026/09/featured-update-5315-1789865033761.jpg)