Rifle Scope Objective Lens Diameter: Complete Guide 2026
Complete technical guide to rifle scope objective lens diameter. Learn how to choose the right size for your shooting needs,…

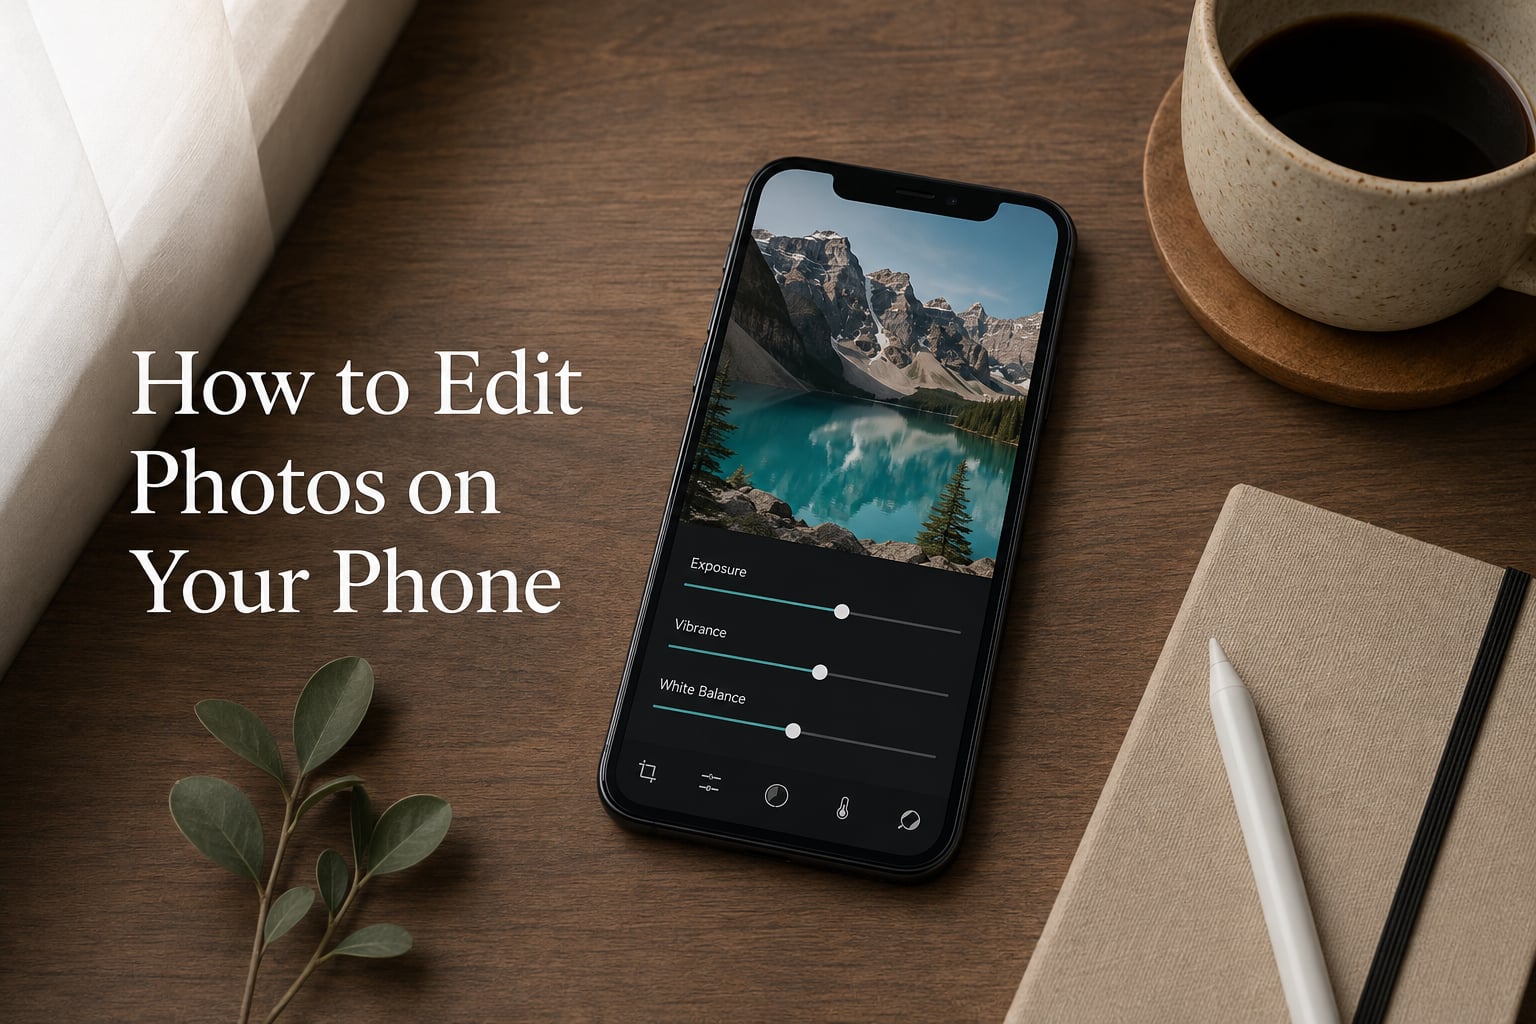
Your phone is the camera you actually carry, and in 2026 it is also a surprisingly powerful darkroom. Whether you shoot on an iPhone 15 or a Samsung Galaxy, the built-in editor plus a handful of free apps can turn flat, harsh phone shots into images you genuinely want to share.
This guide walks through how to edit photos on your phone from start to finish. I tested every workflow here on real photos over the past few months, including travel scenes, portraits, and food shots. You will learn the core adjustments, the free apps I keep coming back to, and the exact slider ranges that produce natural-looking results.
We will keep things platform-agnostic where it helps, then break out iPhone-specific and Android-specific steps so nothing feels generic. By the end, you will have a repeatable workflow, not just a list of tools.
The fastest way to learn how to edit photos on your phone is to skip the app store and open what shipped with your device. Built-in editors cover 90% of everyday edits: crop, exposure, color, and filters. Most beginners do not need anything fancier to start.
I find that new editors learn controls faster in their native gallery because the menus are simpler. Once you understand exposure, contrast, and warmth on your default app, every third-party tool feels familiar. Save the downloads for when you actually need them.
Built-in editing is also fully reversible. Every adjustment lives on a slider you can scrub back and forth, so you cannot ruin the original file. That alone removes the biggest barrier most people have when they start editing.
If you are learning how to edit photos on your phone on iOS, the Apple Photos app is the only editor you need for most jobs. Apple rebuilt the editor in iOS 16 and refined it again in iOS 26, adding non-destructive masks and a real tone curve.
Open a photo, tap Edit in the bottom right, and you will see three icons along the bottom: crop/rotate, adjustments, and filters. Start in adjustments. The order matters, and this is the order I follow.
I always crop before touching color. Cropping sets your composition and removes distractions, which changes how much sky or foreground you have to balance. Tap the crop icon, drag the corners, and use the grid to align horizons. The built-in level snaps to horizontal automatically when your phone was close to level when you shot.
Tap the dial icon and choose Exposure. Slide right to brighten, left to darken. For most outdoor shots, I land between +20 and +40 on the exposure slider. Then tap Contrast and add +15 to +25 to give the image depth without crushing the shadows.
If your photo looks too blue or too yellow, the warmth slider fixes it in one move. I usually add +10 to +20 warmth for golden hour shots and subtract 10 for shade or overcast scenes. Tint is the green-magenta axis, useful when fluorescent lights have pushed skin green.
Saturation boosts every color equally and is easy to overuse. Vibrance boosts muted colors more than already-saturated ones, so I prefer it for portraits. Try vibrance at +15 to +25 and saturation at +5 to +10. If skin looks orange, pull saturation back down.
Tap a person, sky, or background, and iOS will offer a selective adjustment. You can brush exposure or color onto just that area without affecting the rest. This is how I recover a blown-out sky or brighten a backlit face in under 10 seconds.
Learning how to edit photos on your phone on Android depends on which gallery app you use. Most Samsung and Pixel devices default to Google Photos, which has a clean editor with a Suggestions tab that applies one-tap fixes.
Open a photo in Google Photos, tap Edit, and you land in a tabbed interface: Light, Details, Color, and Effects. Each tab stacks adjustments in a logical order, which is genuinely helpful when you are starting out.
Samsung’s stock Gallery editor on One UI 8 includes more granular sliders than Google Photos and a built-in object eraser. Tap Edit, then the sliders icon. You get separate controls for highlights, shadows, contrast, saturation, and white balance with both color temperature and tint sliders.
The Samsung eraser is solid for removing small distractions like power lines or lens flares. Trace the object, tap erase, and it composites the background in roughly 5 seconds on a Galaxy S25.
Google Photos’ Suggestions tab learns from your edits and offers one-tap enhancements like “Enhance,” “Warm,” and “Cool.” I use these as a starting point and then dial them back by 30-40%. They tend to oversaturate skies, which is the most common complaint I see from readers.
For batch editing, Google Photos is unmatched. Select up to 50 images, tap Edit, apply the same change to all, and save. There is no equivalent on iPhone without a third-party app.
Once you have the basics down, these five tools will handle almost every editing situation you encounter on a phone. I use each one weekly, and they transfer between apps cleanly.
Cropping is composition, not editing. Removing a messy edge or tilting the horizon back to level often does more than any color slider. Aim for the rule of thirds by placing key subjects one-third from the edge.
Highlights are the brightest parts of the image; shadows are the darkest. Pulling highlights down recovers sky detail. Pushing shadows up reveals hidden detail in dark clothing or shaded faces. Together they rebalance the entire tonal range.
White balance removes color casts from lighting. Warm light (tungsten, sunset) needs cooler correction; cool light (shade, snow) needs warmer correction. Aiming for neutral whites is the goal, then you can warm or cool it intentionally for mood.
Saturation cranks every color. Vibrance is gentler and protects skin tones. I keep saturation under +15 in 95% of edits and rely on vibrance for portraits.
Apply sharpening last, at low values. Too much sharpening introduces halos around edges that look bad on phone screens. Try +20 to +30 on the master sharpening slider and back off if you see glowing edges.
The native editor gets you far, but there are moments when a third-party app is the right call. After testing 12 free editors over the past year, three consistently earn a permanent spot on my home screen.
Snapseed remains the best free all-rounder for mobile photo editing. Owned by Google, it has a full tone curve, selective brush, healing tool, and the legendary Head Pose correction that subtly turns a face toward the camera. The UI takes 15 minutes to click with, but once it does, you can edit RAW DNG files in seconds.
The healing tool in Snapseed is the most accurate I have tested on a phone. It removes sensor dust, pimples, and even larger objects like trash cans if the background is simple.
Adobe Lightroom Mobile is the professional’s choice and the free tier is genuinely useful. You get the same tone curve, color mixer, and masking tools as the desktop version. Masking on mobile is now genuinely fast, and the AI subject and sky masks save real time.
If you shoot in RAW or DNG, Lightroom Mobile is the only free app that processes those files properly on a phone. The downside is that some features sit behind a Creative Cloud subscription, but the free tier covers almost everything a beginner needs.
VSCO is for users who want film-style presets and a clean, distraction-free interface. The free preset pack includes about 10 looks ranging from clean B&W to warm film emulation. It is the fastest way to give photos a cohesive, intentional aesthetic for Instagram or a personal portfolio.
VSCO is weaker than Snapseed or Lightroom on technical adjustments like masking and healing. Treat it as a finishing app, not a primary editor.
Most people jump around their tools randomly. After three months of daily editing on my phone, I settled on the same five-step sequence every time. This is how to edit photos on your phone without second-guessing yourself.
Step 1: Crop first. Fix composition before color. A bad crop cannot be fixed later.
Step 2: Set exposure. Brighten or darken until the histogram sits in the middle third.
Step 3: Correct white balance. Aim for neutral whites, then add warmth or cool intentionally.
Step 4: Boost vibrance over saturation. Add +15 to +25 vibrance, leave saturation low.
Step 5: Sharpen last. Apply light sharpening only at the end of the workflow.
This order matters because each step changes the next. Cropping shifts your tonal balance. Exposure shifts white balance. Color shifts what sharpening looks like. Reversing the order produces messy results that take longer to fix.
Edit portraits with vibrance, not saturation. Apply smoothing with a healing tool on blemishes only, never on full skin. Soften skin selectively and let texture remain on cheeks and foreheads.
Pull highlights down by -30 to -50 to recover sky detail. Push shadows up by +20 to reveal foreground texture. Add +10 to +20 vibrance and a small saturation bump. Sharpening is more aggressive here, around +40, because landscapes benefit from edge contrast.
Keep edits subtle. The photo is already interesting; do not overcook it. Stick to +10 to +20 on most sliders and resist the urge to add heavy filters.
I see the same handful of mistakes on every beginner edit. Avoiding them will put your work ahead of 80% of casual phone photographers.
The single most common error. Phone screens are already saturated, so boosting saturation in editing creates neon skies and orange skin. Keep saturation under +15 and prefer vibrance.
Dropping contrast to -50 or shadows to -100 makes photos look flat and muddy. Shadows should be deep but still readable. Aim for shadow values around -20 to -40, not lower.
Heavy sharpening creates white halos around edges. These look fine on a 6-inch phone screen but terrible when the image is enlarged. Apply sharpening last, and back off if you see glowing edges.
The histogram shows where your tones sit. If everything piles on the right, the photo is overexposed. If everything sits on the left, it is underexposed. Use this to set exposure objectively, not by how bright the screen looks.
Editing your phone screen on a sunny day makes images look darker than they really are. Move into shade, dim the room, or use a screen calibration app. What you see is what you get.
Choosing between the built-in editor and a third-party app is mostly about depth, not quality. Built-in apps handle 80% of edits well. Third-party apps earn their place when you need healing, RAW support, masking, or film presets.
For quick shares to social media, the built-in app is faster and the result is good enough. For anything you plan to print, frame, or print at large sizes, a third-party app with RAW support will produce noticeably better results.
If you also shoot on a dedicated camera and want a consistent editing workflow between devices, check our astrophotography editing guide for cross-device tips that apply to phone editing too.
AI editing has matured fast in 2026. The features that actually deliver are subject masks, sky replacement, and one-tap denoise for grainy low-light shots. Lightroom Mobile, Snapseed, and Samsung Gallery all ship with at least one of these.
Subject masking in Lightroom is the standout. It detects people, animals, and main subjects and lets you apply edits to just those regions. I use it to brighten faces without affecting the background, which used to require 5 minutes of manual brushing.
For botanical or nature shots, our flower photography guide covers color grading techniques that pair well with AI masking on mobile.
Snapseed is the strongest free all-rounder. It includes a full tone curve, selective brush, healing tool, and RAW support with no ads and no premium tier. Lightroom Mobile is the best choice if you need AI subject masking and want a workflow that syncs with the desktop version.
Open the photo in your phone’s built-in Photos or Google Photos app, tap Edit, and follow this order: crop, exposure, white balance, vibrance, sharpen. Most edits take under a minute once you have done it a few times.
Snapseed’s Healing tool is the most accurate free tool. Zoom in, brush over the object, and let the app composite the background. Samsung Gallery has a built-in object eraser on Galaxy devices, and Lightroom Mobile’s content-aware remove works well on simple backgrounds.
Edit in good lighting so your screen brightness matches reality. Always crop before adjusting color. Prefer vibrance over saturation to keep skin tones natural. Sharpen last and back off if you see halos around edges.
Learning how to edit photos on your phone is less about apps and more about a repeatable order of operations. Crop, exposure, white balance, vibrance, sharpen. Run that sequence in the built-in editor and you will already beat most casual phone edits.
From there, add Snapseed for healing, Lightroom Mobile for RAW and masking, and VSCO for film-style presets. With those three free apps plus your built-in editor, you have a complete mobile editing kit in 2026 without spending a cent. For more on pairing phone edits with dedicated gear, see our Paper Shoot camera review for a hybrid workflow that crosses phone and dedicated cameras.
![Rifle Scope Parallax Adjustments: Complete Guide [cy]](https://revellphotography.com/wp-content/uploads/2026/09/featured-update-5315-1789865033761.jpg)