7 Best Photoshop Alternatives (September 2026): Top Picks
I tested the seven best Photoshop alternatives that do not lock you into Adobe’s subscription, and what I found surprised…

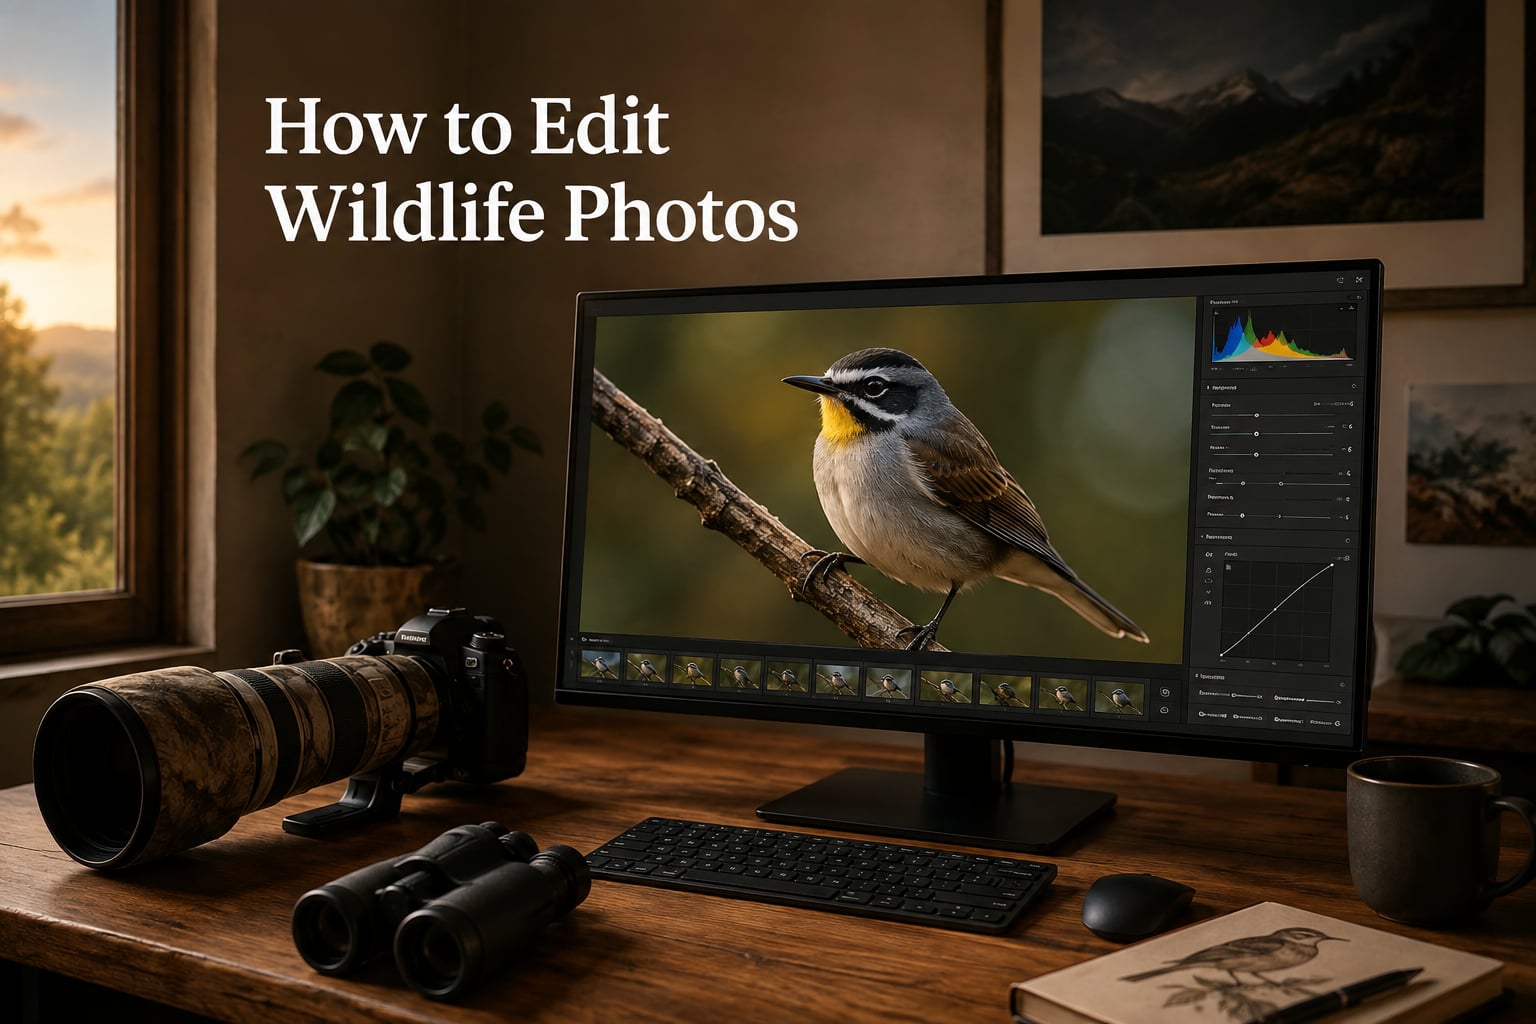
Editing wildlife photos is the step that turns a sharp capture into a story worth keeping. If you have ever come home from a dawn shoot with hundreds of frames and felt unsure which ones to keep, or worse, opened a great shot on your computer and watched it look flat, muddy, or noisy, the answer almost always lives in the edit. Cameras do a remarkable job, but they still cannot see what your eye saw in the field. A thoughtful edit brings that vision back.
This is a complete, practical walkthrough on how to edit wildlife photos. I will show you the workflow I use on my own bird and mammal images, from screen calibration and RAW processing all the way through to competition-grade output. You will learn the order of operations, the sliders that actually matter, and the mistakes that quietly ruin good wildlife frames. Whether you shoot with a flagship mirrorless body or an iPhone, the principles below will improve your images.
We will cover cropping for composition, exposure and tonal range, white balance, noise reduction, sharpening, eye enhancement, masking, and a section most guides skip entirely: how to edit differently depending on whether your image is destined for a competition, a print, social media, or a portfolio. By the end, you will have a repeatable workflow you can apply to every wildlife photo you shoot.
Along the way I will reference specific tools in Lightroom, Photoshop, and a handful of mobile apps. None of this requires the most expensive software. Most of the heavy lifting is done by sliders that ship with Lightroom Classic. If you are choosing your first real wildlife lens, our telephoto lens guide pairs naturally with the editing workflow below. And if you spend long hours in the field, the right binoculars for wildlife observation help you pre-visualize the kind of shot worth editing later.
The short answer is that your camera does not see the way you do. Wildlife lighting is rarely flattering straight out of the sensor. Backlit feathers blow out, shaded eyes disappear, and the soft golden glow you remember from the field often reads as dull grey on your LCD. Editing is how you bridge that gap between memory and file.
The longer answer is that a great wildlife photo depends on three things: behavior, light, and refinement. Behavior you cannot edit. Light you have to chase. Refinement is where editing lives, and it is where your personal style emerges. Two photographers can shoot the same hawk and produce two completely different images from the same RAW file, because each brings a different intent to the sliders.
Editing also protects the honesty of your image. A subtle crop that removes a distracting branch, a small dodge that brings life back into an eye, a careful noise reduction pass that preserves feather texture. None of these change what happened in the field. They simply help the photograph show what was actually there.
Before you touch a single slider, two foundational decisions determine whether your edits will look right. The first is your screen. The second is your file format. Get both right and editing becomes easier. Get either wrong and you will chase inconsistencies across every image.
A laptop screen, a cheap office monitor, and a color-calibrated display all show the same RAW file in three completely different ways. If your screen runs cool or too bright, you will over-correct whites and shadows without knowing it. The fix is calibration. A hardware calibrator like the Datacolor SpyderX or the X-Rite i1Display pays for itself within a few editing sessions.
If a calibrator is not in the budget right now, work in a dim room, set your screen to about 120 candelas, and view your edits on a second device before final output. That habit alone will prevent the most embarrassing exports.
JPEG strips away most of the data your sensor captures. RAW keeps it. For wildlife, where you often shoot at high ISO in low light, RAW is non-negotiable. It gives you the headroom to recover shadow detail in a shaded fox, pull back clipped highlights on a white egret, and run meaningful noise reduction without trashing texture.
If your camera offers a compressed RAW option, use it. Wildlife shoots generate huge files, and modern compressed RAW formats give you 95 percent of the flexibility of uncompressed RAW at half the storage cost.
This is the core workflow I run on nearly every wildlife frame. The order matters. Crop first because it changes how every downstream slider feels. Exposure next because everything else sits on top of your tonal foundation. Then color, then clarity work, then output. Skipping around is how you end up fighting your own edits.
I will walk through each of these steps in detail in the sections that follow. If you only have time to internalize one rule, let it be this: small, deliberate moves beat dramatic sliders every time. The goal of editing wildlife photography is to reveal the image, not to redesign it.
Cropping is the most powerful tool you have, and the one beginners use least. A tighter crop can transform a documentary frame into a portrait. A wider crop can include habitat and tell a behavioral story. The crop you choose tells the viewer what the photograph is about.
For most wildlife portraits, place the eye on an upper-third intersection. Leave more space in front of the animal than behind it. A bird flying into the right of the frame needs space on the right. A subject moving toward the camera needs space at the top of the frame. These small compositional choices make wildlife images feel intentional.
Avoid centering the subject unless the symmetry serves the story. A centered owl against pure black can be powerful. A centered duck on messy water usually looks like an accident.
That twig crossing the subject’s neck, that bright highlight in the corner, that second bird that pulls the eye away. Cropping solves most of these. If the crop you need would cut off important parts of the subject, leave the distraction and clone it out later instead.
Wildlife photographers often shoot wide to preserve cropping flexibility, especially when working with long lenses and unpredictable behavior. A 600mm frame at f/8 with a distant subject can usually take a 30 to 40 percent crop without losing sharpness.
Exposure is the foundation of every other adjustment. Get this right and color, sharpening, and noise reduction all become easier. Get it wrong and no amount of saturation will save the image.
The histogram is a graph of every tonal value in your image, from pure black on the left to pure white on the right. A healthy wildlife photo usually has data spread across most of that range, with gentle rolls at both ends. If the graph is hugging the right wall, you have blown highlights. If it is bunched up against the left, you have crushed shadows.
I always enable the highlight and shadow clipping warnings in Lightroom. They turn solid white pixels red and solid black pixels blue. A few clipped pixels in a specular highlight on an eye is fine. A clipped cheek or a clipped feather edge is rarely fine.
Start with the Exposure slider. Move it until the histogram sits where you want it, usually with the bulk of the data centered or slightly right of center. Then pull Highlights down to recover bright feathers or sky. Lift Shadows to open up shaded fur or underwing.
Finally, set Whites and Blacks. Hold Alt while dragging Whites and the screen turns black with the first visible white pixels showing. Do the same with Blacks to anchor your deepest tones. This single move gives your wildlife image the rich, dimensional contrast that separates a flat RAW from a finished photo.
Use Clarity and Texture sparingly on wildlife. A small Clarity boost can add bite to feathers, but heavy Clarity quickly looks crunchy and unnatural on fur. Texture is usually the safer choice.
White balance sets the mood of the entire image. Get it right and your wildlife photo feels alive. Get it wrong and the whole frame carries a color cast that nobody can quite name, but everyone can feel.
In Lightroom, the white balance eyedropper is the fastest path to natural color. Click it on something that should be neutral gray, a clean patch of feather, a rock, a pale belly. Lightroom will neutralize the cast. This is rarely the final answer, but it is an excellent starting point.
For dawn and dusk shots, push the temperature slightly warmer. Wildlife in golden hour should feel warm. Wildlife in overcast forest should feel slightly cool. Match the edit to the moment you remember, not to a neutral gray card.
Vibrance boosts muted colors first and protects skin tones. Saturation boosts everything equally. For wildlife, Vibrance is almost always the right choice. A small Vibrance increase of plus 10 to plus 25 brings out feather iridescence, eye color, and forest greens without pushing the image into cartoon territory.
The HSL panel is your surgical tool. If a kingfisher’s blue is too saturated, pull the Blue saturation slider down without touching the rest of the image. If a green background is too aggressive, desaturate green only. Targeted HSL moves are how professionals get rich, controlled color without making the photo look overcooked.
High ISO is a fact of life in wildlife photography. Dawn, dusk, deep forest, fast action at slow shutter speeds. All of them push ISO up. The trade-off is noise. The art is reducing it without destroying the very detail you wanted to keep.
Luminance noise is the grainy speckle that shows up in shadows and smooth areas. Set Luminance first, then Detail and Contrast within the noise reduction panel. I rarely push Luminance above 25 for feathers and fur, because going further blurs the very texture we are trying to protect.
For really high ISO frames, ISO 6400 and above, consider a dedicated tool. DxO PureRAW and Topaz DeNoise AI process the RAW file before you open it in Lightroom and recover detail that Lightroom alone cannot. Many of the strongest wildlife photographers on the forums I read use one of these as a first step.
The default Lightroom sharpening of 25 Amount, 1 Radius, 25 Detail, 0 Masking is a fine starting point, but rarely the final answer for wildlife. Push Amount up modestly for soft frames. Increase Radius slightly for fur. Use the Masking slider to protect smooth areas like sky and out-of-focus background.
Hold Alt while dragging Masking. The screen turns white where sharpening is being applied and black where it is being masked. You want sharpening on the eyes, beak edges, feather tips, and fur texture. You do not want it on the bokeh.
Output sharpening depends on destination. Web needs lighter sharpening. Print needs more. Lightroom’s export dialog lets you set this, and using it correctly is one of those small habits that make a wildlife photo look genuinely professional.
The eye is the anchor of every wildlife portrait. If the eye is dull, the photo is dull. If the eye catches light, the photo lives. This is where local editing earns its keep.
Modern Lightroom and Photoshop both offer AI-powered subject selection. One click isolates the animal from its background. From there, every adjustment you make to the subject mask stays on the subject. A small exposure boost on the subject makes it pop against the background without affecting the rest of the frame.
If you want to go further, build a second mask for the eye itself. Lightroom’s eye-aware subject mask catches the eyes in most cases. Photoshop’s Select Subject plus a quick refinement gives you tighter control.
Open the eye mask, lift Exposure by plus 0.3 to plus 0.7, and add a touch of Clarity. That single move, more than any other, is what makes wildlife portraits feel alive. The goal is a subtle catchlight, not a glowing orb.
If the original catchlight is missing because the animal was in shade, add a small white brush stroke on the pupil. Done well, this is invisible. Done badly, it looks like a Photoshop mistake. Less is more.
For birds, dodge the eye and the surrounding facial feathers together. For mammals, dodge the eye and the area immediately around it. For reptiles, dodge the eye and any iridescent scales nearby. The principle is the same: small, controlled brightening on the part of the subject that already carries the most visual weight.
This is the section most wildlife editing tutorials skip, and it is the one that makes the biggest practical difference. A photo destined for a competition judges’ screen needs different editing than one bound for Instagram. Print demands yet another approach. Portfolio work calls for restraint. Editing one master file and exporting it to all four is the most common mistake in wildlife photography.
Wildlife photography competitions, including the major international ones, draw sharp lines between acceptable editing and disqualifying manipulation. Removing a distracting branch is fine. Cloning in a new eye is not. Composite images of multiple animals are usually rejected. The strict rule is that the final image must represent what the camera recorded in a single exposure.
For competition, edit toward subtlety. Pull back vibrance slightly compared to your social media version. Avoid heavy dodging that changes the apparent lighting. Keep the white balance close to neutral unless the moment was genuinely golden hour. The judges have seen every over-edited trick in the book. The image that wins is usually the one that does not look edited at all.
Instagram, Facebook, and photography feeds are crowded places. Your image has about half a second to stop the scroll. That means a little more punch is appropriate. Push contrast slightly higher. Add a touch more saturation or vibrance. Crop tighter. Consider a subtle vignette to focus the eye.
Be careful with HDR-style effects. Wildlife subjects do not look right with heavy clarity and dehaze. They start to look like CG renders. For social media, the sweet spot is one step more contrast and vibrance than your competition edit, and nothing else.
Print is unforgiving. Soft images look softer. Noise looks worse. Slight color casts become obvious under gallery lighting. For print, sharpen more, reduce noise more aggressively, and check your work on a calibrated screen before sending the file to the printer.
Export at 300 DPI at the final print size, in ProPhoto RGB or a printer-matched profile. Soft-proof in Lightroom before export to see how the print will actually look. Most wildlife photographers who print regularly keep a soft-proof profile for their preferred paper.
A portfolio piece should outlast trends. Edit it the way a museum conservator would. Pull back the contrast slightly. Keep colors natural. Avoid trendy filters and heavy vignetting. The portfolio version of a wildlife photo is the one you will still be proud of five years from now.
Many photographers keep two edits of the same image: the social media punchy version and the portfolio restrained version. Both come from the same RAW. The RAW gives you the freedom to do this for years.
You can do a credible wildlife edit on a phone, and for many shooters that is exactly the workflow. Modern phone sensors capture real RAW data through apps like Lightroom Mobile, ProCamera, Halide, and the native camera apps on recent iPhones and Pixel devices.
Lightroom Mobile is the most direct path if you already edit on desktop. Your presets sync, your masks sync, and most of the slider set is identical. For a quick field edit, this is hard to beat.
Snapseed, owned by Google and free, is the best fully phone-native editor. Its Selective tool lets you tap the eye and brighten it directly. Its Healing tool removes dust spots. Its HDR and Drama tools are easy to overuse, but used sparingly they can rescue a high-contrast wildlife frame.
Phone editing is limited in two real ways. First, the screen is small and rarely color-accurate, so subtle exposure work is harder. Second, the computational processing applied to phone RAW files can sometimes eat fine feather detail that a desktop RAW processor would preserve.
For serious editing, work on a calibrated computer. For fast social posts in the field, mobile editing is more than enough. Pair it with a small bluetooth shutter and a sturdy gimbal head for long lens work and you have a genuinely portable wildlife setup.
Start by importing your RAW file into Lightroom. Crop for composition first, then set exposure using the histogram, recover highlights and shadows, adjust white balance, reduce noise, sharpen for the subject’s texture, mask the animal and dodge the eye, and finally export at the correct resolution for your destination. Keep every move small and deliberate.
The best way to edit wildlife photos is to develop a consistent, repeatable workflow that begins with cropping and ends with eye enhancement, applied to the RAW file. Lightroom handles 90 percent of the work; Photoshop is used for spot removal, fine compositing, and advanced masking. Subtle edits that preserve natural texture almost always beat heavy-handed filters.
Shoot in RAW using Lightroom Mobile, Halide, or ProCamera. Import the file into Lightroom Mobile and apply the same workflow you would use on desktop: crop, exposure, white balance, noise reduction, sharpening, and a small dodge on the eye. Snapseed is a free alternative for quick edits and offers a precise Selective tool for eye enhancement.
Nature pictures follow the same workflow as wildlife photos, with a few small adjustments. Landscape-leaning nature shots usually benefit from more attention to composition and color grading. Wildlife-leaning nature shots focus more on subject isolation, eye enhancement, and preserving feather or fur texture. Always work on the RAW file when possible.
Most major wildlife photography competitions allow global adjustments such as exposure, white balance, contrast, cropping, and spot removal. They generally disallow adding elements that were not in the original frame, composite images of multiple subjects, and cloning that changes the recorded scene. When in doubt, edit subtly and keep the original RAW as your reference.
The workflow above is a starting point, not a recipe. Every wildlife photographer I respect has tweaked it to fit their subjects, their software, and their own eye. The key is consistency. Run the same sequence on every image, in the same order, and your edits will become faster and your style will become recognizable.
Start with your best shot from your next outing. Run the full workflow. Compare it side by side with the original. Notice what the edit revealed that the RAW hid. That comparison is how you build the judgment that no slider setting can teach. If you want to extend what you have learned into the field, browse our binoculars guide for spotting subjects and our Alaska cruise binoculars recommendations for trip planning.
The best wildlife photo edits are the ones that disappear. If a viewer looks at your image and feels the moment rather than the editing, you have done it right. Practice the workflow, trust the RAW, and let the photograph speak.