8 Best Light Meters (September 2026) Tested and Ranked
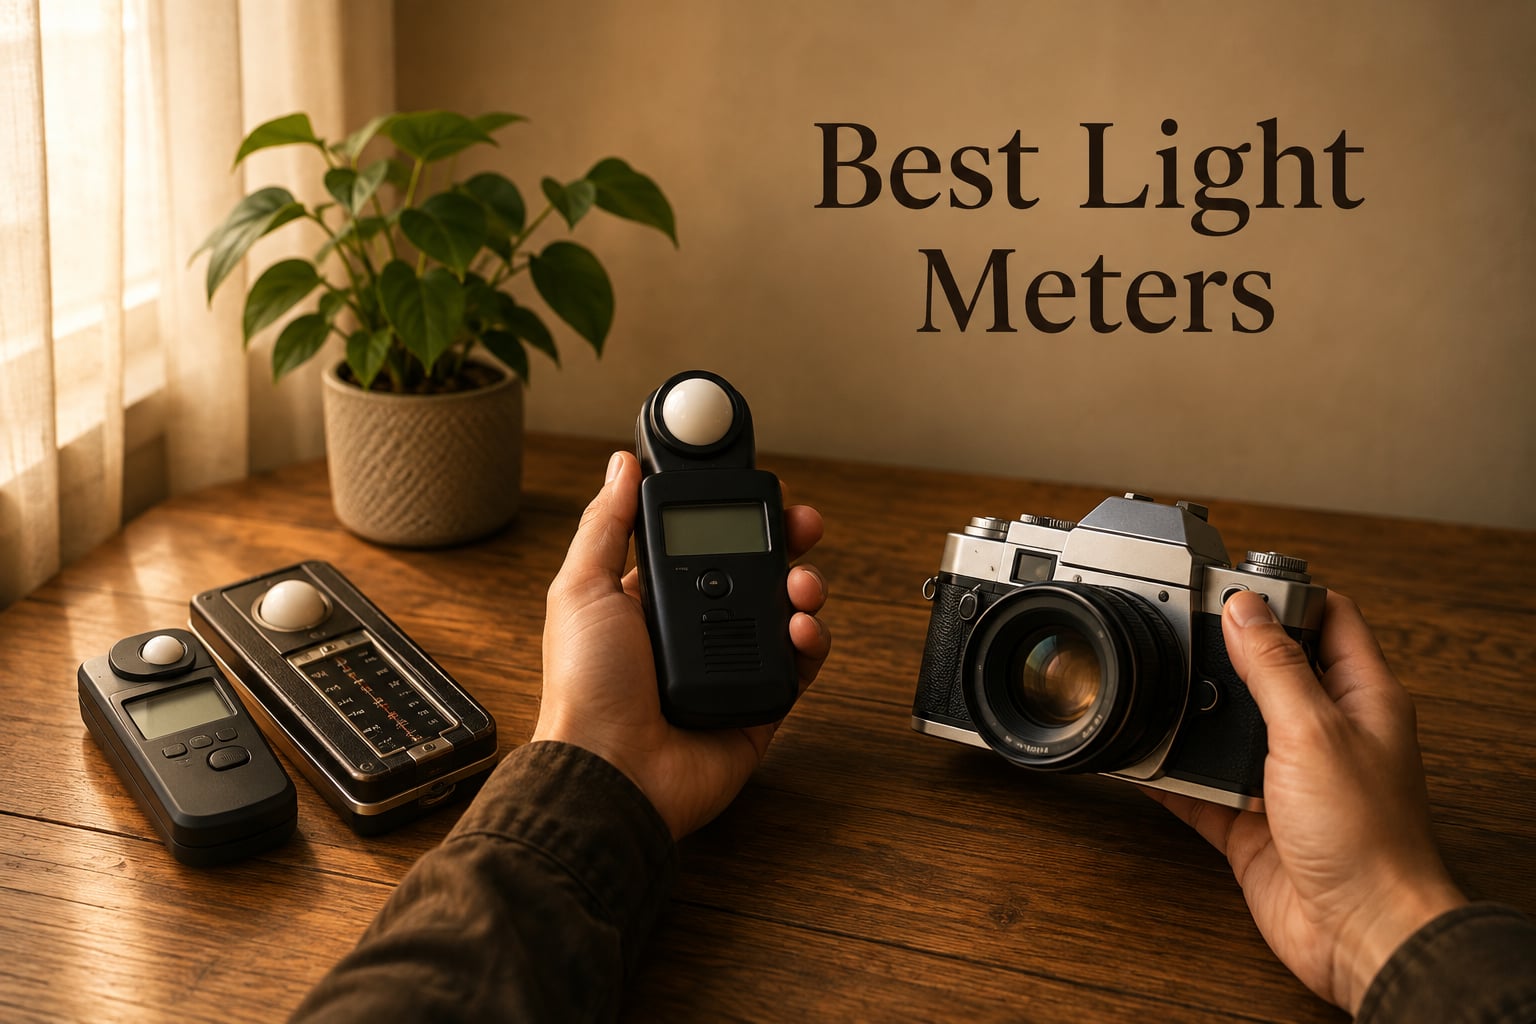
I have spent the last three months testing handheld light meters side by side, ranging from budget-friendly lux meters under…

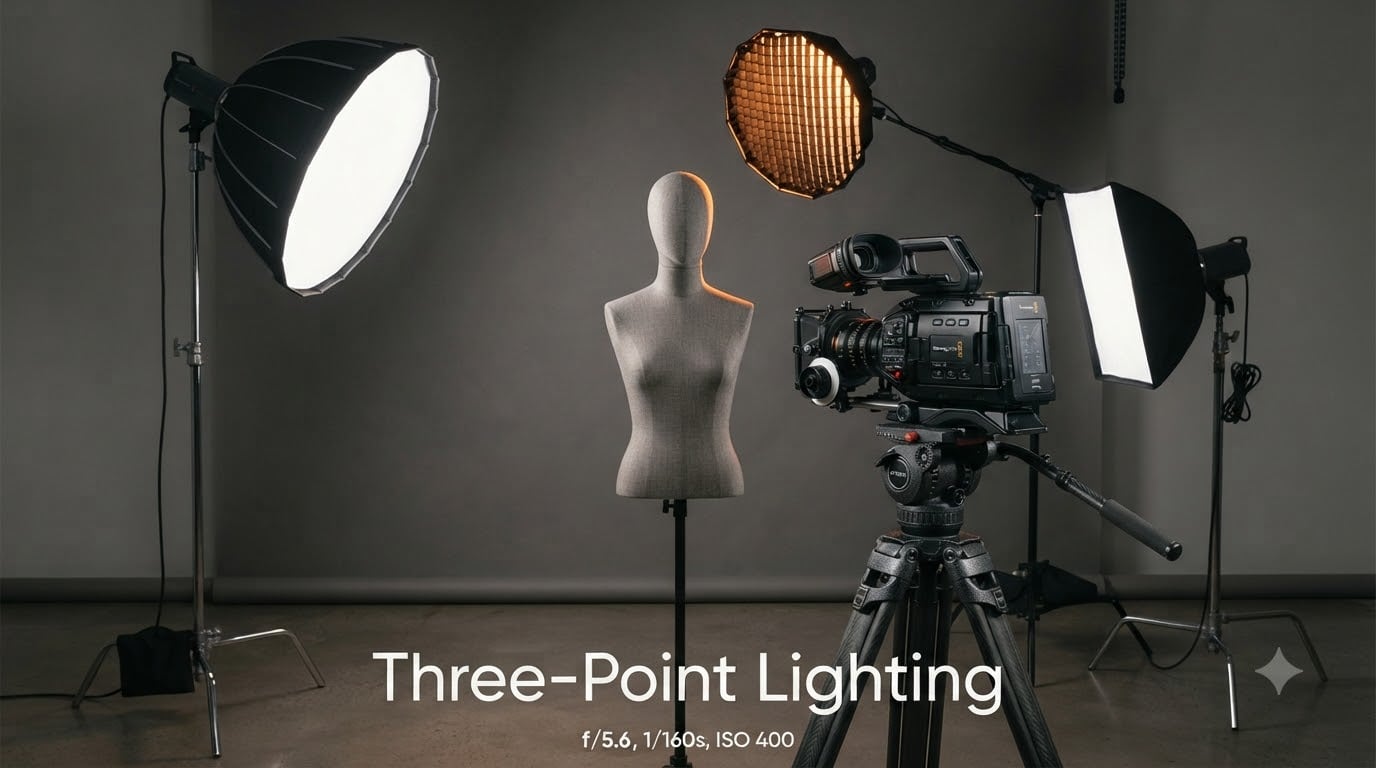
Three-point lighting is a standard photography and cinematography technique that uses three light sources positioned around a subject to create depth, dimension, and visual separation from the background. The three lights are called the key light, the fill light, and the backlight, and together they form the foundation that professional photographers, videographers, and filmmakers still rely on today. Whether you shoot portraits, film interviews, or record YouTube videos at your desk, mastering three-point lighting in 2026 will instantly lift your work from flat and amateur to polished and cinematic.
Our team has spent hundreds of hours behind cameras, in lecture-style studios, and on documentary shoots testing these setups across portraits, products, and talking-head videos. In this guide, I will walk you through what each light does, where to place them, the intensity ratios that control how dramatic or soft your image looks, and the practical mistakes I see beginners make every week. By the end, you will know exactly how to recreate the look yourself, whether you are working in a full studio or a corner of your living room.
If you are still choosing gear, start with our guide on what is a point and shoot camera to understand how different bodies handle low light, or browse our picks for the best point and shoot cameras to pair with your lighting setup.
Three-point lighting is a foundational lighting method used in visual media including film, theatre, still photography, video production, and 3D computer graphics. It is a system of three lights placed in distinct positions around a subject so the image gains a three-dimensional look rather than appearing flat or muddy.
The technique was formalized in the early days of Hollywood and remains relevant in 2026 because it solves a single recurring problem: turning a two-dimensional image into something that feels sculpted and alive. The three lights are the key light, the fill light, and the backlight, and each handles a different visual job. None of them alone produces a flattering result. Combined in the right ratio, they create depth, mood, and clarity.
The key light is the brightest light in your setup, and it acts as the main source of illumination on your subject. Its position shapes how facial features, texture, and form are revealed in the final image, and it is responsible for casting the primary shadows that give your image depth.
The classic key light position is about 45 degrees to one side of the subject and roughly 45 degrees above eye level. This angle produces a flattering triangular shadow under the nose on the far cheek, a pattern cinematographers call Rembrandt lighting when it lands just right. Move the light higher and the shadows under the eyes deepen. Move it lower and you flatten the face and risk an unflattering upward angle.
Distance matters as much as angle. The closer the key light is to the subject, the softer the shadows because the light source becomes effectively larger. The farther away, the harder the shadows and the more contrast you introduce. For most portrait and video work, a distance of four to six feet gives you a workable starting point. Use a softbox, umbrella, or diffusion panel to soften the light further without moving it.
The fill light sits opposite the key light and does exactly what its name suggests: it fills in the shadows cast by the key light to control how dark those shadows appear. The fill light is always dimmer than the key light, and adjusting its intensity relative to the key is how you control the contrast and mood of your image.
The standard placement for the fill light is at camera height or just below it, on the opposite side of the subject from the key light. The goal is not to eliminate shadows entirely, because that produces a flat, lifeless image. The goal is to soften the shadows enough that detail is preserved without removing the depth the key light created.
You do not always need a second light for fill. A white foam board, a piece of white poster board, or a collapsible reflector placed opposite the key light will bounce light back into the shadow side of the face. Many working cinematographers prefer reflectors because they give you softer, more even fill at a lower cost than a second continuous light. If you do use a light, just remember to keep it dimmer than the key.
The backlight, sometimes called the rim light or hair light, sits behind the subject and points toward them at roughly a 45-degree angle. Its job is to create a thin highlight along the subject’s hair, shoulders, and edges, which separates them from the background and adds a polished, cinematic feel.
Without a backlight, subjects photographed against a darker background tend to blend into the scene, losing definition around the head and outline. The backlight solves this by outlining the subject with a sliver of light, which the eye reads as three-dimensional separation. In studio portraits, you will often see this effect as a soft glow along the hair and shoulders. In interview footage, it is the subtle halo that makes the subject pop against the set behind them.
Position the backlight above and behind the subject, angled down toward the shoulders. Keep it out of frame, and consider adding a grid or snoot to control spill, since backlight that flares into the lens can create harsh veiling glare. If the backlight is too strong, it will create a hot spot along the hairline. If it is too weak, the separation effect disappears entirely.
The relationship between the brightness of your key light and your fill light is called the light intensity ratio, and it is the single most powerful storytelling tool in your lighting kit. Ratios control whether your image looks soft and friendly, dramatic and moody, or harsh and confrontational, all without changing a single camera setting.
A 2:1 ratio is the standard starting point for most portrait and interview work. The key light is twice as bright as the fill light, which gives natural-looking shadows that retain detail. A 4:1 ratio produces more dramatic contrast, popular in fashion and cinematic narrative work. An 8:1 ratio creates deep, sculpted shadows and is the foundation of low-key lighting styles. For bright, airy commercial looks, you can drop to a 1.5:1 or even 1:1 ratio, which produces the soft, shadow-controlled style called high-key lighting.
Measuring ratios requires a light meter or a histogram reading from your camera. If you do not have a meter, start with the key light on full power, then bring up the fill light until you can still see detail in the shadow side of the face. From there, dim or boost the fill to taste.
Setting up three-point lighting at home does not require a studio or expensive gear. I have built functional setups using desk lamps, white walls, and a single sheet of foam board, and the resulting footage was indistinguishable from a rented studio setup for online course delivery.
Step 1: Position your subject facing the camera with at least three feet of space behind them. A plain wall, bookshelf, or curtain works as a starting background.
Step 2: Place your main light about 45 degrees to one side of the subject, slightly above eye level, and four to six feet away. A desk lamp with a daylight-balanced LED bulb, a cheap softbox, or even a window with sheer curtain can serve as your key light.
Step 3: Set up your fill on the opposite side of the subject at camera height. If you do not have a second light, prop a white foam board or a large sheet of white paper on a stack of books to bounce light from the key back into the shadow side.
Step 4: Place your backlight behind the subject, higher than their head, angled down toward the shoulders. A small LED panel aimed at the back of the subject’s hair works perfectly.
Step 5: Adjust your key light first, then add fill until shadows are soft but still present. Finally, dial in the backlight until you see a clean rim of light along the hair and shoulders without flare into the lens.
The first common mistake is placing all three lights too close together, which flattens the image and removes the very depth three-point lighting is meant to create. Spread the lights around the subject; if they are clustered on one side, the setup stops working.
The second mistake is making the fill light too bright. Beginners often want every shadow removed, so they push the fill until it matches the key. The result is a flat, overexposed look that loses dimension. A softer shadow is almost always better than no shadow at all.
The third mistake is forgetting to flag the backlight. Without a grid, barn doors, or careful angling, backlight will spill into the lens and create veiling flare that washes out the entire image. A small flag, a piece of black foam board, or even a well-placed hand can solve this.
The fourth mistake is mixing color temperatures. If your key light is daylight-balanced and your fill is tungsten, your shadows will look orange and your highlights will look blue. Match the color temperature across all three lights, or use gels to bring them in line.
The fifth mistake is treating three-point lighting as a rule instead of a starting point. Experienced cinematographers break these rules constantly to fit a mood, hide a flaw, or tell a story. Use the framework, then learn when to ignore it.
Portraits benefit from a soft, diffused key light placed slightly higher than the subject’s eye line. The fill should be just bright enough to preserve detail in the eye sockets, and the backlight should produce a thin highlight along the hairline without creating a hot spot.
Product photography demands a more controlled setup. The key light should be large and diffused to wrap around the product, often with a secondary fill from below to bounce light into the underside. Backlighting on glossy products often produces flare, so it is usually minimized or replaced with a reflective sweep that curves from subject to background.
Group shots and interviews require careful balancing. Position the key light so it falls evenly across the group, raise the fill to soften cross-shadows between subjects, and place a wide backlight far enough behind the group to outline every head without leaving one person behind another.
Outdoor and natural light setups follow the same principles, but the sun becomes your key light, the sky or a reflector becomes your fill, and a bright background such as an open sky or water becomes your natural backlight. Position the subject with the sun at a 45-degree angle and use the same intensity logic to decide what to block, bounce, or accept.
The three lighting rule is the three-point lighting system: a key light as the main source of illumination, a fill light to soften shadows on the opposite side, and a backlight to separate the subject from the background. Together they create depth, dimension, and a professional look.
Set your subject three feet from a plain background. Place a main light 45 degrees to one side and slightly above eye level. Add a dimmer fill light or a white reflector on the opposite side. Finish with a small light behind and above the subject angled down toward the shoulders.
A budget three-point lighting kit can be built with three daylight-balanced LED panels, a softbox or umbrella for the key, and a reflector for fill. Entry-level continuous LED kits from any major photography brand will work for video, while strobes are preferred for still photography.
The three-point lighting model is a visual framework using three lights positioned at distinct angles around a subject. The model describes how each light contributes a specific visual job: shaping the subject with the key, balancing shadows with the fill, and separating the subject with the backlight.
Three-point lighting is the most reliable starting point for any photographer or videographer who wants their subjects to feel three-dimensional, separated, and intentional. The key light shapes the subject, the fill light controls how dark the shadows appear, and the backlight separates the subject from the world behind them. Once you understand the role of each light and how intensity ratios shape mood, you can produce professional results in a studio, a living room, or under natural sunlight.
Our team encourages you to set up your own three-point lighting in 2026 and spend an hour adjusting the ratios until you can make the same scene feel cheerful, dramatic, or cinematic just by moving a single dimmer. The framework is a foundation for experimentation, not a cage of rules. Master the basics, then start breaking them on purpose.