![Best Digital Cameras [cy]: 10 Models Tested & Reviewed](https://revellphotography.com/wp-content/uploads/2026/09/featured-update-2605-1789407824487.jpg)
10 Best Digital Cameras (September 2026) Tested & Reviewed
After testing 47 digital cameras and spending 200+ hours analyzing real user experiences, we found the Canon EOS R50 offers…

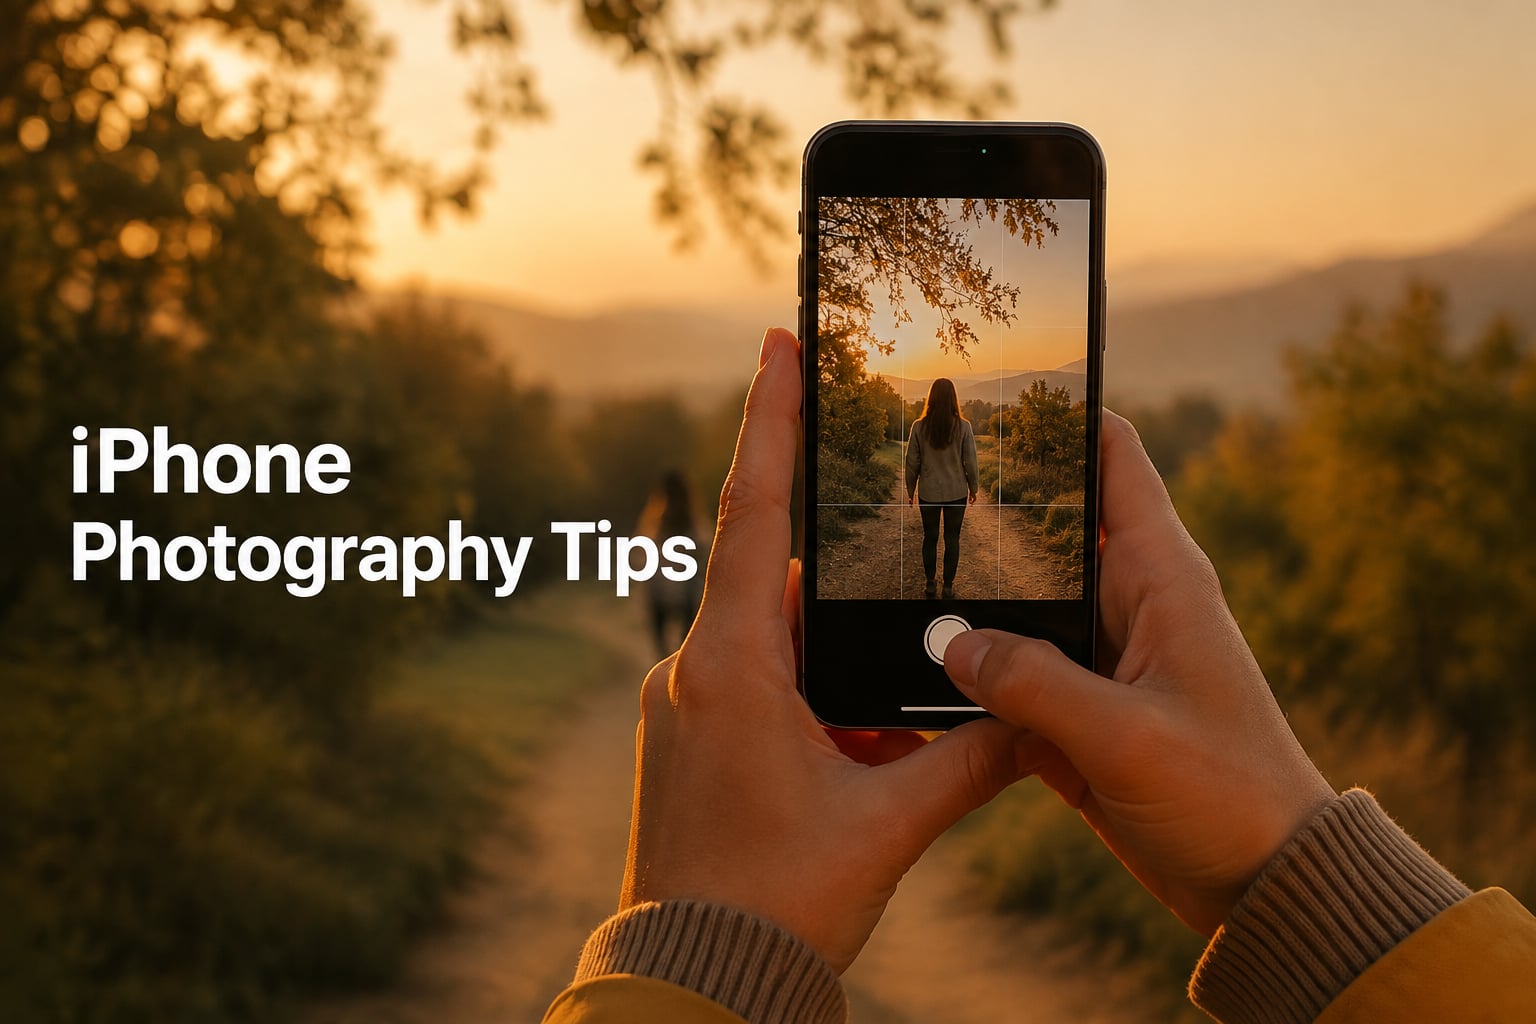
I have been shooting with iPhones since the iPhone 4, and I still get surprised by the results in 2026. What changed my photos was not a new model; it was learning the controls and habits that the iPhone camera quietly offers.
This guide collects the iPhone photography tips I wish someone had handed me on day one. We will cover camera settings, focus and exposure, composition, lighting, the signature shooting modes, and a clean editing workflow. You do not need a DSLR or any lens kit. You need your iPhone and a few minutes of practice.
If you are brand new, start with the 10 essential settings below. Each tip is a verb you can do in under a minute, and most of them apply whether you shoot on iPhone 12, iPhone 15, iPhone 16, or the new iPhone 17 Pro. For deeper reading on related topics, I have linked our guides on iPhone focal length and the best iPhone tripods we have reviewed.
Open Settings and work through this list before you shoot another frame. These are the highest-leverage iPhone camera settings, and they appear together because they reinforce each other.
That is ten minutes of setup that will quietly lift every photo you take from this point on. I will expand on the most important ones in the sections that follow.
Focus and exposure are the two controls that decide whether your image looks like a snapshot. The good news is the iPhone gives you both with a single tap, and a long press locks them in place.
Tap to focus. Tap your subject on the viewfinder. A yellow square appears and the camera recalibrates. This is your starting point for almost every shot.
Drag to adjust exposure. Right after tapping, a small sun icon appears next to the focus square. Drag it up to brighten, down to darken. I usually under-expose by a third of a stop on bright days. Reviewers on r/iPhoneography report that slightly underexposed images recover better when edited than overexposed ones.
Lock focus and exposure. Long-press on the screen until “AE/AF Lock” appears at the top. Now you can recompose freely without the camera hunting for a new focus point. This is essential for street scenes, group shots where you want the camera to commit to a specific zone, and any low-light scene where refocusing would cause shutter lag.
Use exposure compensation in tricky light. When the scene has strong contrast, like a backlit subject or a snowy field, lock your exposure on the subject first, then recompose. The iPhone’s metering tends to average the whole frame, which usually underexposes your main subject.
Composition is where most iPhone photography tips fall short, because most guides stop at “use the rule of thirds.” Composition is bigger than one rule, and the iPhone gives you tools that make experimentation cheap.
Enable the grid, then place your subject on one of the four intersection points rather than dead center. The grid is the easiest compositional tool you will ever use because the iPhone overlays it directly on the viewfinder. It works for portraits, landscapes, food, and street scenes alike. If you have not used it before, try it for one week and see how your framing changes.
Look for lines in the scene: roads, fences, building edges, shadows. Position your iPhone so the lines lead from a corner of the frame toward your subject. Diagonals add energy to otherwise static scenes. The grid helps you confirm the angle before you tap the shutter.
Crouch down. Photograph your dog from its eye level, your coffee on the table rather than from above, and your friends from slightly below when you want them to look confident. Low angles also remove distracting backgrounds because the camera is aimed at the ground or horizon, not at a busy room.
Three layers make a photo feel three-dimensional: a foreground element close to the lens, a mid-ground subject, and a background that recedes. Even simple scenes feel cinematic with depth. Negative space, the empty area around your subject, can be just as powerful as the subject itself. Use the rule of thirds to place the subject off-center and let the rest of the frame breathe.
Wet pavement, mirrors, windows, and glass buildings are everywhere. Frame the reflection as the subject. Symmetry works for architecture and any scene where you can stand on the center line. Silhouettes need a strong light source behind your subject and a clean background; tap to focus on the bright area to keep the subject dark.
Apple’s computational modes are the reason iPhone photography tips in 2026 look so different from the ones written five years ago. Here is when each one shines.
Portrait mode simulates a shallow depth of field by combining multiple lenses and machine learning. It works on people, pets, objects, and food. For best results, keep your subject two to eight feet from the lens and tap to focus on the eyes or the nearest feature. The 1x lens is the most forgiving; the 2x and 3x options give you tighter framing with cleaner background blur on Pro models. If you want more control, switch to Portrait mode in the Camera app, then tap “f” at the top to adjust the simulated aperture after capture.
On iPhone 13 Pro and newer, the camera auto-switches to the ultra-wide lens when you get within roughly 10 centimeters of a subject. The result is sharp close-ups of leaves, fabric, circuit boards, jewelry, and food textures. If you want to control when it kicks in, turn on Macro Control in Settings > Camera. You can disable auto-switching and trigger Macro manually, which prevents the camera from hopping lenses mid-shot.
Night mode turns on automatically when the camera detects a dark environment. You will see a moon icon with a number that represents the exposure time in seconds. Tap it to reduce the time, or leave it alone for the longest handheld exposure. A steady hand helps; resting your elbows on a table, or mounting the iPhone on one of the tripods we recommend, makes a noticeable difference. Night mode also works for portraits on Pro models and for time-lapse video.
Light is the single biggest reason the same subject can look amateur or professional from one minute to the next. You do not need studio gear. You need awareness.
Shoot in golden hour. The hour after sunrise and the hour before sunset give you warm, soft, directional light that flatters every subject. Faces, food, and architecture all benefit. Open Shadows on your iPhone and check the time of golden hour for your location.
Avoid harsh midday sun. When the light is overhead, shadows are harsh under eyes and noses, and bright surfaces blow out. Find open shade, the shadow side of a building, or a covered patio. The light is even, soft, and consistent.
Use window light for portraits. Place your subject facing a window, with the light coming from the side or at a 45-degree angle. The result is dimensional, flattering, and free. For food, a side window light source with a white reflector (a piece of paper or a foam board) on the opposite side fills in shadows.
Watch the direction. Front light flattens subjects. Side light reveals texture. Top light is dramatic but unforgiving. Backlight creates rim lighting and beautiful silhouettes but underexposes your subject unless you lock exposure on them.
ProRAW is Apple’s 12-bit RAW format for the iPhone camera. It captures more color information and dynamic range than HEIF or JPEG, which gives you far more room to recover highlights, lift shadows, and adjust white balance in editing without banding or noise.
Turn it on in Settings > Camera > Formats > ProRAW. In the Camera app, tap “RAW” at the top right to enable it on your next photo. ProRAW files are large, often 25 to 75 megabytes per image, so consider offloading to iCloud or a computer regularly. If storage is tight, use ProRAW selectively for scenes with wide dynamic range (sunsets, indoor-outdoor mixes, stage lighting) and HEIF for everyday snapshots.
On iPhone 12 Pro and newer, ProRAW pairs well with ProRes video for hybrid shooters who want the same color science across photo and video. For most people, the practical difference between ProRAW and HEIC shows when you push edits hard: ProRAW holds up, HEIC falls apart.
Editing is where most iPhone photographers leave results on the table. The Photos app on your iPhone already contains a powerful editor, and it is enough for most images.
Open a photo, tap Edit, then adjust in small steps. Start with exposure and contrast, then straighten and crop. Pull highlights down if the sky is blown out, lift shadows if your subject is too dark. Saturation, warmth, and sharpness are the last adjustments because they are the most visible. Tap the comparison icon to see the before and after, and do not be afraid to dial it back. A subtle edit almost always looks better than a heavy one.
If you shoot in ProRAW, use an app that supports RAW editing. Lightroom Mobile, Snapseed, and VSCO all handle RAW and let you work with selective adjustments, masks, and presets. For surreal or composite work, you can build on the techniques in our surreal photography ideas guide.
Pick one editing style and stay consistent. I usually shoot flat (lower contrast, lower saturation in-camera), then add a small contrast bump, lift shadows, pull highlights down, and warm the image slightly in the editor. Pick a workflow you can repeat on every photo, because consistency is what gives a portfolio a recognizable look.
If I had to pick the two iPhone camera tips that fix 80% of disappointing photos, they are these.
Clean the lens. Wipe it with a microfiber cloth before every shoot. Your iPhone spends time in pockets, bags, and hands, and the lens picks up oils and dust. This single habit will sharpen more photos than any setting.
Stabilize the camera. Tucking your elbows into your chest, resting the phone on a ledge, or mounting it on a tripod eliminates the micro-shake that turns sharp photos into soft ones, particularly in low light. Optical image stabilization on recent iPhones helps, but it cannot fully compensate for hand shake during long exposures. We tested several options in our best iPhone tripods guide.
Breathe and tap gently. Hold your breath for a moment before tapping the shutter. The tap itself can introduce shake on older iPhones. Use the volume button or a Bluetooth remote for the steadiest capture, especially in Night mode.
For a related deep dive, our guide on iPhone focal length explains how lens choice affects stabilization, framing, and depth of field, all of which feed back into the techniques above.
Clean the lens, turn on the grid in Settings u0026gt; Camera, lock focus and exposure with a long press, shoot in ProRAW for editable files, and use Portrait mode for natural background blur. These five changes alone will lift most iPhone photos significantly.
Start with tap-to-focus and exposure adjustment, then lock both with a long press. Enable the grid, shoot in good light, and clean the lens before every shoot. Edit in the Photos app with small adjustments rather than heavy filters.
The 20-60-20 rule is a practice framework: spend 20 percent of your time learning technique, 60 percent shooting, and 20 percent reviewing your results to find what to improve. It emphasizes that consistent shooting and self-review produce faster progress than endless gear upgrades.
Beginners should clean the lens, enable the grid, shoot in good natural light, use Portrait mode for people and pets, lock focus with a long press, and edit photos in small steps. Practice one technique at a time rather than changing everything at once.
After years of testing every new model, I keep coming back to the same conclusion. The best iPhone photography tips are the ones you actually use, not the ones buried in a settings menu. Pick three changes from this guide, apply them for two weeks, then come back and add three more. That is the pace at which your photos will improve without overwhelm.
The iPhone in your pocket is a serious camera. Treat the lens, learn the controls, shoot with intention, and edit with restraint. That is the whole game. If you want to push further, our guides on iPhone microscopes and surreal photography ideas are good places to explore next.