![Best Digital Cameras [cy]: 10 Models Tested & Reviewed](https://revellphotography.com/wp-content/uploads/2026/09/featured-update-2605-1789407824487.jpg)
10 Best Digital Cameras (September 2026) Tested & Reviewed
After testing 47 digital cameras and spending 200+ hours analyzing real user experiences, we found the Canon EOS R50 offers…

Most people I know carry a camera capable of stunning images everywhere they go, then leave it on auto and wonder why their photos look flat. After years of mobile photography work, I can tell you that learning how to take better phone photos comes down to a handful of habits, not a new device.
In this guide, I will share the exact steps our team uses when shooting with iPhones and Android phones. You will learn lighting, composition, exposure control, and the camera modes that quietly do the heavy lifting. Whether you want better travel photos, sharper portraits, or just photos you actually want to post, this is for you.
If you only have thirty seconds, here are the seven moves that improve smartphone photography instantly. Each tip links to a deeper section below, but try them on your next photo first.
A clean lens is the single most common fix for blurry phone photos. Your phone lives in your pocket, your hand, your bag, and the oils on your fingers coat the lens every time you touch it. A quick wipe with a microfiber cloth (the same kind you use for glasses) restores sharpness in seconds.
Reddit’s r/photography community regularly sees posts titled “Why are my photos so hazy?” with the top answer almost always being “because your lens is dirty.” If your photos look soft or have a slight fog, try cleaning the lens before assuming your phone has a hardware issue. For outdoor work, I also check for water droplets after rain.
Photography, at its core, is the practice of capturing light. Phone cameras do this automatically, but they often guess wrong. When you tap your subject on screen, the phone locks focus on that spot. Hold your finger down and you can drag the small sun icon up or down to brighten or darken the frame. This is called exposure compensation, and it is the difference between a dim subject lost in shadows and a clean, balanced shot.
Light direction matters more than intensity. Side lighting from a window adds depth to portraits. Backlighting at golden hour creates a soft glow around hair and shoulders. Avoid harsh overhead noon sun when shooting people. It creates unflattering shadows under the eyes and nose. Move your subject into open shade for the most flattering natural light.
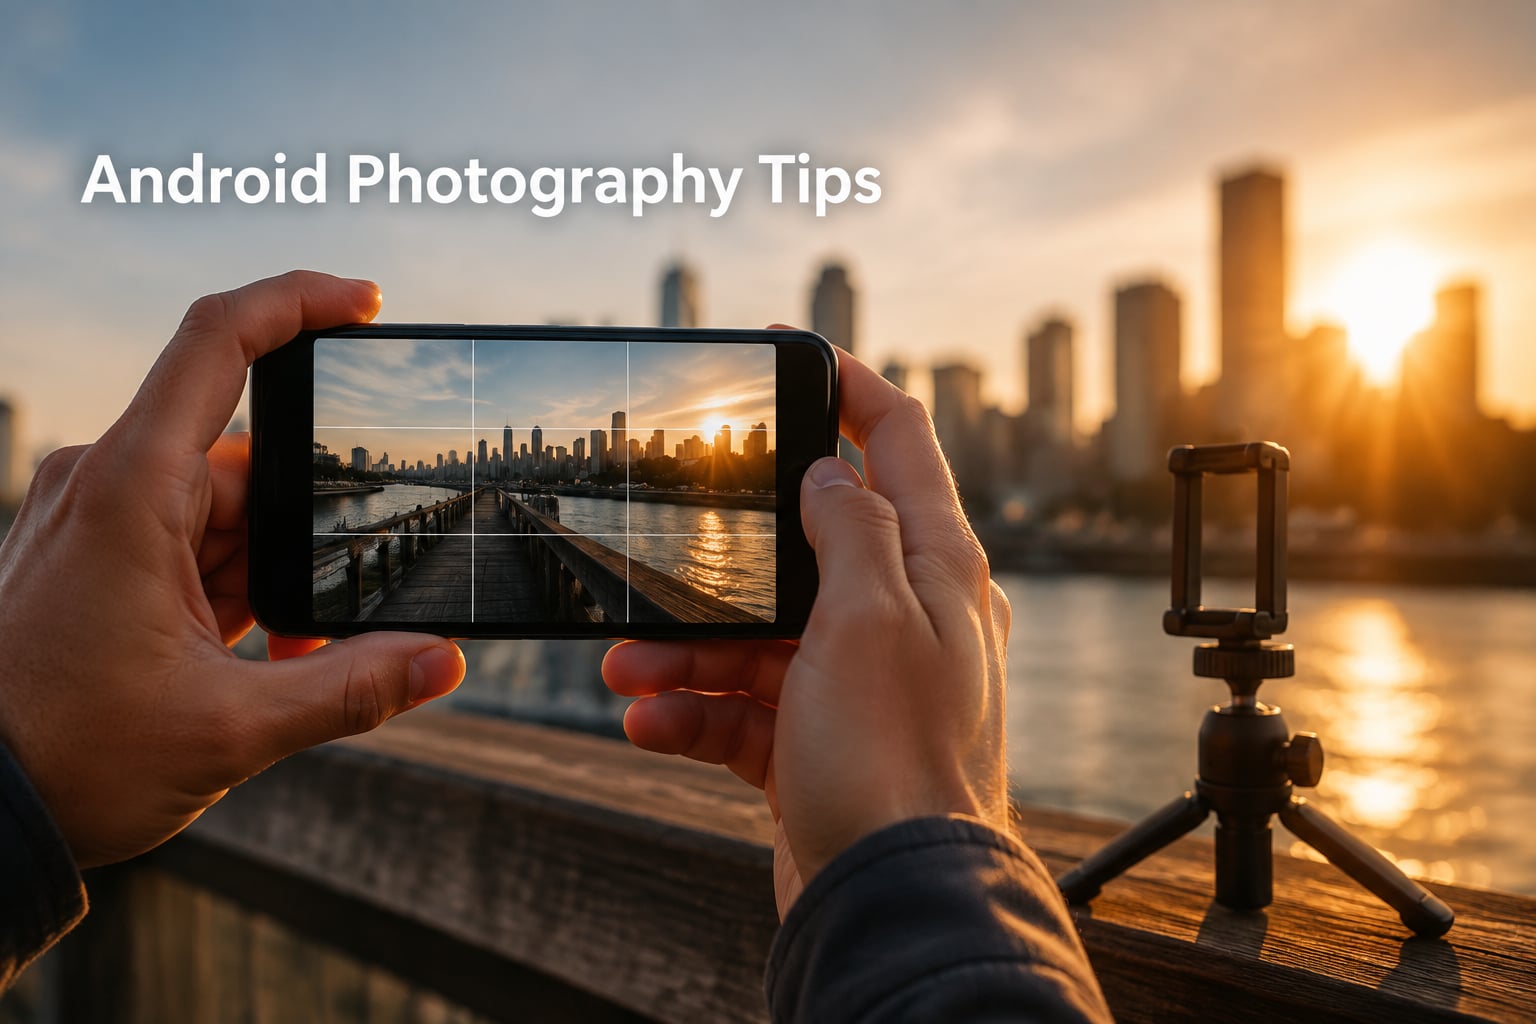
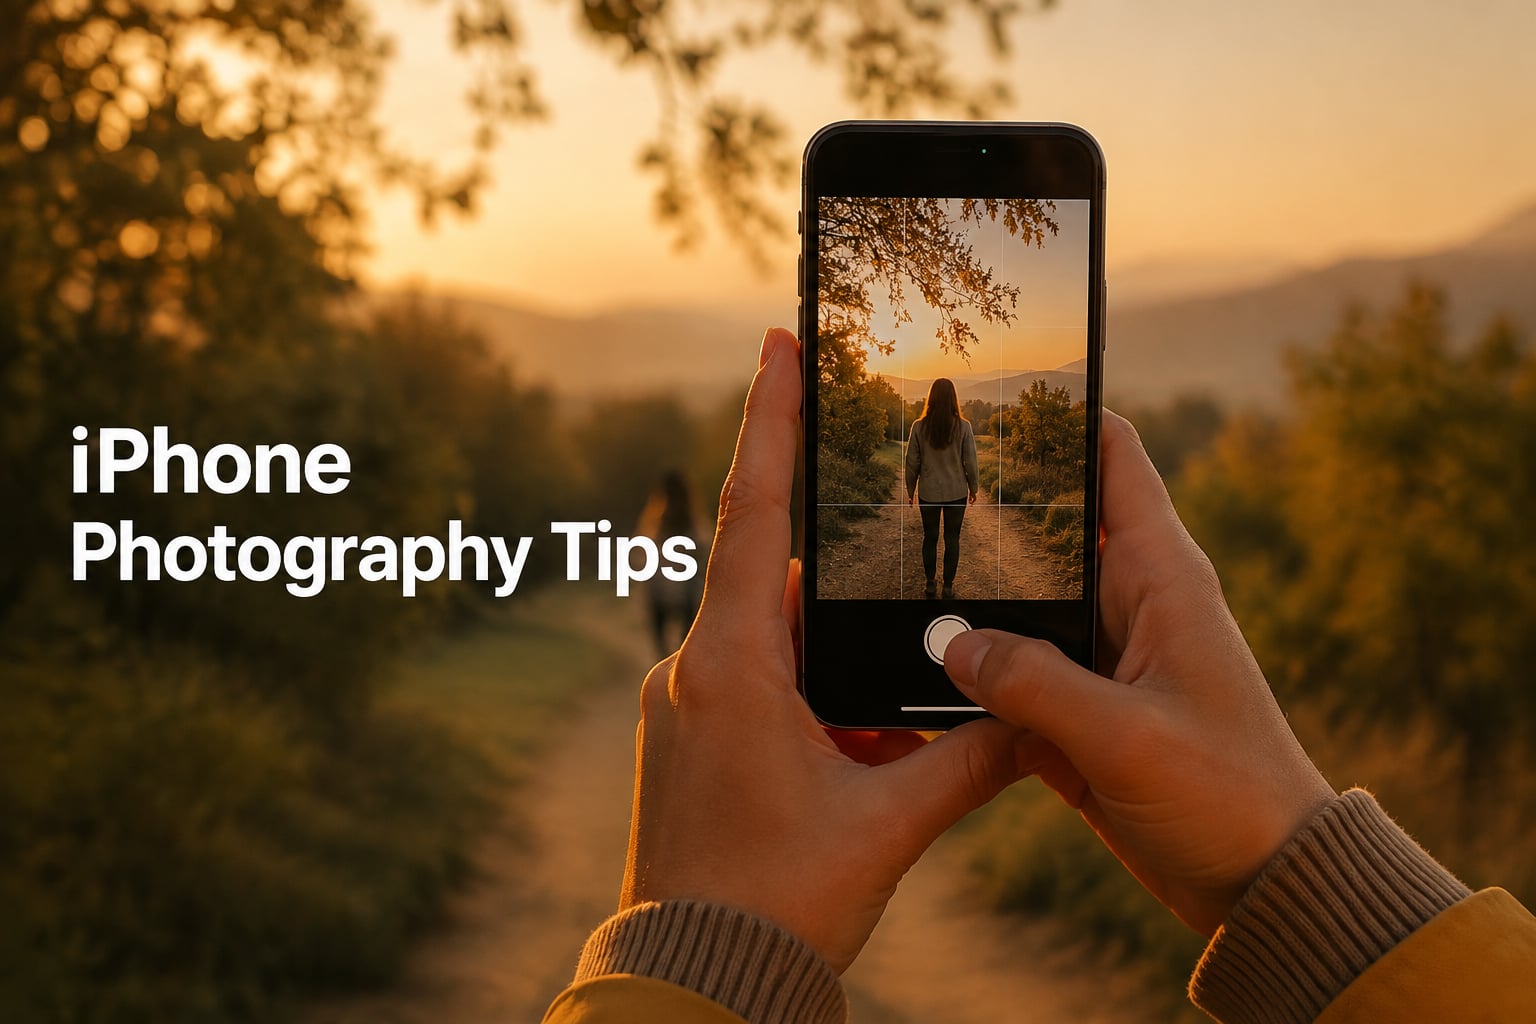
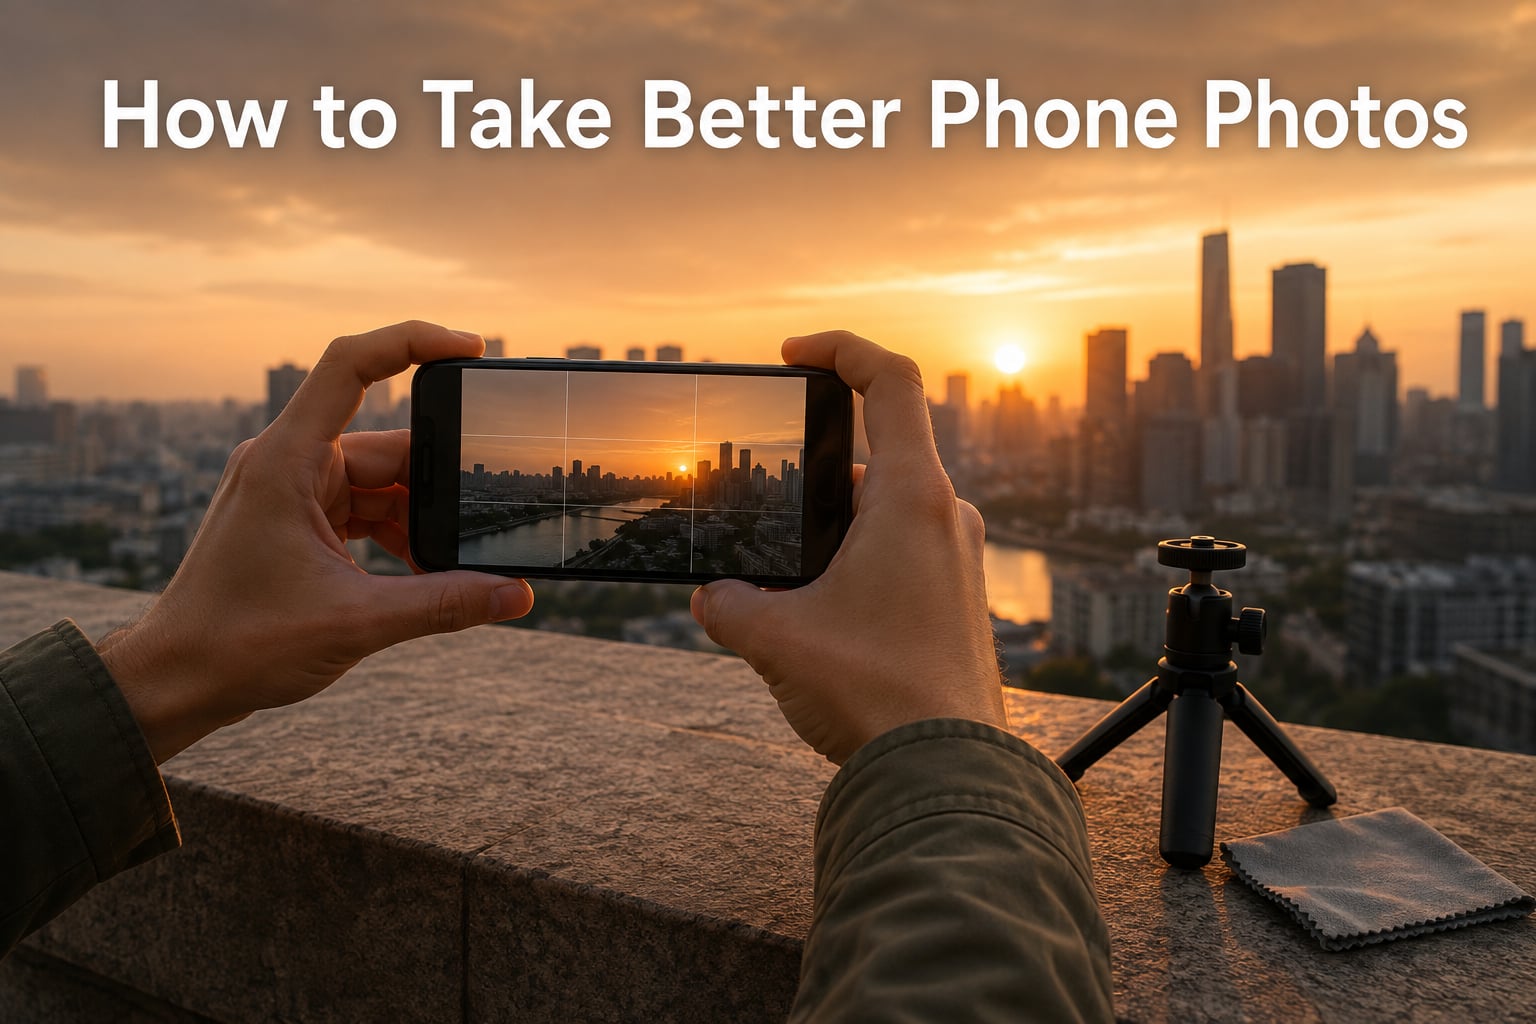
The rule of thirds is the oldest composition trick in photography and still works on every phone in 2026. Turn on the camera grid in your settings (Settings > Camera > Grid on iPhone, or Camera Settings > Grid lines on most Android phones), and your screen splits into nine equal boxes.
Place your subject along one of the grid lines or at one of the four intersections. The eye finds off-center subjects more interesting than centered ones. For landscapes, place the horizon on the bottom third to emphasize the sky, or on the top third to emphasize the foreground. The 20-60-20 rule in photography works similarly: dedicate 20 percent of the frame to the foreground, 60 percent to the middle, and 20 percent to the background to create depth in travel and landscape shots.
Modern phones ship with modes that quietly outperform auto in specific situations. Here are the ones I use weekly.
Portrait Mode uses computational photography to simulate a shallow depth of field, blurring the background while keeping the subject sharp. It works best with a clear subject separation, like a person, pet, or flower, against a background at least a few feet away.
Night Mode triggers automatically in low light on most modern phones and uses longer exposures plus multi-frame stacking to brighten scenes without flash. Hold the phone steady or rest your elbows on a surface for two to ten seconds while it captures. The results beat flash every time for people, food, and city scenes.
HDR (High Dynamic Range) captures multiple exposures at once and merges them, preserving detail in both shadows and highlights. Leave it on auto for outdoor scenes with bright skies. Turn it off for moving subjects or low-contrast scenes, where it can introduce blur or flat colors.
Most guides skip this, which is a shame because iPhone and Android handle similar features differently. On iPhone, exposure lock is achieved by long-pressing on your subject until you see AE/AF Lock at the top of the screen. The camera will hold those settings until you tap elsewhere.
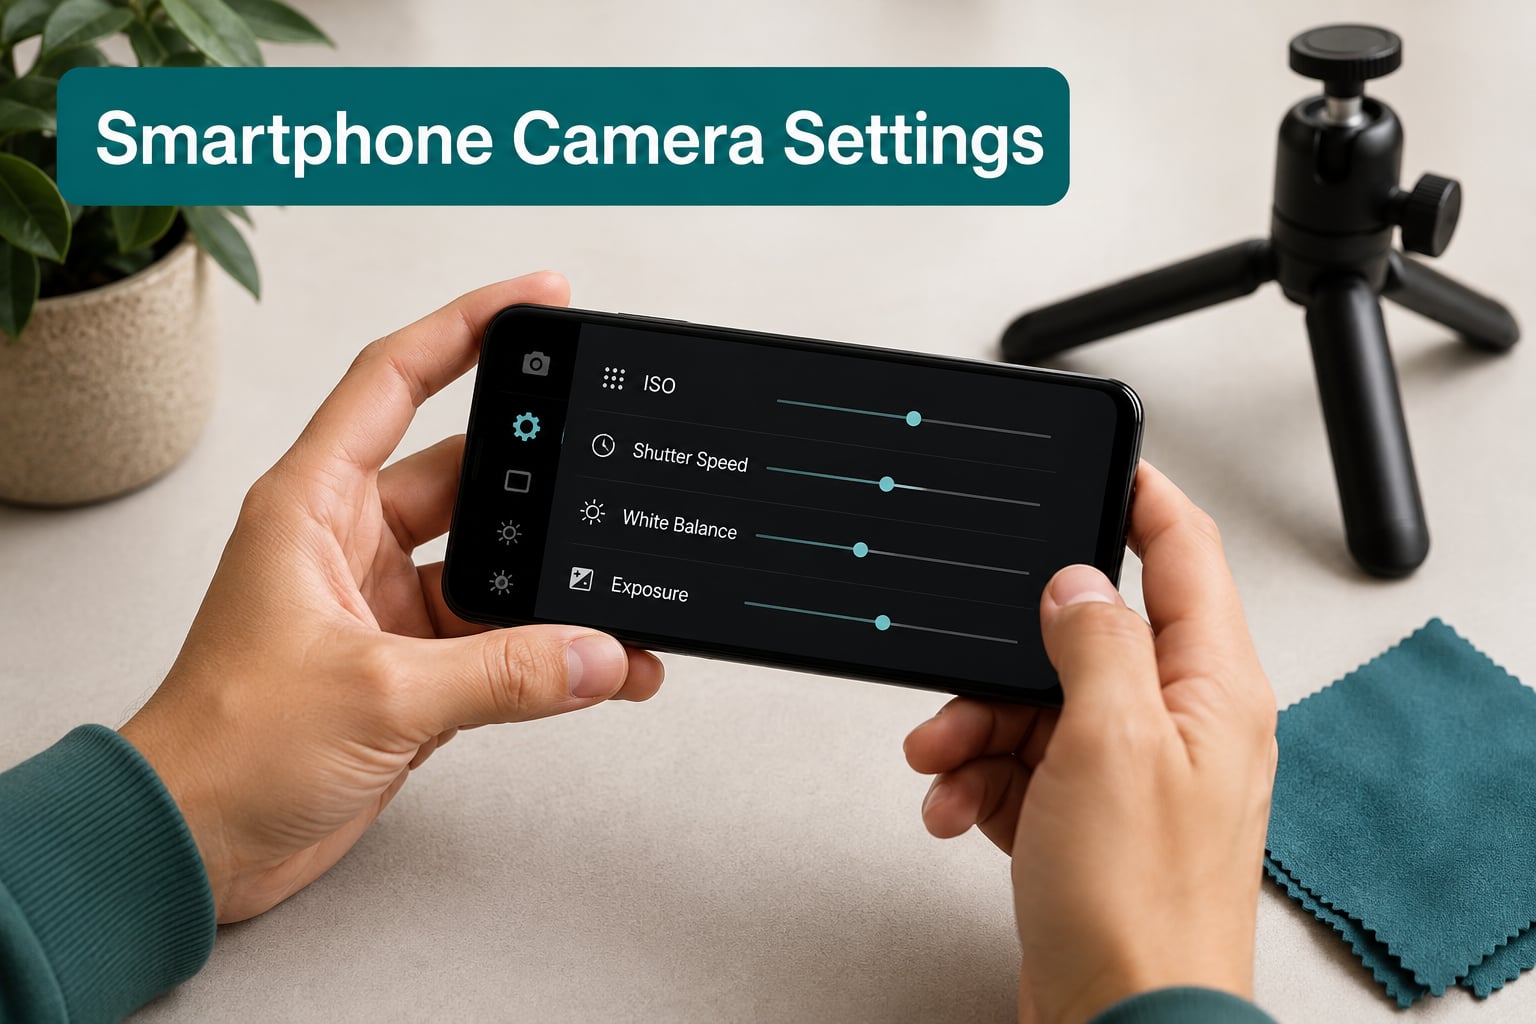
On Android (Samsung, Pixel, OnePlus), exposure compensation usually lives in a small slider next to the focus ring. Pro mode on Android often gives you manual control over ISO, shutter speed, and white balance, which iPhone users get through third-party apps like Halide or ProCamera.
Pixel phones excel at Night Sight and astrophotography mode. Samsung flagships offer 100x Space Zoom (use optical zoom only, digital zoom past 3x is rarely usable). iPhones hold the lead in video and have the most consistent color science across apps. Pick the phone whose strengths match your style.
Sharp photos need a steady hand. Hold it like a camera with both hands, tuck your elbows into your ribs, and exhale gently as you tap the shutter. For low light, brace the phone against a wall, table, or your knee. Even a $15 mini tripod makes night and long exposure shots dramatically sharper.
Digital zoom is the silent saboteur of mobile photography. Pinching to zoom in software crops and upscales the image, losing detail. If you want a closer shot, move closer physically. If you cannot, optical zoom lenses (2x, 3x, 5x on modern flagships) keep image quality intact. For anything beyond that, crop later in editing instead of zooming in the camera.
Editing is not cheating. Every professional photo you have ever admired was edited. Start with the basics: straighten, crop, exposure, contrast, and white balance. Most phones now offer these tools directly in the Photos or Gallery app. If you want more control, Lightroom Mobile and Snapseed (free) handle raw editing and selective adjustments like a desktop editor.
Avoid heavy filters. They flatten colors and crush detail. Subtle adjustments to brightness, shadows, and clarity do more for your image than any one-tap filter. If you want help comparing tools, our Lightroom vs Photoshop breakdown explains when each one makes sense.
For consistent color across a series of photos, shoot in RAW (available on iPhone 12 Pro and newer with ProRAW, and most Android flagships in Pro mode). RAW files give you far more editing latitude than compressed JPEGs. The files are larger, but the flexibility is worth it for any photo you care about.
None of these tips matter without practice. Shoot one photo a day with intention. Delete your rejects. Look at your best photos from last month and ask yourself why they worked. Then try to recreate that approach tomorrow.
Reviewing your own work builds a sharper eye faster than any tutorial. After a few weeks, you will notice patterns, like always shooting in shade, always wiping the lens first, always tapping to focus. Those habits are what separate casual snapshots from photos you actually want to share.
Start by cleaning the lens, then turn on the grid lines for composition, tap to focus, and move closer instead of using digital zoom. Editing lightly afterward gives the biggest improvement for the least effort.
The 20-60-20 rule divides your frame into three zones: 20 percent foreground, 60 percent middle ground, and 20 percent background. It creates depth in landscapes and travel photos by guiding the eye through all three layers.
Clean your lens, use the rule of thirds grid, control exposure by tapping and dragging, avoid digital zoom, shoot in natural light, lock focus on moving subjects, and edit lightly. Mastering these seven moves covers most smartphone photography needs.
Harsh overhead light and wide-angle lenses distort facial features. Move into open shade or face a window, hold the phone slightly above eye level, and tap to expose for your face instead of the bright background.
RAW files capture more color and tonal data than JPEGs, giving you far more flexibility in editing. Shoot in RAW when you plan to edit and the photo matters. The file sizes are larger, so use JPEG for casual snaps to save space.
Learning how to take better phone photos is less about gear and more about habits. Clean the lens, get the light right, compose with intent, and edit with restraint. Apply even half of what we covered and your next batch of photos will look noticeably sharper than your last.
Pick one tip from this guide, practice it today, and let the others build naturally. If you want to push further, our guide on how to take photos through a telescope covers long exposure techniques that translate directly to phone night photography.