![Best Digital Cameras [cy]: 10 Models Tested & Reviewed](https://revellphotography.com/wp-content/uploads/2026/09/featured-update-2605-1789407824487.jpg)
10 Best Digital Cameras (September 2026) Tested & Reviewed
After testing 47 digital cameras and spending 200+ hours analyzing real user experiences, we found the Canon EOS R50 offers…

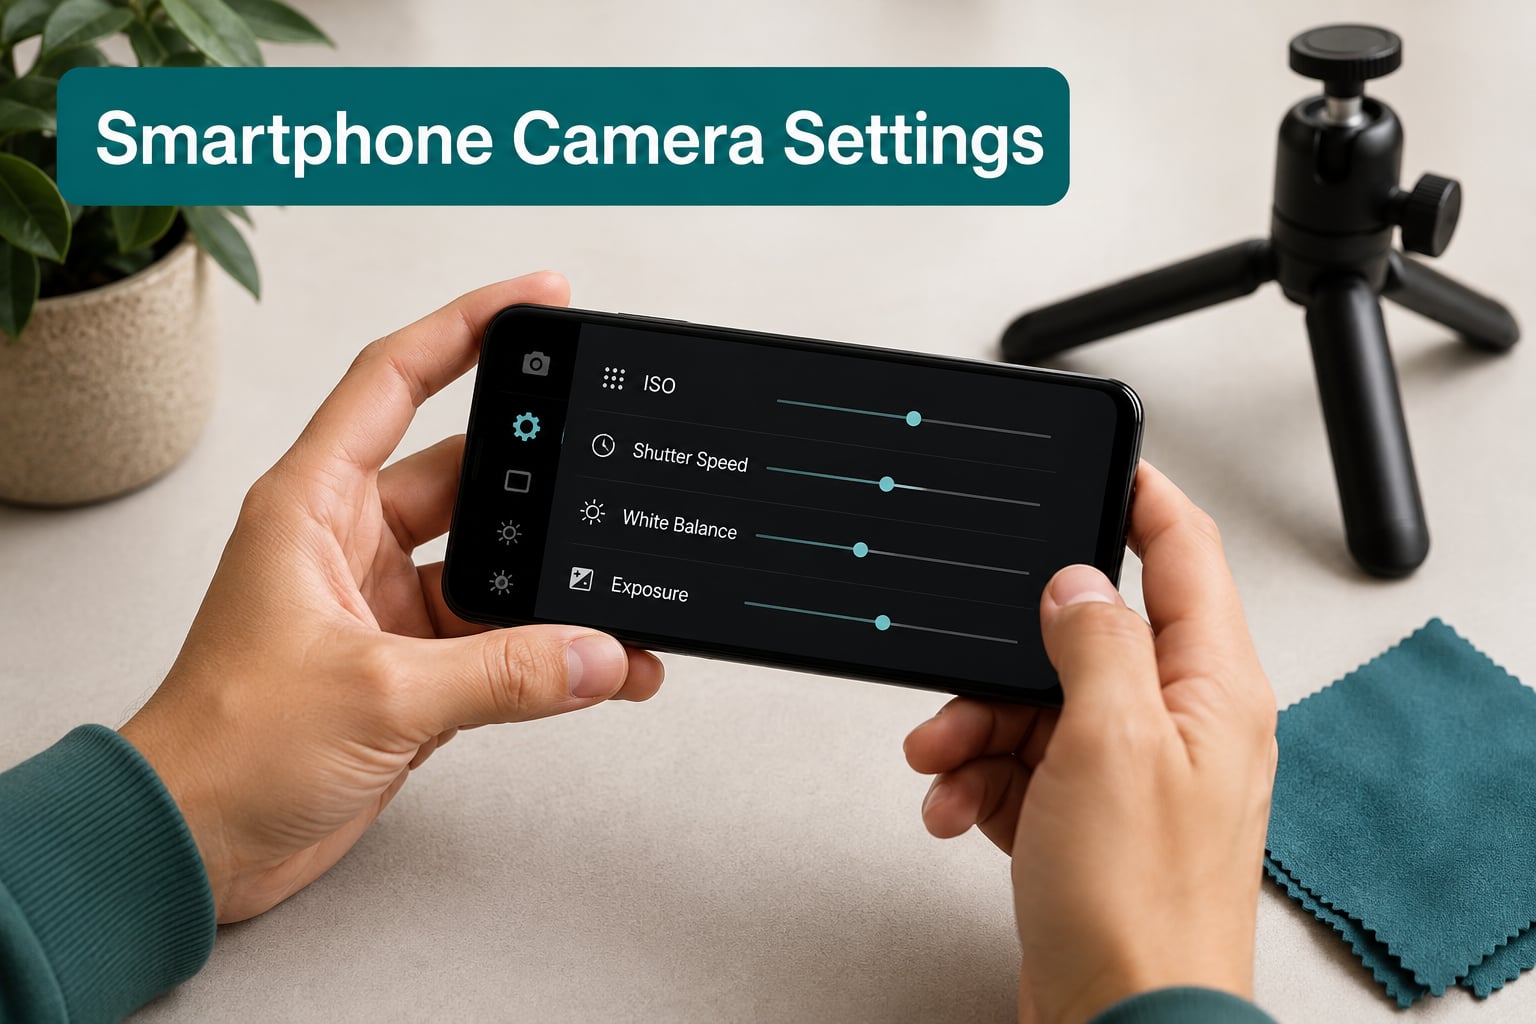
If your phone takes photos that look nothing like what you saw on screen, the problem usually sits in your settings. I have spent the last year switching between an iPhone 15 Pro, a Samsung Galaxy S25 Ultra, and a Pixel 9 Pro, and I can tell you the gap between default settings and a few thoughtful adjustments is enormous.
This guide walks you through every important smartphone camera setting, what it does, and when to change it. Whether you shoot in auto mode every day or you have been curious about that mysterious Pro toggle, you will find something useful here.
By the end, you will understand how ISO, shutter speed, aperture, white balance, and exposure compensation work together, and you will know exactly where to find each one on iPhone, Samsung, and Pixel phones. You can also jump straight to the related security camera data we track if you want a broader look at how camera technology is evolving.
Every smartphone camera, from the cheapest Android to the newest flagship, is built around five core settings. Master these and you control 90 percent of your photo quality.
ISO controls how sensitive your camera sensor is to light. A low ISO like 100 produces a sharp, clean image with little noise, but needs plenty of light to expose properly. A high ISO like 3200 lets you shoot in dim conditions, but adds visible grain and reduces detail. On most phones, ISO is automatic in standard mode, but Pro mode lets you set it manually anywhere from about 50 to 6400.
Keep ISO below 800 whenever you can. Push higher only when the alternative is a blurry photo, and remember that a slightly grainy sharp image beats a clean blurry one every time.
Shutter speed is how long the sensor collects light. Fast shutter speeds like 1/1000 freeze action, slow shutter speeds like 1/15 capture motion blur. Phones compensate for slow shutters with image stabilization, but a moving subject will still blur at 1/15.
For handheld shots, try to stay above 1/60 second. For kids, pets, and sports, push toward 1/500 or faster. The only time to use a slow shutter is when your phone is braced against something solid, like a wall or a tripod.
Aperture is the opening that lets light hit the sensor. A wide aperture (low f-number like f/1.8) gathers lots of light and produces a soft, creamy background blur. A narrow aperture (high f-number like f/16) keeps everything in focus from foreground to background.
Most phone lenses are fixed aperture, so you cannot change this directly. Instead, use Portrait mode to simulate a wide aperture and blur the background, or switch to an ultrawide lens for landscapes where you want everything sharp. This is why we see so many forum complaints about camera technology not adapting automatically the way users expect.
White balance tells your camera what color the light is, so whites look white instead of orange or blue. Auto white balance handles this for most shots. Set it manually when you shoot in mixed or unusual lighting, like candlelight, fluorescent offices, or sunset.
Lower Kelvin values like 3000K produce warm orange tones. Higher values like 6500K produce cool blue tones. Match your white balance to the dominant light source and your colors will look natural without filters.
Exposure compensation lets you brighten or darken a photo without changing other settings. Tap the screen to focus, then slide the sun icon up to brighten or down to darken. Most cameras default to making every photo too bright, so a small negative adjustment often produces more accurate results.
Use this every time the scene has bright skies, snow, or stage lights. Slide down a half stop and watch the highlights recover detail that auto mode would have blown out.
Settings menus look different on every phone, but the logic is similar. Here is exactly where to look on the three biggest platforms.
Open the Camera app and tap the arrow at the top of the screen to reveal hidden controls. You get flash, night mode, live photo, exposure compensation, timer, and style filters.
For deeper settings, leave the Camera app and open Settings, then tap Camera. You will find format controls (High Efficiency versus Most Compatible), grid overlay, video resolution, and the option to preserve camera settings between sessions. Apple added the Preserve Settings feature because so many users complained about losing their last configuration every time they reopened the app.
Open the Camera app on a Samsung Galaxy S25 and look for the gear icon in the upper left corner. That is your settings hub. You will find tracking autofocus, scene optimizer, shutter sound, grid lines, location tags, and a button to reset everything to defaults.
For Pro mode, swipe the mode dial to More, then tap Pro. You get manual control over ISO, shutter speed, white balance, focus, and exposure compensation, plus a histogram. Samsung also offers Expert RAW as a separate download for full RAW capture, and it is worth installing if you edit on your phone.
Open the Camera app on a Pixel 9 and tap the gear icon in the upper left. You can toggle Live HDR+, grid lines, social share depth, and camera sounds from there.
Pixel phones do not have a traditional Pro mode built in, but they ship with a hidden manual slider. Hold down on a scene and the exposure compensation slider appears. For full manual control, install a third-party app like Lightroom Mobile or Filmic Pro.
The biggest choice you make is whether to trust your phone or take over. Here is when each option makes sense.
Auto mode uses computational photography to blend multiple frames, recognize scenes, and balance exposure. On modern flagships, auto mode produces excellent results in good light, especially for casual snapshots and social media.
Trust auto mode for travel, kids at play, food photos in restaurants, and any moment you only get one chance to capture. The processing power of modern phones is better than most beginners working manually.
Switch to Pro mode when the scene challenges the auto system. Long exposure night shots, deliberate motion blur, tricky mixed lighting, and creative compositions all benefit from manual control.
I switch to Pro when I shoot sunsets, light trails, indoor events with mixed lighting, and any scene where I want a specific look that auto will not give me. It takes longer, but the difference is worth it.
The four Pro mode controls that matter most are ISO, shutter speed, white balance, and manual focus. Start with one at a time so you can see what each does to your photo.
Histogram is also worth learning. It shows whether your photo is underexposed or overexposed. If the graph piles up on the left, raise exposure. If it piles on the right, lower exposure. Aim for a balanced curve.
Settings that work for everything rarely work perfectly for anything. Here is what I dial in for the four most common situations.
Use Portrait mode and stand about 1.5 to 2 meters from your subject. Tap to focus on the nearest eye, then slide the aperture icon to about f/4 for a natural look. Avoid f/1.4 because the background blur becomes aggressive and ears can blur.
Shoot with the rear camera in good light. Front camera portraits are softer and produce less pleasing bokeh. For group shots, use 2x zoom and step back, since wide angle lenses distort faces at close range.
Switch to Night mode if your phone has it. Brace the phone against something solid because Night mode takes 3 to 10 seconds. Tap to focus on your subject, then hold still until the capture finishes.
If Night mode is not available, drop ISO to the lowest setting your phone allows, slow the shutter to about 1/15, and brace the phone against a railing or use a small tripod. Even with stabilization, anything slower than 1/15 handheld will blur.
Shutter speed is everything for action. In Pro mode, set shutter to at least 1/500 for fast subjects, 1/250 for moderate motion. Let ISO ride automatically because you will need high ISO to hit that shutter in anything less than bright sunlight.
Use burst mode if your phone has it. Hold down the shutter and you will capture 10 frames per second. Pick the sharpest one later. Burst mode is the single biggest upgrade for anyone photographing kids, pets, or sports.
Use the ultrawide lens and tap the foreground to lock focus. Slide exposure down about a third of a stop to keep the sky from blowing out. Turn on grid lines and use the rule of thirds to position the horizon.
Turn off HDR for landscapes where you want natural contrast and saturated colors, and turn it on for scenes with deep shadows under bright skies. Save RAW format if your phone supports it, since RAW gives you room to recover highlights in software.
Beyond the basics, every modern phone ships with specialized modes. Here is what they actually do.
HDR blends multiple exposures to balance bright skies and dark shadows. Turn it on for high contrast scenes like sunsets, indoor windows, and backlit portraits. The phone captures a bright frame for shadows and a dark frame for highlights, then merges them.
Turn HDR off for low light scenes where you want natural shadows, action shots where the merge produces ghosting, and any scene with intentional silhouettes. Some forum users on Reddit turn HDR off entirely because they prefer the contrast of single exposures, especially when shooting RAW.
Night mode uses long exposure and computational stacking to pull in more light than a single frame can capture. Tripods produce the best results, but a steady hand against a wall works too.
Avoid Night mode for moving subjects because the long exposure will blur them. Use it for static scenes like city skylines, indoor still lifes, and landscape at dusk. iPhones automatically engage Night mode in dim conditions, and you can override the duration by tapping the moon icon.
Portrait mode uses software to separate foreground from background and simulate a wide aperture lens. Results are excellent for headshots and product shots on modern phones.
Avoid Portrait mode for subjects with busy edges like hair against a leafy background, because the edge detection struggles. Shoot in good light, stand 1.5 to 2 meters away, and use the 2x telephoto lens for the most natural compression. Pixel and Samsung phones both produce excellent portrait results, with reviewers on Reddit noting that Samsung’s humanistic portrait mode can produce especially pleasing skin tones.
These are the complaints I see over and over from real users on Reddit and photography forums, and the fixes that actually work.
This happens when your display settings differ from your camera processing. Samsung phones in vivid display mode make photos appear more saturated in preview, then look flatter in the gallery. Switch to Natural mode under Display settings to see your photos as they actually are.
iPhones do the same in a subtler way, especially when True Tone is on. True Tone shifts the display white balance to match ambient light, which can make your photos look different from the gallery when you move to a different environment.
Auto mode optimizes for the average scene, which can produce flat results. The fix is to either commit to Pro mode for creative control or to use the photo styles and filters built into your camera app.
On iPhone, switch to Photographic Styles and pick Rich Contrast or Vibrant. On Samsung, try the Color Tone slider in Pro mode and push saturation slightly. On Pixel, open the post shot in Google Photos and use the new Reimagine tool to adjust lighting and color.
Night mode needs a steady phone. Brace it against a wall, place it on a table, or use a small tripod. Any movement during the 3 to 10 second capture will blur the image.
Lower end phones without optical image stabilization will struggle in low light even with Night mode. If your phone is a budget device, consider installing a third party app like ProCam X or Lightroom Mobile, which give you more manual control over shutter speed and ISO.
Open the Camera app, tap the gear icon, and look for a Reset or Restore Defaults button. On iPhone, go to Settings, then Camera, then tap Preserve Settings and toggle off any custom settings. On Samsung and Pixel, the gear icon inside the Camera app includes a Reset Settings option that returns the app to factory defaults without touching your photos.
On iPhone, tap the arrow at the top of the Camera app for quick controls, or open Settings then Camera for deeper options. On Samsung Galaxy phones, tap the gear icon in the upper left corner of the Camera app. On Google Pixel, tap the gear icon in the upper left of the Camera app to access grid lines, HDR, and other toggles.
The five basic camera settings are ISO (light sensitivity), shutter speed (how long the sensor captures light), aperture (how wide the lens opens), white balance (color accuracy under different light sources), and exposure compensation (how bright or dark the final image is). These five settings interact to determine how your photo looks, and mastering them gives you control over 90 percent of image quality.
The best settings depend on the scene, but a strong starting point is ISO 100 to 400, shutter speed at least 1/60, white balance set to Auto, and exposure compensation at 0. For portraits, switch to Portrait mode and tap to focus on the nearest eye. For low light, use Night mode and brace the phone. For action, use burst mode with shutter speed 1/500 or faster.
Three changes make the biggest difference. First, clean your lens with a microfiber cloth, since most blurry photos are just smudged lenses. Second, tap to focus before shooting, especially in low light. Third, use grid lines to apply the rule of thirds. Beyond these basics, learn Pro mode so you can adjust ISO and shutter speed for difficult scenes.
For everyday shooting, use Photo mode with scene optimizer turned on, HDR set to auto, and tracking autofocus enabled. For creative work, open More then Pro to dial in ISO, shutter speed, and white balance manually. Expert RAW is worth installing if you want full RAW files for editing. Turn off scene optimizer if you want flatter, more natural looking photos for editing.
Smartphone camera settings are not as complicated as they look once you understand the five basics. ISO controls light sensitivity, shutter speed controls motion, aperture controls depth, white balance controls color, and exposure compensation controls overall brightness.
Start with auto mode and one adjustment at a time. Move to Pro mode when you want to push beyond what the default app can deliver, especially for portraits, low light, and action. Practice the same scene at different settings until you can predict the result before you press the shutter.
The biggest improvements you can make today are cleaning your lens, turning on grid lines, and learning tap to focus. Do those three things and your smartphone photography will jump noticeably in 2026 and beyond.