How to Choose a Rifle Scope: The Complete Guide for 2025
Choosing the right rifle scope can feel overwhelming with thousands of options flooding the market. Whether you’re a beginner selecting…
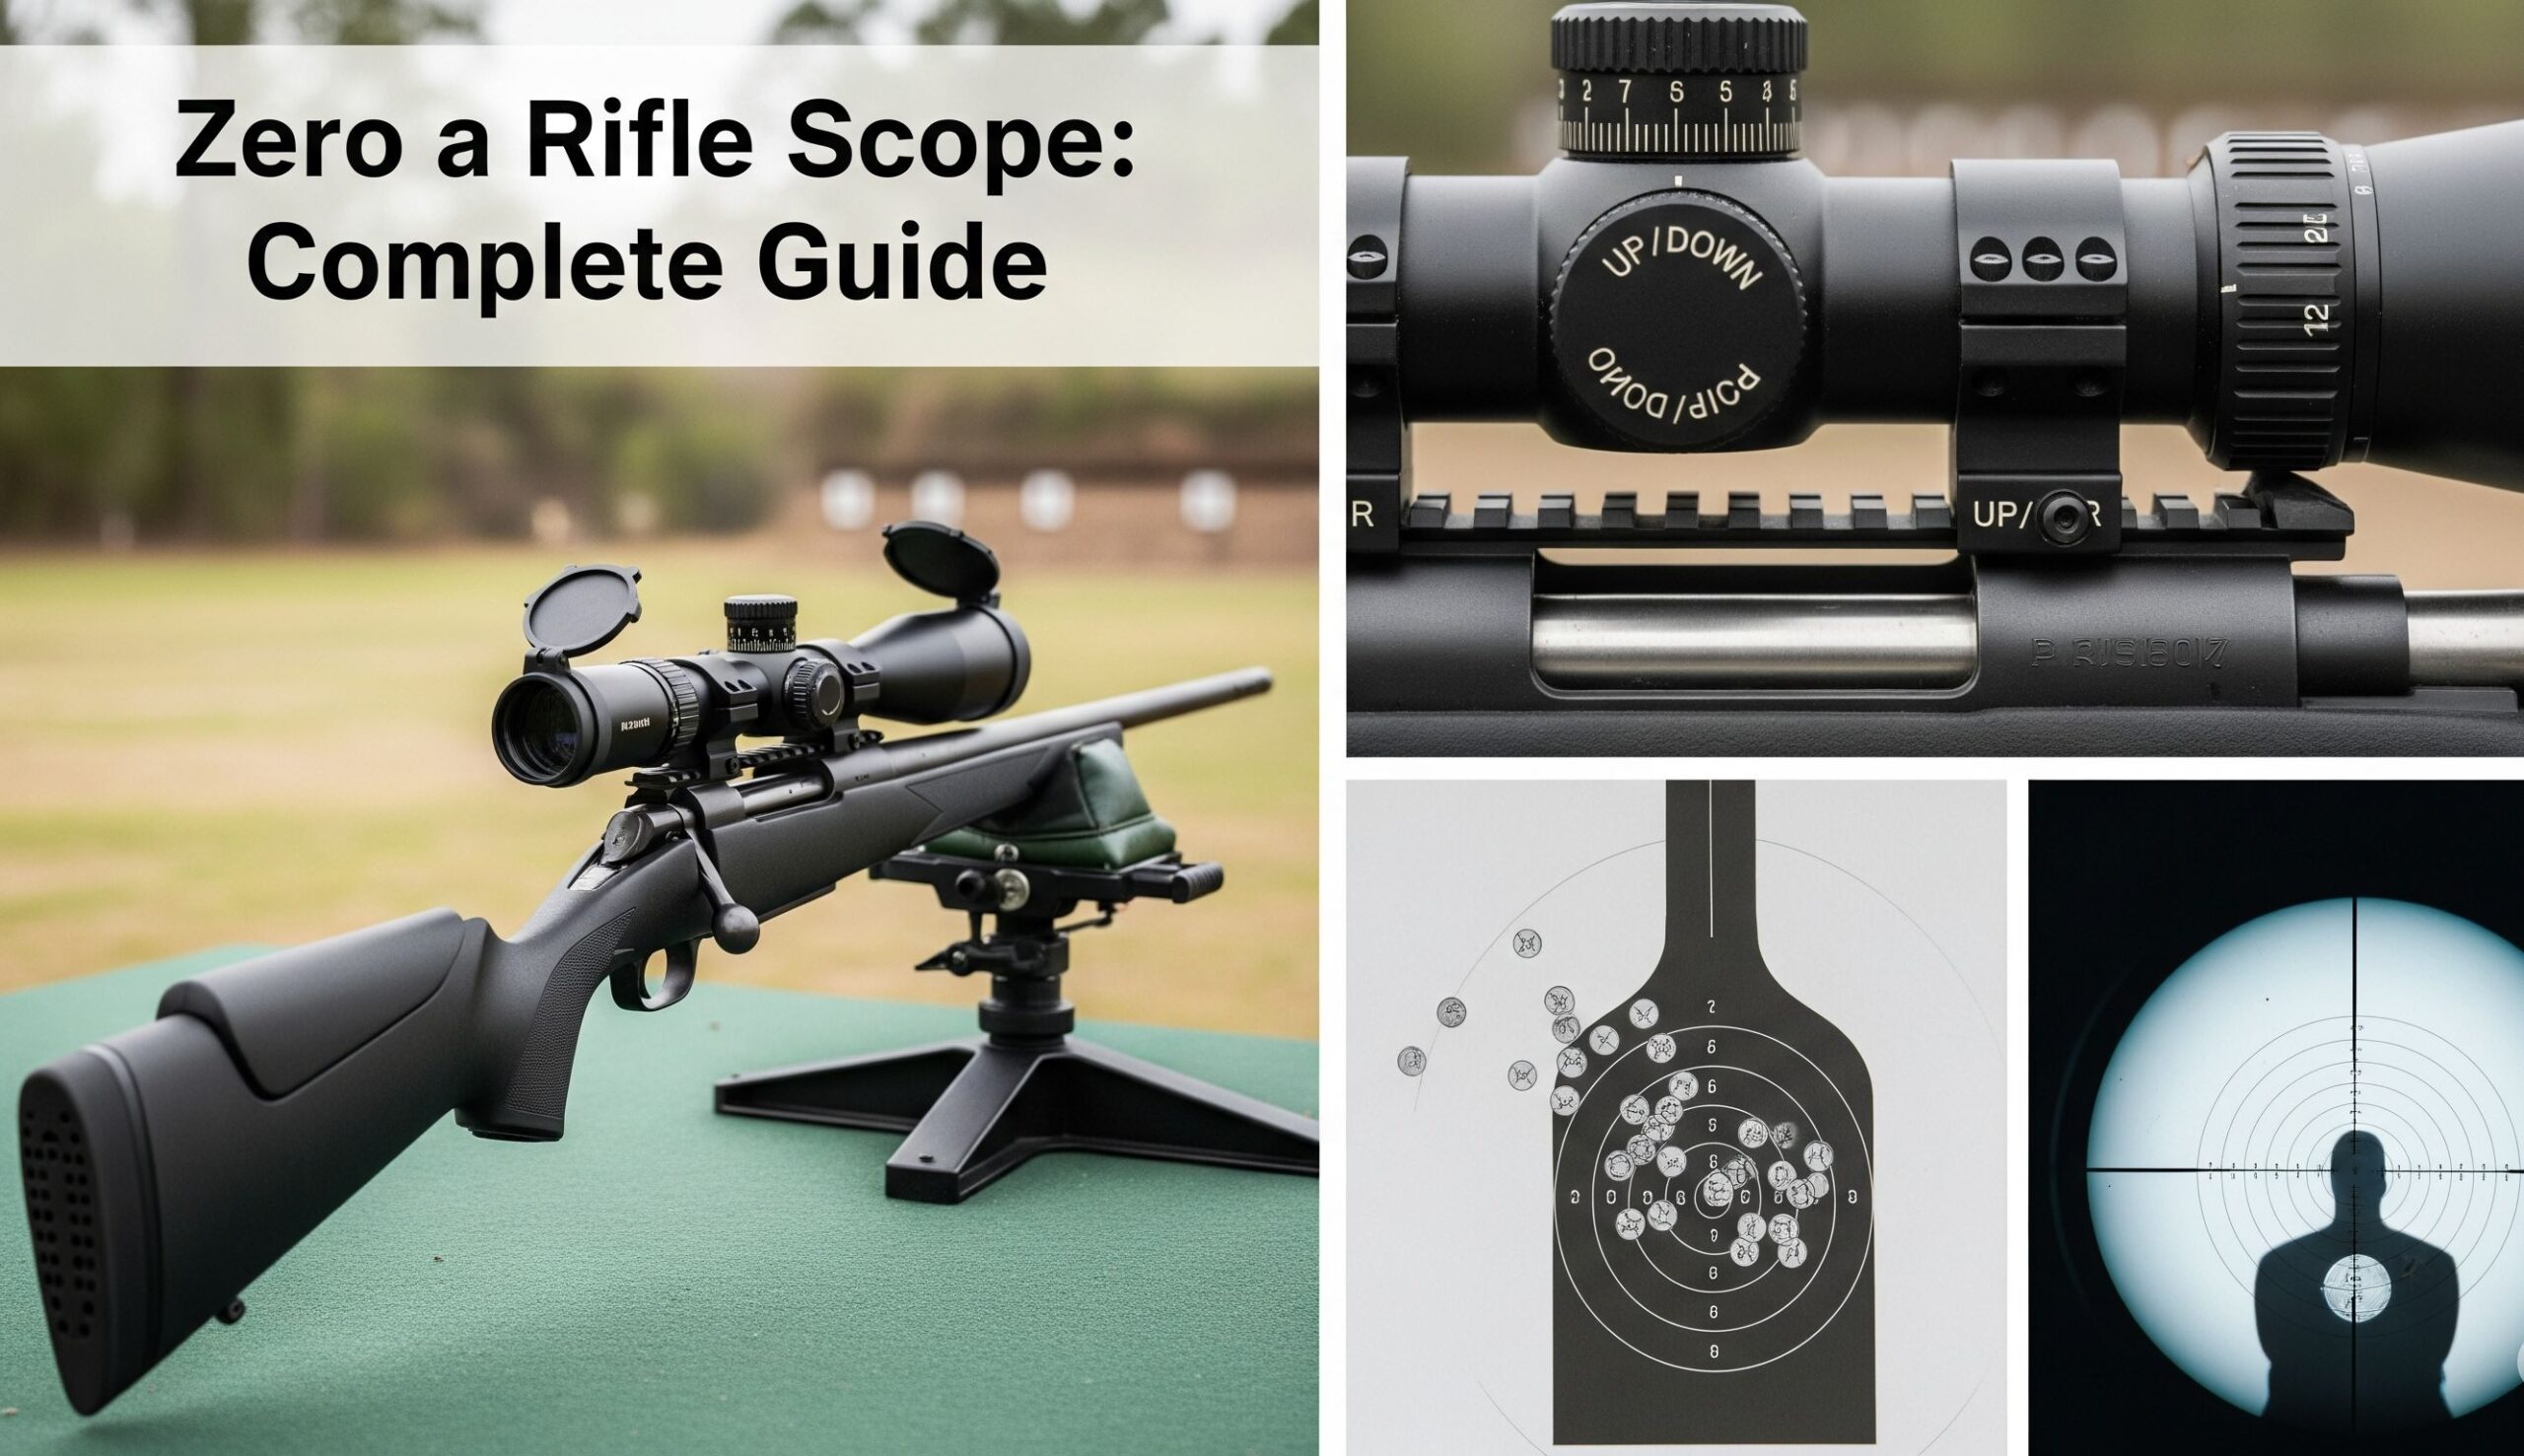
Learning how to zero a rifle scope is one of the most essential skills for any shooter, whether you’re a hunter, competitive marksman, or recreational shooter. The process of zeroing, also known as sighting-in, aligns your scope’s reticle with your rifle’s point of impact at a specific distance. Without proper zeroing, even the most expensive rifle and scope combination will fail to deliver accurate shots. This comprehensive guide will walk you through everything you need to know about zeroing a scope on rifle setups, from basic concepts to advanced techniques available in 2025.
Zeroing a rifle scope is the process of adjusting your scope’s windage (left/right) and elevation (up/down) settings so that your point of aim through the scope matches where your bullet actually impacts the target. When properly zeroed, placing your crosshairs on the bullseye means your bullet will hit that exact spot at your chosen zero distance.
The fundamental challenge in zeroing comes from the fact that your scope sits above your rifle’s bore. This height-over-bore measurement creates a geometric relationship where the bullet’s path and your line of sight intersect at specific distances. Understanding this relationship is crucial for effective rifle scope zeroing instructions.
Before you begin the zeroing process, having the right equipment will save time, ammunition, and frustration. While you can zero a scope with minimal tools, the right equipment makes the process significantly more efficient.
Modern technology has introduced several tools that can significantly streamline the zeroing process:
Follow these detailed steps to achieve a perfect zero on your rifle scope. This method works for all rifle types and calibers, though specific adjustments may vary.
Ensure your scope is properly mounted with the correct eye relief (typically 3-4 inches). The scope should be level with your rifle – any cant will cause accuracy issues at longer ranges. Use a bubble level on your scope’s turret cap to verify it’s perfectly horizontal.
Bore sighting gets you “on paper” before firing your first shot. For bolt-action rifles, remove the bolt and look through the bore at a target 25 yards away. Center the target in the bore, then adjust your scope to center the reticle on the same point without moving the rifle.
Fire a 3-shot group at 25 yards, aiming at the exact same point each time. Don’t adjust between shots – you want to see your rifle’s natural group. After firing, note where your group center is relative to your aim point.
Most scopes adjust in 1/4 MOA (Minute of Angle) increments. At 100 yards, 1 MOA equals approximately 1 inch. At 25 yards, this means: – 1 click = 1/16 inch of movement – 16 clicks = 1 inch of movement
Count the squares on your target grid to determine how many inches you need to move, then calculate the required clicks.
After getting centered at 25 yards, move to your intended zero distance and repeat the process. Fire another 3-5 shot group and make final adjustments.
Choosing the right zero distance depends on your intended use and typical engagement ranges. Each distance offers distinct advantages and trade-offs that affect your shooting in 2025.
A 25-yard zero is ideal for: – Close-range hunting in dense woods – Home defense applications – Initial sight-in before moving to longer distances
With most rifle calibers, a 25-yard zero will have you shooting slightly high at 100 yards (typically 2-4 inches) and back on target around 200-250 yards, depending on your cartridge.
The 50-yard zero offers excellent versatility: – Minimal holdover required from 0-200 yards – Popular for tactical and hunting applications – Works well with both iron sights and optics
To zero scope at 50 yards effectively, your point of impact will be approximately 1.5 inches high at 100 yards and return to zero around 200 yards with most common calibers.
The traditional 100-yard zero provides: – Predictable trajectory for long-range shooting – All holds are “holdover” – no confusion about holding under – Standard for most hunting applications
A scope zeroing chart helps visualize bullet trajectory at different distances. Here’s how to interpret the data for common zero distances:
| Distance (yards) | 25-Yard Zero | 50-Yard Zero | 100-Yard Zero |
|---|---|---|---|
| 25 | 0″ | -0.9″ | -1.5″ |
| 50 | +1.3″ | 0″ | -0.8″ |
| 100 | +2.8″ | +1.5″ | 0″ |
| 200 | 0″ | -1.8″ | -8.5″ |
Note: Values are approximate for .223/5.56 NATO with 55-grain bullets. Your specific ammunition will vary.
Sometimes you need to reset your scope to mechanical zero, especially when mounting on a new rifle or after significant adjustments. Here’s the process:
This centers your scope mechanically, providing maximum adjustment range in all directions for future zeroing.
Technology continues to revolutionize rifle scope zeroing in 2025. While true self zeroing rifle scope systems are still emerging, several advanced options can dramatically simplify the process:
Companies like TrackingPoint and Burris have developed scopes with integrated ballistic computers that automatically calculate holdover after initial zeroing. The Burris Eliminator series, for example, features built-in rangefinders and displays the exact aiming point for your specific range.
Products like the Axeon Absolute Zero use dual lasers to eliminate hold error, allowing you to zero with a single shot. These systems maintain your rifle position perfectly while you adjust the scope to match your point of impact.
The latest thermal scopes like the iAiming iA-612 feature AI-powered auto-zeroing. Fire one shot, and the scope automatically adjusts itself using image recognition technology.
Understanding how to apply your zero in real-world situations is crucial for consistent accuracy. Different shooting disciplines require different approaches to zeroing.
For hunting, consider your typical shot distances: – Dense woods (under 100 yards): 50-yard zero – Mixed terrain: 100-yard zero – Western/long-range hunting: 200-yard zero or beyond
Remember that environmental factors like temperature and altitude can shift your zero, especially at longer ranges.
Competitive shooters often use specific zeros for their disciplines: – 3-Gun: 50 or 100-yard zero for versatility – Precision Rifle: 100-yard zero with detailed dope cards – F-Class: Often zeroed at competition distance
For defensive rifles, a 50-yard zero provides optimal performance at typical engagement distances while maintaining effectiveness to 200 yards.
Even experienced shooters encounter zeroing challenges. Here are solutions to common issues:
| Problem | Likely Cause | Solution |
|---|---|---|
| Can’t get on paper | Scope mounted incorrectly or bore obstruction | Start at 10 yards, check mount screws and bore |
| Groups won’t stay consistent | Loose mount, inconsistent ammo, or poor technique | Check all screws, use match ammo, improve fundamentals |
| Zero shifts between sessions | Temperature changes or loose components | Re-torque all screws to spec, note temperature when zeroing |
| Clicks don’t track properly | Scope quality issue or internal damage | Perform box test, may need scope service/replacement |
Regular practice ensures your zero remains true and helps identify any shifts early:
Before each range session or hunt, fire one shot at your zero distance. If it’s within 1 inch of center, your zero is confirmed. If not, investigate why.
This tests your scope’s tracking: 1. Fire 3 shots at center 2. Dial up 10 MOA, fire 3 shots 3. Dial right 10 MOA, fire 3 shots 4. Dial down 10 MOA, fire 3 shots 5. Dial left 10 MOA, fire 3 shots
You should have 5 distinct groups forming a square, with the final group back at center.
Document your zero under different conditions: – Cold bore vs warm bore – Different temperatures – Various shooting positions – With and without a suppressor
Check your zero before each hunting season, after any impact to the rifle, when changing ammunition, or if you notice accuracy issues. Many shooters confirm zero with a single shot before important events.
Yes, you can zero from any stable position. Prone with a bipod, sitting with shooting sticks, or using a backpack as a rest all work. The key is consistency and stability.
Different ammunition has varying velocities, bullet weights, and ballistic coefficients. Each combination will have a unique trajectory, requiring its own zero. Always zero with the exact ammunition you plan to use.
Zero your rifle in the same condition you’ll use it. If you typically shoot with a fouled bore, zero that way. Some rifles show point-of-impact shifts between clean and fouled bores.
Successfully zeroing your rifle scope opens the door to consistent, accurate shooting. As you practice these techniques in 2025, remember that zeroing is not a one-time event but an ongoing process. Environmental conditions, equipment changes, and even your shooting technique can affect zero over time. Keep detailed records of your zero under different conditions, including temperature, altitude, and ammunition used. This data becomes invaluable for making quick adjustments in the field. Whether you’re using traditional methods or exploring modern self zeroing rifle scope technology, the fundamentals remain the same: patience, consistency, and attention to detail will ensure your shots hit exactly where you aim them.