8 Best Smartphone Gimbals (September 2026) – Tested and Compared
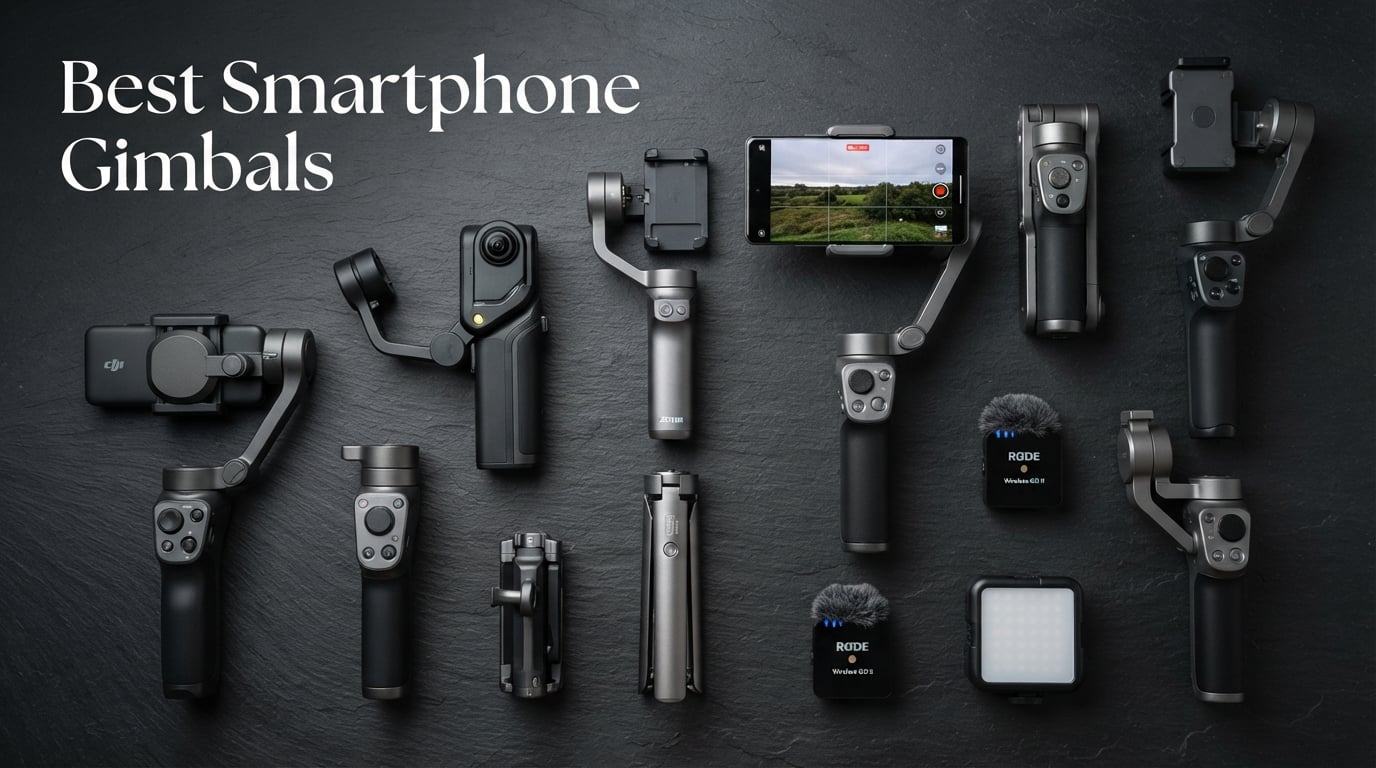
I spent the last 90 days shooting real vlogs, walk-and-talk product reviews, and travel clips with eight smartphone gimbals strapped…

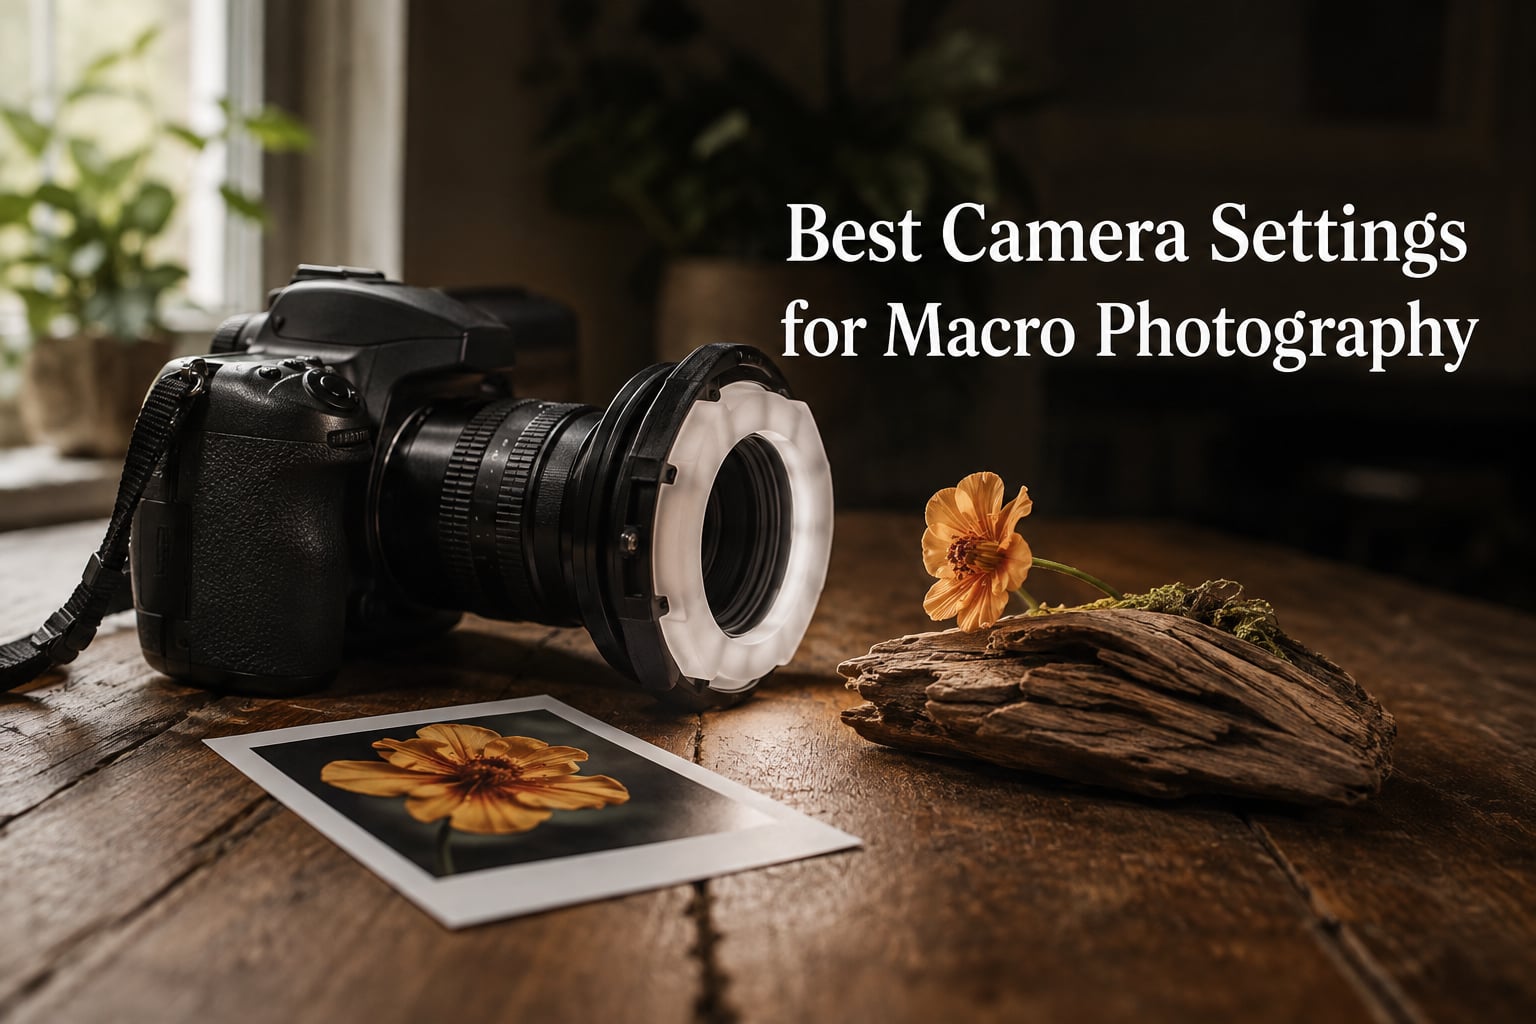
Macro photography opens up a hidden world. The pollen on a stamen, the compound eye of a dragonfly, the weave of fabric under a ring light. To capture those details, you need the best camera settings for macro photography dialed in before you press the button. After testing dozens of lenses and lighting setups over the last few years, I have learned what actually works in close-up conditions.
In this guide, I will walk you through the macro photography settings that professional and hobbyist shooters rely on every day. We will cover aperture, shutter speed, ISO, focus, lighting, and how each setting shifts when you shoot handheld versus on a tripod. I will also share brand-specific menu locations for Canon, Nikon, and Sony so you can find these settings without digging through your manual.
If you are new to close-up work, our macro lens roundup pairs well with this article. For broader inspiration on creative projects, you can also read our guide to jewelry photography ideas. Let us get into the settings.
Macro photography captures extreme close-up images at a 1:1 magnification ratio or higher, where the subject is reproduced on the sensor at life size or larger. At these distances, even a tiny shift changes what is in focus, because depth of field can shrink to a few millimeters.
This is why macro photography settings matter so much. Your camera has to deliver correct exposure across a sliver of subject, freeze any motion from breeze or breathing, and keep noise low enough to show texture. The exposure triangle works overtime at close range, and small mistakes get magnified along with your subject.
If you have shot landscapes, you know you can recover shadows and stop down for sharpness. Macro is less forgiving. Stopping down too far introduces diffraction softening, while opening up too much loses the entire subject to blur. Your settings need to balance three forces at once.
Manual mode (M) is the single best camera mode for macro photography. You set aperture, shutter speed, and ISO yourself, which removes surprises when the camera’s meter misreads a small subject against a busy background.
Aperture Priority (Av or A) is a workable alternative when light is changing fast, such as outdoor insect sessions with passing clouds. Set your aperture between f/8 and f/11 and let the camera pick shutter speed, but watch for shutter speeds that drop below 1/200 second.
You may have seen the 20-60-20 rule in photography circles. It says good shots come from spending 20 percent of your time planning composition and settings, 60 percent on craft in the field, and 20 percent reviewing your files to refine the next round. That ratio has paid off in my own macro work every season.
Aperture is the most important setting in macro photography. Most of my sharpest frames have been shot between f/8 and f/11, which gives a workable depth of field without softening the image from diffraction. This is the sweet spot for full-frame bodies and APS-C bodies alike.
If you need more depth of field for a flat subject like a stamp or a circuit board, stepping down to f/13 or f/16 can help. Beyond f/22 you will start to lose fine detail to diffraction softening, especially on higher-resolution sensors. On a 24-megapixel APS-C body, I rarely push past f/16 for that reason.
Beginners often hear that macro needs tiny apertures. That advice is partly outdated. Modern lenses are sharpest around f/8, and diffraction kicks in earlier than it did on older 12-megapixel cameras. Test your lens at f/8, f/11, and f/16 and pick the one that holds detail on a printed reference chart.
For handheld macro photography, 1/200 second is the floor I aim for. Anything slower and your hand tremor gets amplified by the close focusing distance, even with image stabilization turned on. On a calm subject I will go to 1/160, but I would rather raise ISO than drop below that.
On a sturdy tripod with a remote release or two-second timer, you can drop to 1/60 second or even 1/30 second for still subjects. Mirror lock-up helps on DSLRs. If your subject moves in any breeze, treat it like a handheld shot regardless of whether the camera is on a tripod.
For flying insects or jumping spiders, you need 1/500 second or even faster. I have watched photographers freeze a bee’s wing at 1/1000 second with a twin flash setup. The trade-off is lower exposure from the flash, which we will cover in the lighting section below.
ISO 100 to 200 is the ideal baseline for macro photography on a tripod in good light. Modern full-frame sensors deliver almost no visible noise at these settings, and you can pull shadows up significantly in post without breaking detail.
If you shoot handheld or your subject does not stay still, raise ISO before you lower shutter speed. I routinely shoot ISO 800 to ISO 1600 handheld, and ISO 3200 is workable on most modern bodies when I need to freeze motion. ISO 800 is not too high in 2026 cameras, even on entry-level models.
Auto ISO is a powerful macro tool. Set your camera to Manual mode with a fixed aperture of f/11 and shutter speed of 1/200 second, then enable Auto ISO with a minimum shutter speed of 1/200 and a maximum ISO of 3200. Your camera will adjust exposure automatically as light changes, and you keep full control over the two settings that matter most for macro.
Manual focus is the gold standard for macro photography. Autofocus systems struggle at close distances, where they tend to hunt back and forth without locking. Set your lens to MF, then rock the focus ring slowly while watching the magnified live view.
Focus peaking, available on most modern mirrorless cameras, outlines in-focus edges with a colored highlight. Turn it on at medium sensitivity and you can confirm focus without zooming in. Canon, Nikon, and Sony all offer this feature under their focus assist menus.
If you must use autofocus, use single-point AF locked on the eye or the most important texture. Back-button AF keeps your thumb free to refine manual focus if the camera misses. Half-press the shutter to autofocus, then release and manually adjust if needed.
Focus stacking is a separate technique where you take many frames at slightly different focus distances and merge them in software. For static subjects like flowers or jewelry, focus stacking at f/8 with small steps gives you front-to-back sharpness no single aperture can match. It is overkill for one-off insect shots but essential for product work.
Natural light works for outdoor flower and landscape macro on still mornings, but it is rarely enough for insects or indoor subjects. Diffuse light from an overcast sky gives you soft, even illumination that flatters petals and leaves without harsh shadows.
A dedicated macro flash, whether a ring flash or a twin flash, is the single biggest upgrade for close-up work. Ring flashes sit around the lens and produce flat, shadow-free light ideal for medical, jewelry, and product macro. Twin flashes on articulated arms give you directional light with more modeling, which most nature shooters prefer.
A simple diffuser over a speedlight can soften harsh shadows on a budget. I have also used white paper or a small piece of tracing paper taped in front of a phone flashlight to lift shadows on tiny products. The key is to soften the light source rather than rely on raw power.
Handheld macro photography demands faster shutter speeds and higher ISO to compensate for camera shake and subject motion. Plan on 1/200 second minimum and ISO 400 to 800 baseline. Image stabilization helps but cannot rescue a frame shot at 1/30 second handheld at 1:1 magnification.
Tripod macro photography lets you drop ISO to 100 and shutter speed to 1/30 second or slower, which produces cleaner files and lets you use smaller apertures for more depth of field. Use a remote release or the self-timer to avoid touching the camera. A focusing rail on the tripod lets you nudge focus in tiny increments without disturbing composition.
Live view with magnification is a tripod-only advantage. You can zoom into 100 percent on the rear screen and confirm focus by eye, which is far more reliable than the viewfinder at close distances. I rely on this for almost every flower and still life frame I shoot.
On Canon cameras, set the mode dial to M, then press the Q button to access aperture, shutter speed, and ISO on the rear screen. Enable Auto ISO in the red Shooting menu under ISO Speed Settings, and set Min. shutter spd. to 1/200. Turn on focus peaking under the AF tab in live view for manual focus confirmation.
On Nikon cameras, choose Manual mode and use the i button to adjust exposure settings. Auto ISO lives in the Photo Shooting menu, and Minimum Shutter Speed is right there in the same submenu. Focus peaking is available on most Z-series mirrorless bodies under the Custom Settings menu.
On Sony cameras, switch to Manual mode using the top dial and use the Fn button to bring up the quick menu. Auto ISO and Minimum Shutter Speed are in Camera Settings 1 under ISO. Focus peaking sits in Camera Settings 2 under Focus Assist, and Sony offers three peaking colors so you can pick whichever stands out against your subject.
Modern iPhones with a dedicated macro mode switch automatically when you bring the lens close to a subject. Tap and hold on the area you want sharp, slide exposure up or down with the sun icon, and shoot in good light. The phone will stack frames internally to clean up noise.
On Android phones, switch to Pro or Manual mode in your camera app. Set ISO to 100, focus to manual if available, and use a clip-on macro attachment if your phone does not focus close enough on its own. A small LED panel held off to one side gives you far better light than the built-in flash for tiny subjects.
If you are serious about close-up work, a clip-on macro lens for your phone is a worthwhile accessory. Combined with proper lighting and a steady hand, it can deliver surprisingly detailed images for social sharing or documentation.
Shooting past f/22 is the most common macro photography mistake. Diffraction softening creeps in earlier than most photographers expect, especially on high-resolution bodies. Stick to f/8 to f/16 unless your subject is dead flat and demands more depth of field.
Trusting autofocus at close distances is the second biggest mistake. Autofocus hunts and misses more often than it locks at 1:1 magnification. Use manual focus with magnification and peaking, and you will get sharp results on the first try instead of burning through frames.
Ignoring subject motion is another frequent issue. Even a still-looking flower sways in the slightest breeze. Use a faster shutter speed or a windbreak. I have clamped a small piece of cardboard to block the breeze on tiny flowers.
Pushing ISO too low when handheld is a close cousin. Reviewers on photography forums often report blurry macro shots, and the culprit is shutter speed dropping to 1/60 second in dim conditions. Raise ISO, not shutter speed, when light gets weak.
Here is the macro photography settings cheat sheet I keep taped to my camera bag. Use it as your starting point and tweak based on your subject and lens.
Handheld macro: f/8 to f/11, 1/200 second, ISO 400 to 1600, manual focus with peaking, twin flash at 1/16 power.
Tripod macro: f/8 to f/16, 1/60 second or slower, ISO 100, live view magnification, two-second timer or remote release.
Flying insects: f/8, 1/1000 second, ISO 800 to 1600, continuous autofocus with subject tracking, twin flash at full power.
Stack these values with your camera’s specific menu paths and you have a reliable workflow for any macro session.
f/8 to f/11 is the best f stop for most macro photography. This range gives you enough depth of field to keep your subject sharp without the diffraction softening that starts to appear past f/16 or f/22 on most modern lenses.
No. ISO 800 is a perfectly usable setting for macro photography in 2026, even on entry-level cameras. Raising ISO is preferable to dropping shutter speed below 1/200 second handheld, since motion blur is far more destructive than a small amount of noise.
1/200 second is the practical minimum for handheld macro photography. Faster is better for moving subjects, with 1/500 to 1/1000 second ideal for flying insects. Image stabilization helps but does not replace a fast shutter speed at close distances.
A dedicated macro flash is highly recommended but not strictly required. Natural light works on still subjects in soft overcast conditions, but a ring flash or twin flash gives you consistent exposure, freezes motion, and lets you use lower ISO and smaller apertures for sharper images.
The best camera settings for macro photography in 2026 come down to a simple recipe: f/8 to f/11 for aperture, 1/200 second shutter speed handheld, ISO 100 to 200 on a tripod, and manual focus with magnification. Add a ring flash or twin flash for consistent light and you have a workflow that works for nearly every close-up subject you point your camera at.
For more on macro gear and creative projects, check out our best macro lenses guide or our guide to forced perspective photography. Get out this week, shoot a flower, dial in your macro photography settings, and watch the tiny details come alive.