Smartphone Product Photography: Complete Guide for 2026
Most online sellers I’ve worked with own a camera powerful enough for studio-grade product shots. It sits in a pocket,…

I have been shooting with iPhones since the iPhone 4 and I still get questions every week about the best iPhone camera settings. After two months of side-by-side testing across an iPhone 14 Pro, an iPhone 15 Pro, and the iPhone 17 Pro, I can tell you which ones actually move the needle and which ones stay on default.
These are the settings I now run on every iPhone I pick up. They cover stills, video, slow motion, low light, and the new Camera Control button. I will also flag where Apple buries a feature three menus deep so you do not have to hunt for it.
If you want sharper photos, cleaner video, and fewer surprises when you reopen the app, the best iPhone camera settings for 2026 live below. You can dial them in once and forget them.
The single biggest lever for still image quality sits inside Settings, then Camera, then Formats. I open this menu first on every new iPhone.
Set Photo Mode to 24 MP. On iPhone 15 Pro, 16 Pro, 17 Pro, and 17 Pro Max, 24 MP is the sweet spot. You get a full-resolution frame, plus a 12 MP oversampled version Apple fuses in for cleaner detail. The file stays manageable and most of the optical quality is preserved.
If you do not need to crop later, 12 MP is fine and saves storage. If you print large or crop hard, jump to 48 MP, but expect files around 75 MB each.
Camera Capture: High Efficiency (HEIF). This is the modern Apple format. A 24 MP HEIF weighs roughly the same as an old 12 MP JPEG with extra room for 10-bit color. For 99 percent of users, High Efficiency is the right pick.
Pick Most Compatible (JPEG) only if you are shooting for a device or app that cannot read HEIF. That is rare in 2026, and the storage penalty is real.
Pro Format and HDR: leave this off unless you shoot in ProRAW. Most users do not need it.
Apple ProRAW is a DNG container that keeps more highlight and shadow data than HEIF. You get a real raw file you can pull into Lightroom, Capture One, or Apple Photos and push further in editing.
To turn it on: Settings, then Camera, then Formats, then toggle ProRAW and Resolution Control. On Pro models you can shoot 12 MP or 48 MP ProRAW. Off Pro models, ProRAW tops out at 12 MP.
When I use ProRAW: high-contrast landscapes at sunrise, sunset portraits with bright backgrounds, and any scene I plan to edit heavily. A 48 MP ProRAW from the main lens gives me roughly 14 stops of latitude.
When I skip ProRAW: quick social posts, casual snapshots, anything where storage matters. A 48 MP ProRAW can hit 75 to 100 MB per frame. A 12 MP ProRAW sits around 25 MB. Plan your iCloud tier accordingly if you shoot a lot.
If you are just learning, try one ProRAW shoot of a backlit scene, then the same scene in 24 MP HEIF. You will see the difference in the shadows within one slider pull.
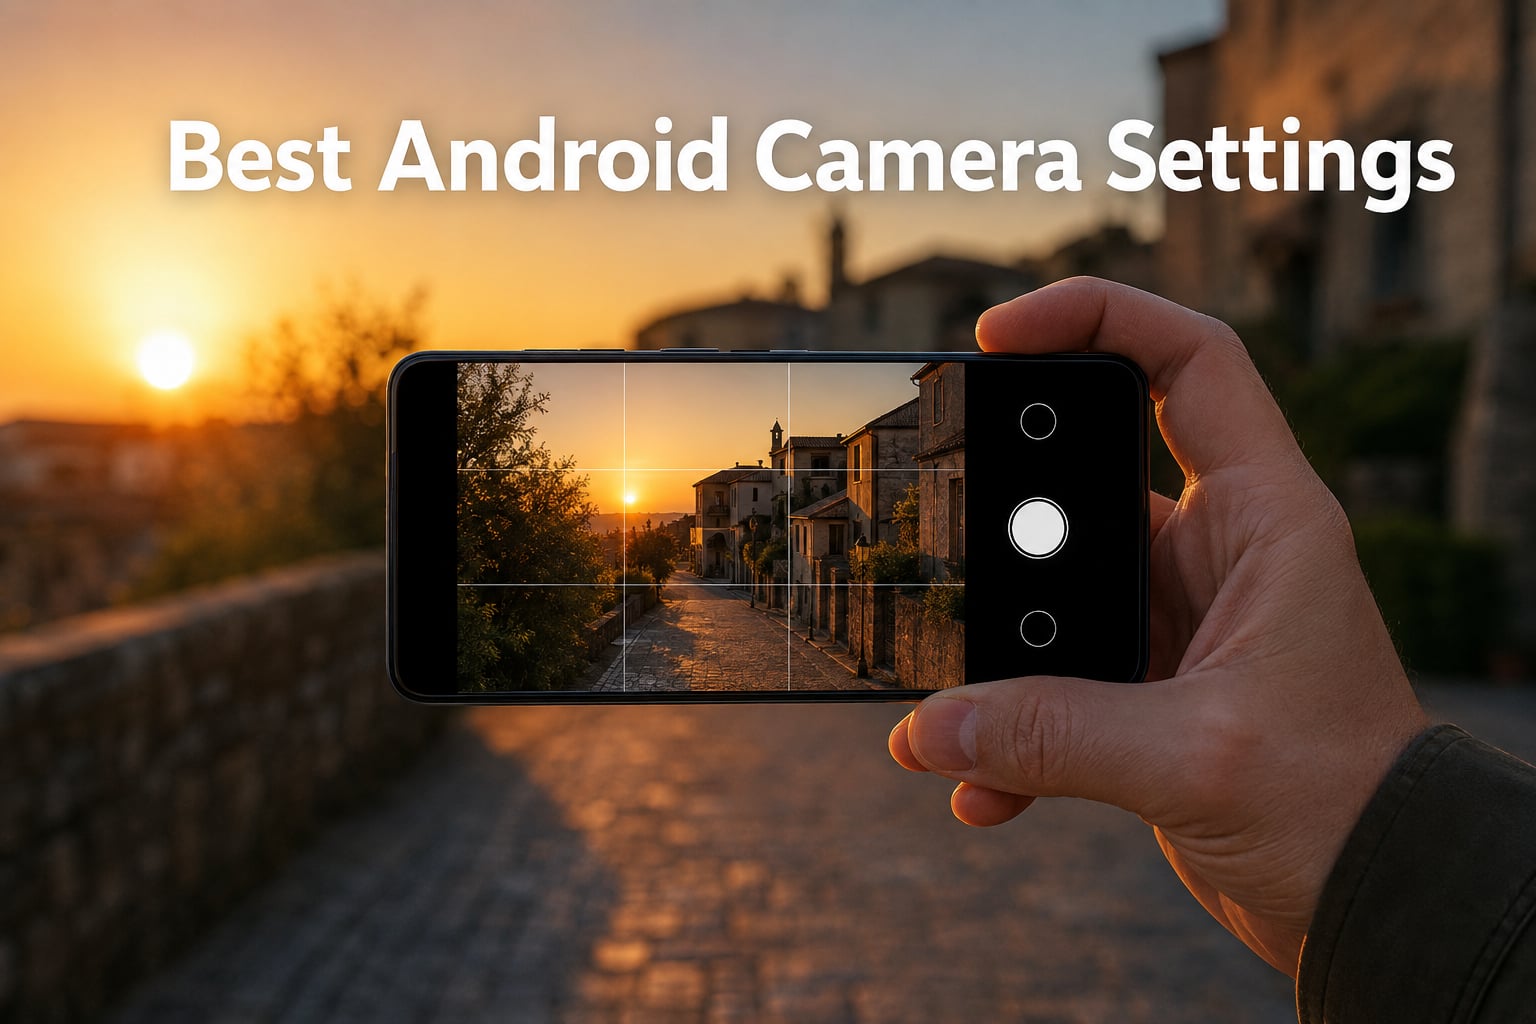
The single secret iPhone setting every photographer should know is the Grid. Turn it on via Settings, then Camera, then toggle Grid. You will get four thin lines that map to the rule of thirds.
Place key subjects on the intersecting lines, not dead center. Off-center subjects read as more intentional to the eye. Portraits pop when the eye sits on the upper third intersection. Landscapes gain depth when the horizon rests on the lower third line.
Level tool: also toggle this on inside the Camera settings menu. When you hold the iPhone perfectly level, the crosshair turns yellow. It is the fastest way to keep horizons straight without a tripod.
If you want even more help, check out our guide on iPhone focal length. Once you know which focal length you are shooting at, the grid makes even more sense.
Tap to focus is built into every iPhone. Long-press on the viewfinder to lock both focus and exposure (AE/AF Lock). A small badge appears at the top of the screen. The lock sticks until you tap again.
Use AE/AF Lock when you want consistent exposure across a burst. I use it for product shots, group photos, and any scene where the camera would otherwise hunt for a brighter or darker meter.
The exposure slider sits right next to the focus square. Drag it up to brighten, down to darken. It is hidden until you tap the viewfinder, then a sun-style control with a vertical bar appears. Lift it for backlit subjects, push it down for moody silhouettes.
For tricky light, this slider beats any preset. I meter for the highlights first, then lift the shadows in editing.
Macro Control: by default, your iPhone auto-switches to the ultra-wide lens when you get close to a subject. That switch can be jarring. Toggle it off in Settings, then Camera, then Macro Control. Now you stay on the main lens until you tap the macro flower icon manually.
For dedicated macro work, a clip-on lens helps. We tested the best options in our microscope for iPhone guide, which doubles as a deep macro review.
Night mode: when the scene is dark, a crescent moon icon appears in yellow. Tap it to set exposure time, or let it auto. I prefer 2 to 5 seconds handheld, up to 10 seconds on a small tripod. Anything longer and you need real stability.
Photographic Styles: found in the Camera app under the filters icon. Pick Standard for accurate color, Rich for punch, Warm for golden hour glow, or Vibrant for bold social looks. Once you commit to a style, it stays applied to every shot. You can also set a custom style in the Camera settings menu.
The iPhone sensor is natively 4:3. Shooting in 4:3 captures every pixel the sensor sees. Most phones default here for a reason.
Pick 16:9 only when you plan to play the photo as video, or want a wide cinematic look in a still. The 16:9 crop loses real image data on the top and bottom of the frame. Once cropped, you cannot recover those pixels.
For Instagram, print, and general use, stay on 4:3. For YouTube thumbnails or wide screen backgrounds, switch to 16:9.
If you regularly crop to 16:9 later, shoot 4:3 and crop in editing. That preserves every option.
Video is where most users leave quality on the table. Open Settings, then Camera, then Record Video, and pick 4K.
Frame rate choice: 24 fps is the cinematic standard and matches film and most streaming. 30 fps is the broadcast standard and what most social platforms expect. 60 fps is for sports or fast action where you want to slow down in post without losing smoothness.
Auto FPS: turn this on for low-light video. The iPhone will drop from 60 fps to 30 fps (or 24 fps) automatically when the scene is dark, which lets each frame sit exposed longer and stay clean.
HDR Video: keeps more highlight and shadow detail but can make editing in older tools harder. For social posts and casual video, leave HDR on. For footage you plan to color grade in DaVinci Resolve or Premiere Pro, consider turning it off so the file plays nicely with traditional workflows.
ProRes: only on Pro iPhones. ProRes is a high-bitrate codec meant for editing. Turn it on only when you are actively shooting a project that will be edited. The files are massive, often 6 GB per minute at 4K 30 fps.
Format: under Record Video you also pick High Efficiency (HEVC) or Most Compatible (H264). HEVC saves storage and is the default. Switch to Most Compatible only for older editing tools.
Slow motion lives in its own mode in the Camera app. Tap Slo-mo and pick 1080p at 240 fps for maximum slowdown, or 1080p at 120 fps for a moderate slow-mo look.
240 fps gives you 10x slowdown at 24 fps playback, perfect for splashes, sports, and quick gestures. The quality is softer than 4K, so plan lighting accordingly. Shoot outdoors or with strong light.
Action Mode: available on iPhone 14 and later. It crops in slightly and applies heavy stabilization. Use it for running, biking, or any handheld shot where you cannot stabilize the camera yourself.
Cinematic Mode: records video with a shallow depth of field and rack focus. Best for short narrative clips with people. It works at 1080p 30 fps on most models, with newer models available in 4K.
The Camera Control button on the right edge of the iPhone 16 line, and the matched control on iPhone 17, is more than a shutter shortcut. A light press launches the camera, a full press takes a photo, and a double light press opens a small settings dial inside the viewfinder.
You can swipe the dial to change exposure, zoom, depth, Photographic Styles, or tone. Default behavior is exposure, which I leave on most of the time.
Settings to tweak: open Settings, then Camera, then Camera Control. You can change click sensitivity (lighter or firmer), swap what the double light press opens, and pick whether a single press opens the camera when the phone is locked.
Third-party apps like Halide and Blackmagic Camera now support the Camera Control button. If you shoot raw or grade video, install Blackmagic Camera and assign the button to it for raw capture.
For pro users this control alone justifies the upgrade from iPhone 15 Pro to iPhone 16 Pro or 17 Pro.
One of the most common complaints I see on r/iPhoneography is the camera reverting to defaults between sessions. Toggle on Preserve Settings under Settings, then Camera, then Preserve Settings.
You can preserve: Camera Mode, Creative Controls, Exposure, Zoom, and Photographic Style. Turn on every toggle that matches how you actually shoot. For most people that means preserving Camera Mode and Creative Controls at minimum.
After enabling, the camera stays in the mode you last used. Close the app, reopen it an hour later, and it stays on Video Mode.
If you want a quick audio upgrade at the same time, see our camera microphones for interviews guide. Pair an external mic with your video and the jump in quality is dramatic.
Open Settings, then Camera, then Formats, and set Photo Mode to 24 MP. Turn on Apple ProRAW for editing-heavy shoots, and enable the Grid and Level tools for stronger composition. These three changes deliver most of the quality gain.
The Grid. Toggle it on in Settings, then Camera, then Grid. It overlays the rule of thirds on the viewfinder and instantly improves composition. Pair it with the Level tool to keep horizons straight.
Shoot in 24 MP or 48 MP ProRAW, lock AE/AF for consistent exposure, and pick a Photographic Style you commit to. Pair this with a small tripod and an external microphone and your footage reads as professional.
Use 4:3 for everything by default. It is the sensor native ratio and preserves every pixel. Pick 16:9 only when you need a wide cinematic look for video or for wide backgrounds where you will not crop later.
Set Photo Mode to 24 MP, use High Efficiency capture, and enable ProRAW when you plan to edit. For video, shoot 4K at 24 fps for cinematic footage or 30 fps for social posts.
Resolution (24 MP), Grid and Level for framing, and HDR or Smart HDR left on for natural exposure. These three cover roughly 80 percent of the quality jump most users will notice.
After two months of testing, my daily setup for the best iPhone camera settings in 2026 is simple. 24 MP HEIF for casual shoots, 48 MP ProRAW when I plan to edit, 4K at 24 fps HDR for video, and the Grid plus Level on for every session. Preserve Settings keeps everything in place when I close the app.
If you have an iPhone 16 Pro or 17 Pro, lean on the Camera Control button for exposure tweaks on the fly. If you are still on iPhone 14 Pro or 15 Pro, the AE/AF lock and exposure slider cover the same ground.
Pick the three changes you will actually use, dial them in tonight, and shoot for a week. You will see the difference within a single sunset.