Smartphone Product Photography: Complete Guide for 2026
Most online sellers I’ve worked with own a camera powerful enough for studio-grade product shots. It sits in a pocket,…

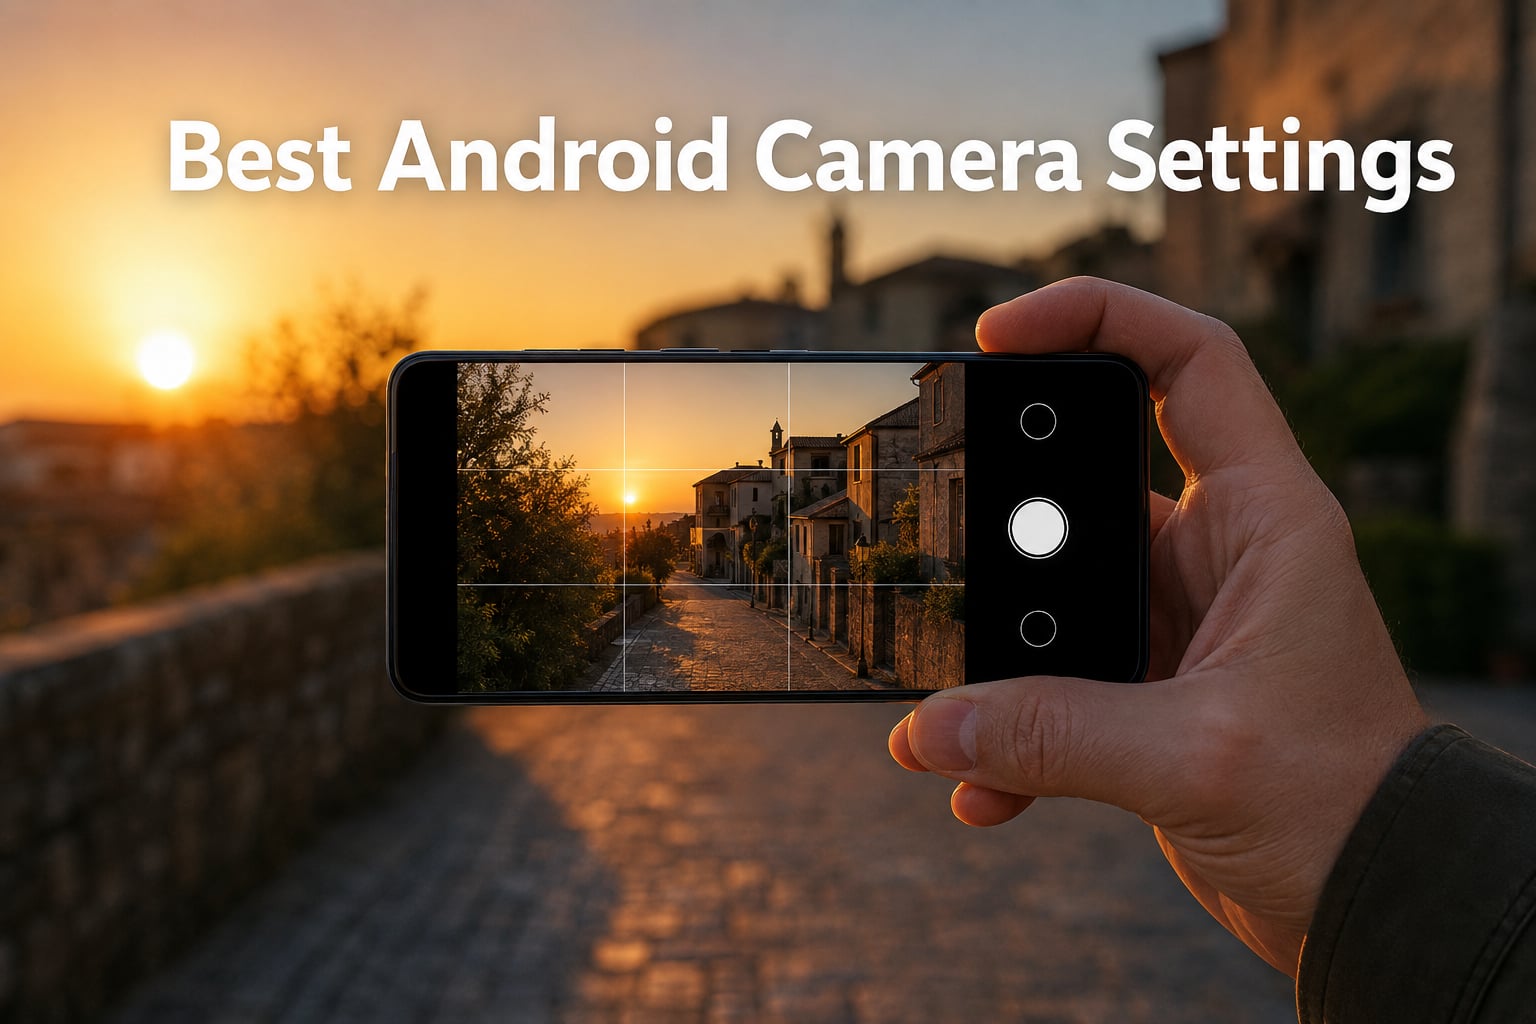
Your Android phone can take stunning photos, but the default camera settings usually hold it back. After testing more than a dozen flagships and mid-range Android cameras, our team found that three small changes consistently produce sharper, more natural images: turning on grid lines, switching to Pro mode for tricky light, and turning off the AI scene optimizer that most phones ship with by default.
This guide covers the best Android camera settings for everyday shots, portraits, landscapes, low light, and video. Whether you shoot on a Samsung Galaxy, Google Pixel, OnePlus, or Xiaomi, the same core principles apply, and we will call out where each brand hides the controls. By the end, you will have a cheat sheet you can save and pull up before your next shoot.
Android camera settings are the controls that tell your phone how to capture light: ISO (how sensitive the sensor is), shutter speed (how long the sensor records light), white balance (how colors are interpreted), focus mode, file format, and aspect ratio. The default camera app handles all of these automatically, which is convenient, but it also means the phone is guessing what you want.
That guess work is where most photo problems start. According to forum complaints we pulled from r/samsunggalaxy, the most common frustration is that “intelligent optimization” makes photos look “crispy and over-processed.” When you understand what each setting does, you can take back control and get the look you actually wanted.
Grid lines are the single highest-impact setting most people never turn on. The default camera app usually hides a toggle for them under Settings, then Grid Lines. Switch it on and your viewfinder will split into nine rectangles, giving you a built-in rule of thirds for instant composition help.
The rule of thirds says to place your subject on one of the four intersections where the grid lines cross. For landscapes, line up the horizon with the lower third. For portraits, place the eyes on the upper third. Some Samsung phones go further and offer a Golden Ratio overlay, which is a tighter compositional guide inspired by Renaissance painters and is great for more dynamic framing.
These three settings are the foundation of every photograph. Once you understand them, Pro mode stops feeling intimidating.
ISO controls how sensitive the sensor is to light. A low ISO (100 to 200) produces a clean, noise-free image and works best in bright daylight. A mid ISO (400 to 800) handles indoor lighting and overcast skies. A high ISO (1600 and up) brightens dim scenes but introduces visible grain, so use it only when you cannot get enough light any other way.
Rule of thumb: use the lowest ISO that still gives you a properly exposed shot. If your photo is too dark, raise ISO before slowing the shutter.
Shutter speed is how long the sensor records light, measured in fractions of a second. A faster shutter freezes motion; a slower shutter lets in more light but introduces motion blur if anything moves. For action shots of kids, pets, or sports, you want at least 1/500 second. For portraits of still subjects, 1/125 is usually safe. For night scenes, drop to 1/24 or slower, but only with a tripod or a stable surface.
White balance tells the camera what “white” should look like under the current lighting, measured in Kelvin (K). Lower values are warmer (orange candlelight is around 1500K), and higher values are cooler (an overcast sky is around 6500K). Around 5000K is a reliable starting point for sunny outdoor scenes. Lock white balance when you want consistent color across a series of shots, which makes batch editing much easier.
Pro mode unlocks manual control of ISO, shutter speed, white balance, focus, and exposure compensation. Most Android phones hide it under a “More” or “Pro” label in the camera mode selector. On Samsung Galaxy phones, swipe to More, then Pro. On Pixel phones, open the mode tab at the bottom and choose Pro. On OnePlus and Xiaomi, the Pro or Manual mode is on the main mode wheel.
Once inside, you will see dials or sliders for each setting. Our team recommends changing one setting at a time so you can see exactly how it affects the image. Start with ISO for brightness, then adjust shutter speed for motion control, then dial in white balance for color. Focus can stay on auto unless you are shooting something tricky like a macro subject or stars.
Different shooting situations call for different settings. Here is what we recommend for the most common scenarios.
For portraits, set ISO to 100, shutter speed to 1/125, white balance to Auto, and tap to focus on the subject’s eyes. If your phone has a dedicated Portrait mode, use it for the background blur. If you want more control, switch to Pro mode and use a wider aperture (lower f-number) if your phone exposes aperture control.
For landscapes, drop ISO to 100, set shutter speed to 1/125 or faster, and lock white balance to Daylight (around 5500K) for consistent colors across a panorama. Use the 4:3 aspect ratio to capture the full sensor area and leave room to crop later.
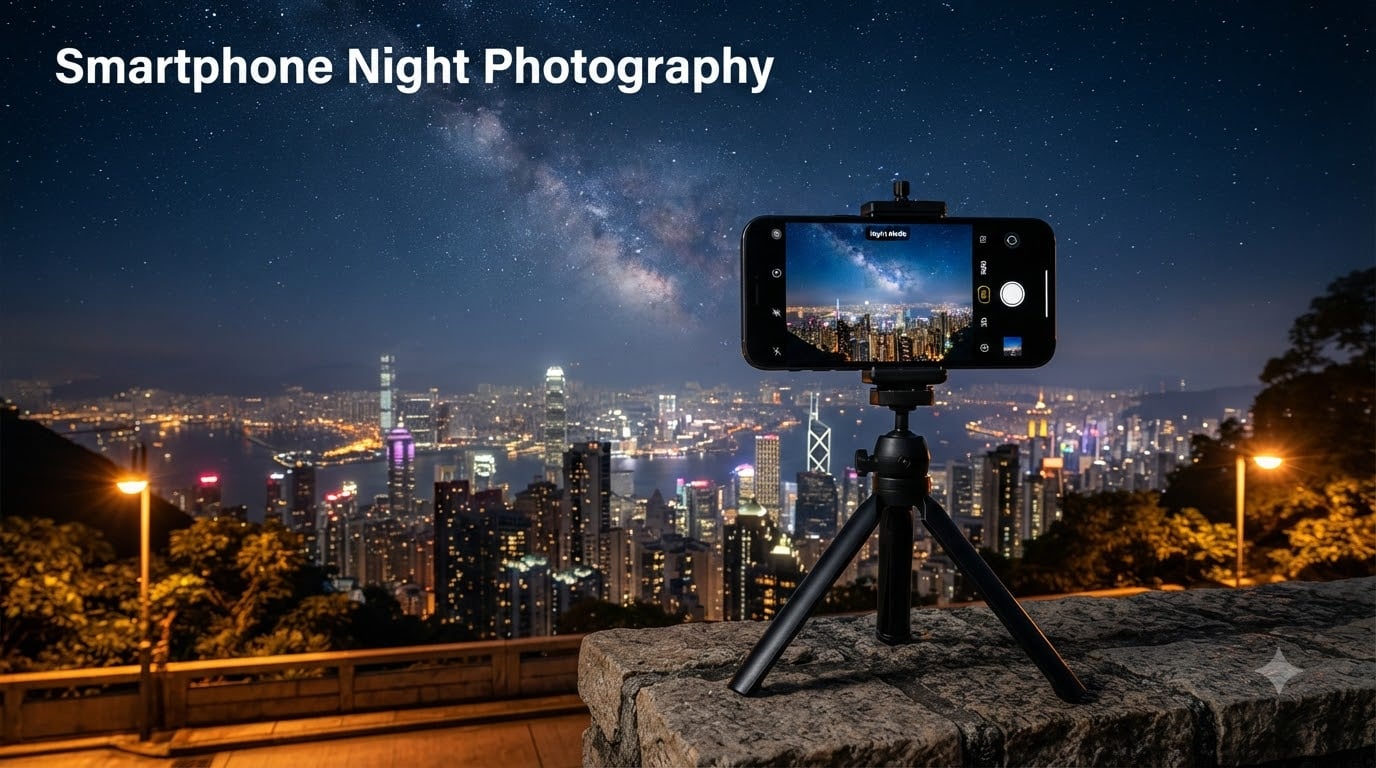
For low light, open Pro mode and push ISO to 1600 to 3200 while keeping the shutter at 1/24 or slower. Mount the phone on a tripod or rest it on a stable surface, otherwise blur will ruin the shot. Reddit users in astrophotography threads report that a 5000K white balance produces the most natural-looking stars and Milky Way colors. If your phone has a dedicated Night mode, try it first because it stacks multiple frames for cleaner results, then switch to Pro if you want a single RAW frame for editing.
File format affects how much you can edit a photo later. JPEG compresses images into small files but loses detail. HEIC is a more efficient format that keeps more quality at smaller file sizes and is the default on most modern Android phones. RAW keeps every bit of data the sensor captured, which is a huge advantage when you need to recover shadows, fix white balance, or pull detail from highlights.
Shoot in RAW if you plan to edit in Lightroom Mobile or Snapseed. Shoot in HEIC for a balance of quality and storage. Shoot in JPEG only if you are running low on space. RAW files are 5 to 10 times larger than JPEGs, so make sure you have storage available before switching.
Aspect ratio controls the shape of your image. The 4:3 ratio uses the full sensor and gives you the most pixels to work with, ideal for printing or cropping. The 16:9 ratio crops the top and bottom, which is fine for cinematic video or widescreen social posts. The “Full” or “4:3 50MP” option uses the high-resolution sensor, but on most phones it disables pixel binning and produces noisier results, so stick to the standard 4:3 for everyday use.
HDR (high dynamic range) blends multiple exposures to keep both shadows and highlights detailed. It helps in high-contrast scenes like a sunny sky above a shaded foreground, but it can introduce halos around high-contrast edges and slows down the shutter. Turn HDR on for landscapes and turn it off for portraits and action shots.
Resolution usually defaults to 12MP on modern phones because pixel binning combines four pixels into one for better low-light performance. The 50MP or 108MP mode can capture more detail in good light, but the file size is much larger and the per-pixel quality is lower. For most situations, the default resolution is the right call.
For most video, shoot 4K at 30fps. That gives you enough resolution to crop and stabilize in post while keeping files manageable. Switch to 60fps if you are recording fast action and plan to slow it down to half speed, or if you want the smoother motion for a sports event. Turn on Auto FPS in dim conditions so the camera drops to 30fps automatically and lets in more light.
For stabilization, use the main lens rather than the ultrawide or telephoto, because main lenses almost always have better optical stabilization. If your phone offers an “Enhanced stabilization” or “Super Steady” toggle, turn it on for handheld walking shots. Lock exposure and focus before you hit record by long-pressing the viewfinder, so the camera does not hunt during the take.
This is the most-requested fix in the forums we analyzed. AI scene optimizers boost saturation, sharpen edges, and smooth skin, often to a fault. The good news is that almost every modern Android phone lets you turn it off.
On Samsung Galaxy phones, open the camera app, tap the gear icon, and toggle off Scene Optimizer. On Pixel phones, the equivalent is under Settings, then Advanced, and is called Social Media or Face Retouching (set it to Off). On OnePlus and Xiaomi, look for an AI toggle in the camera mode bar. The Reddit thread that inspired this section reported that turning off these features produced softer, more natural-looking photos that were easier to edit, while the AI-on version looked “crispy and over-processed.”
The default camera app is good, but third-party apps unlock more control. Open Camera is a free, open-source app with a full Pro mode and is great on older or budget phones. ProCam X is a paid app with RAW support, manual focus peaking, and exposure bracketing. Halide is a premium app that pairs especially well with Pixel phones and offers a clean, dial-based Pro interface. If your default app feels limited, any of these will give you more room to grow.
Choosing the right lens for the job matters as much as choosing the right app, and our guide to 10 Best Camera Microphones for Interviews covers gear that complements your phone video work. If you ever decide to step beyond the phone for dedicated monitoring, our Ring Floodlight Camera review walks through the trade-offs between smart cameras and purpose-built shooters.
Save this cheat sheet for quick reference. These are the settings our team reaches for most often.
For broader context on how mobile imaging stacks up against dedicated gear, the data in our police body camera statistics analysis and security camera statistics report show just how variable camera performance can be across devices and use cases.
Turn on grid lines for better composition, switch to Pro mode to control ISO, shutter speed, and white balance manually, shoot in RAW or HEIC instead of JPEG for more editing flexibility, and turn off AI scene optimization if your photos look over-processed. Together these changes produce noticeably sharper, more natural photos.
The big three camera settings are ISO (sensor sensitivity to light), shutter speed (how long the sensor records light), and white balance (how the camera interprets color temperature). Mastering these three settings covers around 80 percent of the exposure and color decisions in any photo.
There is no single perfect setting because every scene is different, but a reliable starting point for daylight is ISO 100, shutter 1/125, and white balance around 5500K. Adjust from there based on motion, light level, and the color of your lighting.
Use the main lens rather than zoom or ultrawide when quality matters, keep your lens clean, lock focus and exposure by long-pressing the viewfinder, shoot in good light whenever possible, and edit in an app like Lightroom Mobile to fine-tune color and exposure after the fact.
The five basic camera settings on Android are ISO, shutter speed, white balance, focus mode, and exposure compensation. Together they control how bright, sharp, colorful, and well-exposed your photo will be. Most default camera apps hide these in a Pro or Manual mode.
Use Auto for quick, casual shots and any time the scene is well lit and the subject is not moving. Switch to Pro mode when the light is tricky, when you want a specific look, when you are shooting RAW for editing, or when you need a consistent white balance across a series of photos.
The best Android camera settings are the ones that match the scene in front of you, and the goal of this guide is to give you a framework rather than a fixed recipe. Start with grid lines and a Pro mode tour of your default camera app, then build from there. Turn off AI scene optimization if your photos look over-processed, switch to RAW when you plan to edit, and use the cheat sheet above as a starting point whenever you face a new shooting situation.
If you want to push your video work further, our guide to the 10 Best Camera Microphones for Interviews covers audio gear that pairs well with the video settings above. Get the settings dialed in 2026, practice on a few everyday scenes, and you will see a real difference in the photos you bring home.