Smartphone Product Photography: Complete Guide for 2026
Most online sellers I’ve worked with own a camera powerful enough for studio-grade product shots. It sits in a pocket,…

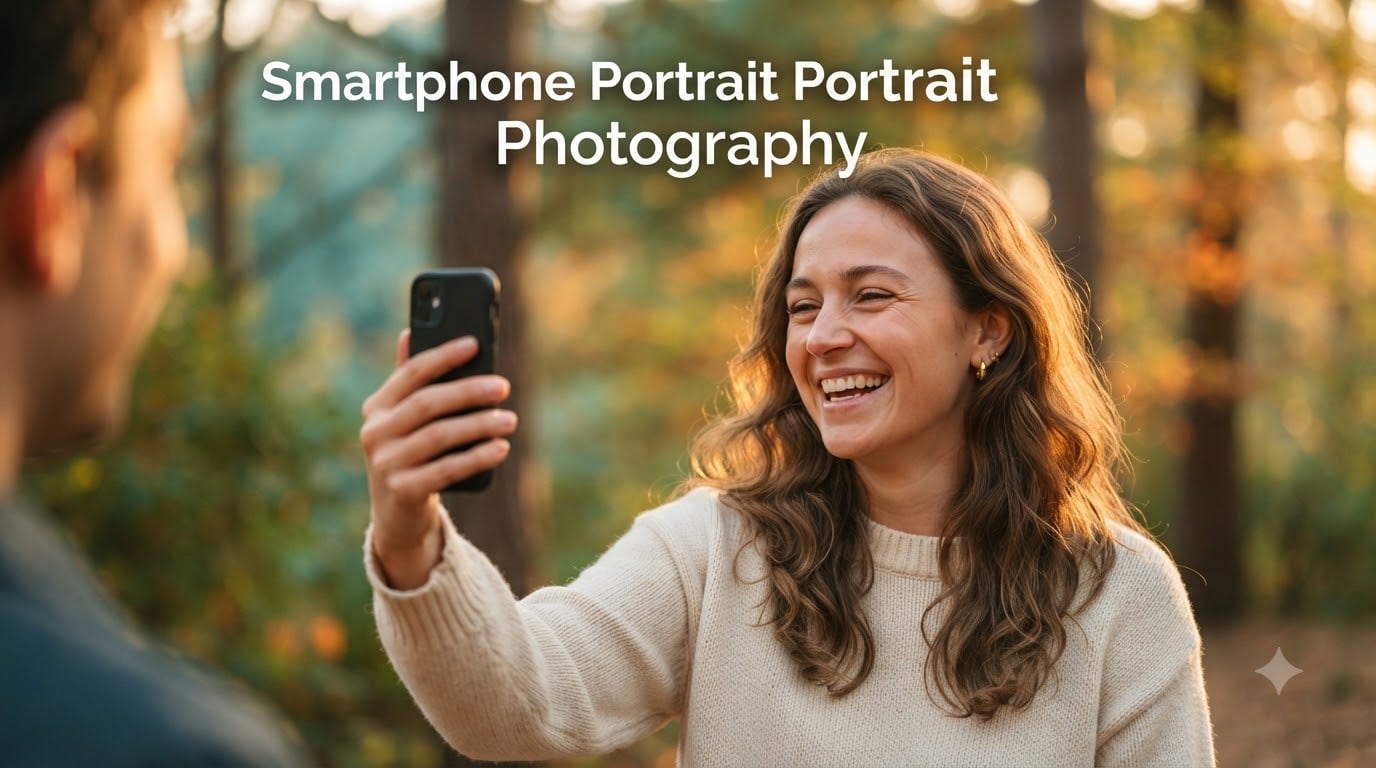
Smartphone portrait photography is the art of capturing flattering, professional-looking photos of people using only your phone. Modern phones combine multiple lenses, computational photography, and Portrait mode software to mimic the shallow focus results that used to require a dedicated camera.
I’ve spent the last several years shooting portraits almost exclusively on phones, from golden hour sessions on the coast to quick indoor headshots near a south-facing window. The techniques that follow come directly from that real-world work, not a marketing brochure.
In this guide, I’ll walk you through the exact settings, lighting setups, composition choices, and editing moves that produce DSLR-quality results with the camera in your pocket. Updated for 2026, these are the methods I trust every time I pick up my phone.
Smartphone portrait photography is taking photos of people with a mobile phone using intentional lighting, composition, posing, and depth-of-field control. Portrait mode uses software and dual or triple lenses to mimic a fast prime lens with creamy background blur (bokeh).
Unlike casual snapshots, this style treats the subject as the clear focus. Everything else – light, framing, distance, lens choice – is tuned to flatter the person in the frame.
Three things separate a snapshot from a portrait: a defined subject, intentional light, and a clean background. Nail those and you are doing portrait photography, even on the oldest phone in a drawer.
Portrait mode works best when you stand 2 to 8 feet from your subject. Inside that range, the camera reads depth accurately and the bokeh looks natural instead of cut-out.
On iPhone, swipe to Portrait mode and tap the 1x or 2x icon. On Pixel and Samsung, open Portrait in the camera mode selector. The phone does the rest.
Long-press the screen to lock focus on the closest eye. A small AE/AF Lock banner confirms the lock. This stops the camera from hunting between the subject and background if someone walks past.
If the frame looks too bright or too dark, swipe up or down on the sun icon to fine-tune exposure. A clean exposure always reads better than a fixed one.
Below 2 feet, faces distort and Portrait mode often fails to find edges. Beyond 8 feet, depth data gets noisy and the blur looks artificial. Stay inside the window.
When you need to fill the frame, switch to 2x or 3x zoom rather than walking closer. That habit alone will fix 80% of unflattering nose distortion.
Natural light near a large window is the single best light source for smartphone portrait photography. It is soft, directional, and free.
Position your subject 2 to 4 feet from the window with the light landing on them at roughly 45 degrees. Turn them slightly away from the light for softer shadows on the cheek.
Golden hour, the hour after sunrise and before sunset, gives warm, low-contrast skin tones that no filter can fully fake. Open shade under a tree or awning gives the same flattering wrap-around light on bright days.
Avoid direct midday sun. It creates harsh shadows under the eyes and nose, and phones struggle to recover highlight detail in skin.
When natural light is not available, a small ring light placed just past the phone solves the problem. Set it at eye height and slightly above. The catchlights in the eyes will sell the portrait instantly.
Diffuse any small LED with a thin white handkerchief if the light feels too harsh. One sheet of fabric turns a hot spot into a flattering wrap.
The rule of thirds is the fastest composition upgrade. Turn on the grid overlay in your camera settings and place the subject’s eyes along the upper third line.
Off-center placement creates visual tension and feels more natural than dead-center framing. Reserve centered framing for symmetrical, formal shots.
Look for lines that lead to the subject: a path, a railing, a doorway. They pull the viewer in. Busy backgrounds pull the viewer away.
Scan the background before pressing the shutter. Move two steps left or right to clear a distracting sign, pole, or bright window from behind the head.
Leave breathing room in the direction the subject is looking. Tighter crops feel intimate; wider crops with negative space feel cinematic.
Shoot a little wider than you think you need. Cropping later gives more options than zooming at the moment of capture.
Ask the subject to push their chin slightly forward and down. This single move defines the jawline and removes a double chin in almost every face.
Weight on the back foot with the front knee slightly bent creates a relaxed stance. Locked knees always read stiff.
Give hands something to do: hold a coffee cup, rest a hand in a pocket, or touch the face lightly. Floating hands always look awkward.
Angle shoulders 30 to 45 degrees away from the camera. A full-frontal pose flattens the body. A slight angle adds depth.
The best smartphone portraits often come between poses. Talk to your subject, ask about their week, and shoot during the conversation. A real laugh beats a posed smile every time.
Burst mode helps. Hold the shutter and let the camera pick the peak frame.
2x zoom on a smartphone uses a dedicated telephoto lens and produces clean, distortion-free portraits with pleasing facial proportions. It mimics the look of a 50mm prime.
3x zoom mimics an 85mm prime and gives even stronger background compression, but the lens is smaller and needs more light to perform.
Use 1x for environmental portraits where the scene matters. Use 2x as the default for head-and-shoulders portraits. Use 3x for tight headshots in good light or when your subject is farther away.
Digital zoom above the optical range crops the sensor and reduces quality. Walk closer or use 2x/3x optical zoom instead.
The wide main lens (24mm equivalent) stretches features when used up close. This makes noses look larger and ears look smaller. Stepping back and zooming in solves the problem.
If you want a similar guide for other creative styles, our forced perspective photography guide covers the same principle from the opposite angle.
Editing is where a good photo becomes a great one. The goal is to enhance, not transform. Subtle adjustments almost always look more flattering than heavy filters.
Use the native editor in your Photos app or a free tool like Snapseed or Lightroom Mobile. All three cover the basics.
Start with exposure, then contrast, then highlights and shadows. Pull highlights down to recover skin detail. Lift shadows slightly to open up the face.
Warm the white balance a touch if the photo looks clinical. Skin looks best in the 5000-5500K range.
Use the healing or face-aware tool for blemishes only. Avoid full skin smoothing – it removes texture and makes people look plastic.
Sharpen the eyes last. A small increase in clarity or sharpening, masked to the eyes, makes the portrait pop.
Both iPhone and modern Android phones (Pixel, Samsung Galaxy, OnePlus) produce excellent portraits. The differences show up in edge detection and skin tone.
Pixel phones tend to render cooler skin tones with sharp edge cutouts. iPhones lean slightly warmer and softer. Samsung sits in between with a punchy, saturated look.
All three handle hair and glasses well in good light. Flyaway hairs and busy backgrounds still challenge every phone. Touch up by manually blurring the worst edges in editing.
For tricky hair, shoot against a simple background. Solid colors give the algorithm the cleanest depth map to work with.
If skin tone accuracy matters most, Pixel is the safer bet. If you prefer a warmer, more film-like look, iPhone wins. Samsung gives the most aggressive background blur out of the box.
If you are exploring other photo genres and want to compare styles, our jewelry photography guide and toy photography guide use similar lighting setups with different subjects.
Five small mistakes account for most failed smartphone portraits. Fixing them takes seconds.
First, a dirty lens. Wipe it with a microfiber cloth before every shoot. Smudges cost more sharpness than any setting.
Second, shooting in bad light. Low light kills Portrait mode. Add a ring light or move to a window.
Third, standing too close. Step back and zoom in. Always.
Fourth, busy backgrounds. Scan the frame before tapping the shutter. Two steps in any direction usually clears the clutter.
Fifth, over-editing. Heavy filters date instantly. Subtle adjustments age well.
For more on building a personal style across genres, our snow photography guide covers a very different environment with similar fundamentals.
Sensor size, lens quality, and software matter. Megapixel count barely matters. A 12-megapixel sensor with large pixels beats a 200-megapixel sensor with tiny pixels in low light every time.
Look for phones that have a dedicated 2x or 3x telephoto lens rather than relying on digital zoom. The optical lens is what produces clean, distortion-free portraits.
A main sensor with optical image stabilization, a telephoto lens with at least 2x optical zoom, and computational Portrait mode with adjustable background blur.
For broader context on how camera technology trends are shifting the industry, our photography industry statistics analysis breaks down where smartphone photography sits in the market.
One portrait a day for 30 days is enough to see real improvement. Keep the lighting setup simple and the subject consistent so you can isolate what changed.
Shoot the same person in the same window light for a week. Move the angle, change the crop, try 2x and 3x. Compare the results on a large screen, not just the phone.
Pick the three best shots from each week and ask why they work. Was it the light, the pose, the lens? Naming the variable makes it repeatable.
By day 30, you will have a personal checklist that no generic guide can give you. That is the real value of practice.
Phones with a dedicated 2x or 3x telephoto lens and strong computational Portrait mode produce the best results. The current top performers include the iPhone 15 Pro and Pro Max, Google Pixel 8 Pro, and Samsung Galaxy S24 Ultra. Sensor size, optical image stabilization, and software edge detection matter far more than megapixel count.
Use Portrait mode, place your subject 2-8 feet from the camera, stand near a window for soft natural light, tap to focus on the closest eye, and use 2x zoom rather than walking closer. Compose with the rule of thirds and review the background before pressing the shutter.
Yes. Most modern Android phones from Samsung, Google Pixel, OnePlus, Xiaomi, and others include Portrait mode. The feature is sometimes called Live Focus, Portrait, or Dual Camera Portrait. Edge handling varies by phone but has improved sharply since 2022.
Stand 2 to 8 feet from your subject for the most natural depth map and clean edge detection. Closer than 2 feet distorts facial features and confuses the depth algorithm. Farther than 8 feet gives noisy depth data and artificial-looking blur.
Portrait mode can look blurry for three common reasons: dirty lens (wipe it), low light (add a light source or move to a window), or wrong distance (stay between 2 and 8 feet). Hair edges and glasses can also fool the algorithm – shoot against a clean background for best results.
Smartphone portrait photography is one of the most accessible crafts in 2026. The hardware is already in your pocket. What separates a snapshot from a portrait is intent: where you stand, how you light the face, and whether you back up before you zoom.
Pick one tip from this guide and apply it on your very next shoot. Then add another next week. After a month of small, specific improvements, the difference will show in every frame.
The best smartphone for portrait photography is the one you have with you, used by someone who practiced the basics.