
Rifle Scope Objective Lens Diameter: Complete Guide 2026
Complete technical guide to rifle scope objective lens diameter. Learn how to choose the right size for your shooting needs,…

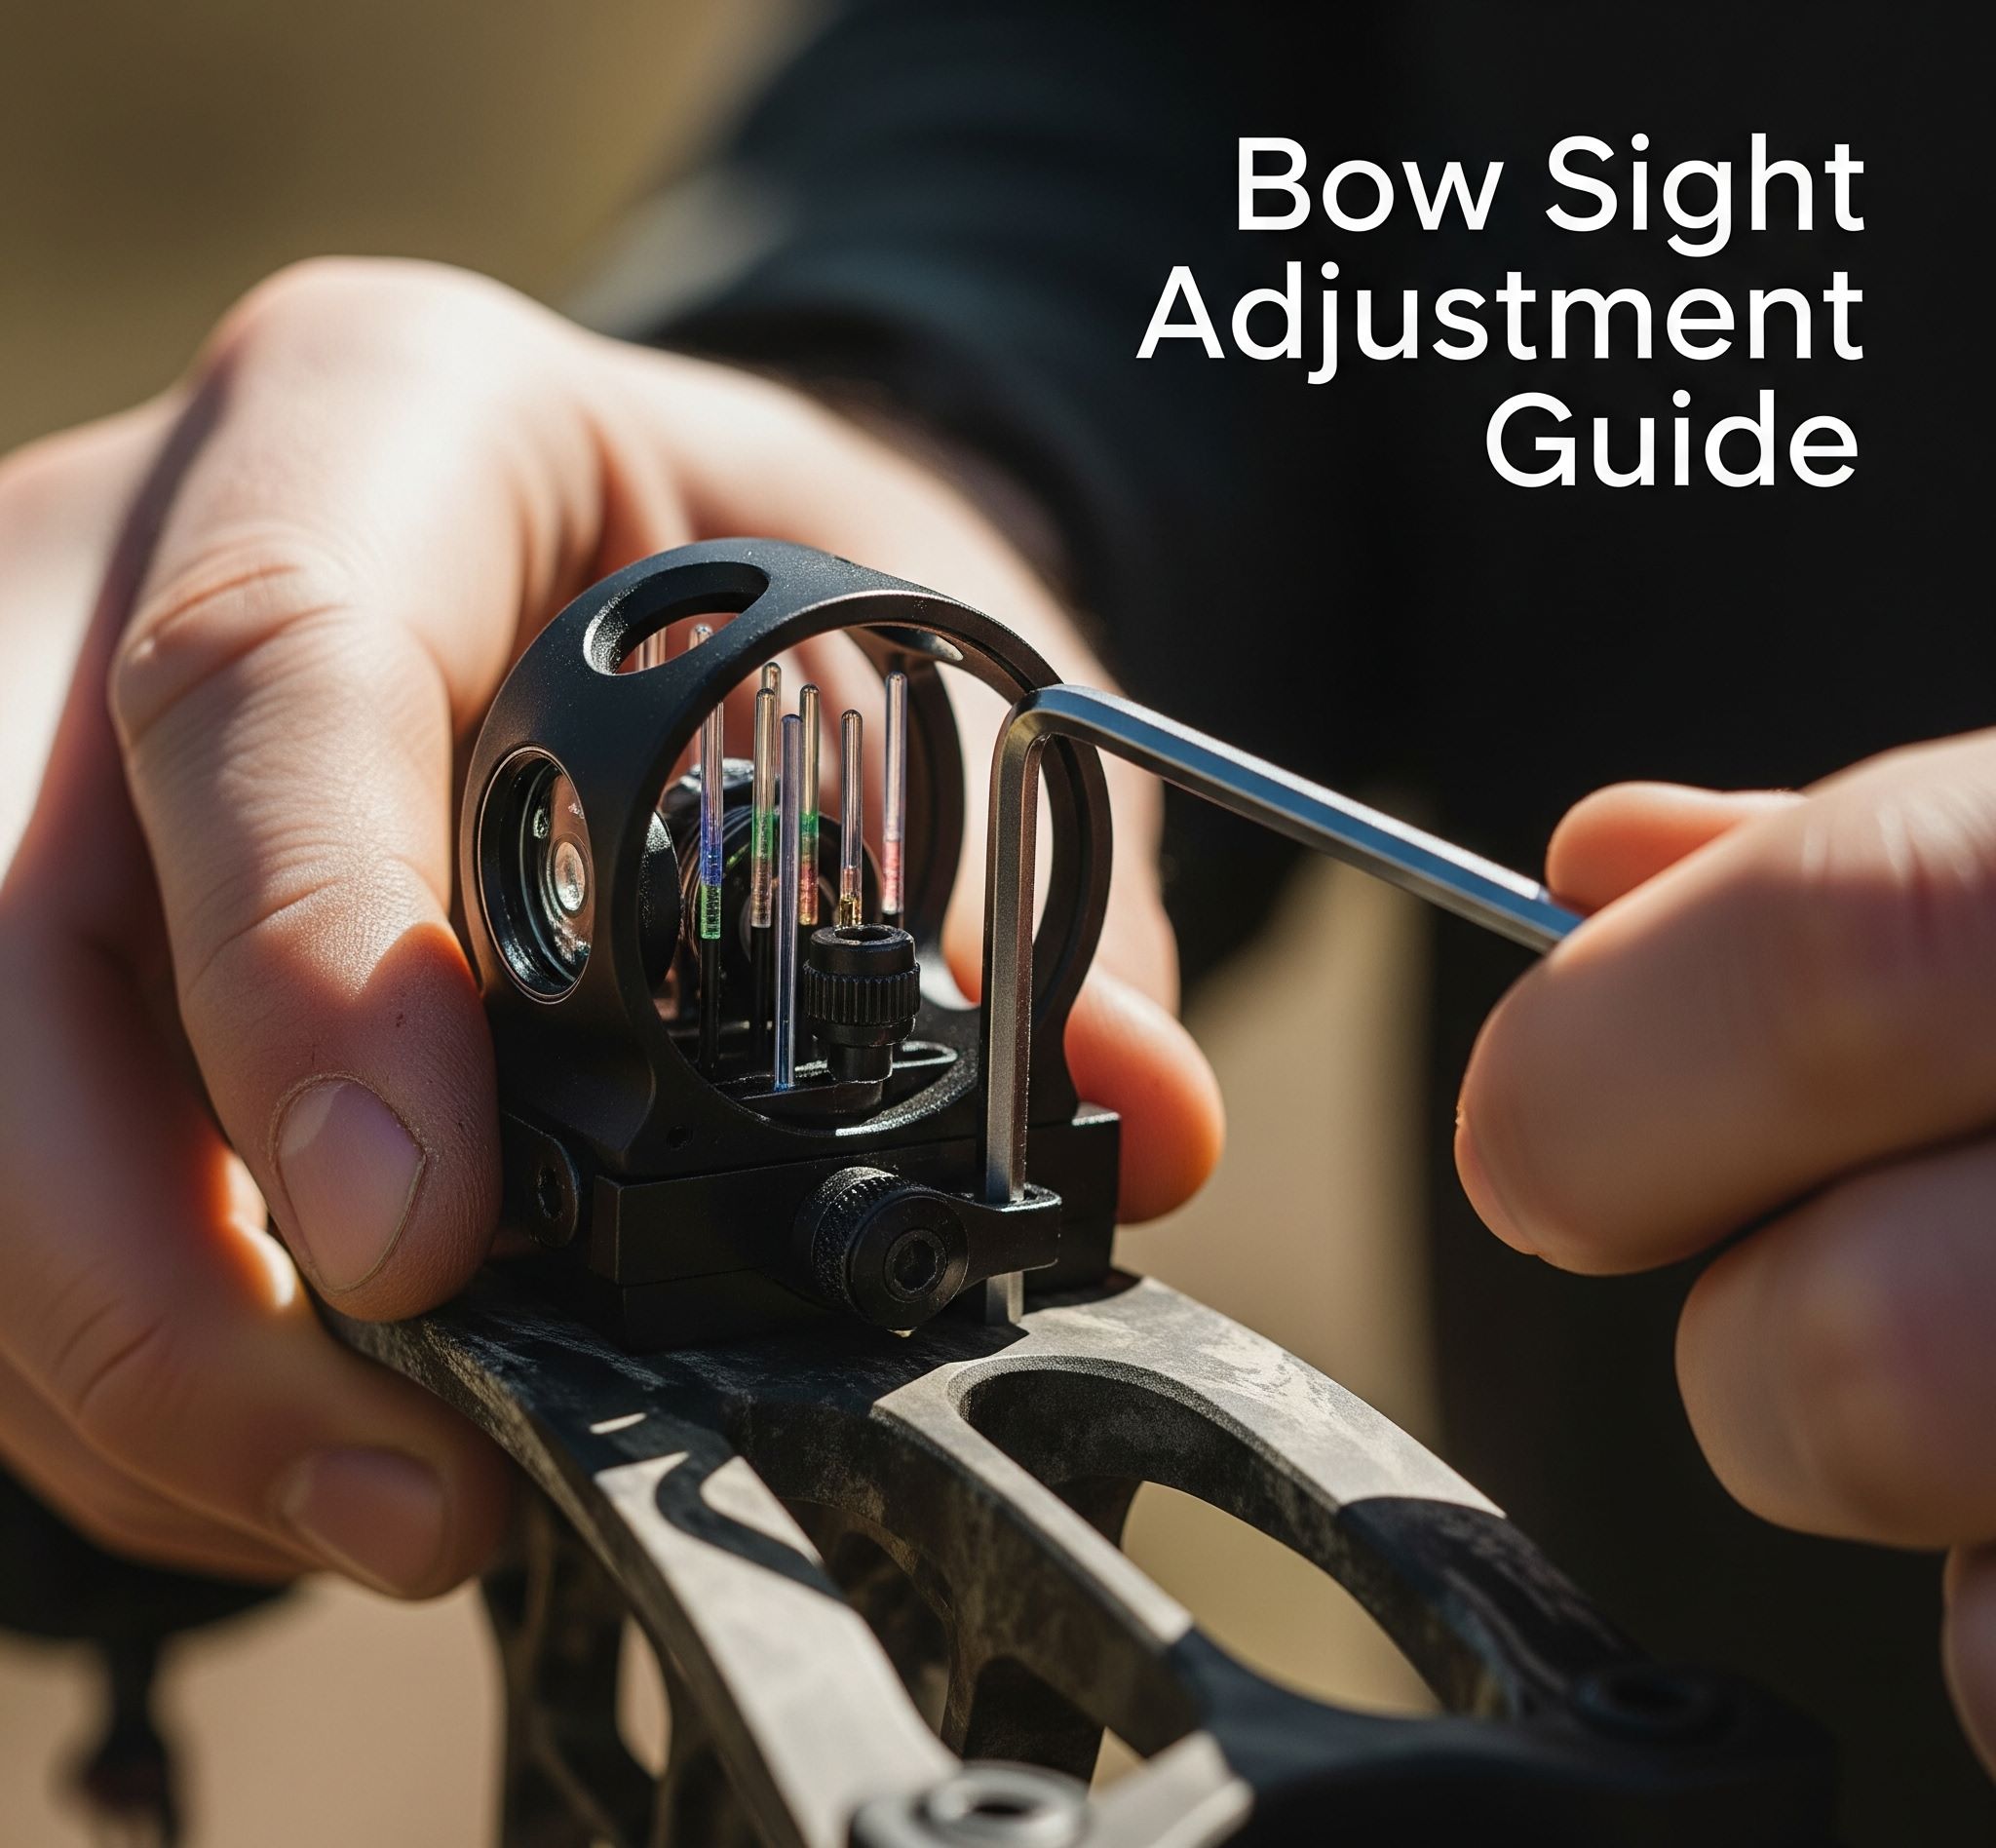
When your arrows hit consistently in one direction, move your sight in that same direction. This fundamental principle, known as the golden rule of bow sight adjustment, is the key to accurate shooting. Whether you are sighting in a new compound bow or fine-tuning your existing setup, understanding how to adjust bow sights correctly transforms frustrating misses into satisfying center hits.
A properly calibrated bow sight does more than just improve accuracy. It builds confidence, reduces wasted arrows, and makes every practice session more productive. This comprehensive guide covers everything from basic windage and elevation adjustments to advanced 3 axis tuning, ensuring you have the knowledge to achieve pinpoint precision with every shot.
Before beginning the sight in process, you need to understand how your bow sight works. The sight housing contains your aiming reference points, whether that is multiple pins for different distances or a single adjustable pin. The adjustment mechanisms control two primary movements: windage moves your pin or sight left and right, while elevation raises and lowers your aiming point.
Modern bow sights also include several supporting components that affect your accuracy. The bubble level ensures your bow remains vertical during the shot, preventing cant-induced errors. Micro-adjustment clicks allow for precise tuning without guesswork. Understanding these elements helps you make informed decisions when fine-tuning your setup.
The foundation of all bow sight adjustment follows one simple rule: move your sight toward your arrow group until your arrows hit where you aim. This means if your arrows consistently hit left of the target, move your sight left. If they are hitting high, move your sight up. The reason this works is counterintuitive to many beginners, but it is essential for proper sight in.
This principle applies to both windage and elevation adjustments equally. When you move the sight in the direction of your error, you are effectively adjusting where your pin appears relative to your arrow trajectory. The goal is to align your pin with the actual point of impact, creating a unified aiming solution.
Understanding this concept prevents the most common mistake archers make when learning to sight in their bow: moving the sight in the wrong direction and chasing their arrows across the target repeatedly.
Proper sight adjustment requires patience and a systematic approach. Follow these steps to achieve accurate results whether you are setting up a multi-pin sight or a single-pin slider system.
Multi-pin sights offer flexibility for various yardages but require careful setup to maximize their potential. The key is establishing proper pin gap spacing between your yardage marks.
Single-pin or slider sights provide maximum precision for experienced archers. The adjustment process differs slightly because you do not need to worry about pin gap spacing between multiple aiming points.
Before making any sight adjustments, verifying your center shot alignment is critical. The center shot is the horizontal position of your arrow rest relative to the sight housing, and it affects your entire sighting system.
To check your center shot, use a bow square to measure from the bowstring to the center of the arrow rest. This measurement should match the center of your sight window. An incorrect center shot causes persistent horizontal deviation that no sight adjustment can fully correct.
When your center shot is properly aligned, your sight housing can move freely within the sight window without contacting the bow during the draw cycle. This allows for full windage adjustment range and prevents physical interference that could affect your shot.
Your peep sight works in conjunction with your bow sight to provide consistent alignment. If your peep sight is rotated or installed incorrectly, it creates alignment errors that make proper sight adjustment impossible.
To check peep sight alignment, come to full draw and look through your peep sight while keeping both eyes open. You should see a clear circle through the peep with your bow sight pins visible at the center. If the peep is rotated, you will see the edge of the housing or string interfering with your view.
When adjusting for different yardages with a single-pin sight, ensure your peep sight remains properly aligned with your peep locator on the string. Consistent peep alignment ensures your line of sight through the peep matches your sight housing alignment at all distances.
Sometimes watching the process helps clarify the techniques. This video demonstrates the sight in process step by step, showing proper adjustment methodology and common mistakes to avoid.
For archers hunting from tree stands or shooting in mountainous terrain, understanding 3 axis adjustment is essential. The three axes ensure your sight remains accurate regardless of the shooting angle, eliminating the left and right misses that plague hunters on steep shots.
The first axis runs horizontally through your sight, controlling the perpendicular alignment of your sight to the bowstring. This is typically pre-set by manufacturers and rarely needs adjustment during normal use. However, verifying first axis alignment during initial setup ensures your sight is perpendicular to the bow.
The second axis refers to the clockwise and counterclockwise rotation of the sight housing. Proper second axis adjustment ensures your pins remain plumb with gravity regardless of how you hold your bow. This is critical for consistent accuracy on flat ground shots.
When shooting uphill or downhill at angles greater than 20 degrees, the third axis prevents your bubble level from giving false readings. Without proper third axis adjustment, your sight will appear level at full draw but cause left or right misses on steep angles.
The third axis adjustment becomes increasingly important as shooting angles steepen. For tree stand hunters, properly tuning the third axis means the difference between making ethical shots and wounding game due to sight misalignment.
Use this chart as a quick reference when making sight adjustments in the field. Print a copy to keep with your bow maintenance kit for quick access during sighting sessions.
| Arrow Impact | Move Sight Direction | Adjustment Type |
|---|---|---|
| Hitting Left | Move Sight Left | Windage |
| Hitting Right | Move Sight Right | Windage |
| Hitting High | Move Sight Up | Elevation |
| Hitting Low | Move Sight Down | Elevation |
| Left on Uphill Shots | Adjust Third Axis | Third Axis |
| Right on Downhill Shots | Adjust Third Axis | Third Axis |
Recurve bow sight adjustment follows similar principles to compound bow sighting in but with unique considerations. Recurve archers must account for the plunger button, which affects arrow flight and requires different tuning techniques.
The sight tape system used by recurve archers requires careful initial calibration. After sighting in at 18 meters and 30 meters, match those marks to factory-printed sight tapes to determine which works best for your specific bow and arrow combination.
Even experienced archers can fall into these adjustment traps. Avoiding these mistakes saves time and arrows while leading to faster, more accurate sighting results.
Fatigue degrades shooting performance significantly, making it impossible to accurately assess sight settings. When we get tired, our form breaks down and arrow groups spread, leading to incorrect conclusions about sight position. Always adjust your sight when you are fresh and shooting your best.
Small, incremental changes produce the best results. At close distances, you need larger adjustments to see impact point movement. At longer ranges, smaller adjustments make more difference. Over-adjusting leads to chasing your arrows and wasting time.
Poor shooting form cannot be corrected with sight adjustments. Inconsistent anchor points, grip pressure variations, and release inconsistencies all create apparent sight errors. Ensure your technique is solid before blaming the sight for accuracy problems.
After adjusting for one distance, always verify your other pins or sight marks have not been affected. Each adjustment can potentially influence other settings, so systematic verification prevents surprises in the field.
When adjusting your sight, maintain a vertical bow position throughout the process. Canting the bow introduces errors that affect your adjustment accuracy. Use the bubble level consistently to ensure your bow remains perfectly upright during all sighting procedures.
Quality equipment complements proper technique. Having the right tools makes the sight in process faster and more accurate.
Quality sights with micro-adjustment capabilities provide precise click-style tuning that makes maintaining your sight settings much easier. Look for sights with clear measurement markings on adjustment knobs so you can record your settings for different hunting scenarios.
When your sight is not performing as expected, systematic troubleshooting identifies the root cause. These common issues have straightforward solutions. Regular archery maintenance prevents many sight issues before they affect your accuracy.
| Problem | Possible Cause | Solution |
|---|---|---|
| Inconsistent groups | Loose sight components | Check and tighten all screws |
| Good on flat, off on hills | Third axis misalignment | Adjust third axis at full draw |
| Pins will not reach distance | Sight bracket too high | Lower entire sight bracket |
| Groups move between sessions | Form inconsistency | Focus on shooting technique |
| Arrows hit left consistently | Center shot or windage error | Verify center shot alignment first |
| Arrows fly differently up vs down | Third axis not set | Perform third axis adjustment procedure |
Developing proficiency in bow sight adjustment requires structured practice. These exercises build the skills needed to maintain accurate sight settings in any condition.
If your arrows consistently hit below your target when aiming at the center, you need to move your sight down. This follows the golden rule: move your sight in the direction of your arrow group. Lower impact means your pin is sitting above the true impact point, so lowering the sight brings your aiming reference into alignment with where your arrows actually travel.
When arrows consistently hit left of your aim point, move your sight left. The confusion many archers experience comes from thinking the sight should move opposite to the error, but this is incorrect. Your pin represents where the arrow will go, so moving the sight in the direction of the error aligns the pin with the actual impact point.
High right impact requires two separate adjustments. First, move your sight right to correct the horizontal error. Second, move your sight down to correct the vertical error. Make the windage adjustment first, verify your horizontal alignment, then address the elevation issue. This sequential approach prevents confusion about which adjustment is having what effect.
Most compound bow hunters set their top pin at 20 yards as a starting point. This distance is close enough for accuracy in typical hunting scenarios while providing enough adjustment range to account for closer shots. From there, space additional pins at 10-yard intervals up to your desired maximum range. Competition archers often sight in at specific distances relevant to their discipline, while 3D archers typically establish pins that match common course distances.
Check your sight adjustment at the beginning of each season and after any significant impact or transport. Regular shooters should verify settings monthly, as vibration and use can cause slight shifts over time. If you notice your groups suddenly spreading or your point of impact changing, check your sight before assuming it is a form issue.
Avoid making permanent sight adjustments based on windy conditions. Wind affects arrow flight during each shot and creates variable impact points that do not reflect your actual sight settings. Instead, learn to compensate for wind by aiming appropriately. Save permanent adjustments for calm conditions when you can accurately assess true sight positioning.
This typically indicates a third axis issue. Even with proper second axis alignment, if the third axis is not correctly set, the sight bubble will appear to drift as your shooting angle changes. The third axis ensures your sight maintains proper alignment regardless of the cant angle of your bow when shooting uphill or downhill.
For initial setup, always adjust the entire housing first to get your primary pin (usually your 20-yard pin) centered. Only adjust individual pins after the housing is properly positioned for fine-tuning specific distances. This prevents cumulative errors that can make your pin spacing inaccurate.
Mastering how to adjust bow sights is an ongoing journey that requires patience, practice, and attention to detail. Start with basic windage and elevation adjustments, ensuring your form is consistent before making any sight changes. As you progress, incorporate 3 axis adjustment techniques to handle uphill and downhill shooting scenarios with confidence.
Remember that even professional archers continually fine-tune their sights as conditions change and their skills evolve. Keep a notebook of your sight settings for different hunting scenarios and distances. Document your micro-adjustment positions so you can quickly restore settings after changing equipment or locations.
Whether you are setting up a new sight, troubleshooting accuracy issues, or preparing for a hunting season, following this guide helps you achieve tighter groups and more ethical shots in the field. Take your time with each adjustment, verify your settings at multiple distances, and always prioritize consistent form over constant sight manipulation. With proper technique and systematic adjustment, your bow sight becomes a precision instrument that delivers accurate results shot after shot.
![Rifle Scope Parallax Adjustments: Complete Guide [cy]](https://revellphotography.com/wp-content/uploads/2026/09/featured-update-5315-1789865033761.jpg)
![Best Night Vision Scope for Hunting [cy]: Complete Guide](https://revellphotography.com/wp-content/uploads/2026/09/featured-update-586-1789816612312.jpg)