How to Choose a Rifle Scope: The Complete Guide for 2025
Choosing the right rifle scope can feel overwhelming with thousands of options flooding the market. Whether you’re a beginner selecting…
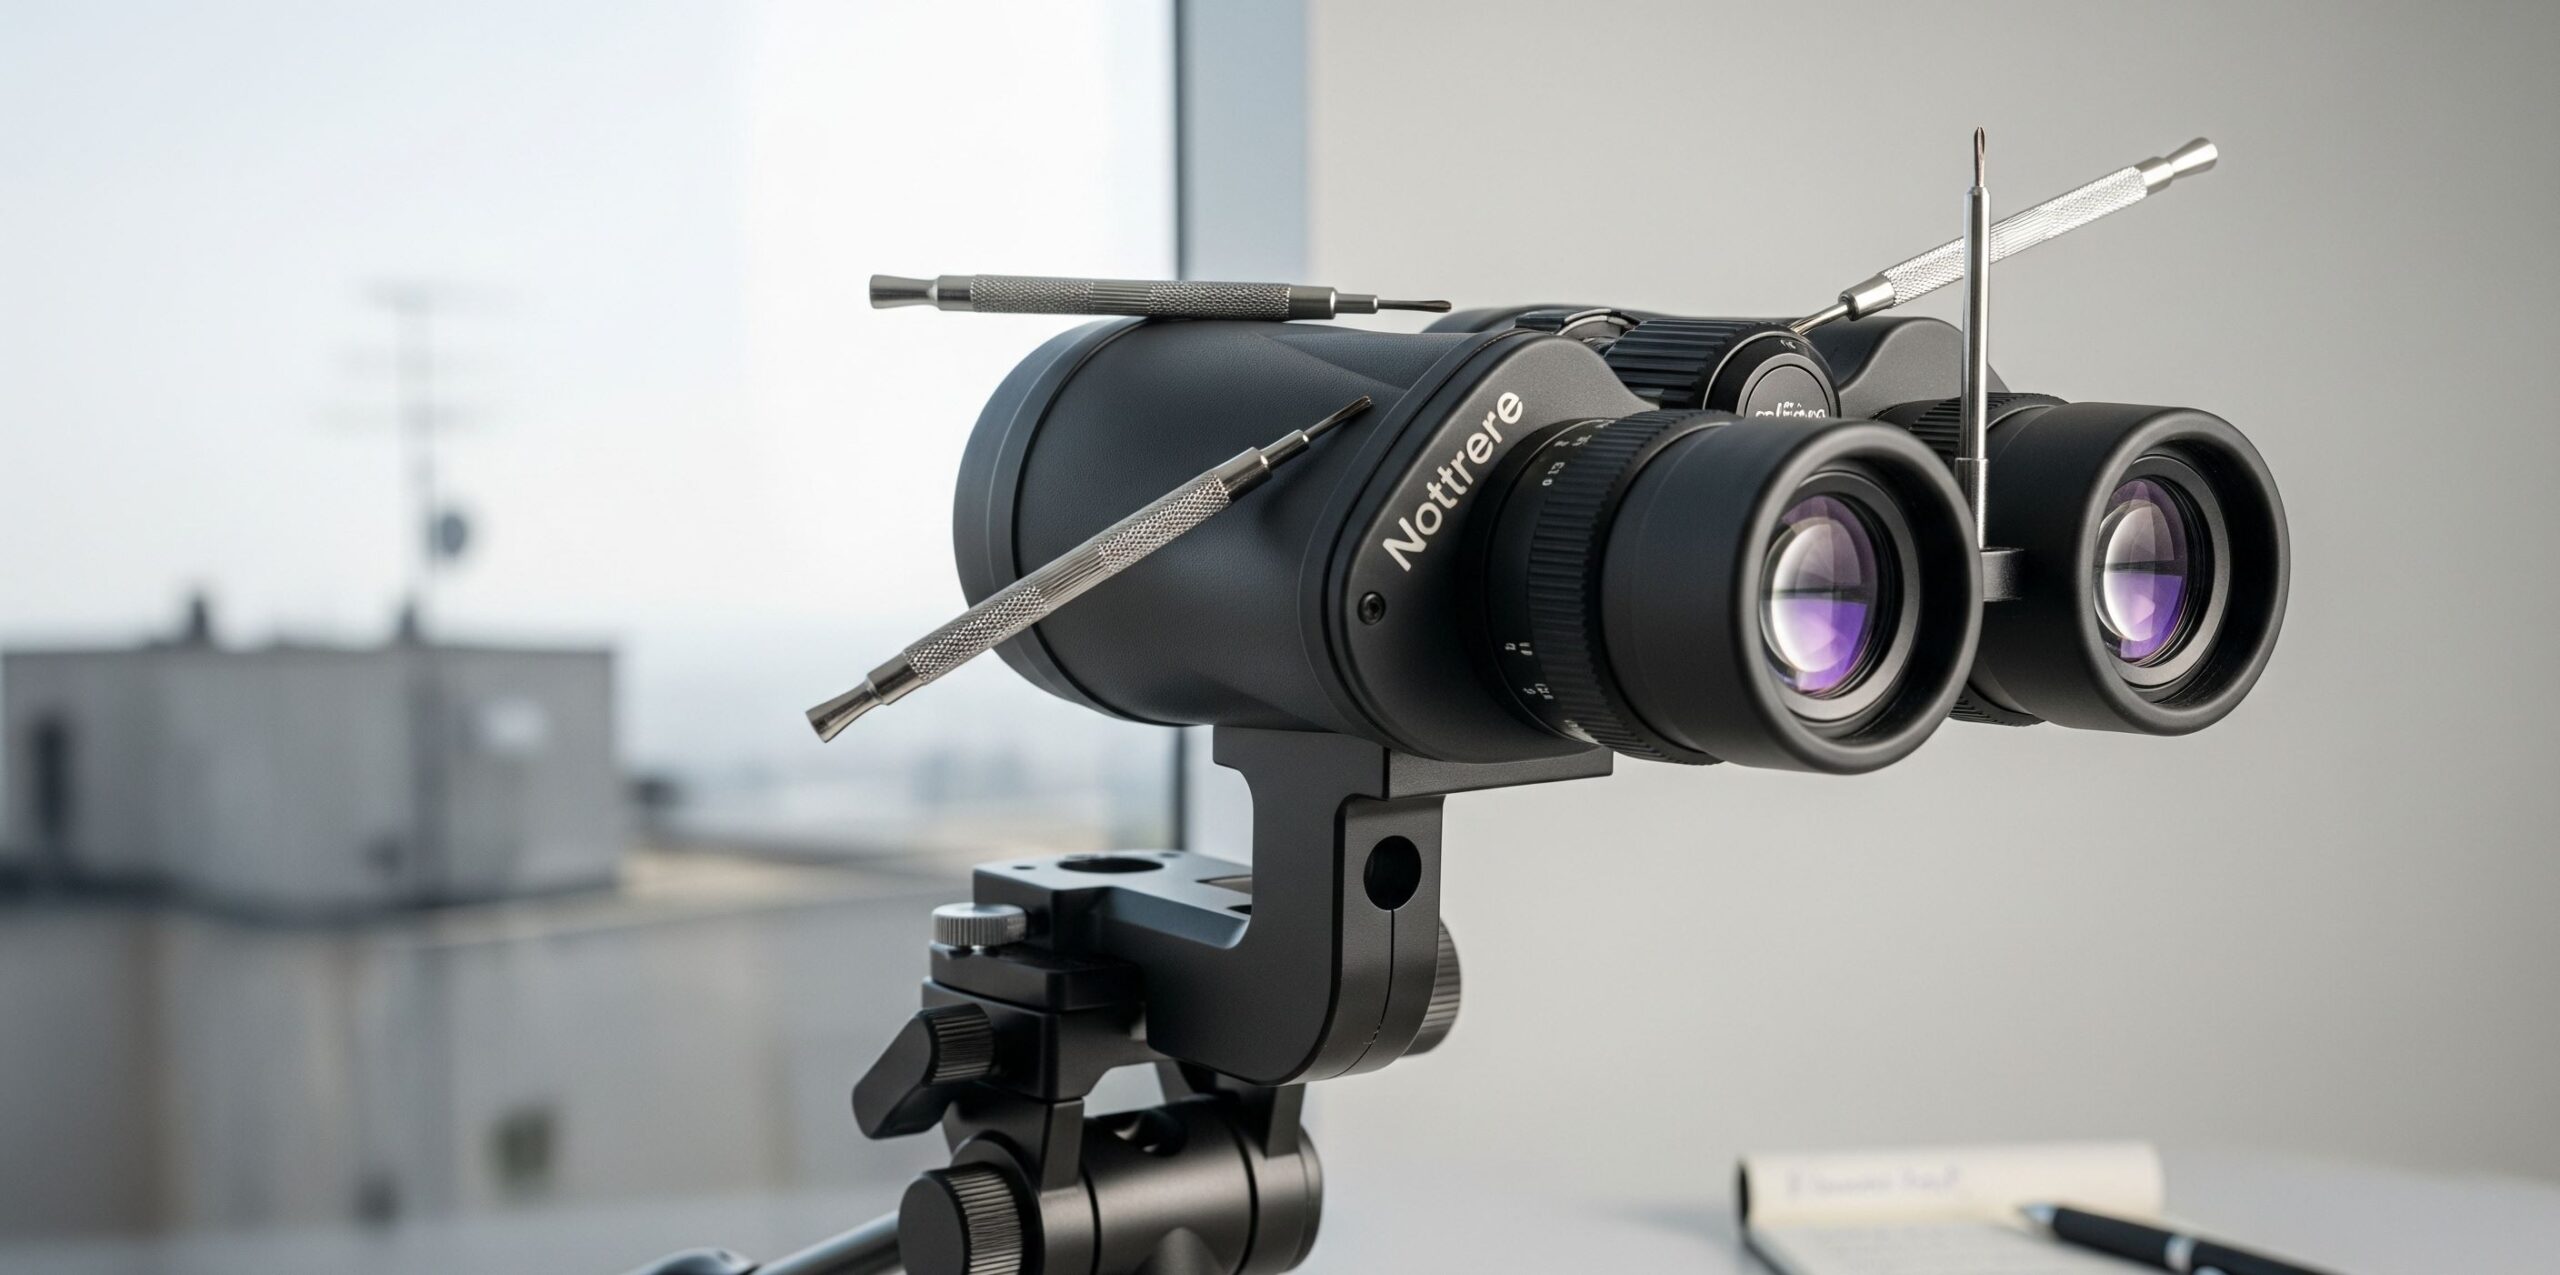
Experiencing double vision through your binoculars can ruin a perfect wildlife photography opportunity or make location scouting frustrating. As photographers, we rely on binoculars to spot subjects, evaluate lighting conditions, and plan compositions from a distance. When optical alignment issues cause two overlapping images instead of one crisp view, it’s time to understand binocular collimation and how to fix it. This comprehensive guide will walk you through diagnosing and correcting double vision in binoculars, helping you maintain your essential photography tools in peak condition.
Double vision in binoculars occurs when the two optical tubes are misaligned, preventing them from pointing at exactly the same spot. This misalignment, known as being “out of collimation,” typically happens when prisms shift inside the binocular housing due to drops, impacts, or rough handling. The result is two separate images that your brain struggles to merge, causing eye strain, headaches, and making your binoculars essentially unusable for photography purposes.
Signs of Misalignment: Double images at distance, eye strain after short use, headaches, difficulty achieving sharp focus Common Causes: Dropped binoculars, shipping damage, manufacturing defects, extreme temperature changes Fix Difficulty: 6/10 (Moderate – requires patience and precision)
Before attempting any binocular collimation repair, gather these essential tools. Unlike complex telescope collimation, fixing binoculars with double vision requires minimal equipment, making it accessible for photographers willing to invest time and patience:
Before diving into double vision binoculars correction, photographers should carefully consider several factors. First, check your warranty status – attempting repairs will void any manufacturer coverage. For high-end optics like those from Zeiss, Swarovski, or Leica, professional collimation service typically costs $100-200 but preserves your investment. Budget binoculars under $300 might cost more to repair than replace.
Most manufacturers hide collimation screws under rubber armor or plastic caps to prevent accidental adjustment. For Porro prism binoculars, look near the eyepiece housing – you’ll find four screws (two horizontal, two vertical) per barrel. Roof prism models may have screws under the prism housing cover. Carefully peel back rubber coating or use a sharp blade to access these adjustment points, always cutting away from the lenses to avoid damage.
Secure your binoculars to a tripod using an L-bracket or binocular mount. This stability is crucial for accurate adjustments. Target a distant object at least 100 yards away – a building corner, antenna, or bright star works well. For daytime collimation, choose high-contrast targets. Night sky collimation using Polaris offers precision but requires tracking as Earth rotates.
The key to successful binocular double vision correction is determining which optical tube needs adjustment. Here’s the photographer’s method: Focus both barrels on your target, then defocus only the right eyepiece by turning its diopter adjustment. You’ll see a sharp image from the left side and a blurry circle from the right. If these don’t overlap centered, your binoculars need collimation.
Start with horizontal alignment using the screws nearest the eyepieces. Turn each screw only 1/8 rotation at a time – these aren’t meant to be tightened but rather positioned to tilt the prisms. After each tiny adjustment, check through the binoculars and note any image movement. Work systematically: if turning clockwise moves the image wrong, return to the original position and try counterclockwise.
Critical tip for photographers: Take 10-second breaks between observations to prevent eye strain. Your brain will try to compensate for misalignment, leading to inaccurate adjustments if you stare too long.
A often-overlooked aspect of proper collimation is checking the exit pupil shape. Hold binoculars at arm’s length pointed toward bright sky and observe the circular light spots in each eyepiece. Properly aligned optics show perfectly round exit pupils. Cat’s-eye or elliptical shapes indicate over-adjustment causing internal vignetting, reducing light transmission crucial for low-light wildlife photography.
Some binoculars feature eccentric objective lens rings allowing collimation without touching prisms. This method, preferred by optical technicians, involves loosening the objective cell, rotating it to shift the optical axis, then retightening. This preserves factory prism alignment while correcting double vision – ideal for high-end photography binoculars.
What most guides describe is “conditional alignment” – making images merge at your specific interpupillary distance (IPD). True collimation ensures parallel optical axes at any IPD setting, requiring specialized equipment like optical collimators. For photography use where you’re the primary user, conditional alignment suffices. However, shared equipment benefits from professional true collimation.
Photographers can prevent binocular collimation issues through proper field care. Always use neck straps and proper cases during transport. Avoid leaving binoculars on car dashboards where temperature extremes stress optical cement. When switching between air-conditioned vehicles and humid environments, allow gradual temperature adjustment. Store binoculars in padded cases with silica gel packets to prevent moisture damage that can loosen prism mountings.
Consider professional binocular collimation repair for image-stabilized models, high-end optics over $1000, or when warranty coverage exists. Specialized tools allow technicians to achieve true three-axis collimation impossible with DIY methods. Many camera stores offer collimation services, or contact manufacturers directly. Expect 2-3 week turnaround and costs ranging from $75-250 depending on brand and complexity.
If your binoculars prove too damaged for DIY repair, consider these photographer-friendly models known for maintaining collimation:
Most Porro prism binoculars allow user adjustment via accessible screws. Roof prism models, especially sealed/waterproof designs, often require professional service. Image-stabilized binoculars should never be user-serviced due to complex electronics.
First-time attempts typically require 1-2 hours of patient adjustment. Experienced users can collimate binoculars in 30-45 minutes. Factor additional time for locating hidden screws and setting up stable mounting.
Collimation corrects optical misalignment but won’t fix damaged prisms, lens separation, or moisture damage. If double vision persists after careful adjustment, internal damage likely requires professional repair or replacement.
Quality binoculars maintain alignment for years with proper care. Check collimation after any significant impact, when experiencing eye strain, or if shared binoculars suddenly seem “off.” Annual checks benefit heavily-used photography equipment.
Learning how to fix double vision in binoculars empowers photographers to maintain their essential field equipment. While the process requires patience and precision, successful collimation restores the crisp, merged images crucial for wildlife spotting and location scouting. Remember that binocular collimation is as much art as science – take your time, work systematically, and don’t hesitate to seek professional help for valuable optics. With properly aligned binoculars, you’ll never miss another photography opportunity due to equipment issues, ensuring your vision tools match your creative vision.