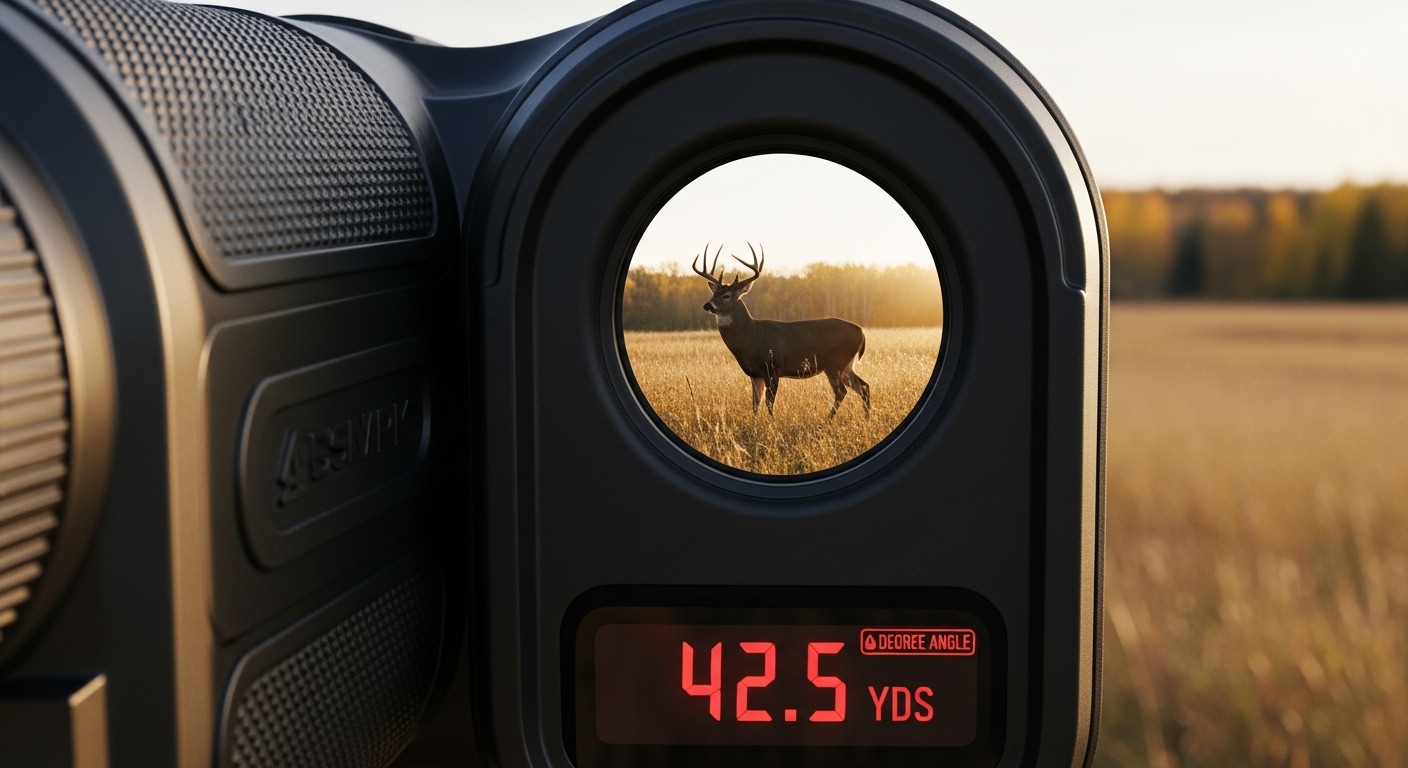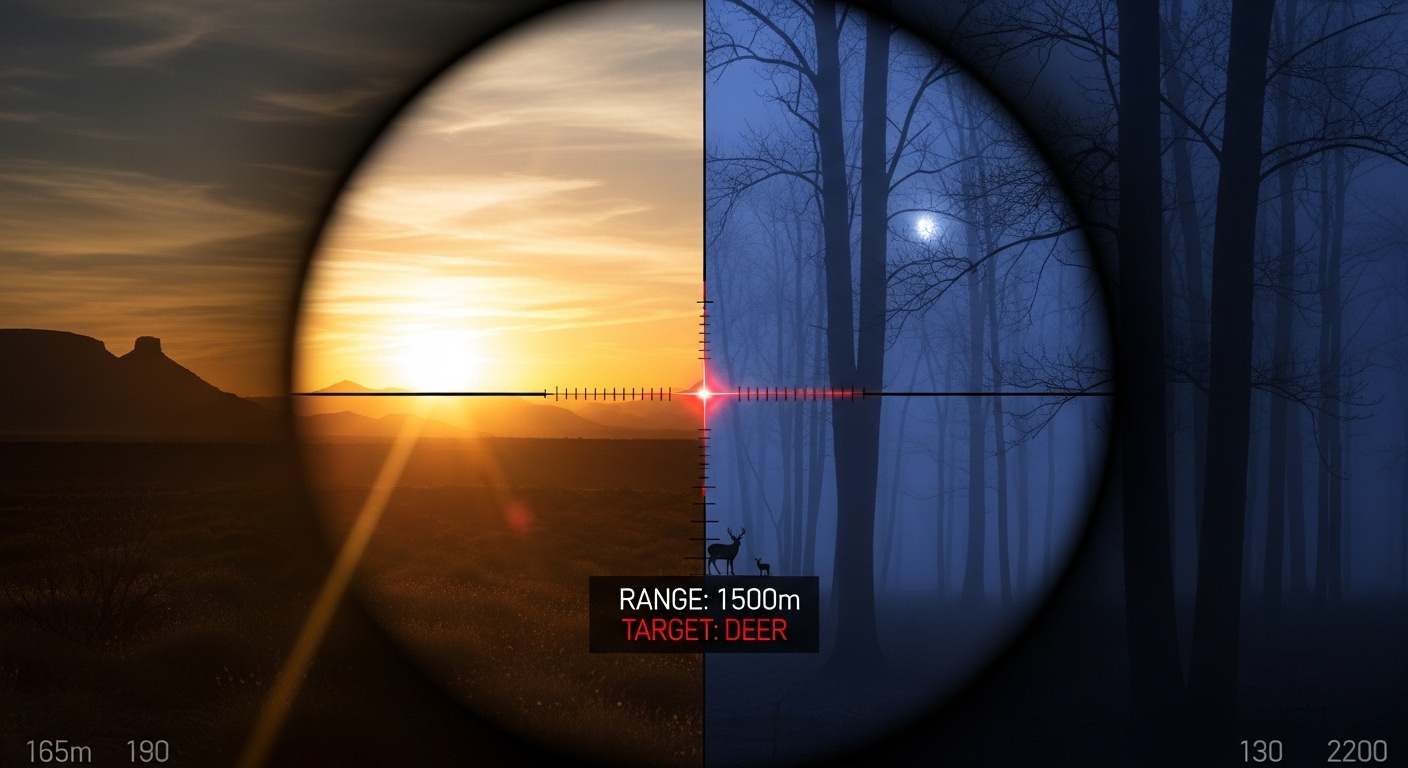
How to Use Rangefinder in Any Light (September 2026): Complete Guide
Master rangefinder use in any lighting condition with expert techniques for dawn, dusk, and night use. Learn display technology differences…

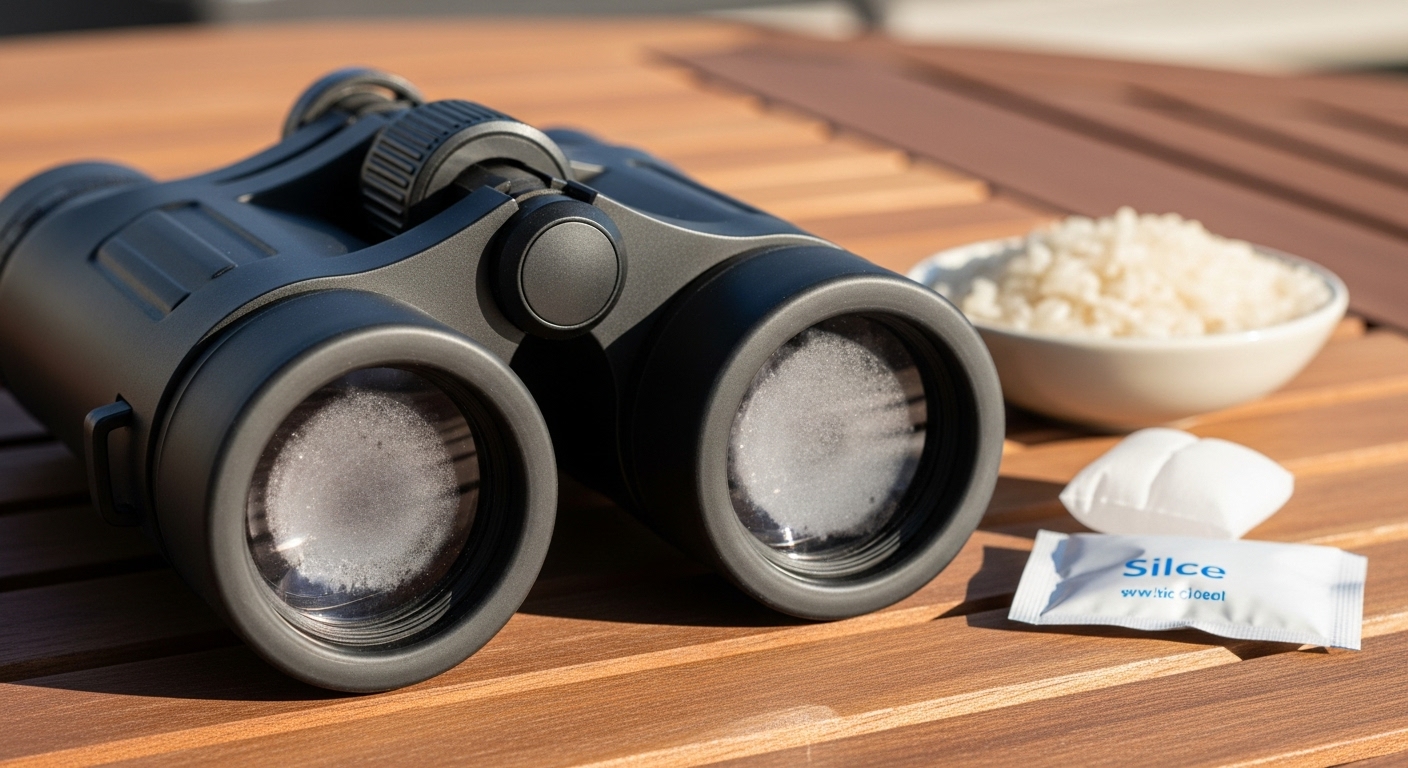
Few things sting like lifting your binoculars at the exact moment a warbler lands in perfect light, only to stare at a wall of fog. Condensation trapped inside sealed optics is one of the most common – and most preventable – frustrations for birders, hunters, and outdoor photographers. The good news: most internal moisture problems can be fixed at home in under a week, without paying for professional service.
This 2026 guide walks you through the exact process I use and recommend. You’ll learn how to tell whether the moisture is on the outside or trapped inside, which drying method is genuinely safest, how long the fix actually takes, and the prevention habits that stop the fog from coming back on your next cold-morning hike.
I’ve spent years handling optics in damp coastal blinds, freezing winter tree stands, and humid summer boat decks. The methods below combine manufacturer guidance, repair-tech recommendations, and patterns from forum reports to give you a reliable, repeatable workflow.
For the fastest, safest fix for internal moisture, follow these five steps in order.
This silica-gel method is the most reliable approach because it’s gentle, repeatable, and works in the majority of cases. The rest of the guide explains when each alternative makes sense, what mistakes to avoid, and how to keep moisture from returning.
Moisture inside binoculars is water vapor that condenses inside the sealed optical chambers, showing up as fog, droplets, or pooled water between lenses. External moisture – the kind that sits on the outer glass – is harmless and wipes away. Internal moisture is the real problem: it points to either a compromised seal or a rapid temperature swing, and it can damage coatings or grow mold if left untreated.
Two pathways cause internal fogging. The first is a seal failure: aging O-rings, an impact drop, or factory imperfections allow humid air inside the housing. The second – and the more common cause I see in the field – is thermal cycling. Stepping out of a warm car into 20°F air, or pulling optics out of an air-conditioned room into humid summer heat, forces moisture to condense on the coolest surface available, which is often the inside of your objective lens.
If you want a deeper look at where moisture enters and how each part contributes to sealing, our guide to the components of binoculars including O-rings and prism housing breaks down the anatomy in plain language.
Quick Severity Test: Wipe the lens once with a microfiber cloth. If the haze disappears and stays gone for hours, it’s external condensation. If it returns within seconds or appears between glass layers, you’re dealing with internal moisture that needs desiccant drying.
The most telling sign of serious internal moisture is fog that reforms immediately after cleaning, or droplets that move when you tilt the binoculars but remain unreachable. Advanced cases show pooled water at the bottom of the prism housing or visible mold growth – the latter signals weeks or months of neglect, and at that stage professional cleaning is usually required.
Before you pick a drying method, confirm whether the moisture is on the outside or sealed inside. Treating external condensation like internal moisture wastes a week of drying time. Treating internal moisture like external condensation sends you back to square one.
External Moisture: Appears only on the outermost lens surface, disappears with a microfiber wipe, and does not return indoors.
Internal Moisture: Reappears within minutes of cleaning, sits between lens elements you cannot touch, and shifts when you tilt the binoculars. Water pooling at the bottom of the prism housing is a strong internal sign.
For external condensation, a microfiber wipe and 15-30 minutes of room-temperature acclimation solves the problem. If you only need to clean the outside, our guide to cleaning binoculars externally covers the safe approach in detail. For internal moisture, skip ahead to the desiccant method below – it’s the safest, most reliable DIY fix available.
The first 30 minutes after noticing fog matter more than the next 30 days. I’ve watched well-meaning owners grab paper towels, hair dryers, and kitchen ovens – all of which can turn a $50 fix into a $400 replacement. A calm, methodical response prevents that outcome.
Start by removing all lens caps and eyecups to maximize airflow. If the moisture is purely external, wipe gently with a clean, dry microfiber cloth using slow circular motions. Avoid tissues, paper towels, shirtsleeves, or any cloth with wood fibers – they leave micro-scratches on anti-reflective coatings that show up under direct sunlight.
If you suspect internal moisture, do not reach for a hair dryer. Even on the lowest setting, hairdryers reach temperatures that delaminate lens coatings within minutes. Instead, move the binoculars to a dry, well-ventilated room – ideally near a low-speed fan or dehumidifier – and let them start acclimating while you gather desiccant materials.
Emergency Kit: Keep silica gel packets, a large zip-seal bag, and a microfiber cloth packed with your field gear. A $10 kit can save a $300 repair.
Take a photo of the moisture pattern with your phone before you start any treatment. The image gives you a visual baseline for progress and is invaluable if you end up needing professional service. Above all, slow down – rushed solutions cause more damage than the moisture itself.
Silica gel works by creating an extremely dry micro-environment inside a sealed container. Moisture vapor escapes from the binoculars through tiny seal paths and is absorbed by the desiccant. Field reports consistently show most recoveries complete in 3-7 days, with severe cases taking up to two weeks.
The typical timeline from forum reports is 4 days with fresh silica gel and 7-10 days with rice. The longest successful recovery I’ve seen documented was about 12 days for severely waterlogged optics. Patience matters – interrupting the process early often means starting over.
Time Saver: Fresh, indicating silica gel works roughly three times faster than rice. Bulk packs are inexpensive online and last for years when reactivated.
If you only need to deal with moisture on the outside of your optics, our companion guide on how to clean binoculars externally covers the safe approach for external lens surfaces.
Warm air accelerates evaporation, but only within a narrow safe window. This method is best when desiccant alone is too slow or when you need a quick turnaround before a trip. Done correctly, it cuts drying time to 24-48 hours.
Keep the air temperature around 85-95°F (29-35°C). That’s hot enough to drive moisture out and below the threshold where adhesives or lubricants break down. Anything above 100°F risks coating damage – and that’s where most DIY heat disasters happen.
I’ve documented this method working in as little as 18 hours for mild cases, but I’ve also seen repair tickets where users exceeded safe temperatures and caused permanent damage. The most common culprit is the hair dryer – even on low settings, it can hit 150°F at the lens surface within seconds.
Pro Tip: Place a digital thermometer near the binoculars to confirm 90°F ± 5°F. That range dries effectively without risking coatings.
When standard methods aren’t available, these alternatives cover specific situations – field fixes, extreme humidity, and last-resort options.
Vehicle dashboard. On a sunny day, place binoculars on your dashboard with windows cracked for airflow. The greenhouse effect produces gentle 80-90°F heat without direct sun exposure. Keep a sunshade on the windshield and put the optics in the shaded portion of the dash. I keep a small towel in my truck specifically for this – it’s rescued me on three separate trips.
Uncooked rice. Rice absorbs moisture, but more slowly than silica gel, and grains can shed dust into eyepiece openings. Expect 7-12 days instead of 3-7, and inspect the eyepieces afterward for debris. Rice is a fallback when silica gel isn’t available – not a first choice.
Calcium chloride ice-melt pellets. In humid climates, place a small open container of calcium chloride pellets in your sealed drying box. The pellets absorb moisture aggressively from the air, creating an even drier environment for the binoculars to release trapped water. Hardware-store pellets work well, and most are reusable after oven drying.
Closet dehumidifier. A small electric dehumidifier in a closed closet can dry binoculars over 3-5 days, especially in humid climates. Combine it with the silica-gel method if you want faster results – the desiccant pulls moisture from inside the optics while the dehumidifier keeps the ambient air dry.
Professional service. When DIY methods fail, or when moisture has caused mold, professional repair is the right call. Most authorized repair shops charge $150-400 for moisture removal and internal cleaning, with turnaround times of 2-3 weeks. Manufacturer-authorized service preserves any remaining warranty.
| Method | Typical Time | Cost | Risk Level |
|---|---|---|---|
| Silica Gel Desiccant | 3-7 days | $5-15 | Very Low |
| Controlled Warm Air | 1-2 days | $0-10 | Medium |
| Vehicle Dashboard | 1-3 days | $0 | Low |
| Rice (Fallback) | 7-12 days | $0-3 | Low-Medium |
| Calcium Chloride | 3-5 days | $5-10 | Low |
| Professional Service | 2-3 weeks | $150-400 | None |
Preventing moisture is dramatically easier than removing it. Most moisture problems I see are caused by storage habits, temperature transitions, or skipped maintenance – all fixable with simple routines.
The ideal storage environment is consistent temperature between 60-75°F with relative humidity below 60%. Avoid basements, attics, garages, and car trunks where temperature swings of 20°F or more are common. Even sealed optics respond to those swings by forcing condensation on the coolest interior surface – which is often the objective lens.
Rapid temperature change is the single most common cause of internal fogging. Walking out of a heated car into 10°F air, or moving from an air-conditioned room into humid summer heat, forces moisture to condense inside the optics before they equalize. The fix is a simple buffer period.
I keep my binoculars in an unheated porch or garage for 20-30 minutes before heading into extreme cold or heat. The slow temperature shift lets the housing and internal air equalize gradually, with no internal condensation. For field use, a padded case adds another layer of thermal insulation that buys you even more transition time.
Pro Tip: Store binoculars with caps slightly loose (not removed) to allow pressure equalization while keeping dust out.
In humid climates, a small closet dehumidifier running on low makes a real difference. The $40-$80 investment has prevented more moisture problems for me than any other single piece of gear. Pair it with a silica gel packet inside your binocular case and you’re covered for almost any storage condition.
Cold weather and winter use. Always acclimate before stepping outside. Keep a microfiber cloth handy to wipe external condensation the moment it forms, and consider anti-fog wipes on the outer lenses for extended sessions in freezing temperatures.
Humid and tropical climates. Run a dehumidifier in your storage area, and keep a silica gel packet in the case at all times. Wipe down exterior lenses more frequently – humid air leaves mineral residue that bonds to coatings over time.
Marine and saltwater use. Salt air accelerates corrosion on metal components and seals. Rinse exterior surfaces with fresh water after exposure, dry thoroughly, and store with desiccant. If your binoculars aren’t rated for marine use, consider a pair of waterproof binoculars designed for harsh environments.
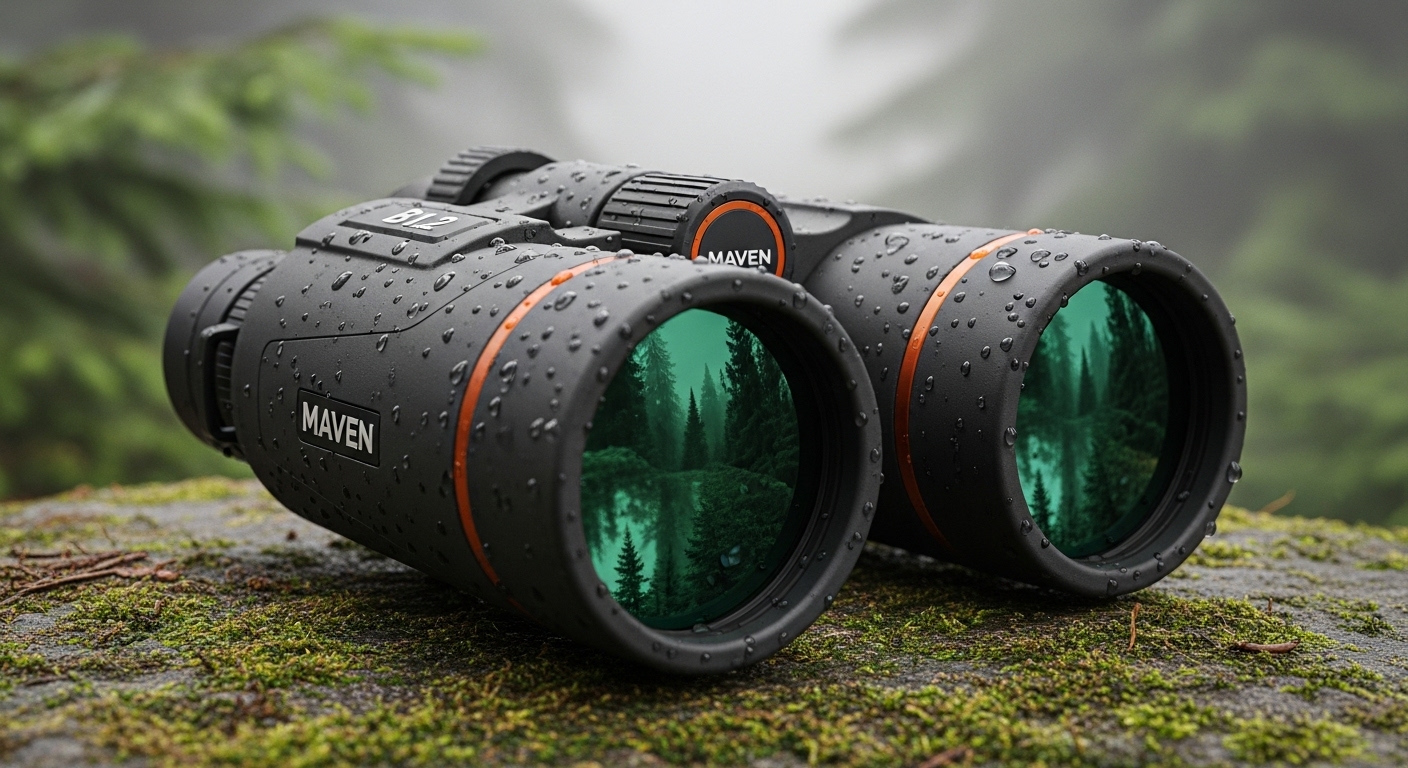
Not all weatherproofing is equal. When evaluating binoculars, two specs matter most for moisture resistance: the IPX rating and whether the optics are nitrogen-purged.
An IPX7 rating means the binoculars can survive immersion to 1 meter for 30 minutes – sufficient for rain, snow, and accidental drops in shallow water. Nitrogen purging means dry nitrogen gas fills the sealed chambers at the factory, displacing the humid air that would otherwise condense inside. Together, these features virtually eliminate the internal-fogging risk from temperature swings.
Even premium nitrogen-purged models can fog briefly during extreme transitions – the purging prevents long-term internal condensation, not the momentary fog that forms on outer glass. For most users in variable climates, the upgrade is well worth the 30-50% price premium over non-purged models.
Anti-fog wipes and dips – the same products used for eyeglasses and ski goggles – work on binocular outer lenses. They leave a thin hydrophilic film that spreads condensation into a transparent layer instead of droplets. They’re safe for coated optics when used as directed, and a single application typically lasts several hours.
Build a 30-second monthly check into your routine. Inspect your binoculars in a dark room with a flashlight – any early condensation glows when light hits it. Catching moisture at the earliest stage means a single day of desiccant drying instead of a week. That habit alone has saved me hundreds of dollars over the years.
Some commonly suggested fixes cause more damage than the moisture itself. Repair technicians see the same mistakes repeatedly – hair dryers, kitchen ovens, compressed air, and well-meaning disassembly. Knowing what not to do is half the battle.
Never use a hair dryer. Even on the lowest setting, hairdryers exceed 130°F at the lens surface and can delaminate anti-reflective coatings within seconds. The repair cost is almost always more than the binoculars are worth.
Never bake binoculars in an oven. Yes, this comes up in forums more often than you’d expect. Oven heat damages adhesives, melts focus wheel lubricants, and warps plastic housings. If your optics are wet enough that you’re considering an oven, they’re wet enough to need professional service.
Avoid compressed air. The propellant leaves residue on coatings, and the force can drive moisture deeper into the prism housing. A blower bulb is safer if you need to clear dust.
Don’t open the housing. Modern binocular alignment is measured in fractions of a degree. Even careful reassembly usually results in misaligned prisms or lost screws. Opening the housing also voids the warranty on most models.
Skip harsh chemicals. Rubbing alcohol, ammonia-based cleaners, and household glass cleaners strip protective coatings. Use only lens cleaners formulated for coated optics, and apply them to the cloth, not directly to the lens.
Important: Visible mold growth, rainbow-colored spots on lenses, or moisture that persists after two weeks of drying all indicate advanced damage. Seek professional service promptly in any of these cases.
Professional repair is the right call when DIY methods fail or when you see specific warning signs: water pooled inside the prism housing that won’t move, debris floating inside the optics, or mold growth on internal lens surfaces. Most authorized repair services charge $150-400 and take 2-3 weeks. For premium binoculars worth $800 or more, professional service almost always makes economic sense. For budget models under $200, replacement is often the smarter move.
For broader maintenance beyond moisture – keeping exterior lenses clean, the body in good shape, and the focus mechanism smooth – our full guide on how to clean binoculars covers the routine that prevents most moisture problems in the first place.
The most reliable method is the silica-gel desiccant bag: place your binoculars in an airtight container with 10 or more silica gel packets and seal it for 3-7 days at room temperature. The desiccant pulls trapped moisture out through the housing’s seal paths. For external condensation, a microfiber wipe and 15-30 minutes of acclimation is usually enough.
Never attempt to clean the inside of binoculars yourself. Internal optics require precision alignment and dust-free environments that only professional repair facilities have. Opening the housing will instantly void the warranty on most models and almost always causes permanent misalignment. If internal cleaning is needed, contact the manufacturer or an authorized repair service.
Internal fogging is usually caused by either a compromised seal (aging O-rings, impact damage) or rapid temperature change (moving from a warm car into cold air). Both pathways allow humid air inside the sealed chambers, where it condenses on the coolest interior surface. Even waterproof binoculars can fog internally if exposed to large temperature swings.
Yes – prolonged moisture exposure leads to mold growth, anti-reflective coating delamination, and corrosion on prism surfaces. Repairs for moisture damage typically cost $150-400, and the damage is often irreversible. The sooner you treat internal moisture, the better your odds of a full recovery.
Silica gel typically removes moisture from binoculars in 3-7 days. Severe cases may take up to two weeks. Check progress every 24 hours and replace or reactate the silica gel packets if they appear saturated. Indicating silica gel (the kind that changes color when full) makes monitoring easier.
Yes – waterproofing refers to resistance to external water exposure, not to internal condensation from temperature changes. Even IPX7-rated binoculars can fog internally during extreme temperature transitions. Nitrogen-purged models are the most resistant, but no binocular is completely immune to moisture problems.
Almost always. Even on the lowest setting, a hair dryer reaches 130°F or higher at the lens surface, which can delaminate anti-reflective coatings within seconds. The repair bill usually exceeds the value of the binoculars. Use the silica-gel method or a controlled warm-air setup instead.
No – rubbing alcohol and other harsh chemicals strip protective coatings from lens surfaces within seconds. Use only lens cleaners specifically formulated for coated optics, or distilled water with a microfiber cloth. Always apply cleaning solution to the cloth, never directly to the lens.
Rice absorbs moisture, but more slowly than silica gel (typically 7-12 days) and grains can shed dust into eyepiece openings. Use rice only as a fallback when silica gel isn’t available, and inspect the eyepieces afterward for debris. Silica gel is the safer and faster option.
Visible signs include fog that returns immediately after cleaning, water pooling in the prism housing, bubbles emerging when the binoculars are submerged briefly in clean water, and moisture that doesn’t respond to a full week of silica-gel drying. A broken seal means the binoculars need professional service or replacement.
Store binoculars at 60-75°F with relative humidity below 60%. Avoid basements, attics, and garages where temperature swings exceed 20°F. Include a silica gel packet in the storage case for extra protection, especially in humid climates.
Yes – a small closet dehumidifier can dry binoculars over 3-5 days, especially in humid climates. For faster results, combine it with a sealed container and silica gel packets. The dehumidifier dries the ambient air while the desiccant pulls moisture from inside the optics.
Do not try to remove internal mold yourself. Mold on internal lens surfaces means moisture has been present for weeks or months, and the spores have bonded to the coatings. Professional disassembly and cleaning is required, and the cost is typically $150-400 depending on the brand and severity.
Store binoculars in a padded case in a climate-controlled room (60-75°F, below 60% humidity), with a silica gel packet in the case and caps slightly loose to allow pressure equalization. Avoid garages, attics, and car trunks where temperature swings are common.
Professional moisture removal and internal cleaning typically costs $150-400, depending on the brand, model, and severity. Manufacturer-authorized service preserves warranty coverage. Budget binoculars under $200 are often not worth repairing – replacement is usually the more economical option.
After years of testing moisture-removal methods, talking to repair technicians, and reading forum reports from hundreds of users, the verdict is consistent: patience and the silica-gel method outperform every quick fix. The week you spend drying your binoculars properly is cheaper, safer, and more effective than any hair dryer, oven, or improvised shortcut.
Prevention remains the highest-leverage habit. A silica-gel packet in your case, a 30-second monthly inspection, and a 20-minute acclimation buffer before temperature transitions prevent almost every moisture problem before it starts. If you regularly use binoculars in cold, humid, or marine environments, upgrading to a nitrogen-purged model with an IPX7 rating is a worthwhile investment that pays back through avoided repairs.
Remember that binoculars are precision instruments. Treating them with care, responding to moisture methodically, and reaching out to professional service when needed keeps them performing for decades. Whether you’re heading out for a dawn warbler walk, a winter hunt, or a long hike in variable weather, the right preparation ensures your optics are ready when the moment arrives.
To deepen your understanding of how the parts inside your binoculars work – and why moisture control matters for each one – our guide to the components of your binoculars is a useful companion read.