Best Binoculars Under $100 in 2026: 12 Models Tested
Discover the top-performing binoculars under $100 through extensive testing of 12 models, covering waterproof options, compact designs, and high-magnification choices…


A monocular is a compact, one-eyed optical device – essentially half a binocular – that magnifies distant objects through internal lenses and prisms. It’s lighter, smaller, and cheaper than binoculars of comparable quality, which makes it the right tool when you want quick magnification without the bulk of a full binocular harness.
Whether you’re scanning a ridge from a trail, identifying a warbler across the yard, or reading a street sign from across the room, learning how to use a monocular unlocks a surprisingly versatile optic. This 2026 beginner’s guide walks through setup, focusing, holding technique, and real-world use cases – including birding, hiking, stargazing, digiscoping, and low-vision assistance.
I’ve been carrying monoculars into the field for years, and the gap between frustrated beginner and confident user almost always comes down to a handful of repeatable habits. By the end of this guide, you’ll know those habits, the specs that actually matter, and which models are worth your money.
Quick Answer: How Do You Use a Monocular?
Pick your dominant eye. Form a triangle with your hands, frame a distant object through it, then close each eye alternately – whichever eye keeps the object centered is your dominant eye.
Bring the monocular up to that eye. Use your right hand with your right eye, left hand with your left eye, and aim by lining up your open-sight view with the monocular’s barrel before looking through it.
Brace for stability. Tuck your elbows into your ribs, press the eyecup gently against your brow or cheekbone, and exhale slowly to settle micro-tremors.
Turn the focus wheel. Rotate until the image is crisp. Start with the wheel set to its infinity position (usually fully counter-clockwise) for distant targets, then refine in small turns.
A monocular is a compact refracting telescope designed for one-eyed viewing. Inside the body, light passes through the objective lens, gets inverted by a prism system (Porro or roof), then is magnified by the eyepiece before reaching your eye. That folded optical path is what makes a monocular so much smaller than a traditional telescope of equivalent power.
The two prism designs you will see most often are Porro prisms (slightly bulkier, often better value at the budget end) and roof prisms (slimmer, more compact, more common in modern monoculars). For most beginners, roof-prism designs dominate because they slip into a jacket pocket and deploy in a second.
Reading the Numbers: A monocular labeled “8×42” magnifies subjects 8 times and uses a 42mm objective lens. The first number is magnification; the second is the objective lens diameter in millimeters.
Two numbers determine brightness in low light: the objective lens diameter and the magnification. Divide the objective by the magnification to get the exit pupil – the small circle of light your eye receives. A 4mm or larger exit pupil keeps dawn and dusk viewing comfortable; anything under 2.5mm starts to feel dim.
Most of these optical components behave the same way in monoculars as in binoculars, so if you’ve read about prisms or lens coatings before, the same logic applies here. BAK-4 prisms transmit more light than BK-7, and fully multi-coated optics deliver noticeably brighter, sharper images than single-coated or uncoated glass.
Specs are where most beginners stall. The table below matches common monocular configurations to the situations they actually shine in, so you can match numbers to your use case before you spend anything.
| Config | Exit Pupil | Eye Relief | Weight Class | Best For |
|---|---|---|---|---|
| 8×25 | 3.1 mm | 14 mm | Pocket (under 6 oz) | Travel, sports, casual trail use, everyday carry |
| 10×25 | 2.5 mm | ~10-15 mm | Birding in daylight, scanning from a moving vehicle | |
| 8×42 | 5.25 mm | ~15-18 mm | Mid (around 10 oz) | Hiking, wildlife, dawn/dusk use, beginner-friendly sweet spot |
| 10×42 | 4.2 mm | ~15-17 mm | Mid | Birding, wildlife, balance of power and brightness |
| 12×55 / 12×56 | 4.6-4.7 mm | ~15-20 mm | Larger (over 1 lb) | Long-range wildlife, tripod-mounted digiscoping |
| 10-30×40 Zoom | 4 mm at 10x | Varies | Mid | Variable-distance targets, stargazing (tripod recommended) |
One quick rule of thumb from the forums: if a listing brags about something like “40×60” for under $30, the magnification number is almost certainly fake. Real 40x monoculars need tripod mounts and precision glass, and they cost many times more. Stick with reputable brands and verifiable specs.
Spending a few minutes on setup before you head into the field prevents the bad habits that are hard to unlearn later. Walk through these steps once, near a window with a clear view, and the rest of the guide will click into place.
Remove both lens caps. Pop the objective cap (front) and eyepiece cap (back), and tuck them into a pocket or the case so they don’t get lost.
Find your dominant eye. Extend both arms and form a small triangle with your fingers. Look through it at a distant object with both eyes open, then close one eye at a time. The eye that keeps the object framed is your dominant eye – that’s the eye you pair with the monocular.
Set the eyecup for glasses (if applicable). Twist the eyecup down to its lowest position if you wear glasses, so the full field of view clears the lens. If you don’t wear glasses, leave the eyecup fully extended to block stray light.
Hold the monocular correctly. Use the hand on the same side as your dominant eye – right hand to right eye, left hand to left eye. This feels awkward for about ten minutes, then becomes second nature, and it gives you a much steadier view than crossing hands.
Open-sight your target first. Find the target with both eyes open, then bring the monocular up to your dominant eye without losing sight of it. Once it’s framed, look through the optic. Searching for a target by waving a monocular around is the slowest way to find anything.
Focus slowly. Start with the focus wheel at its infinity stop (fully counter-clockwise on most monoculars) and rotate it clockwise in small increments until the image is sharp. Tiny adjustments beat big turns.
Practice the braced hold. Tuck your elbows into your ribs, press the eyecup gently against your brow or cheekbone, and breathe out slowly. Hold that position for ten seconds without looking through the optic – that body position is your new baseline.
If you wear glasses, the eyecup step is the one most beginners skip – and it’s the single biggest source of black-ring “tunnel vision” complaints. For more on working around glasses with optics, see our guide to using binoculars with glasses. The same long-eye-relief advice applies to monoculars.
Give yourself ten calm minutes with these steps before you take the optic outside. That short rehearsal pays off the first time you try to find a distant bird or a trail marker.
Most beginners turn the focus wheel too quickly and too far. The image goes from blurry to blurry again, and they assume the optic is broken. It’s almost always the technique, not the glass.
Set the wheel to its infinity stop (the soft click at one end of travel), aim at a target at least 100 yards away, and rotate the wheel slowly toward you. Stop the moment the image snaps into focus. That’s your distance baseline. For closer subjects, you’ll turn the wheel further toward the close-focus end.
Quick Summary: Start from infinity, rotate toward you for closer targets, and fine-tune in small increments. Your eye muscles should stay relaxed – the focus wheel does the work.
Tracking a moving subject is its own skill. Pre-focus on the patch of sky or ground where you expect the subject to appear, then make micro-adjustments only as the subject moves. Trying to focus and pan at the same time overloads your brain and the image never gets sharp.
Low light throws a wrench into the routine. Your pupils dilate, depth of field shrinks, and the image gets noisier. Focus on the highest-contrast edge you can find – a roofline, a branch, the horizon – and use that as your reference. With practice you’ll learn to focus slightly beyond the subject in dim conditions for a cleaner result.
One mistake worth flagging: people squint and strain to “focus harder” when the image is already as sharp as the optic will deliver. If the wheel is at the right position, your eye should be relaxed. Eye strain is a sign you need to adjust the wheel, not your face.
Hand shake is the most common complaint from new monocular owners, especially at 10x and above. The optic is doing its job – your arms just aren’t designed to be a tripod. A few small posture changes make a big difference.
The two-handed brace is the foundation. Hold the monocular with your dominant hand on the body and your non-dominant hand cupped underneath as a platform. Press the eyecup gently against the brow bone or cheekbone on the same side as your dominant eye – that third contact point locks the optic to your head.
For longer sessions, sit down or lean against a tree, post, or backpack. Even standing against a wall reduces body sway noticeably. When I’m scanning a ridge, I stand with feet shoulder-width apart, knees slightly bent – the same stance used in hand-held rifle marksmanship.
Isometric Hold: Tense the arm and shoulder muscles that hold the monocular for three seconds, then relax without changing position. The muscles lock up briefly, and the brief window after they release is noticeably steadier. Useful for short identifications on shy subjects.
Once you cross 10x magnification, a tripod is the honest answer. Almost every decent monocular has a 1/4-20 socket on the bottom that takes a standard camera tripod or a small tabletop tripod. For stargazing and digiscoping, the tripod isn’t optional – it’s the difference between a usable view and a frustrating blur.
Field substitutes work in a pinch. A walking stick or trekking pole becomes a monopod with the monocular rested on top. Tree trunks, rock ledges, car roofs, and fence posts are all legitimate rests. Even resting the objective end on a flat surface and angling the optic up to your eye is steadier than freehanding it.
Breath control is the last layer. Exhale slowly, pause at the bottom of the breath for two or three seconds, and use that pause to look through the optic. Your chest is at its calmest and your shoulders most relaxed in that bottom-out moment.
A monocular earns its place by being useful in specific scenarios. The configurations below match real activities – birding, wildlife, hiking, astronomy, and phone photography – and the spec ranges that work best in each.
Birding rewards fast target acquisition and a wide field of view. An 8x or 10x monocular in the 25-42mm objective range gives you enough magnification to identify a warbler at 30 feet without turning every view into a shaky guessing game.
Two habits change everything for new birders. First, learn to spot movement with your naked eye first, then bring the optic up to that exact spot. Searching through glass wastes time and spooks the bird. Second, practice on stationary or slow-moving birds – pigeons, robins, a perched hawk – before trying warblers in flight. The skill builds from easy targets to hard ones.
Wildlife watching is where a single-eyed optic shines. Animals seem to react less to a small monocular held to one eye than to a full binocular brought up to the face. You can get noticeably closer to deer, elk, and shorebirds using a monocular than the same person using binoculars.
For dawn and dusk use, prioritize a larger objective lens (42mm or more) and an exit pupil of at least 4mm. That keeps the image bright when your own pupils are fully dilated. A 10×42 is the practical sweet spot for most wildlife scenarios – enough reach, enough brightness, manageable shake.
On a trail, weight and deploy speed matter more than peak magnification. A pocket-sized 8x or 10x monocular in the 25mm class weighs under six ounces and slips into a jacket pocket or hip belt. That’s the monocular you’ll actually carry, and the one you’ll actually use.
Pull it out to read a trail sign across a meadow, scout the next campsite, identify a distant ridge, or check whether that water source ahead is a stream or a puddle. The draw-and-look motion gets fast after a few miles – aim with both eyes open, bring the optic up, focus, done.
A monocular won’t replace a telescope, but it’s a surprisingly capable wide-field astronomy tool. Lower magnifications (6x-8x) with mid-sized objectives (around 42mm) give you a wide enough field to sweep across the Milky Way, trace constellation outlines, and split double stars. They also pull in the moon’s craters along the terminator with real impact.
Dark adaptation matters more than magnification. Give your eyes 20 to 30 minutes away from bright screens and white lights before you start serious observing. A red-light flashlight or a piece of red film over your phone screen preserves that adaptation so you can read star charts without ruining your night vision.
Good first targets through a monocular include the moon (start at low magnification to find the terminator, then zoom in if your optic allows), Jupiter and its four Galilean moons, Saturn’s rings at 10x or higher, the Pleiades cluster, and the Andromeda Galaxy as a faint oval. Bright Messier objects like M42 in Orion and M31 are reachable in dark skies. Higher magnifications (12x and up) need a tripod or monopod – hand shake becomes the limiting factor faster than the optics do.
Digiscoping – holding a phone camera up to a monocular’s eyepiece – turns a $50 optic into something approaching a super-telephoto lens. With a 12x monocular and a modern phone, you can reach effective focal lengths of 400-800mm without buying a giant telephoto.
The full digiscoping routine is below in the dedicated section. The short version: a phone adapter and a tripod transform the results, manual exposure on the phone beats auto, and getting the camera lens centered over the eyepiece is the whole game.
Digiscoping has a reputation for being fiddly, and it is – until you accept that the goal is steady alignment, not speed. Once the routine is muscle memory, you can go from a bare monocular to a sharp phone photo in well under two minutes.
Mount the monocular on a tripod. Hand-holding almost never produces sharp digiscoping shots. A small tabletop tripod is enough for a monocular; a full-size tripod gives you more height and stability for long sessions.
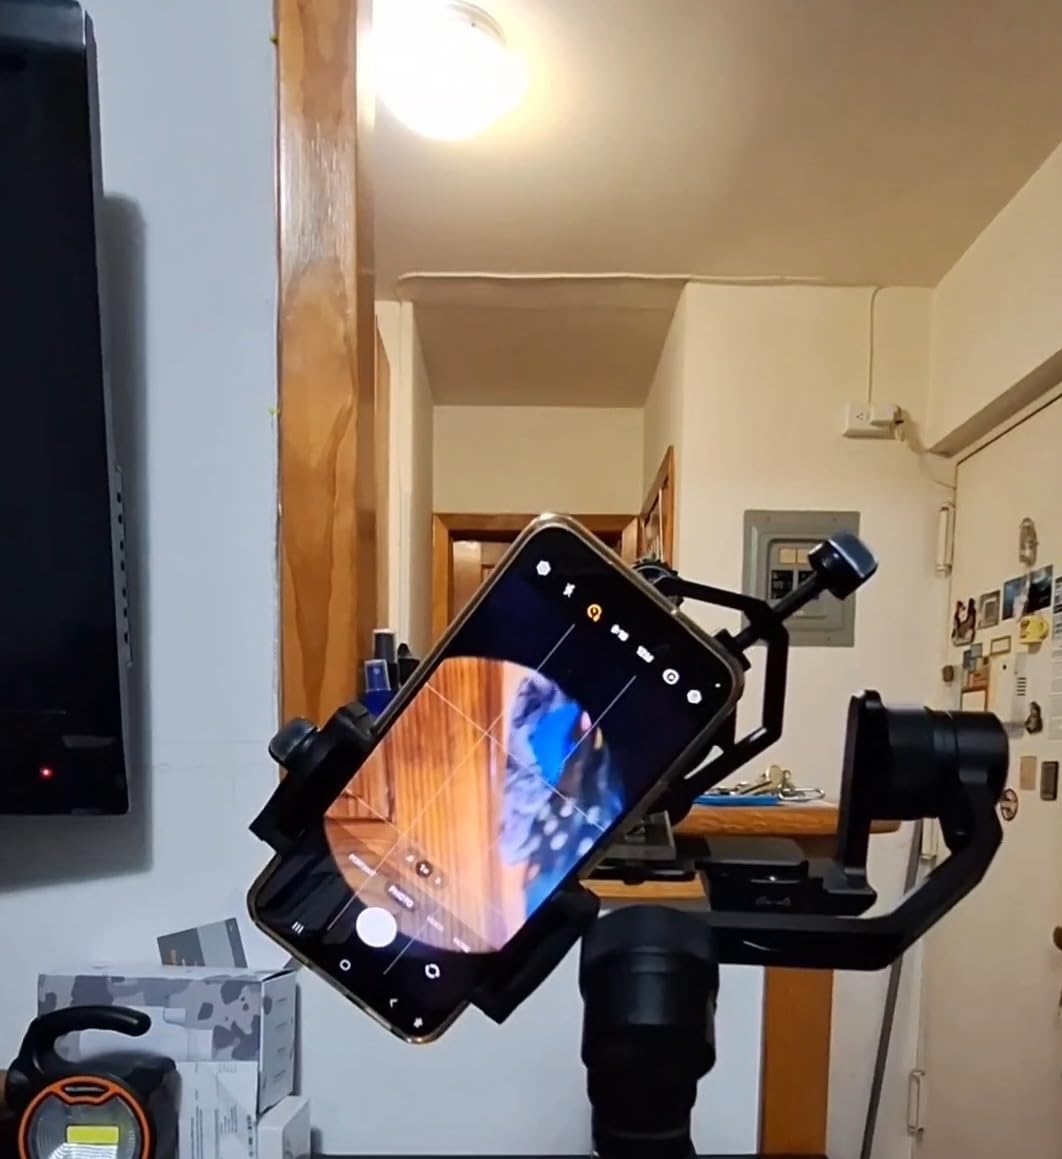
Attach the phone adapter to the eyepiece. Universal adapters clamp over the eyepiece and hold your phone on a three-axis adjustable frame. Take the extra minute to get the phone’s lens centered over the eyepiece – off-center alignment is the single biggest source of dark corners and soft edges.
Lock the phone in the clamp. Tighten the phone clamp first, then the eyepiece clamp. The order matters: phone first lets you see whether the lens is centered before the eyepiece clamp locks the whole rig down.
Switch the phone camera to manual or pro mode. Turn off autofocus if you can – it hunts at high magnification. Set exposure manually for the lighting, lock focus if your phone allows, and disable flash.
Focus the monocular, not the phone. Look through the optic (not the phone) to find the sharp focus, then look at the phone screen to confirm. Fine-tune the focus wheel for the sharpest phone preview.
Use a remote shutter or timer. Tapping the screen to capture moves the rig. A Bluetooth remote, the phone’s voice shutter, or a 3-second timer eliminates that shake.
Expect the first session to be slow. By the third or fourth subject you’ll be finding birds, mounting the phone, and grabbing usable shots in under a minute – which is genuinely fast compared to a traditional super-telephoto setup at this price.
This is one of the most common questions buyers ask, and the honest answer is that neither tool beats the other in every situation. Each has a real reason to exist. For a deeper side-by-side, our monocular vs binoculars comparison walks through every trade-off in detail.
A monocular is the right pick when weight, pack space, and quick deployment matter. Trail runners, backpackers, and travelers who only need one eye’s worth of magnification will be happier with a monocular they actually carry than a binocular they leave at home. Monoculars are also a better fit for people who can comfortably use only one eye, whether from low vision in the other eye or simply personal preference.
Binoculars win for extended viewing sessions where your eyes fatigue less with two-eyed viewing, and where depth perception matters – reading terrain, following a moving subject, judging distance to a target. Binoculars also tend to gather more light at the same price, because two optical paths share a single chassis and focus mechanism. For long days in a fixed hide or a stadium seat, that comfort and brightness edge compounds.
Many serious outdoor enthusiasts carry both. A binocular around the neck or in a chest harness for sit-down viewing, and a monocular clipped to a pocket or strap for quick scans during movement. The two tools cover each other’s gaps surprisingly well.
Monoculars have a long history as accessibility aids, and several organizations that serve people with low vision maintain detailed guides to using them for everyday tasks. Reading street signs across a road, identifying an aisle at the grocery store, or watching a child’s school play from the back row are all real, frequent use cases.
Three specs matter more than anything else for low-vision use: eye relief, close focus, and weight. Long eye relief (16mm or more) lets glasses wearers see the full field of view. A close-focus distance of a foot or two makes the optic useful for reading small print, labels, and product packaging. And weight under a few ounces matters because the optic may be held up to one eye for minutes at a time, often by someone who doesn’t have the grip strength of a younger birder.
For close-up tasks like reading a label, a dedicated close-focus monocular (often in the 4x-8x range with a 20-30mm objective) outperforms a general-purpose 10×42. The shorter focal length lets the optic focus down to a few inches, which a long-range monocular simply cannot do. If you mainly need an optic for distance reading, prioritize exit pupil and field of view; if you mainly need it for near tasks, prioritize close focus.
These are the missteps I see most often when introducing new users to monoculars. None of them are fatal, but each one costs time in the field that you don’t need to lose.
Searching through the optic instead of open-sighting. Waving a monocular around to find a target is the slowest possible way to use it. Aim with both eyes first, then raise the monocular to your dominant eye. The target is already framed before you look through the lens.
Using the wrong hand. Right hand to right eye, left hand to left eye. Crossing hands forces an awkward wrist angle and makes the view shakier.
Forgetting the eyecup position. Glasses wearers who don’t twist the eyecup down see a small black ring around the image. Non-glasses wearers who don’t extend the eyecup see glare and stray light. One twist fixes it.
Focusing with eye muscles instead of the focus wheel. If your eye is straining, the optic is the thing that should be moving, not your face. Relax your eye and turn the wheel.
Trusting inflated magnification claims. A budget monocular advertised as “40×60” is almost certainly a mislabeled 10×25 or worse. Honest magnification from reputable brands tops out around 12x in a handheld monocular without a tripod.
Closing the non-viewing eye. Closing your off-eye creates fatigue fast. Leave it open and relax both eyes – your brain merges the inputs without strain.
Hand-holding high magnifications. Anything above 10x gets shaky fast. Use a tripod, monopod, or solid rest at 12x and above.
With the technique covered, the next question is which monocular to actually buy. The ten picks below cover the major use cases – everyday carry, hiking, birding, wildlife, stargazing, digiscoping, close-focus low-vision reading, and a premium upgrade. Every model here is in stock, ships with a real warranty, and has earned a usable star rating from buyers.
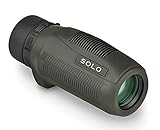
If you only buy one monocular, get the Vortex Solo 8×25. It’s compact, waterproof, and backed by Vortex’s unconditional lifetime VIP warranty. Everything else on this list is a stronger fit for a specific use case, but the Solo is the all-rounder I’d grab first.
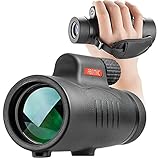

The picks below cover the rest of the use cases. Each one is in stock at this writing, has a strong enough review base to trust, and ships with the accessories most beginners need to start with. Pick the one that matches what you actually plan to do.
| Product | Features | |
|---|---|---|
| Vortex Solo 8×25 Monocular |
|
Check Latest Price |
| FEEMIC 8×42 Monocular |
|
Check Latest Price |
| Usogood 10×42 Monocular |
|
Check Latest Price |
 OXK Optics 12×56 Monocular OXK Optics 12×56 Monocular |
|
Check Latest Price |
 Aurosports 10-30×40 Zoom Monocular Aurosports 10-30×40 Zoom Monocular |
|
Check Latest Price |
 Gosky 12×55 HD Monocular with Phone Adapter Gosky 12×55 HD Monocular with Phone Adapter |
|
Check Latest Price |
 GOSKY Spotting Scope Phone Adapter GOSKY Spotting Scope Phone Adapter |
|
Check Latest Price |
 Celestron Nature 10×25 Monocular Celestron Nature 10×25 Monocular |
|
Check Latest Price |
 Carson CloseUp 6x18mm Monocular Carson CloseUp 6x18mm Monocular |
|
Check Latest Price |
 Vortex Recce Pro HD 8×32 Monocular Vortex Recce Pro HD 8×32 Monocular |
|
Check Latest Price |
We earn from qualifying purchases. CERTAIN CONTENT THAT APPEARS ON THIS SITE COMES FROM AMAZON. THIS CONTENT IS PROVIDED 'AS IS' AND IS SUBJECT TO CHANGE OR REMOVAL AT ANY TIME.
8x magnification
25mm objective
Waterproof and fogproof
Lifetime VIP warranty
The Vortex Solo 8×25 is the monocular I recommend to anyone who asks “which one should I start with?” It’s small enough to live in a jacket pocket, bright enough for everyday use, and built well enough that the lifetime VIP warranty actually matters. I’ve carried one on trail days when I didn’t want to commit to a binocular harness.
In daylight the image is sharp corner-to-corner, with the slightly warm color cast typical of fully multi-coated optics. The twist-up eyecup clicks into place firmly, and it stays put in a pocket without collapsing. Focus action is smooth and precise enough that you can nudge from a perched songbird to a moving hawk without overshooting.
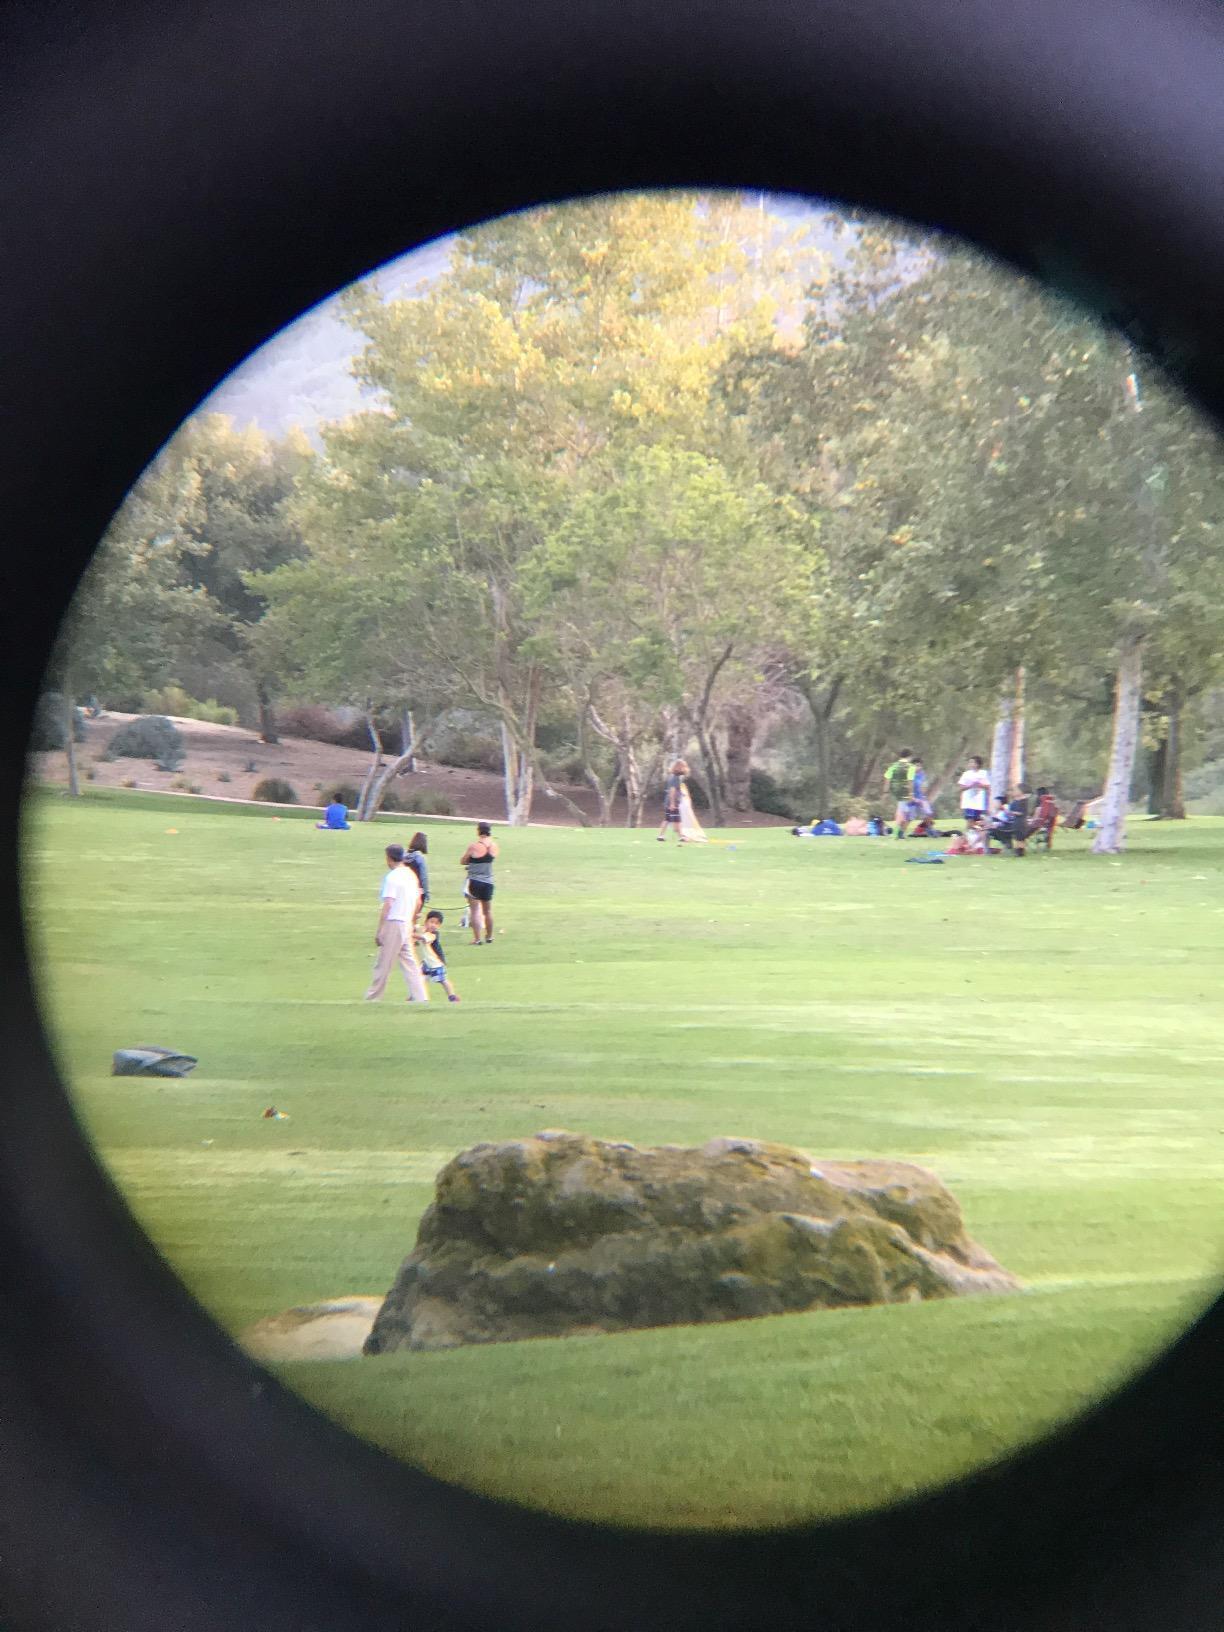
The 25mm objective is the trade-off. In bright daylight it’s invisible. At dawn and dusk, the smaller exit pupil (about 3.1mm) is dimmer than a 42mm monocular at the same time of day. For most beginner use cases – travel, hiking, sports, casual wildlife – this is invisible. For serious low-light birding, you want a bigger objective.
The warranty is the real reason this monocular is on the list. Vortex’s VIP warranty is unconditional, transferable, and covers almost anything short of deliberate destruction. Buy once, use it for a decade, and if anything goes wrong they replace it.
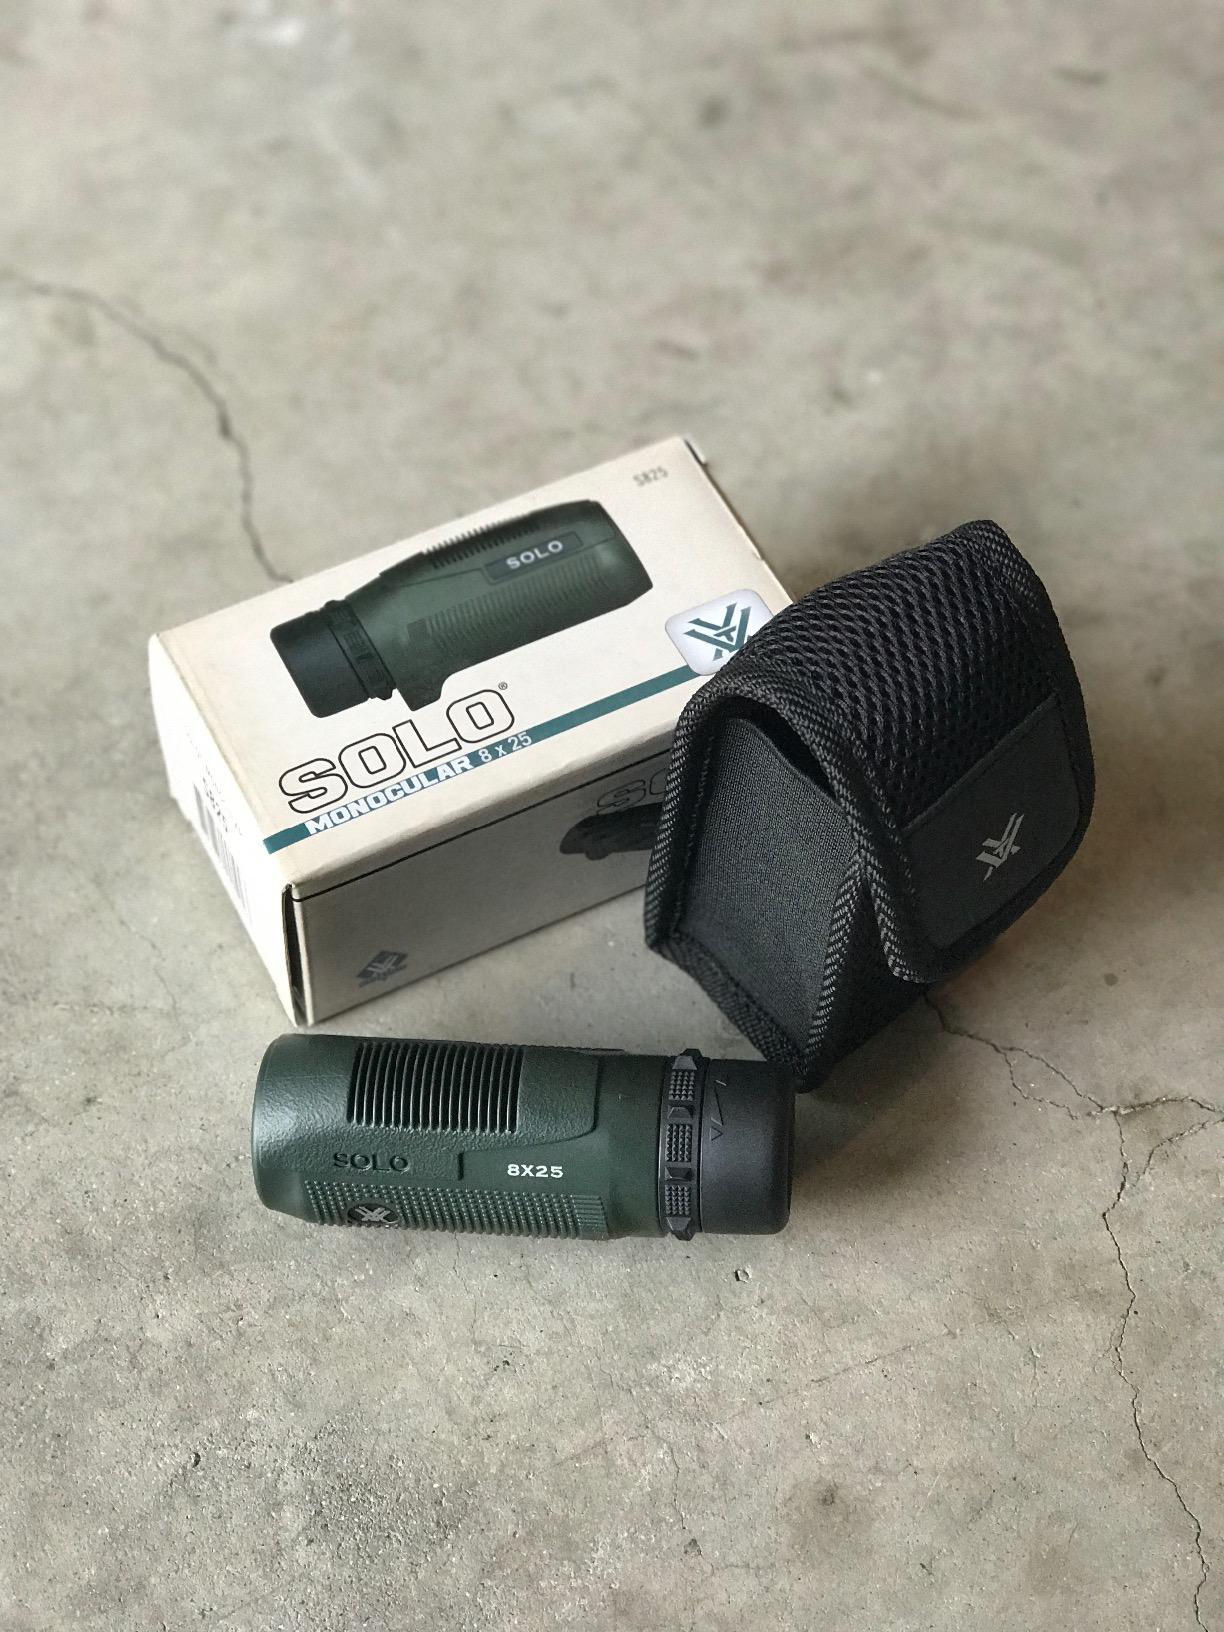
Anyone who wants a single do-everything monocular that lives in a pocket and gets used often. Day hikers, travelers, sports spectators, casual wildlife watchers, and anyone who values a real warranty over chasing the cheapest option.
Dedicated low-light birders and serious wildlife observers who need the brightness of a 42mm or larger objective. Anyone who wants higher magnification for long-distance identification – the 8x ceiling becomes the constraint.
8x magnification
42mm objective
BAK-4 prism
Waterproof and fogproof
The FEEMIC 8×42 is the budget pick I’d actually recommend. It gets the three specs that matter most for a beginner-friendly optic right: 8x magnification (manageable handheld), 42mm objective (bright exit pupil around 5.25mm), and a BAK-4 prism with fully multi-coated glass.
What surprised me about this optic the first time I used it was how forgiving it felt. The focus wheel has enough resistance that you can land on the sharp spot without overshooting, the rubber armor gives it a confident grip in cold or wet hands, and the image is bright enough at dawn that I didn’t feel handicapped compared to more expensive 8×42 monoculars.
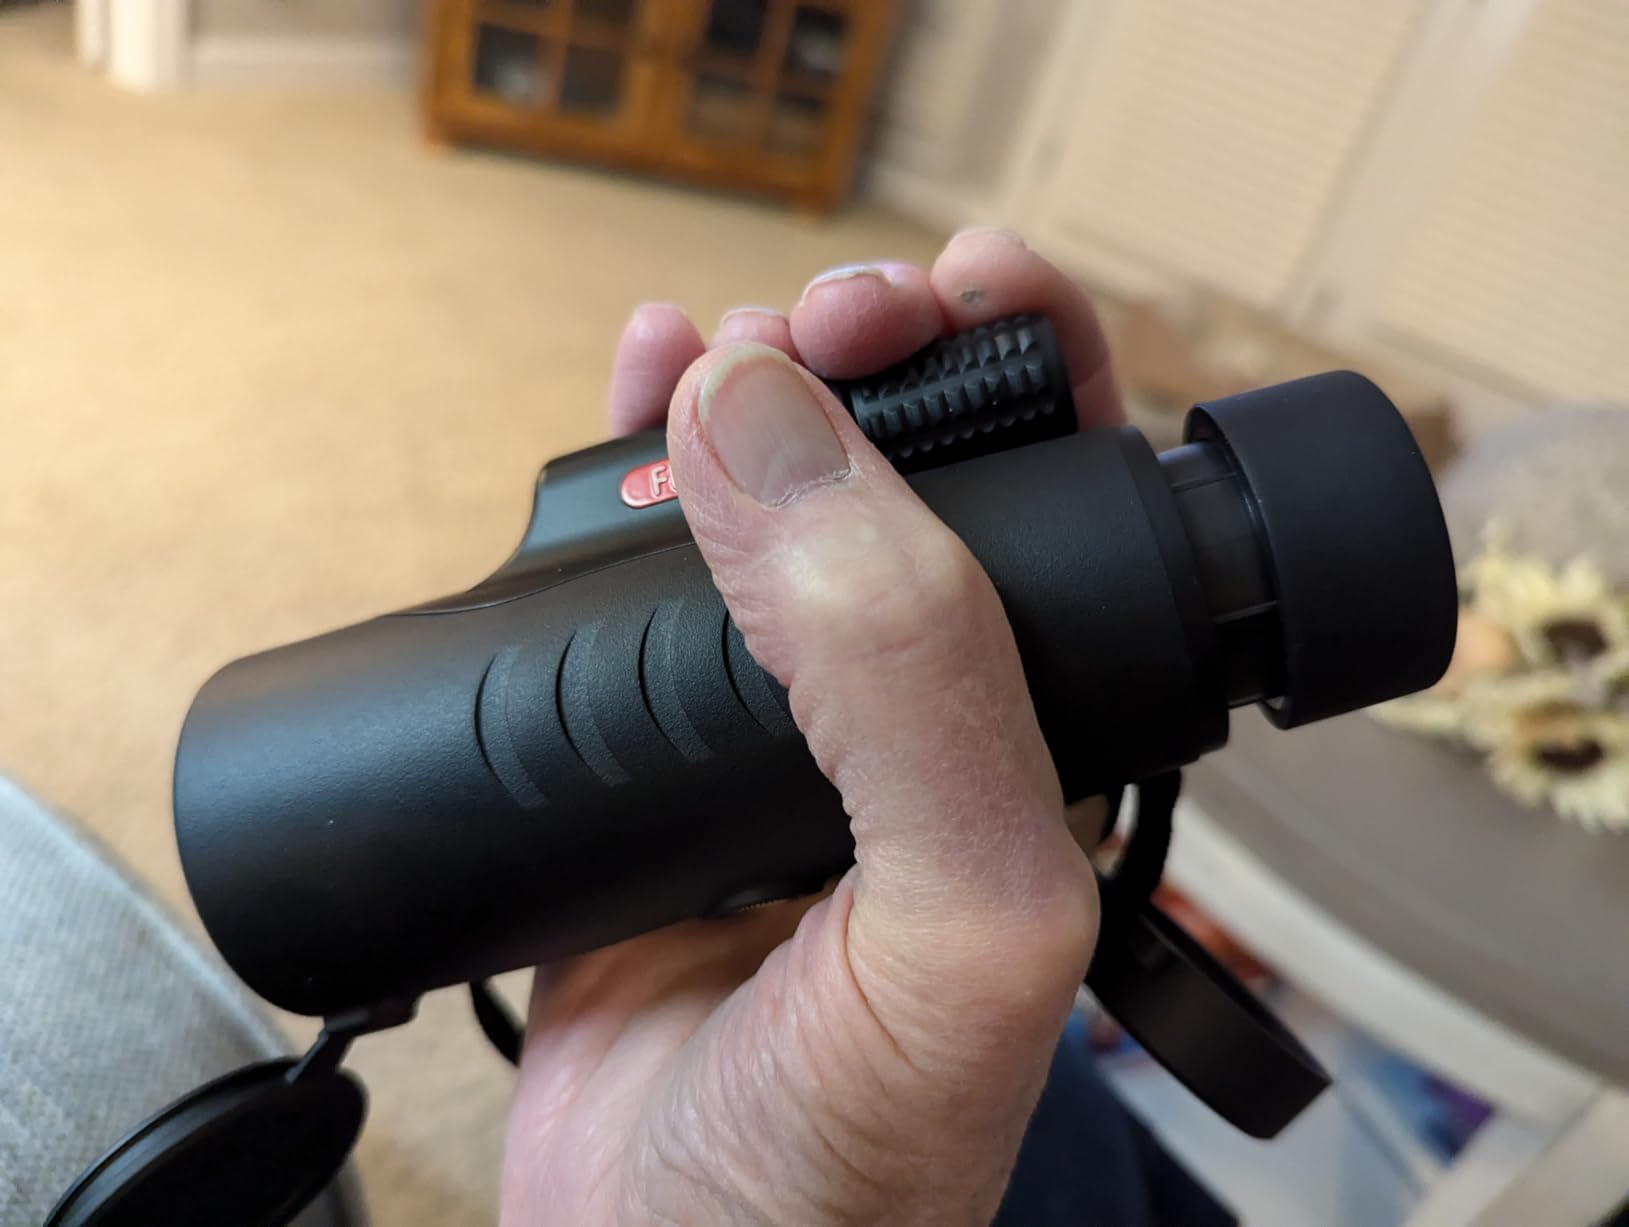
The 42mm objective makes this monocular noticeably larger than a pocket 25mm. It still slips into a jacket pocket, but it’s a jacket pocket rather than a pants pocket. For hiking, that’s a fair trade for the brighter image.
The 30-day money-back guarantee from FEEMIC is shorter than Vortex’s lifetime warranty, but the price difference funds that gap. If you’re not sure whether you’ll use a monocular regularly enough to justify the Vortex, the FEEMIC is the right place to start.
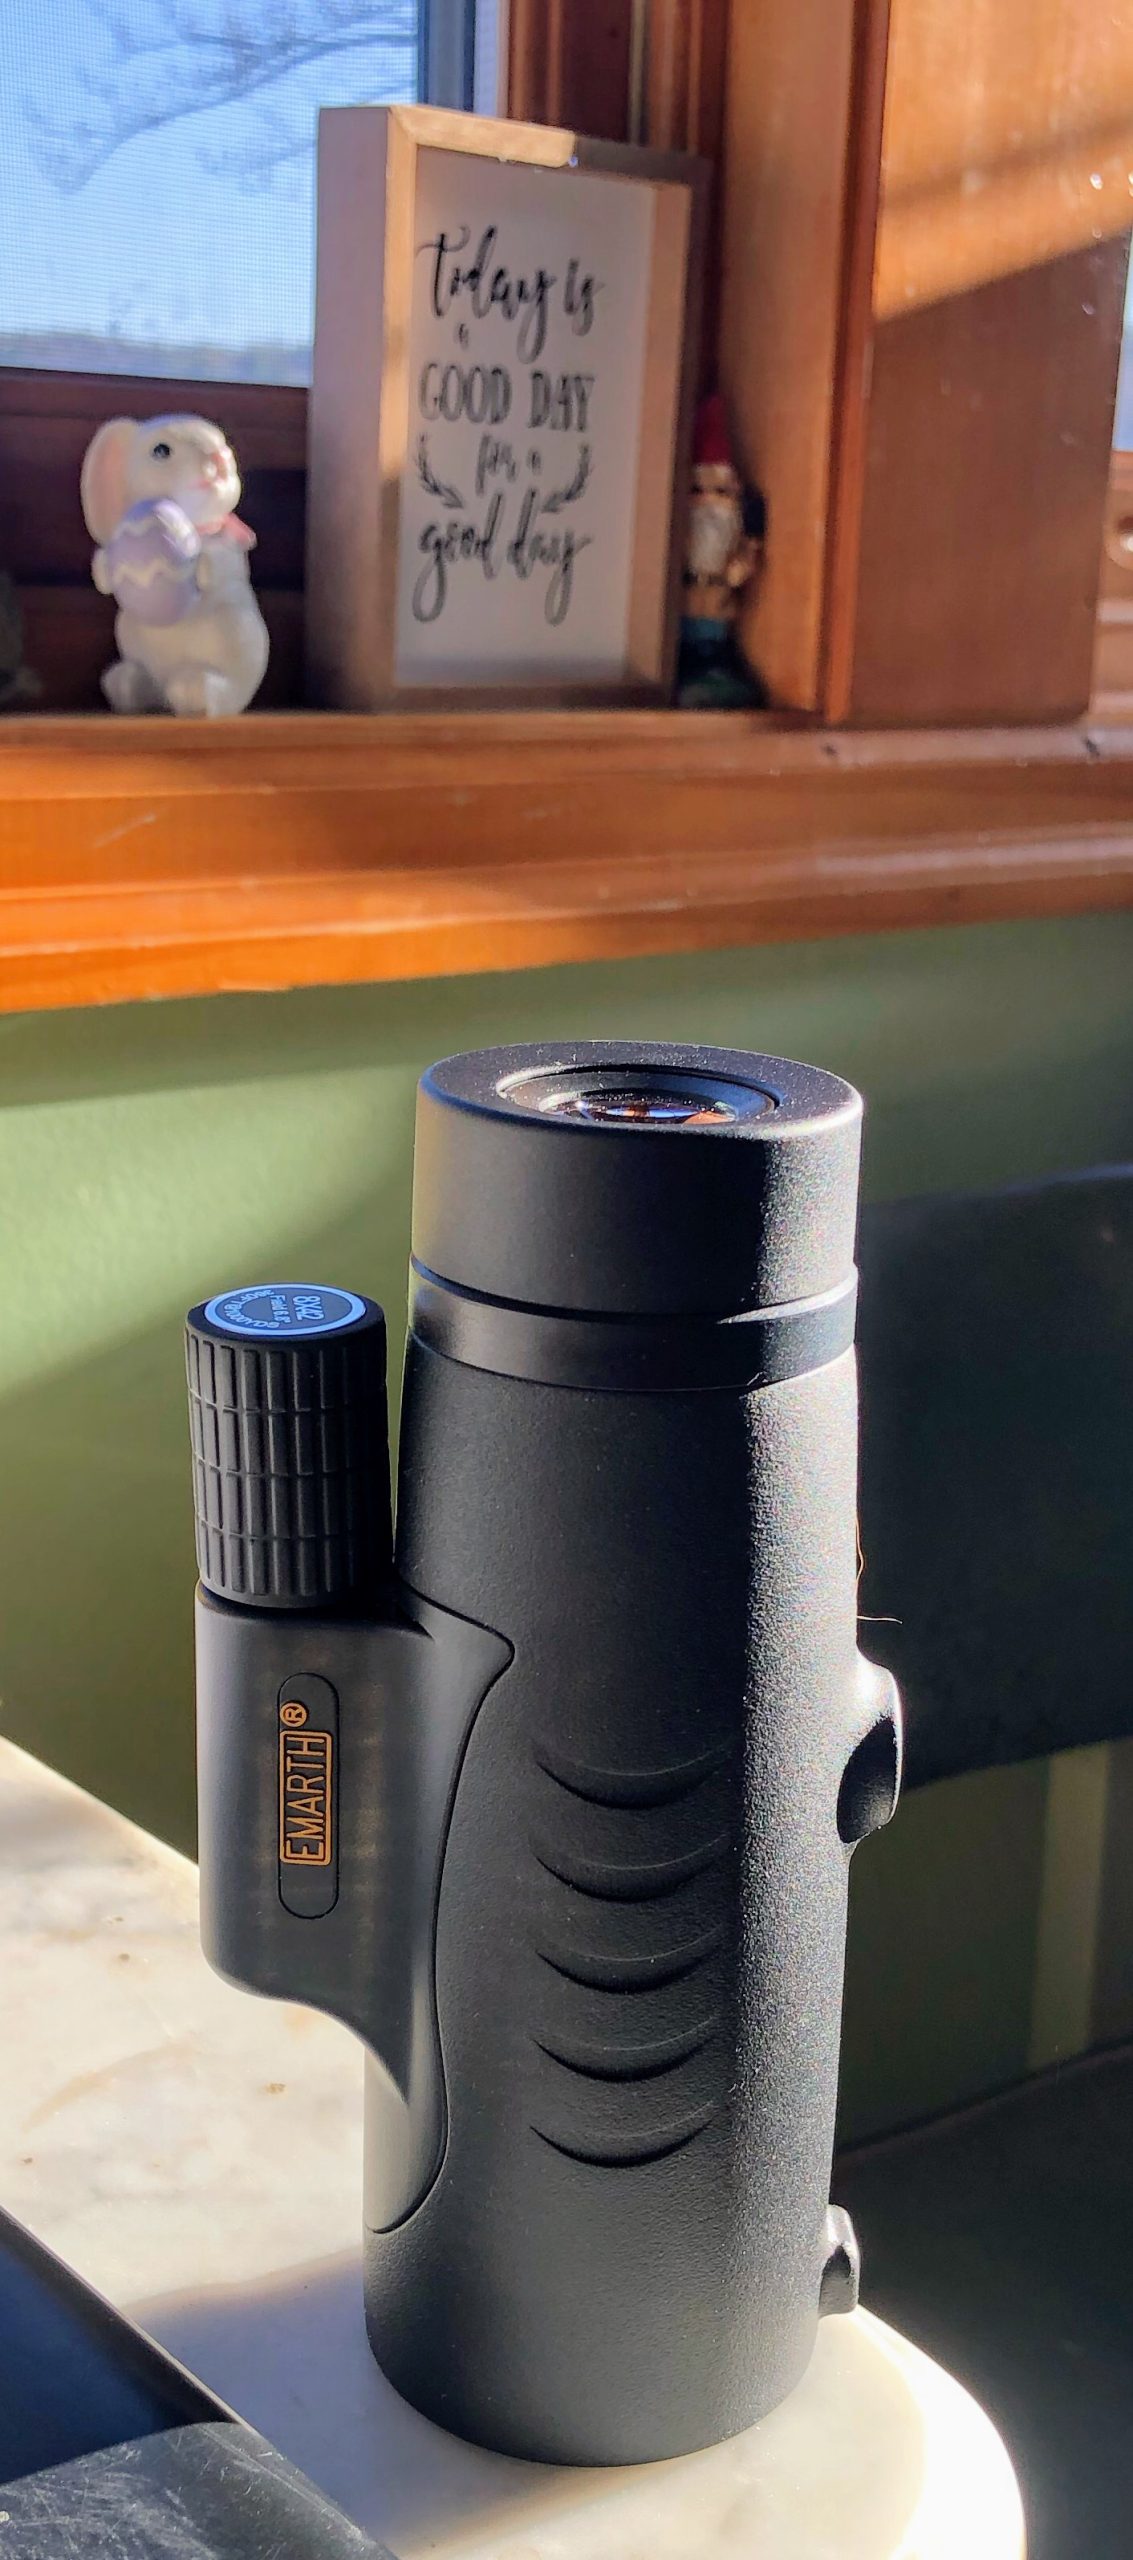
Hikers, campers, and travelers who want a stable, easy-to-focus 8×42 monocular without paying premium-brand prices. First-time monocular owners who want to learn the basics before committing to a more expensive optic.
Buyers who prioritize long-term warranty coverage or who want a pocketable form factor for everyday carry. The 42mm body is larger than the Vortex Solo.
10x magnification
42mm objective
BAK-4 prism
Tripod-mountable
The Usogood 10×42 hits the configuration most birders end up settling on. 10x magnification reaches songbirds in the upper canopy, 42mm of objective keeps the image bright at dawn and dusk, and the 4.2mm exit pupil matches the size of a fully dilated human pupil.
What sets this monocular apart for glasses wearers is the oversized 22.5mm eyepiece. It provides enough eye relief that the full field of view clears the lens even with thicker frames, which is the most common glasses-related complaint I hear from monocular users.
The 10x magnification is at the practical limit for comfortable handheld viewing. Most users can hold this monocular steady for 30-60 seconds before arm fatigue sets in. For longer sessions, the 1/4-20 tripod socket on the bottom accepts any standard camera tripod.
The image quality from the BAK-4 prism and fully multi-coated optics is sharp and color-accurate. At this price tier, the optical performance competes with monoculars costing several times more, which is why this model has built up such a large base of buyer reviews.
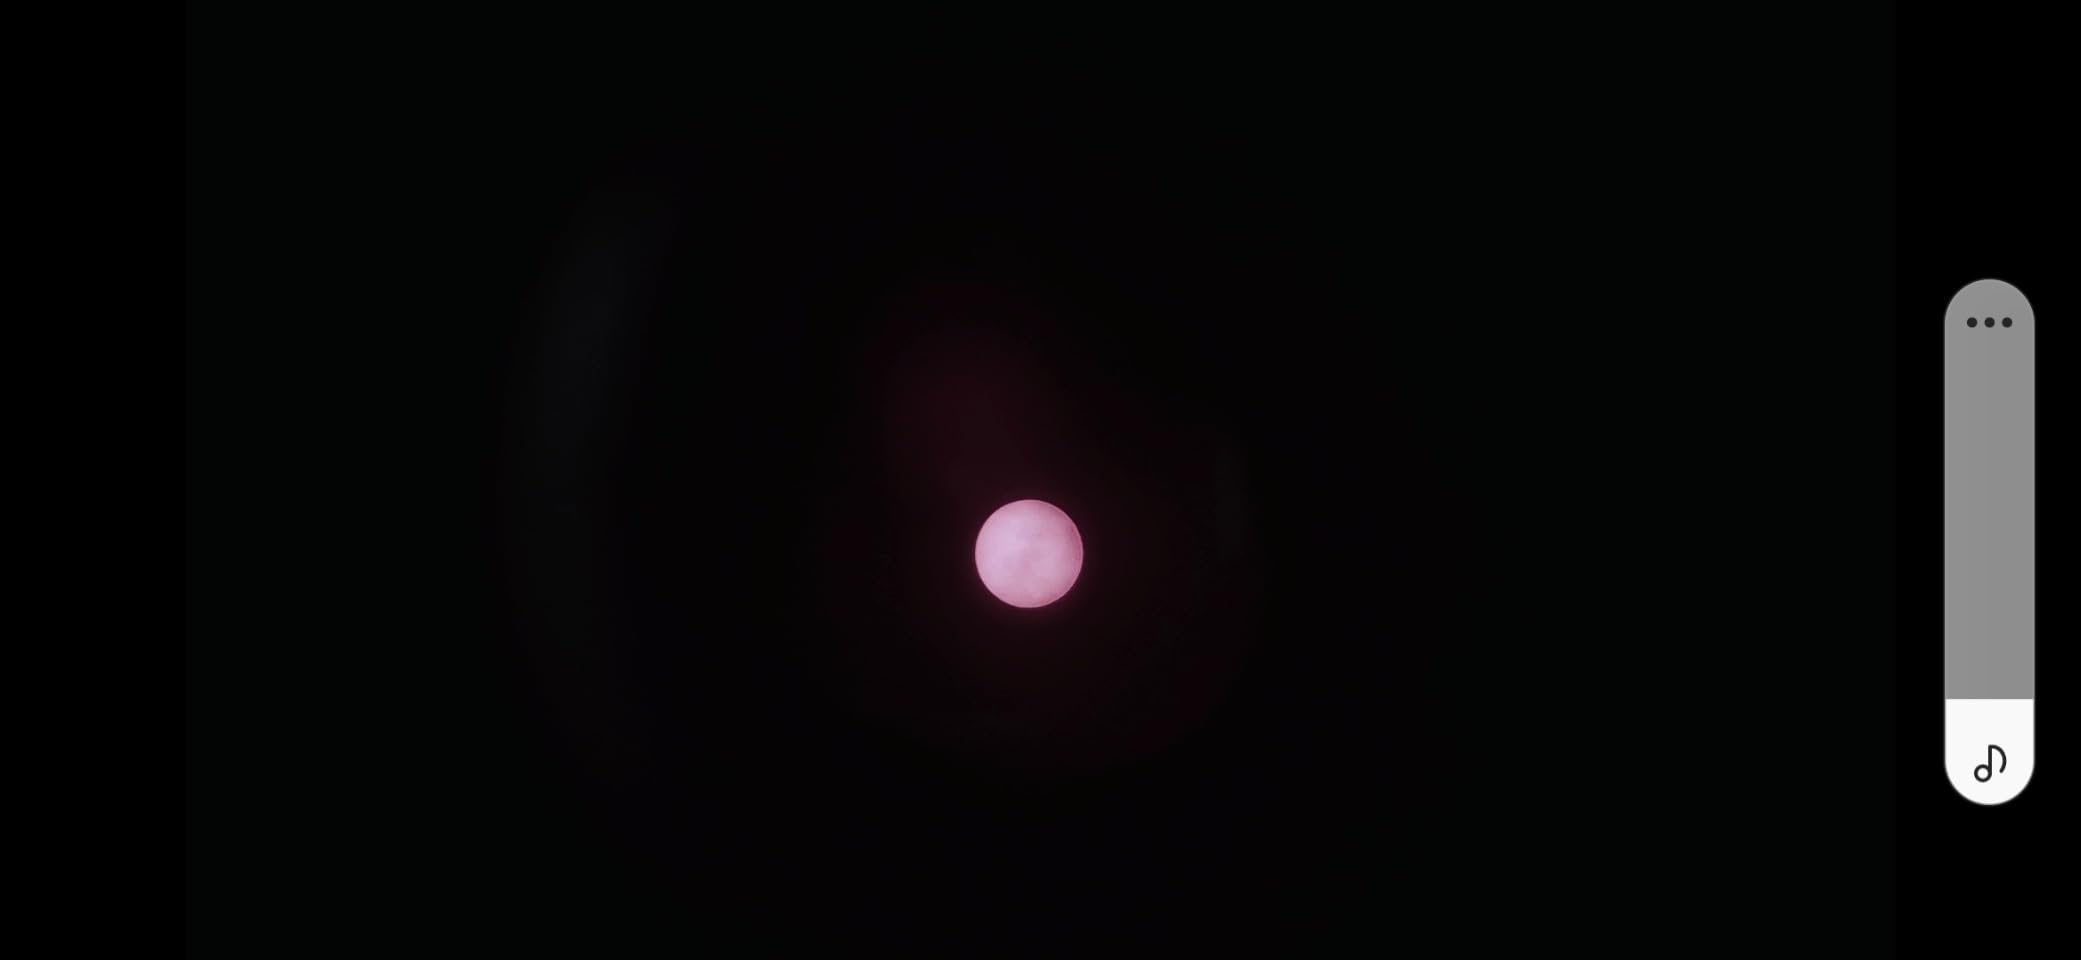
Backyard birders and hikers who want a 10×42 – the most popular birding configuration – without paying premium-brand prices. Glasses wearers who need the extra eye relief.
Anyone who wants a true pocket-carry monocular. The 42mm objective makes this a jacket-pocket optic, not a pants-pocket one. Anyone sensitive to hand shake should look at an 8x instead.
12x magnification
56mm objective
Smartphone adapter included
Tripod included
The OXK Optics 12×56 is the monocular to reach for when you need serious reach. The 12x magnification pulls in distant wildlife that 8x and 10x monoculars leave as a smudge, and the 56mm objective delivers an exit pupil around 4.6mm – bright enough for dawn and dusk.
The bundle is what makes this optic interesting for beginners. Both a smartphone adapter and a full-size adjustable tripod are in the box, so you can go from unboxing to digiscoping without buying extras. For someone just starting out with long-distance wildlife photography, that bundle removes three decisions.

At 12x magnification, a tripod isn’t optional. The bundled tripod is sturdy enough for the optic and works at full height for standing observation. The smartphone adapter clamps firmly and aligns with the eyepiece.
The 25mm eyepiece is well-sized for glasses wearers, which is more important than usual at 12x because any black-ring vignetting is more obvious at higher magnifications.
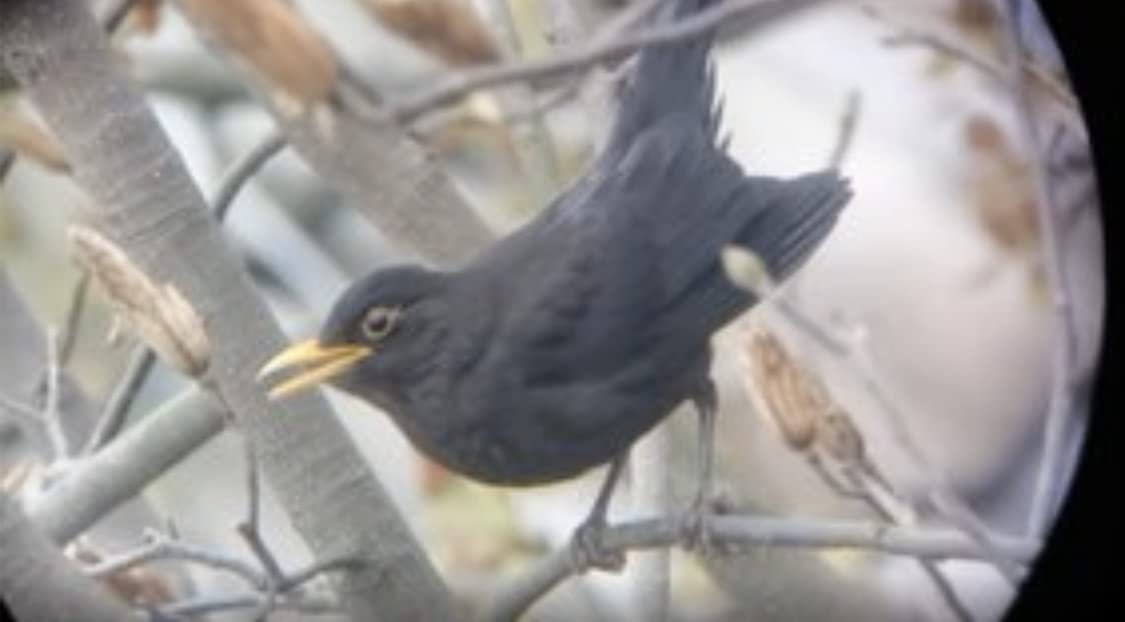
Wildlife observers who need long-distance reach – shorebird scanning, big-game spotting, concerts and sports in large venues. Anyone starting in digiscoping who wants the adapter and tripod included.
Anyone who wants a pocket-carry optic. The 12×56 form factor is too large for a jacket pocket and heavier than a single-hand-hold optic. Anyone who needs quick handheld deployment.
10-30x adjustable zoom
40mm objective
BAK-4 prism
Waterproof and fogproof
The Aurosports 10-30×40 zoom is the budget answer to “I want one monocular that does both daytime and astronomy.” The adjustable zoom lets you frame the moon wide at 10x, then crank up to 30x to look at specific craters along the terminator, then pull back to scan a constellation.
For astronomy the configuration matters more than absolute magnification. 10x gives you a wide enough field to sweep the Milky Way, and 30x reaches the planets and bright Messier objects in dark skies. The BAK-4 prism and fully multi-coated optics keep the image contrast high enough that you can pick out star colors and split brighter double stars.
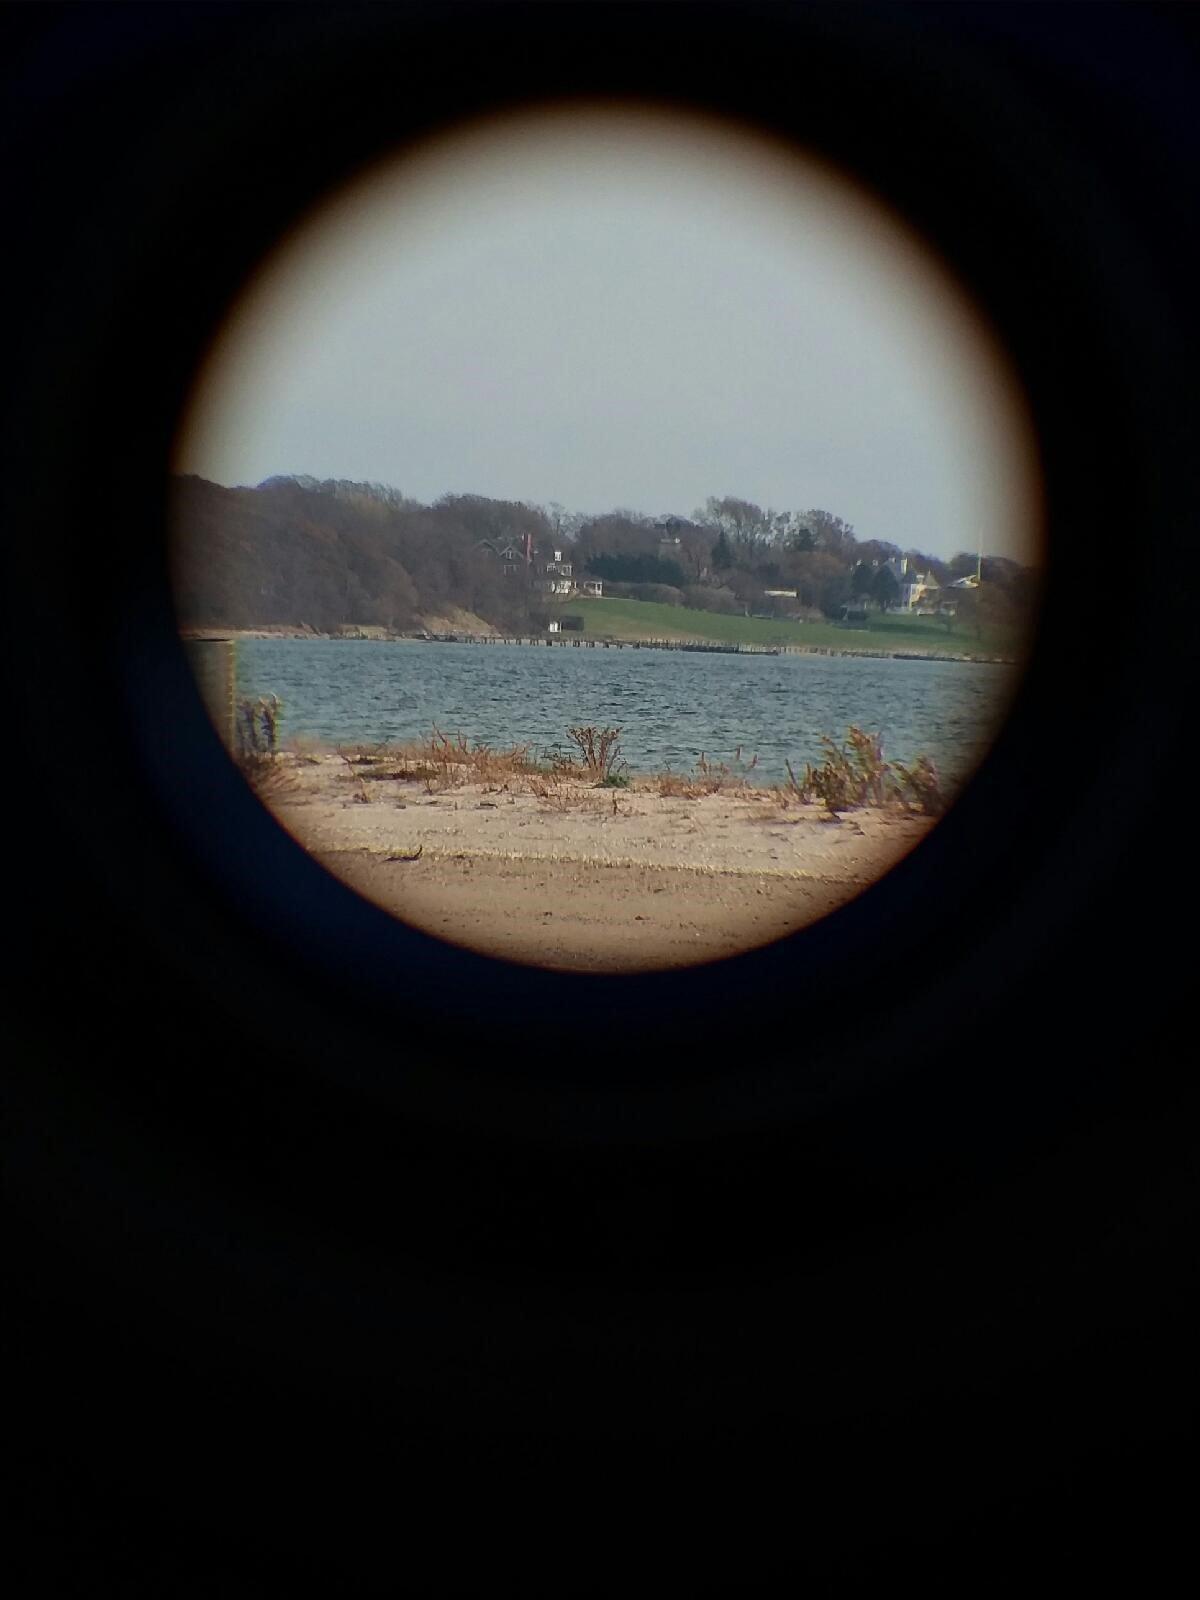
The honest trade-off: zoom monoculars sacrifice some edge sharpness at the long end compared to a fixed-magnification optic. At 10x this monocular is sharp across most of the field. At 30x, the center is sharp and the edges soften noticeably. For astronomical targets that tend to sit in the center of the field anyway, that’s a workable trade.
A tripod is required at 30x – hand shake makes the image unusable. The 1/4-20 socket on the bottom accepts any standard camera tripod or tabletop mount.
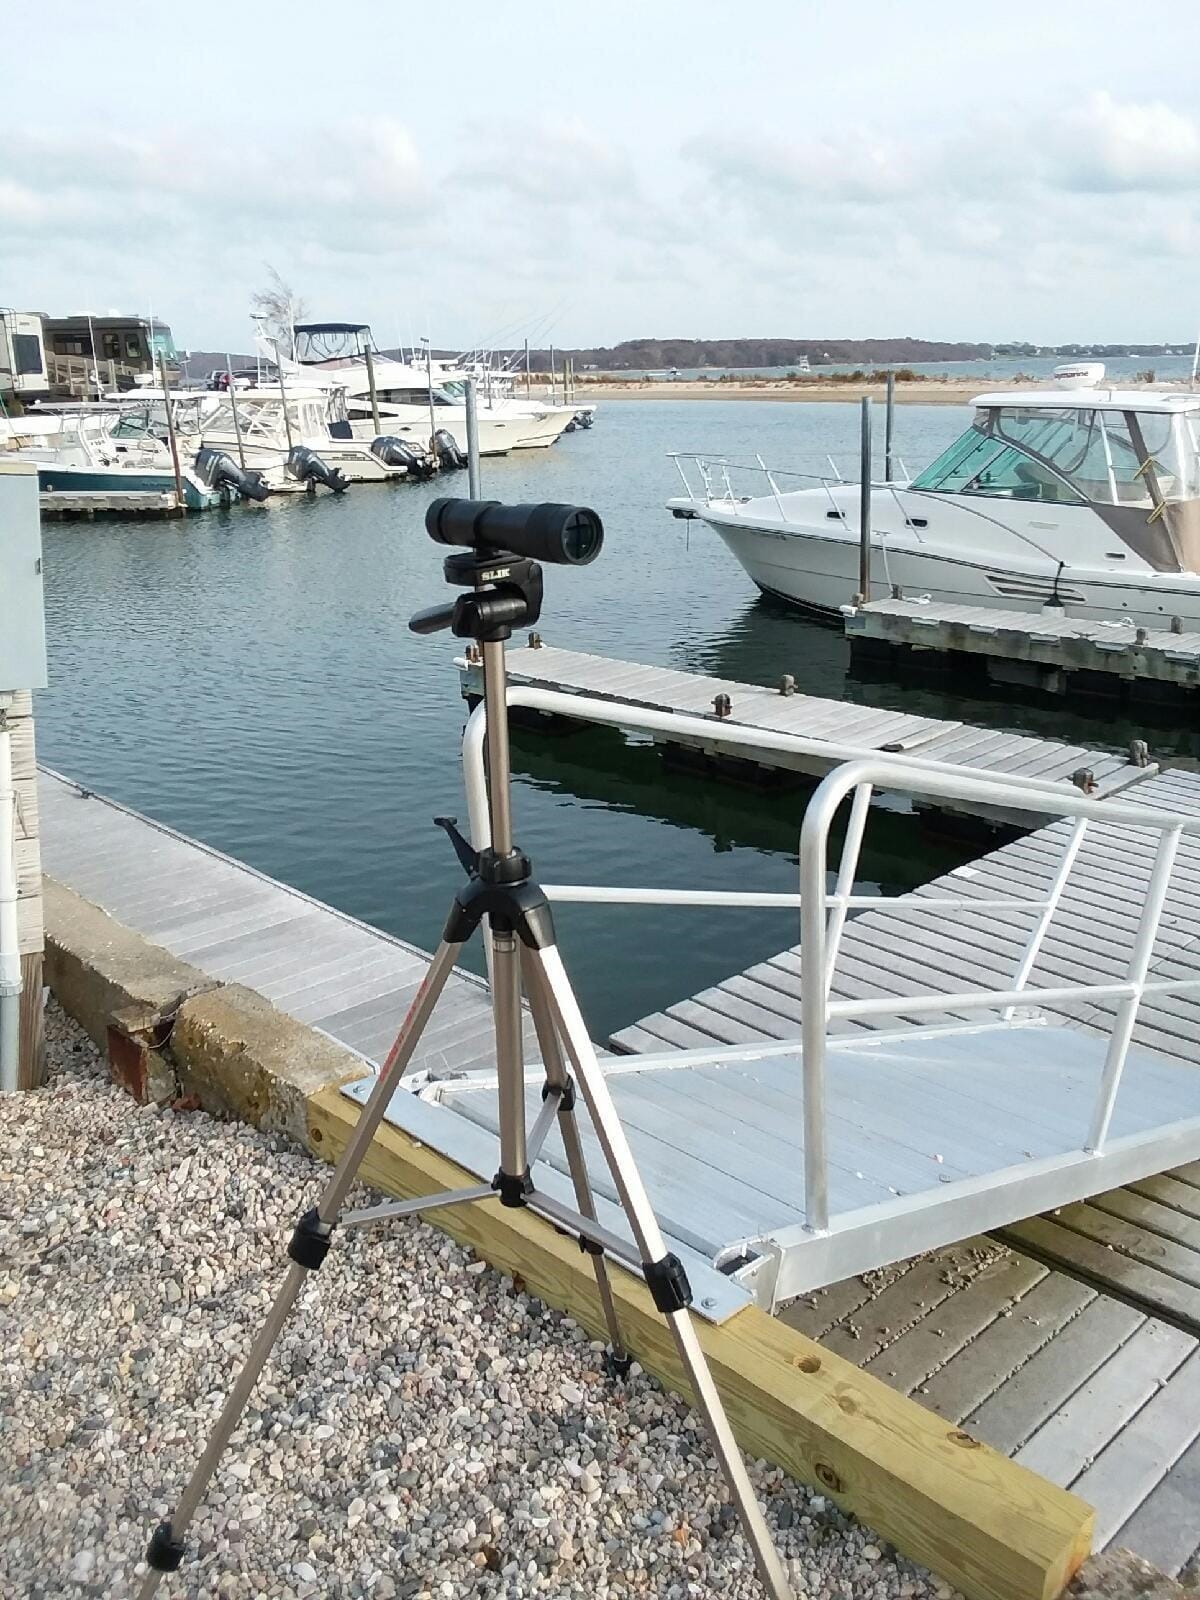
Stargazers on a budget who want variable magnification in a single optic. Daytime users who want to scan wide at 10x and zoom in for distant subjects. Anyone who already owns a tripod.
Pure daytime users who would be better served by a fixed 8×42 or 10×42 with sharper edges. Buyers who want maximum optical quality – dedicated fixed-magnification monoculars outperform zooms at the same price.
12x magnification
55mm objective
IPX7 waterproof
Phone adapter and tripod included
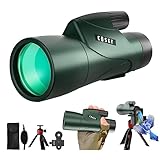
The Gosky 12×55 is the most popular digiscoping kit at this price tier, and the reason is simple: the adapter and tripod are already in the box. That’s a real saving over buying a monocular, an adapter, and a tripod separately.
The optics are solid for the price. The BAK-4 prism and fully multi-coated lenses deliver a sharp, color-accurate image with enough contrast for bird identification. The 4.58mm exit pupil is bright enough for dawn and dusk viewing, and the IPX7 waterproof rating means you don’t have to baby the optic in rain.
The bundled smartphone adapter clamps onto the eyepiece and holds most phones firmly. The mini tripod is small but sturdy enough to hold the monocular steady at 12x. For a beginner who wants to try digiscoping without committing to a more expensive setup, this kit removes every barrier.
The optic is heavier than pocket monoculars at around 24 oz with the tripod. Plan to deploy from a stationary spot rather than walk-and-shoot.
Beginners who want to try digiscoping without buying three separate pieces of gear. Birders and wildlife observers who want a complete ready-to-use setup out of the box.
Anyone who already owns a phone adapter and tripod – they pay for the bundle. Anyone who wants a true pocketable monocular.
Universal 28-47mm eyepiece fit
Fits phones 54-90mm wide
Zinc alloy frame
Lifetime warranty
If you already own a monocular and want to add digiscoping, the GOSKY phone adapter is the most-used universal adapter in this category. The three-axis metal frame clamps onto eyepieces from 28mm to 47mm in diameter – which covers the vast majority of consumer monoculars – and holds phones from 54mm to 90mm wide, which covers every modern smartphone.
The three-axis adjustment is what makes this adapter beginner-friendly. Most cheap adapters only allow you to slide the phone in two directions, which makes centering the camera lens over the eyepiece a frustrating trial-and-error exercise. The third axis on this model – typically the up-down adjustment – lets you fine-tune the alignment in seconds.

The clamps are padded, which protects both the eyepiece rubber and the phone case. The zinc alloy body is heavier than all-plastic adapters but doesn’t flex under the weight of a modern phone.
Setup takes about a minute once you’ve done it a few times. The first time, expect three to five minutes while you figure out the orientation that puts your phone’s camera dead-center over the eyepiece.

Anyone who already owns a monocular or binocular and wants to add phone photography. Beginners who want a forgiving, well-built adapter that works with most optics and phones.
Anyone whose monocular has an eyepiece outside the 28-47mm range – check the diameter before buying. Anyone who already owns a brand-specific adapter for their optic.
10x magnification
25mm objective
BaK-4 prism
Waterproof and fogproof
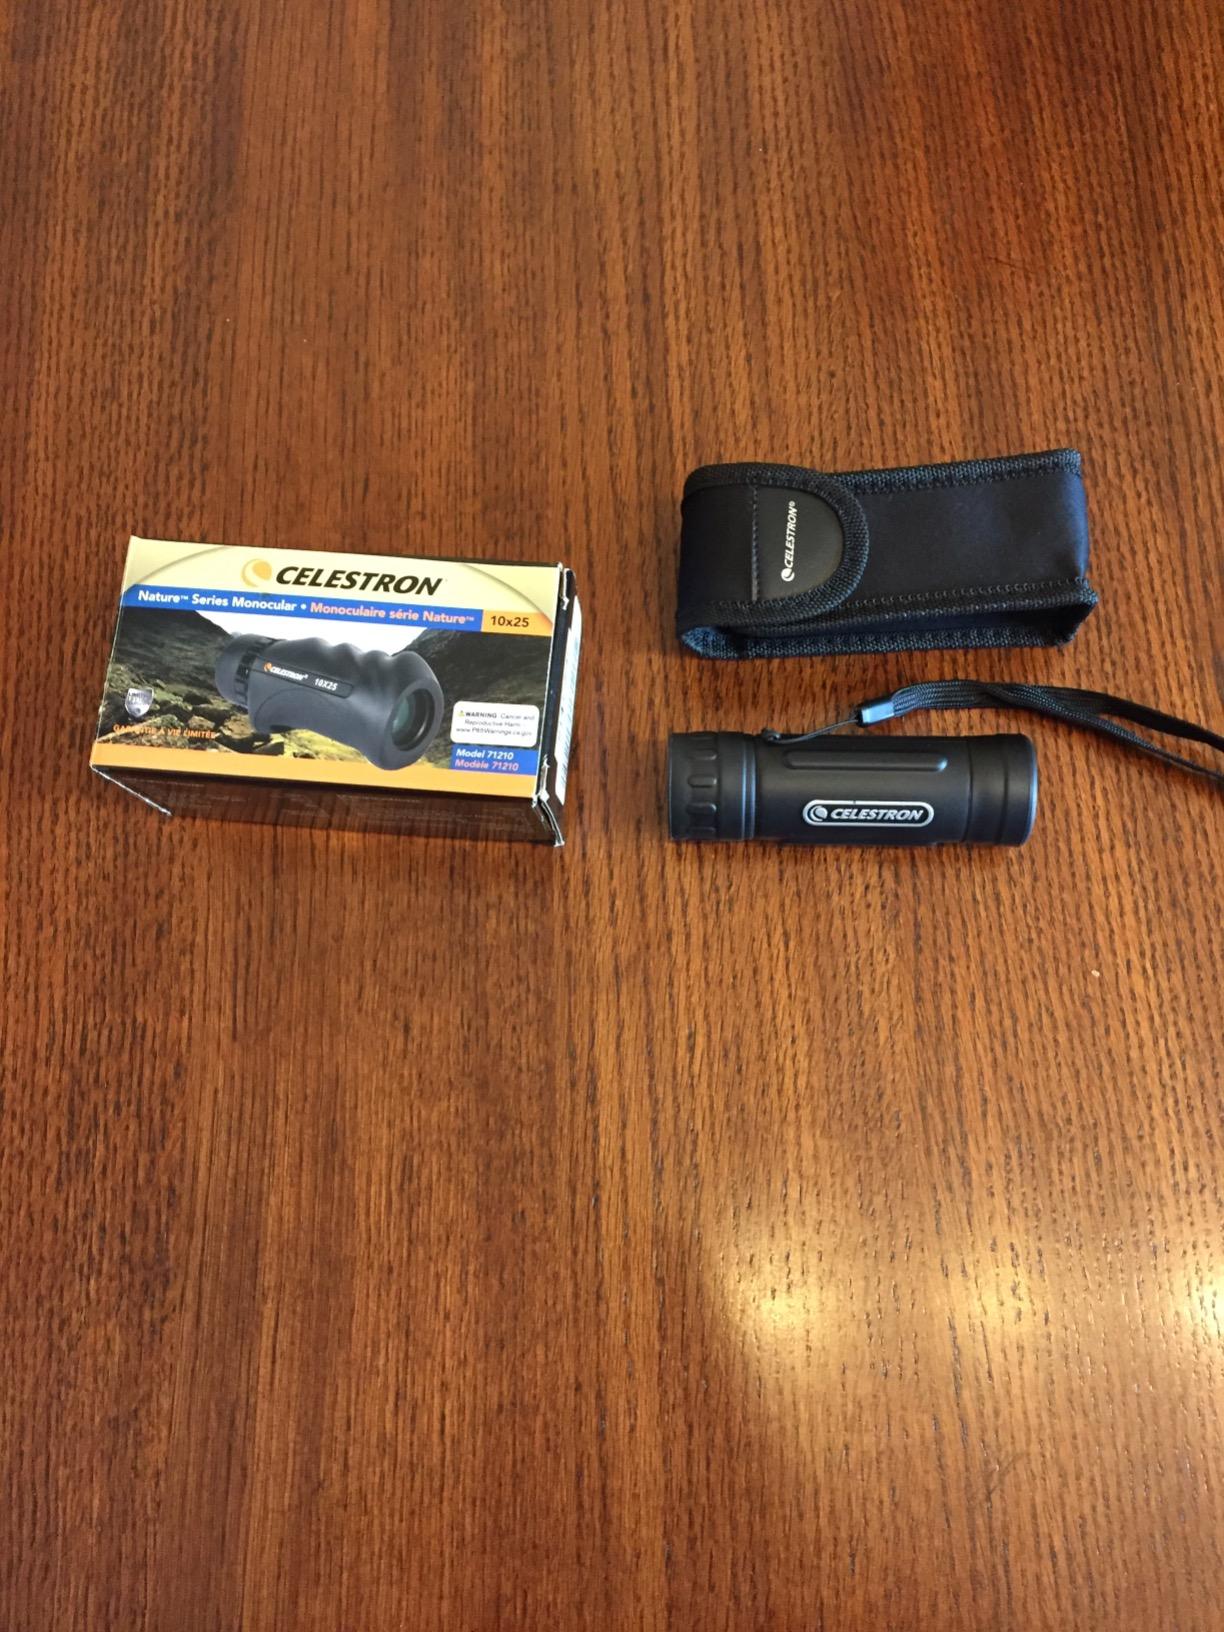
The Celestron Nature 10×25 is the pocket monocular I’d recommend for everyday carry. At 170 grams it disappears into a shirt pocket or jacket, and Celestron has been making trusted US optics for over sixty years – so the warranty and quality control are real.
10×25 sits in a useful niche. The 10x magnification reaches birds and landmarks that 8x leaves too small to identify, and the 25mm objective keeps the body small enough that you actually carry it. The 5.8-degree field of view is wide enough to track birds in flight without losing them.
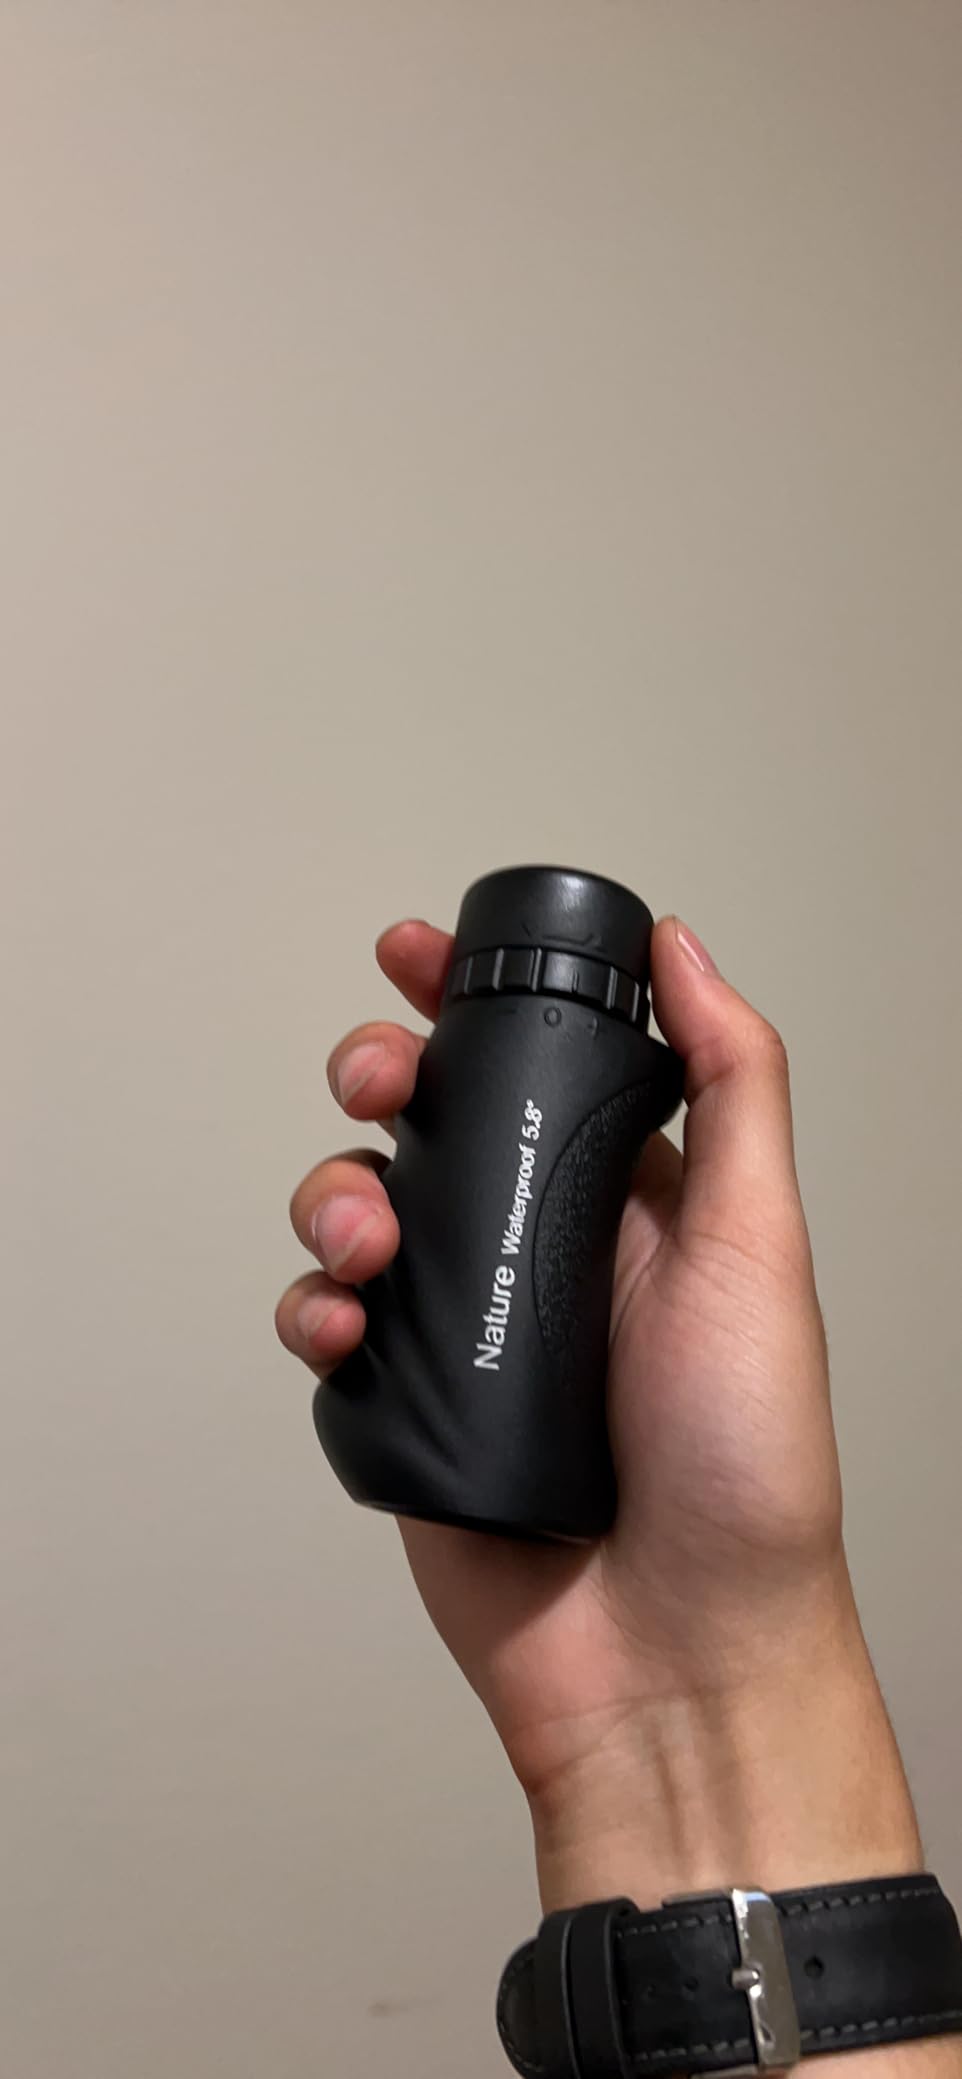
The image quality is what you’d expect from Celestron’s entry-level monocular line: BaK-4 prism, multi-coated optics, sharp center, slightly softer edges. At this size and price, that’s the right trade.
The 2.5mm exit pupil is the real limitation. In bright daylight this monocular is bright and contrasty. At dawn and dusk, the image gets noticeably dimmer. For a pure daytime carry optic that’s a fair trade.
Anyone who wants a monocular they actually carry every day. Hikers, travelers, sports spectators, and casual outdoor users who want a trusted brand with a real warranty.
Birders who need dawn and dusk brightness. Wildlife observers who want a 42mm-class objective for low-light use.
6x magnification
18mm objective
Close focus to 10 inches
1.6 oz body
The Carson CloseUp 6x18mm is the monocular I recommend to anyone who mainly needs to read small print at arm’s length – medication labels, price tags, product packaging, restaurant menus across the table. The 10-inch close focus is the headline feature, and it’s the reason this monocular exists.
The 1.6-ounce body is light enough that even users with reduced grip strength can hold the optic steady for a minute or two without fatigue. The 6x magnification is intentionally gentle – higher powers are harder to focus at close range and more sensitive to shake.
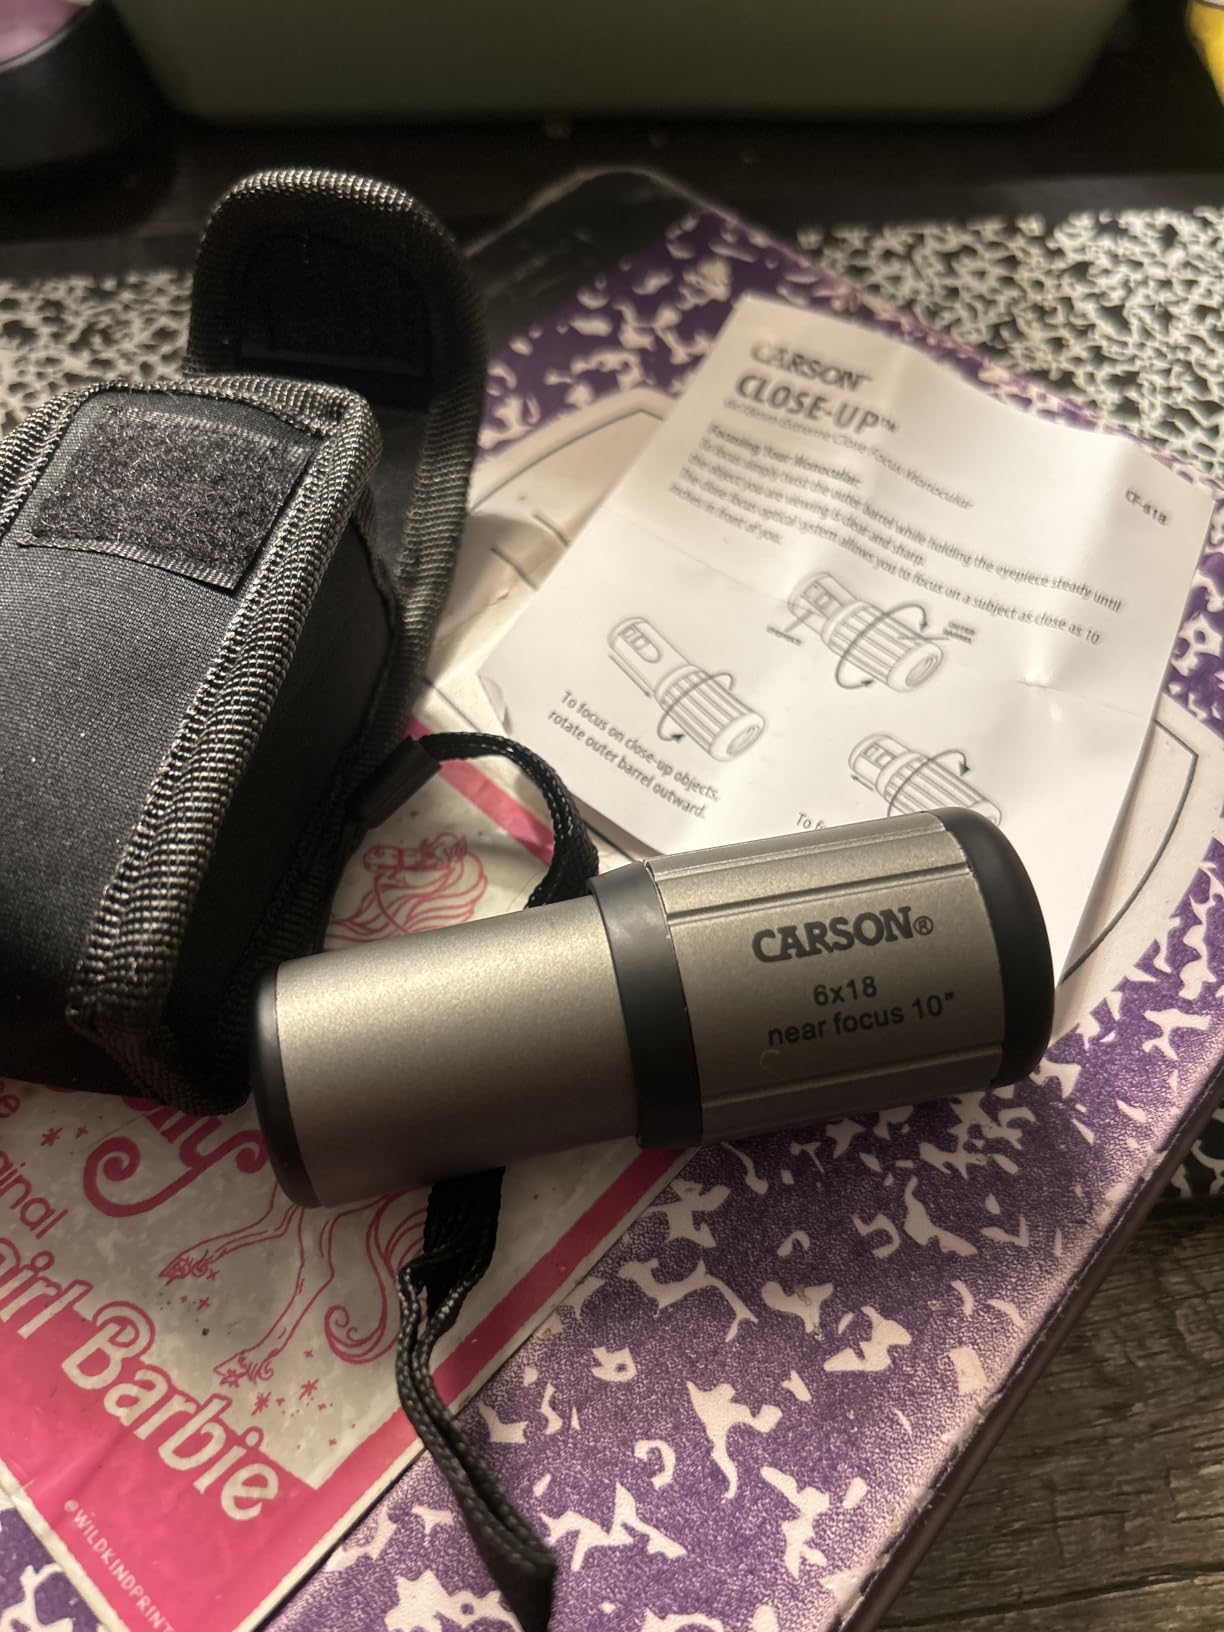
As a low-vision reading aid, this monocular replaces a handheld magnifier in many situations. It keeps both hands free (one holds the optic, one holds what you’re reading), and it works at a more comfortable viewing distance than a stand magnifier.
As a distance optic, the 6×18 is limited. It’s not the monocular for birding or wildlife – the magnification and objective are both too small. For close-focus reading and inspection tasks, it’s the right tool.
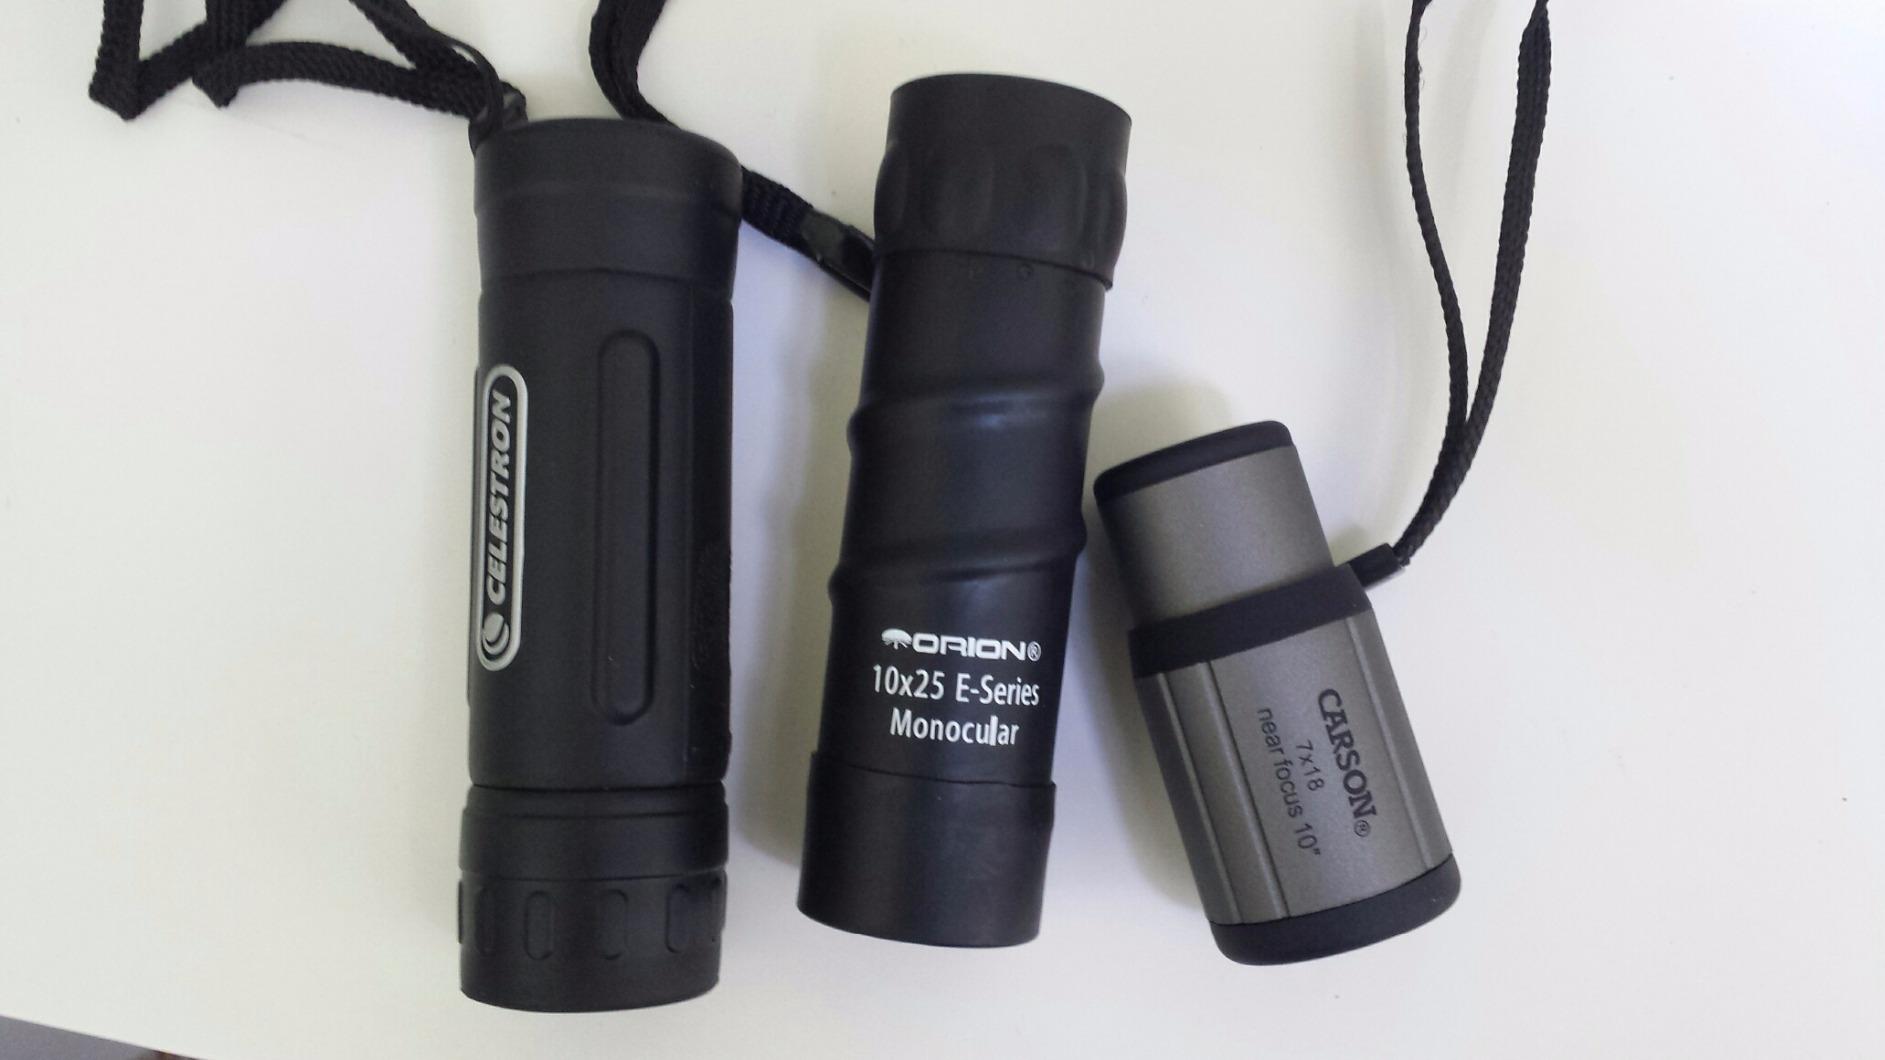
Anyone who needs a reading aid for fine print – low vision, aging eyes, inspecting small details. Nature enthusiasts who want to study mushrooms, insects, flowers, and other close subjects.
Anyone whose main use is distance viewing. The 6x magnification is too low for wildlife, birding, or any application that needs reach.
8x magnification
32mm objective
Extra-low dispersion HD glass
Vortex VIP lifetime warranty
The Vortex Recce Pro HD 8×32 is the upgrade pick for experienced monocular users who want premium optics in a compact body. The extra-low dispersion HD glass reduces chromatic aberration compared to standard optics, which means sharper edges and cleaner color separation at high contrast – especially useful for bird ID and long-distance wildlife spotting.
The MRAD reticle with quick-ranging silhouettes is a tactical feature that experienced users appreciate. For non-tactical use, the reticle is unobtrusive and can be ignored. The MOLLE-compatible utility clip is the real carry feature – it attaches the monocular to pack webbing, a belt loop, or a pocket edge for instant access.
Build quality is what you’d expect from a Vortex premium optic. The textured rubber armor is grippy without being sticky, the focus wheel has the precise feel of a much more expensive optic, and the Armortek lens coating protects the outer glass from scratches.
The lifetime VIP warranty is the same unconditional, transferable coverage Vortex offers across the line. Buy once, use it for decades, replace if anything goes wrong.
Experienced monocular users ready to upgrade from an entry-level optic. Anyone who values premium HD glass, compact 32mm form factor, and a lifetime warranty over saving money on the entry tier.
First-time monocular owners. Start with a less expensive optic to learn what specs and features matter to you, then upgrade once you’ve used one enough to know your preferences.
A monocular that gets basic care lasts decades. One that gets ignored degrades fast – fungus on internal lenses, scratched coatings, sticky focus mechanisms. Most of the cost of ownership is just a few minutes of routine attention.
Clean lenses only with the right materials. A lens brush or blower removes loose dust, then breathing on the lens and wiping with a clean microfiber cloth in circular motions from center to edge removes smudges. Paper towels, tissues, and shirt fabric all contain micro-abrasives that scratch coatings over time.
For stubborn smudges, use lens cleaner designed for optics, applied to the cloth – never directly to the lens. Glass cleaner and household sprays strip anti-reflective coatings and are the most common cause of permanent image-quality loss.
Important: Never disassemble your monocular. The internal alignment is factory-set within fractions of a millimeter, and home disassembly almost always requires professional recalibration to restore the image. If something mechanical is wrong, send it to the manufacturer or a qualified repair shop.
Storage conditions matter more than people expect. Keep the optic in a dry place with a silica gel packet to prevent fungus growth on internal lenses. Avoid leaving it in a car in summer or winter – temperature swings cause internal fogging that can damage coatings and sealants.
Waterproof monoculars still benefit from drying. After wet use, wipe the body with a soft cloth and let it air-dry before storing. Even IPX7-rated optics last longer when they’re not stored damp.
Monthly inspections catch small problems early. Check for loose screws or worn armor, work the focus wheel through its full travel to confirm it moves smoothly, and look at the objective lens for any new scratches or coating damage. Catching a worn seal or a sticky focus mechanism early is cheaper than repairing it after it fails in the field.
Even well-cared-for monoculars develop issues. Most are minor and fixable without professional service.
Blurry images despite focusing usually means eye relief is wrong. Twist the eyecup up or down and check whether your eye is centered on the eyepiece. Off-center viewing causes edge blur that looks like a focus problem but isn’t.
Double vision means the optic isn’t perpendicular to your line of sight. Adjust the angle slightly until the image resolves into a single circle. Some users need a small tilt because of facial structure – that’s normal.
Increasing shake over time is arm fatigue. Take a break, brace against a support, or switch to lower magnification. Most users can hold a monocular steady for 30-60 seconds before fatigue becomes obvious.
Internal fogging indicates moisture inside the optic. Place it in a warm dry space with silica gel packets for 24-48 hours. If the fogging persists, the seal may have failed and the optic needs service.
Sticky focus wheel usually has dirt or debris in the mechanism. Use compressed air around the wheel, then work it back and forth through its full travel. Persistent stickiness points to dried lubricant or internal damage that needs service.
Disappointing low-light performance usually means a small exit pupil. Divide the objective lens diameter by the magnification – under 2.5mm is dim, over 4mm is bright. For dawn and dusk use, prioritize optics with a 4mm or larger exit pupil.
Monoculars are observation tools, not navigation tools. Don’t use one while walking, running, or driving – the one-eyed field of view distorts depth perception, and even a momentary glance away from your path can lead to a missed obstacle. For the same reason, monoculars aren’t a substitute for safety glasses or protective eyewear on the range or in the workshop.
Never look at the sun through a monocular – even briefly. The concentrated light will damage your retina in seconds and the damage is permanent. If you want to observe the sun, use a certified solar filter designed for your specific optic.
Infrared and “night vision” monoculars marketed as day-and-night often aren’t true amplified optics – they’re just high-ISO sensors with a regular lens. If you need real infrared capability, look for a dedicated night vision device with an IR illuminator, and follow the manufacturer’s safety guidance about laser illuminators and direct IR exposure.
Yes, monoculars have a shorter learning curve than binoculars. The main adjustments are finding your dominant eye, setting the eyecup correctly, and learning to focus smoothly. Most beginners reach basic proficiency in two or three practice sessions. The simpler mechanical layout – one optic, one focus wheel – means there are fewer things to coordinate than with a binocular.
For general use, 8x magnification is the practical sweet spot. It balances reach and a steady handheld view, and most beginners find it comfortable. 10x is a step up in reach with slightly more shake. 12x and above usually need a tripod for sustained viewing. If you’re buying your first monocular, start with 8x or 10x.
Twist the eyecup down to its lowest position before bringing the optic to your eye. Hold the monocular slightly farther from your eye – around 15-20mm – and look for the full circular field of view without black rings around the edges. Long eye relief (15mm or more) is the spec to prioritize if you wear glasses; our guide to using binoculars with glasses covers the same techniques in more depth.
Yes, with a phone adapter. Universal adapters clamp over the eyepiece and hold your phone on an adjustable frame – center the phone’s camera over the eyepiece, lock the clamps, and switch the phone to manual focus. A tripod is almost always required for sharp results. A 12x monocular with a phone adapter reaches effective focal lengths of 400-800mm, similar to a high-end telephoto lens.
Eye fatigue usually comes from straining to focus or from incorrect eye relief. Make sure you’re using the focus wheel rather than your eye muscles, keep your eye relaxed, and take breaks every five to ten minutes while you’re learning. Some users alternate eyes to spread the load. With correct technique, fatigue goes away within a week of regular practice.
The first number is magnification – 8x means subjects appear eight times closer than with the naked eye. The second number is the objective lens diameter in millimeters – 42mm gathers more light than 25mm. Divide the second number by the first to get the exit pupil, which affects low-light brightness. As a rule of thumb, exit pupils over 4mm are bright at dawn and dusk, while exit pupils under 2.5mm start to feel dim.
Use a two-handed grip with your elbows tucked into your ribs. Press the eyecup gently against your brow or cheekbone for a third contact point. For longer sessions, rest against a wall, tree, or fence post, or use a tripod – a 1/4-20 socket on the bottom of most monoculars accepts any standard camera tripod. Breathing control helps: exhale slowly and pause at the bottom of the breath for the steadiest view.
Neither is better in every situation. Monoculars win on weight, pack space, quick deployment, and one-eyed viewing – they’re the right tool for hiking, travel, and casual wildlife. Binoculars win for extended viewing, depth perception, and brighter images at the same price – they’re the right tool for sit-down birding and stadium sports. Many outdoor enthusiasts carry both and choose based on the activity.
For most outdoor users, yes – a monocular covers most of what a binocular does at half the weight and often a third of the cost. If you already carry a binocular, a monocular is a useful backup that lives in a pocket. If you don’t own any optics, a single monocular is the most affordable way to start. For specialized needs like reading fine print, a close-focus monocular is the right tool.
Learning how to use a monocular is mostly learning a few repeatable habits: aim with both eyes, raise the optic to your dominant eye, brace your elbows, focus with the wheel rather than your eye muscles, and let your non-viewing eye stay open and relaxed. Once those habits lock in, the optic disappears and you just see the subject.
Among the ten monoculars covered above, three stand out as the strongest starting points depending on what you want to do. The Vortex Solo 8×25 is the best all-around choice – compact, waterproof, lifetime warranty, and usable for almost any beginner scenario. The FEEMIC 8×42 is the budget pick for hikers who want the brighter image of a larger objective without paying premium prices. The Usogood 10×42 is the configuration most dedicated birders end up choosing, and the oversized eyepiece is friendly to glasses.
For users who already know what they want, the rest of the list has a clear winner for each niche: the OXK Optics 12×56 for long-range wildlife, the Aurosports 10-30×40 zoom for stargazing, the Gosky 12×55 kit for an all-in-one digiscoping setup, the GOSKY phone adapter for adding digiscoping to an optic you already own, the Celestron Nature 10×25 for everyday carry, the Carson CloseUp 6×18 for low-vision and close-focus reading, and the Vortex Recce Pro HD 8×32 as the premium upgrade when you’re ready to step up.
If you’re still deciding between monoculars and binoculars, our detailed binoculars vs monoculars comparison walks through every trade-off in more detail. The short version: each tool has its place, and many experienced users end up carrying both.
Practice these techniques regularly, and the optic that started as a curiosity becomes a tool you reach for every time you step outside. The skills transfer across every use case – birding, hiking, stargazing, digiscoping, accessibility – so the time you spend learning now pays off for years. Happy viewing.