How to Choose a Rifle Scope: The Complete Guide for 2025
Choosing the right rifle scope can feel overwhelming with thousands of options flooding the market. Whether you’re a beginner selecting…
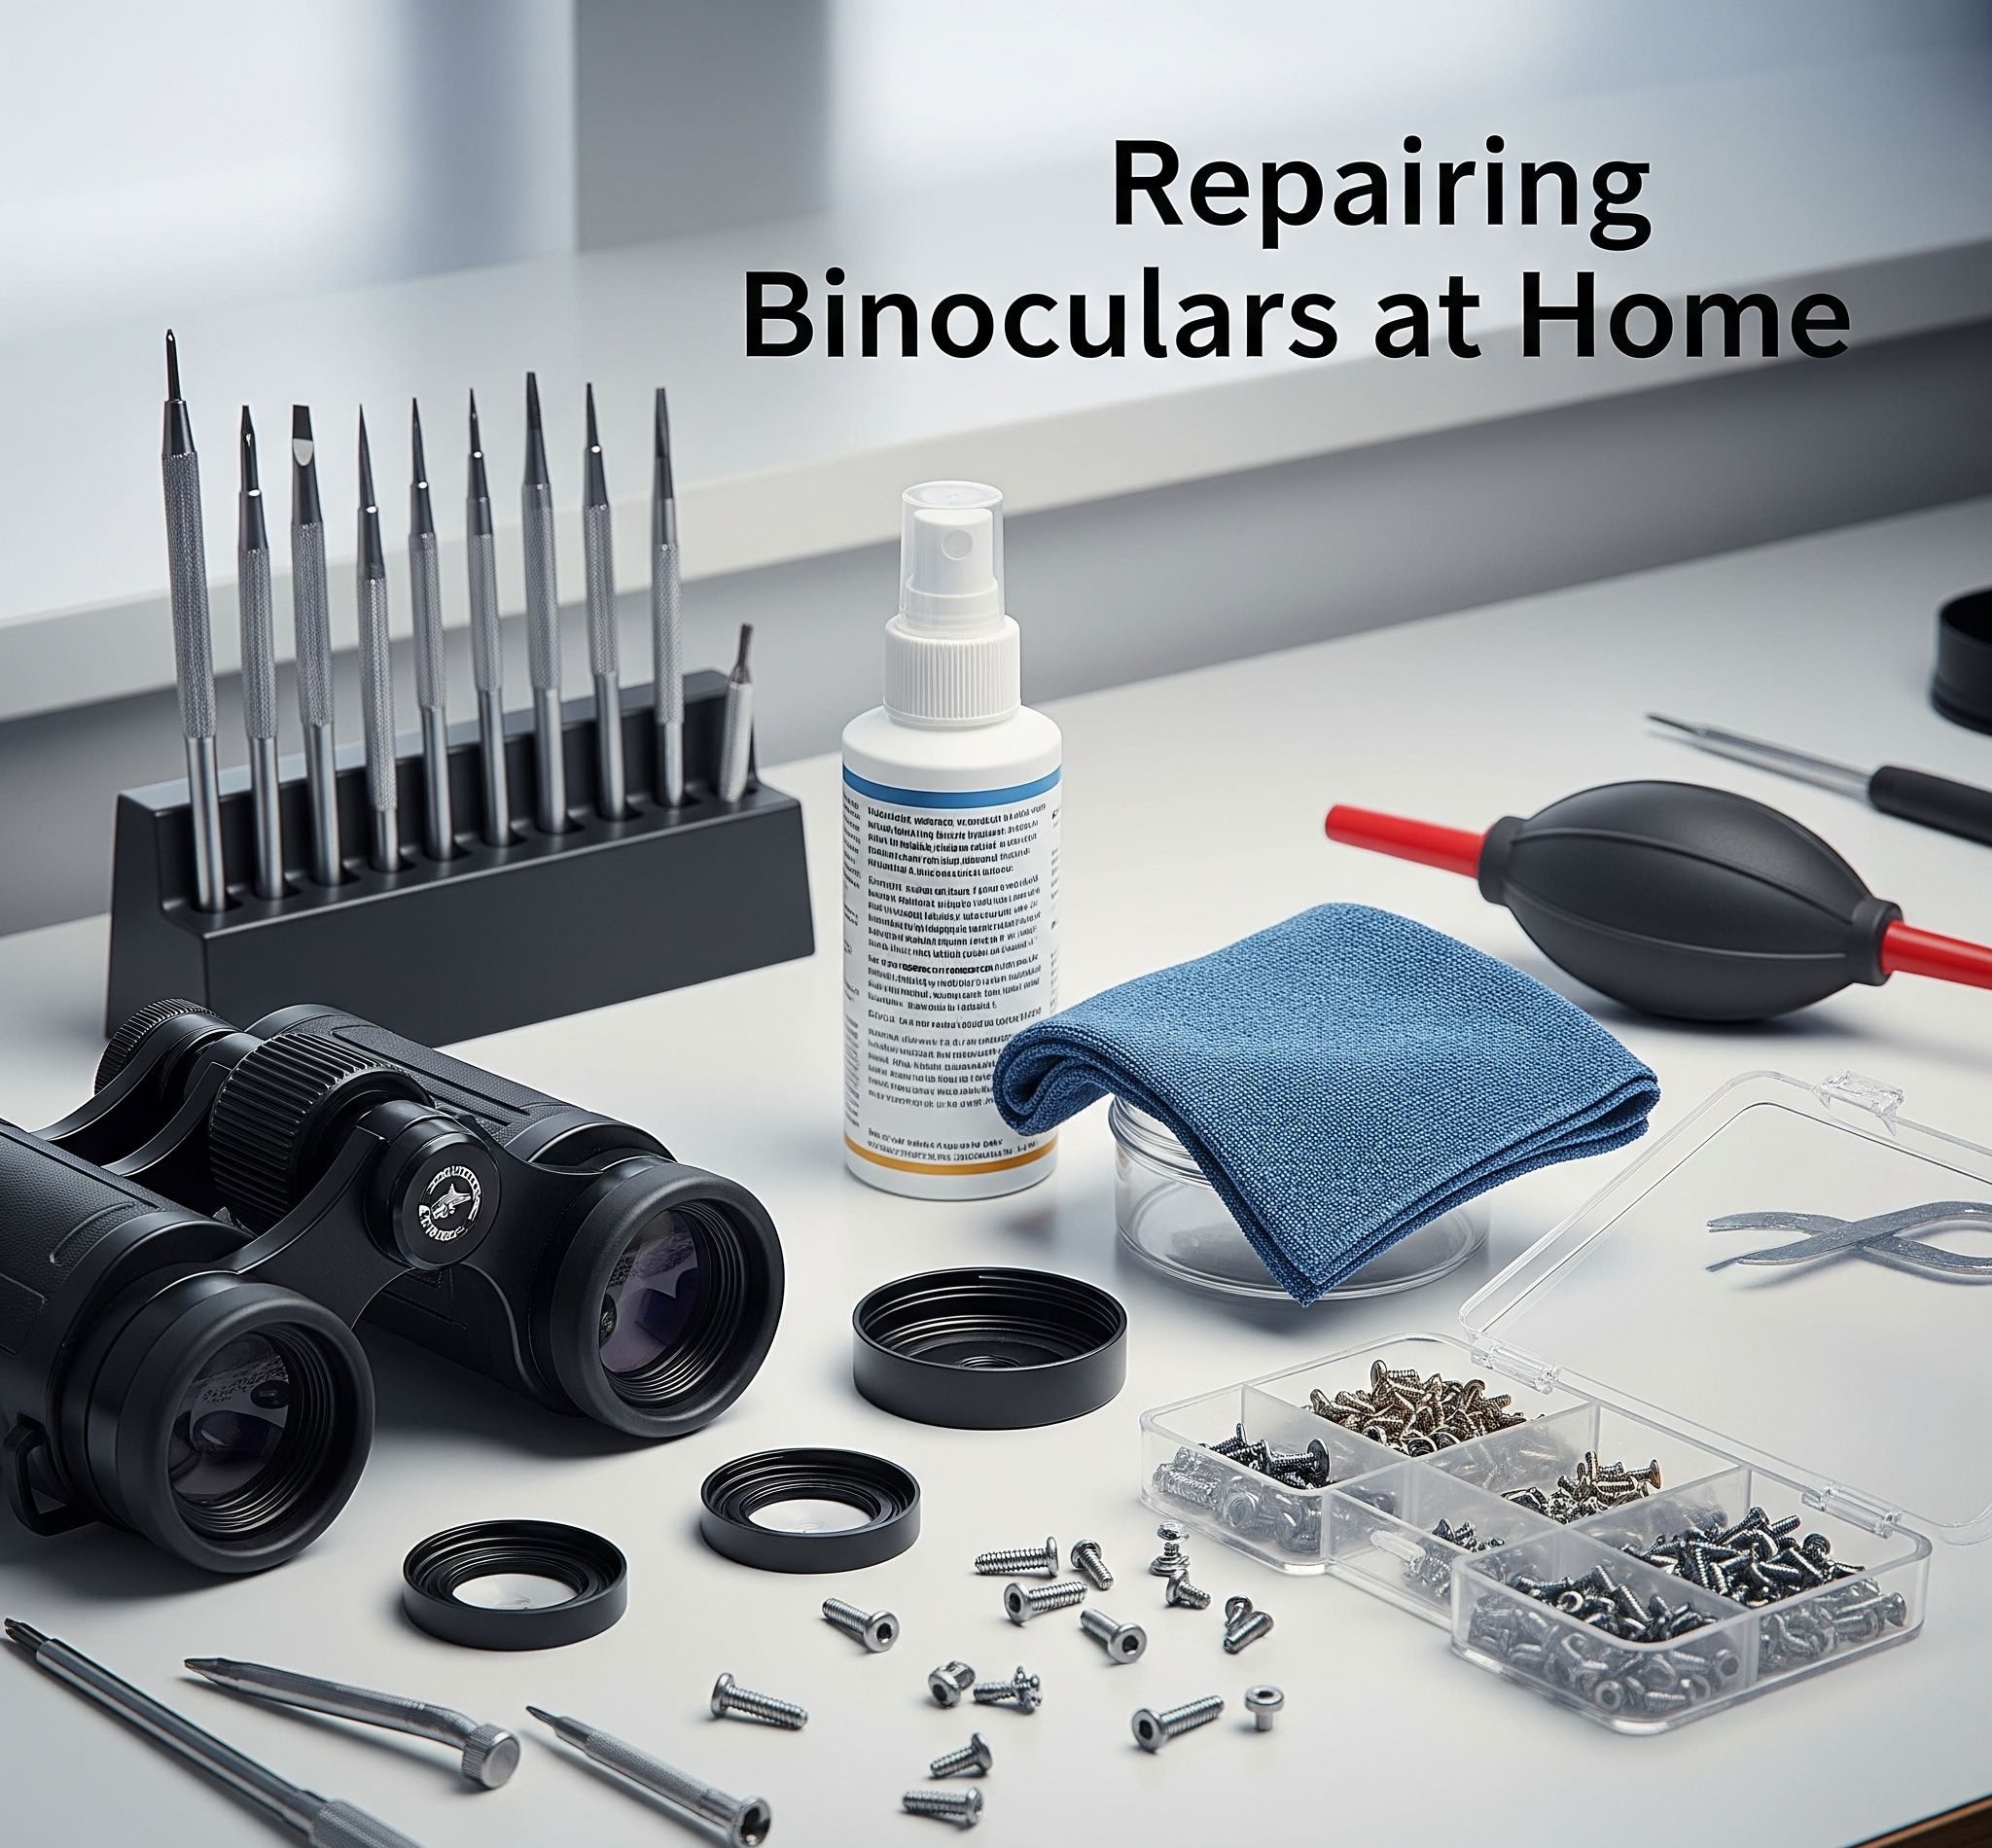
Repairing binoculars at home can save you hundreds of dollars in professional repair costs while extending the life of your optical equipment. Whether you’re dealing with double vision, foggy lenses, or stiff focus knobs, this comprehensive guide will walk you through the essential techniques for fixing binoculars at home in 2025. Before rushing to an expensive repair shop or buying new binoculars, discover how simple tools and patience can restore your optics to crystal-clear performance.
Before diving into repairs, it’s crucial to identify the specific issue affecting your binoculars. The most common problems include double vision (miscollimation), blurry or foggy lenses, stiff focus mechanisms, and loose components. Each issue requires a different approach and skill level to fix.
Double vision occurs when the two optical tubes become misaligned, typically after dropping or impact. This creates two separate images instead of one merged view. Foggy lenses can result from moisture infiltration, temperature changes, or degraded seals. A stiff focus wheel often indicates dried lubricant or debris in the mechanism. Understanding your specific problem helps determine whether a DIY repair is feasible or if professional help is needed.
Success in repairing binoculars at home depends heavily on having the right tools. Here’s what you’ll need for most repairs:
Before attempting any repairs, complete this essential checklist to avoid costly mistakes:
Opening your binoculars will void any existing warranty. If your binoculars are still under warranty, contact the manufacturer first. Many brands offer free repairs or replacements for manufacturing defects. Premium brands like Vortex, Nikon, and Bushnell often have excellent warranty programs.
Professional binocular repairs typically cost:
If your binoculars cost less than $200 new, professional repair might not be economical.
Some repairs should never be attempted at home:
Double vision is the most common binocular problem that can be fixed at home. However, understand that you’ll be performing “conditional alignment” rather than true collimation, which requires professional equipment.
Collimation screws are typically hidden under the rubber armor near the prism housing. Carefully peel back the rubber covering or look for small rubber plugs covering the screws. On porro prism binoculars, you’ll usually find 2-4 adjustment screws per barrel.
Mount your binoculars on a tripod and aim at a bright star (Polaris works well) or a distant target at least 100 yards away. The target distance should be 10x your magnification in meters (e.g., 10x binoculars = 100 meters).
Focus the binoculars normally, then defocus one side using the diopter adjustment. The focused star should appear in the center of the defocused blur. If not, adjustment is needed.
Turn each screw only 1/8 turn at a time, checking the image after each adjustment. Note how each screw affects the image position:
Aim to correct half the misalignment on each barrel rather than adjusting only one side. This preserves more of the factory collimation. The process requires patience and can take 30-60 minutes.
Dirty or foggy lenses significantly impact viewing quality. Here’s how to properly clean your binocular lenses:
For internal condensation:
A sticky or difficult-to-turn focus wheel usually indicates dried lubricant or debris in the mechanism.
Proper maintenance prevents many common problems and extends binocular life:
While many repairs can be done at home, certain situations require professional expertise:
Look for repair shops specializing in optical equipment. Many camera repair shops also service binoculars. Expect turnaround times of 2-4 weeks for most repairs. Some reputable services include Suddarth Optical Repair, Optical Repairs (UK), and manufacturer service centers.
Before investing time and tools in DIY repairs, consider these factors:
Working with optical equipment requires careful attention to safety:
Solution: Check under rubber plugs, beneath armor edges, or under the prism cover plates. Some models hide screws under brand badges or decorative rings.
Solution: Document each adjustment with notes. Work systematically on one screw at a time. If confused, return all screws to starting positions and begin again.
Solution: Ensure cloths are truly clean, use less cleaning solution, and finish with lens tissue designed for coated optics.
Solution: The mechanism may have corrosion or worn gears requiring professional service. Forcing it risks further damage.
Start with inexpensive binoculars to practice techniques before working on valuable optics. Online forums like CloudyNights and BirdForum offer community support and advice. YouTube tutorials can demonstrate specific procedures, though quality varies significantly.
Consider purchasing broken binoculars cheaply to practice disassembly and collimation without risk. This hands-on experience builds confidence and familiarity with different designs.
Repairing binoculars at home is a valuable skill that can save money and extend equipment life. While not every problem can be fixed without professional help, many common issues respond well to careful DIY attention. Start with basic cleaning and maintenance, progressing to more complex repairs as your skills develop.
Remember that patience is crucial – rushing repairs often creates new problems. When in doubt, consult the community or consider professional service. With the right tools, knowledge, and careful approach, you can keep your binoculars performing at their best for years to come.
Whether you’re fixing a beloved pair of bird-watching binoculars or restoring a vintage find, the satisfaction of bringing optics back to life makes the effort worthwhile. As technology advances in 2025, having the skills to maintain and repair your own equipment becomes increasingly valuable, ensuring you never miss that perfect view due to preventable optical problems.