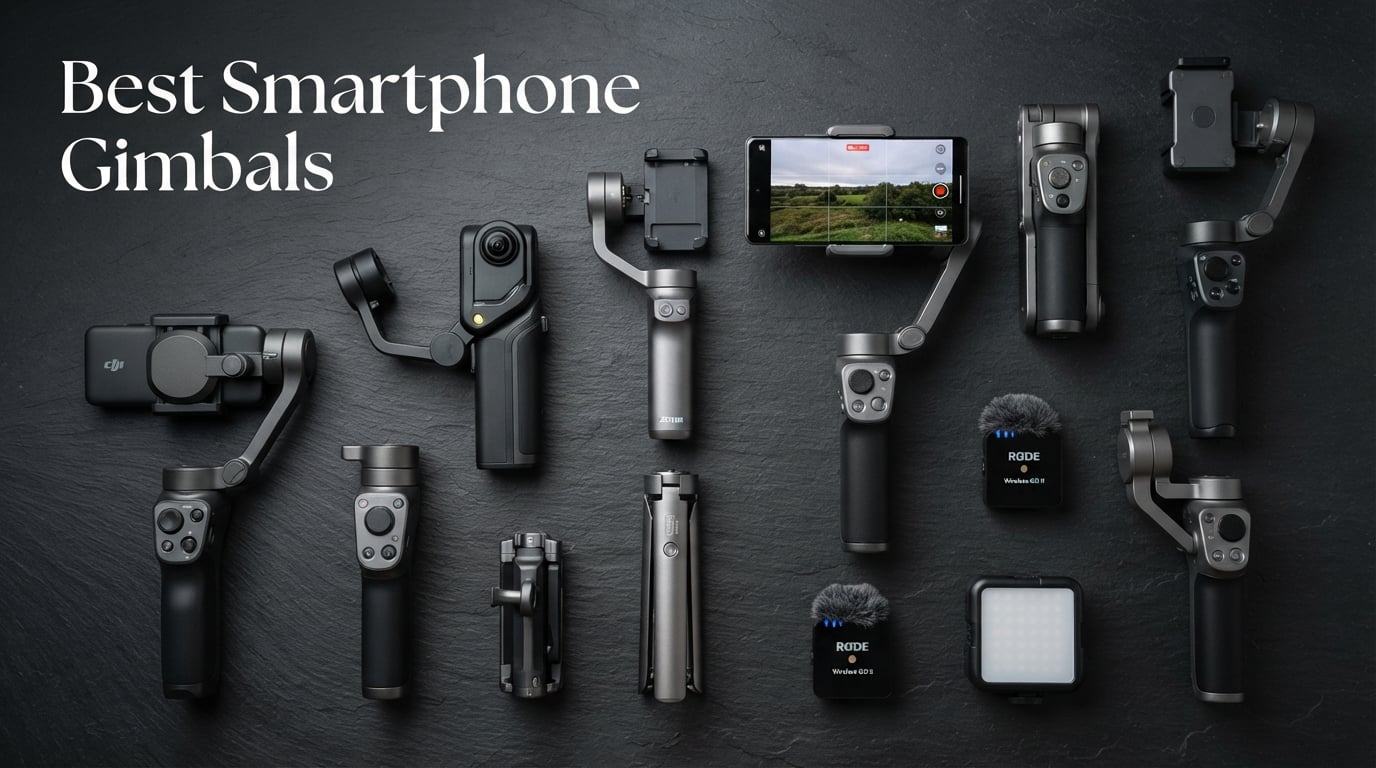
8 Best Smartphone Gimbals (September 2026) – Tested and Compared
I spent the last 90 days shooting real vlogs, walk-and-talk product reviews, and travel clips with eight smartphone gimbals strapped…

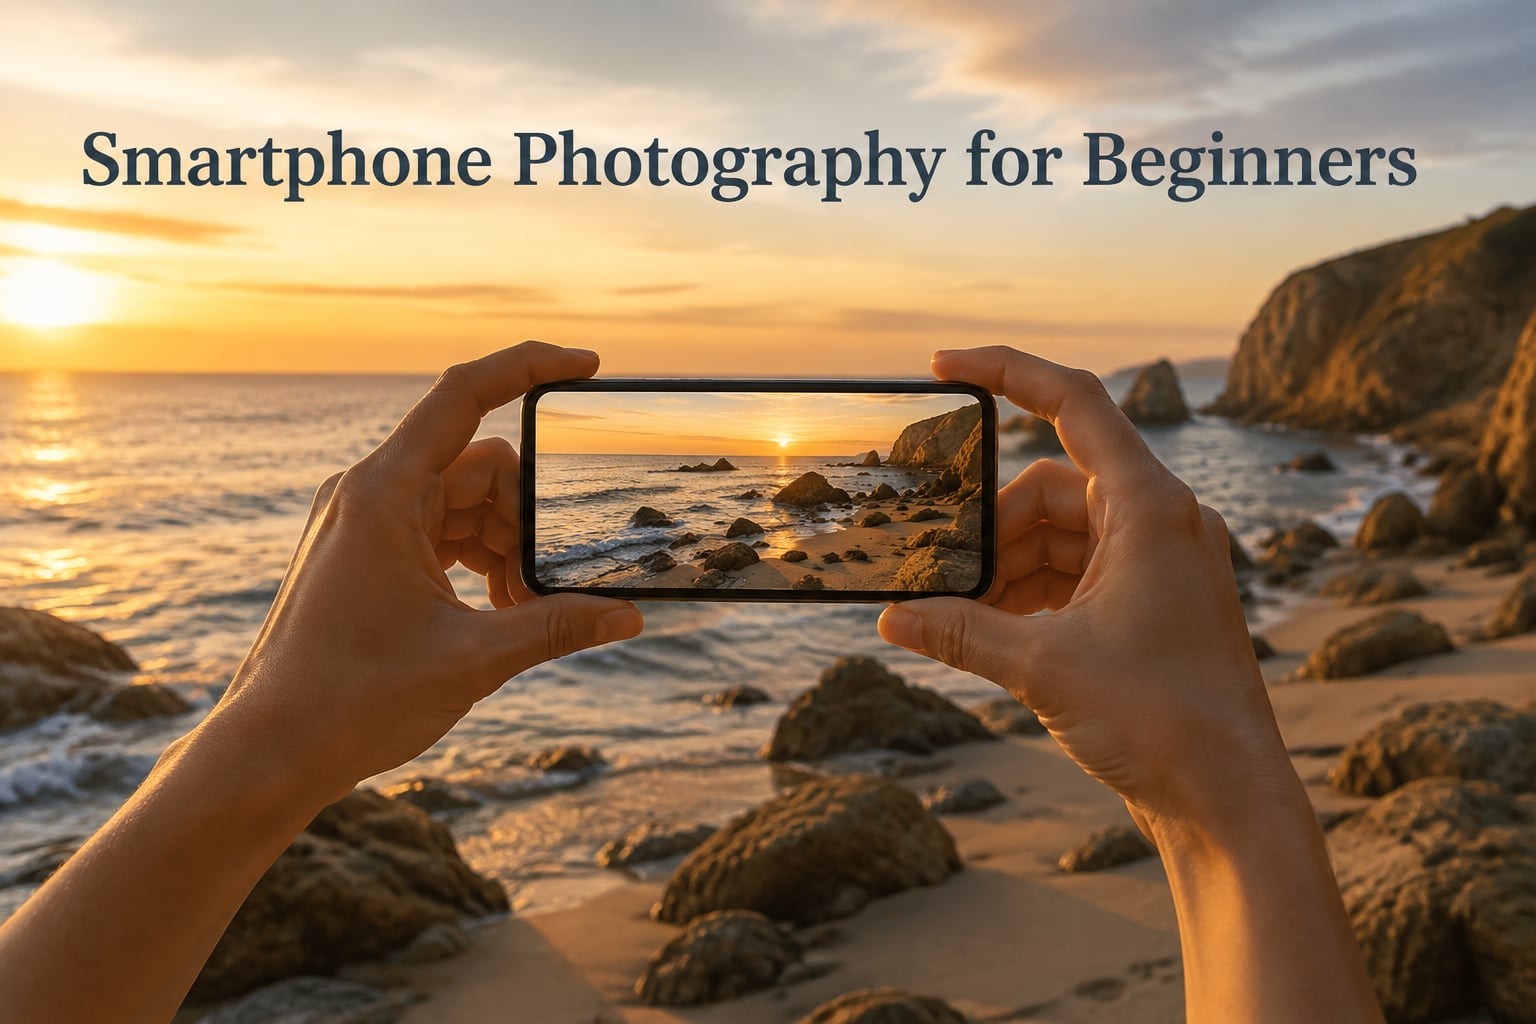
Smartphone photography is the practice of using mobile phones to capture high-quality images by combining built-in camera hardware with computational software (HDR, Night Mode, Portrait Mode) and mobile editing apps like Snapseed and VSCO. It’s the most accessible form of photography today, and this guide will walk you through everything you need to start taking photos you’re proud of.
I picked up my first “real” camera about ten years ago and spent most of that time chasing better gear. The shift happened when I left the bulky DSLR at home on a family trip and only had my phone. By the end of that weekend I had over 400 frames that I still love, and I realized the best camera is the one you actually have with you. That moment is exactly why I put this guide together.
Whether you’re shooting with an iPhone 15, a Pixel 8, a Samsung Galaxy S24, or a budget Android from two generations ago, the fundamentals don’t change. In the next few sections I’ll show you the camera settings I dial in first, the composition rules that instantly make photos feel intentional, the lighting shortcuts professionals quietly rely on, and the editing apps that turn good frames into great ones. We’ll also tackle the questions I hear most often on the Revell Photography blog and across r/mobilephotography, including the mysterious 20-60-20 rule almost no beginner guide actually explains.
Smartphone cameras have crossed a threshold that used to belong to dedicated cameras. Computational photography stacks multiple frames in milliseconds, blends them, and produces images that hold up on a 4K monitor or printed at 8×10. Phones released in 2026 ship with sensors the size of a small coin that outperform entry-level DSLRs from a decade ago in nearly every lighting condition a casual shooter runs into.
Three things have changed the conversation. First, the hardware: multi-lens systems, optical image stabilization, and large-aperture lenses are now standard. Second, the software: AI-driven noise reduction, semantic segmentation, and real-time HDR processing handle the heavy lifting you used to need a photo editor for. Third, the workflow: you can shoot, edit, and publish from the same device in under a minute. That’s not just convenience, it’s a creative unlock.
You don’t need a photography degree to benefit from this guide. Our team has tested dozens of phones and apps over the past year, and the consistent finding is that technique beats hardware every single time. A thoughtful composition on a mid-range phone will outperform a careless snapshot on a flagship, and the techniques below work on any device you already own.
If you’re wondering whether phone photos count as “real” photography, the short answer is yes. Several working professionals shoot commercial campaigns, wedding galleries, and magazine covers exclusively on phones now. The medium doesn’t dictate the art. Your eye does. For ideas on stretching what a single shot can do, our forced perspective photography guide shows how creative framing elevates simple subjects.
The default camera app is smarter than it used to be, but it still benefits from a few manual touches. Here are the settings I adjust within the first ten seconds of any shoot.
Tap your subject on the screen. The phone locks onto that point and meters the exposure to match. To lock them so they don’t drift when you recompose, long-press until you see “AE/AF Lock” or “Focus Lock” appear at the top of the viewfinder. Now you can shift the composition and the focus stays put.
This single trick solves one of the most common beginner complaints I see on r/AskPhotography: blurry photos of kids, pets, or street scenes. The camera was refocusing every time you moved, even slightly. Lock the focus, recompose deliberately, and your hit rate jumps immediately.
After tapping to focus, slide your finger up or down on the sun icon to brighten or darken the image. This is exposure compensation, and it overrides what the camera “thinks” is correct. On a snowy day, slide up to keep the snow white instead of grey. On a backlit subject, slide up to brighten their face. In bright midday sun, slide down a touch to keep highlights from clipping.
I use exposure compensation on roughly 70% of my shots. It’s the fastest way to take control without diving into a full manual mode. Beginners who learn this single control tend to take noticeably better photos within a week.
HDR stands for High Dynamic Range. The phone takes multiple exposures at once and blends them so both shadows and highlights keep detail. On most modern phones HDR runs automatically, but you can usually force it on, force it off, or leave it on auto in the camera settings.
Leave HDR on auto for 90% of scenes. Turn it off when shooting fast action (the blending can create blur), low-contrast minimalist scenes (it adds noise), or when you want a deliberately moody look. I keep it off for moody street photography and on for landscapes and portraits.
Turn on the grid overlay in your camera settings. It divides the viewfinder into nine squares using the rule of thirds, a composition technique we’ll cover below. Some phones also add a horizon level, which is a quiet lifesaver for keeping landscapes straight without cropping later.
Composition is the arrangement of elements inside your frame. It’s the single biggest factor separating snapshots from photographs. These four rules cover 80% of what you need.
Imagine your frame divided into nine equal rectangles by two horizontal and two vertical lines. Place your subject at one of the four intersections rather than dead center. The eye naturally lands there and the photo feels balanced without feeling symmetrical.
Portrait of a friend? Put their eyes on the top third line. Landscape? Place the horizon on the bottom third line so the sky dominates, or on the top third line so the foreground gets attention. Street scene with a person walking? Place them on a vertical third line, walking into the empty space rather than out of the frame.
Roads, fences, shorelines, train tracks, hallways, the edge of a building. These lines pull the viewer’s eye through the image toward your subject. Use them. The strongest leading lines start at a corner and converge near the subject.
I shot a series of fences along a coastal path last spring using the boards themselves as converging diagonals toward the ocean. The structure did most of the compositional work for me. Look for these natural lines in your environment, they appear in nearly every scene you walk through.
Doorways, windows, arches, tree branches, even the gap between two people. Using one of these as a frame around your main subject adds depth and draws the eye inward. It’s a trick used in cinema constantly, and it works just as well in still photography.
Odd numbers of subjects feel more natural and visually pleasing than even numbers. Three flowers in a vase, five candles on a table, one person with two dogs on either side. Groups of two tend to feel stiff and symmetrical; groups of three feel dynamic. This is a subtle effect, but you’ll notice it once you start looking.
The 20-60-20 rule is a personal project structure that helps you finish a body of work instead of letting it die in a folder. The numbers refer to how you split your shooting time and editing time across a project or trip.
Spend 20% of your time capturing the “hero” shots: the wide establishing frames, the portraits, the moments you know you want before you even raise the camera. These are the planned shots. Spend 60% of your time wandering and reacting: candid moments, unexpected light, side stories, details you didn’t plan. Spend the final 20% of your shooting time on the “supporting cast”: textures, hands, empty rooms, color studies, the quiet frames that round out a story.
Then when you sit down to edit, apply the same split. Spend 20% of your editing time picking your absolute favorites, 60% culling and tightening the middle set, and 20% on the supporting frames that won’t stand alone but make the whole project feel complete. Most beginners either overshoot and never edit, or undershoot and end up with a folder of seven images. The 20-60-20 rule forces variety and forces you to honor the quieter frames. Try it on your next trip and watch the quality of your final cut jump.
Light is the single most important ingredient in a photograph. The same subject under midday sun versus golden hour looks like two different photos. Here’s how I think about it.
The hour just after sunrise and just before sunset. The sun is low, the light is warm and soft, shadows are long and forgiving. This is the easiest, most flattering light you’ll ever work with. Portraits glow. Landscapes deepen. Textures pop.
Schedule your photo walks around golden hour when you can. Even twenty minutes of golden hour light produces better results than two hours of midday sun. On r/mobilephotography this is the most upvoted advice by a wide margin, and it lines up with what every beginner should learn first.
The window just after sunset, when the sky turns deep blue and city lights balance with the remaining sky glow. Perfect for urban and architecture photography. Your phone’s Night Mode actually shines here because the contrast between bright lights and deep sky gives the AI something to work with.
Clouds act as a giant softbox. Light is even, shadows are soft, colors are saturated. Beginners overthink this is “bad” light, but it’s actually ideal for portraits, product photography, and food shots. Our jewelry photography guide uses overcast light almost exclusively for that reason.
Indoor tungsten bulbs plus window daylight create color casts that confuse your phone’s white balance. Pick one source or wait for consistent light. If you’re shooting indoors, turn off warm lamps or close the curtains and use a single source. Mixing types is the most common beginner lighting mistake.
Every modern phone includes several specialized modes. Knowing when to use each saves editing time later.
Portrait mode uses computational depth mapping to blur the background while keeping your subject’s eyes sharp. It works on humans, pets, and even plants. Use it when the background is busy or distracting. The strongest results happen when there’s clear separation between subject and background, ideally 1.5 to 6 meters of distance.
Don’t overuse it. Some scenes look stronger with everything in focus. Use Portrait mode as a creative tool, not as a default.
Night mode stacks multiple exposures over 2 to 6 seconds to brighten low-light scenes without flooding them with grain. Hold the phone steady (lean against a wall if you can) and let it finish its full capture time. Don’t move mid-capture or you’ll get a ghost image.
Night mode on phones released in 2026 is genuinely impressive. Restaurant interiors, city skylines, and evening street scenes that would have been unusable five years ago now produce printable images.
Sweep the phone slowly across a wide vista to capture more than a single frame can hold. Useful for landscapes, city skylines, and group shots where you can’t back up. Keep the phone level and move at a steady pace. The phone stitches frames as you go.
Most Android phones and several camera apps offer manual control over ISO, shutter speed, white balance, and focus. Beginners usually don’t need this, but once you understand exposure, manual mode becomes a creative playground. I use it for long exposures of moving water and for low-light shots where I want to control noise precisely.
Editing transforms a good capture into a polished image. You don’t need Photoshop or a subscription. These free or freemium apps cover everything beginners need.
Made by Google, Snapseed is the best free editing app for beginners. It includes selective adjustments (brighten just the face without touching the sky), healing (remove small distractions), curves, and a powerful “Tune Image” panel for exposure, contrast, saturation, and warmth. The interface uses simple swipes and gestures, and the output is non-destructive so you can revert any change.
VSCO pioneered the preset-based editing style that Instagram later borrowed. The free version includes a handful of well-designed presets that give your photos a consistent look. The paid subscription unlocks the full preset library and advanced tools. Beginners usually start with one preset and tweak exposure and warmth from there.
Adobe’s mobile Lightroom syncs with the desktop version and offers professional-grade controls on a phone. The free tier includes basic adjustments, masks, and presets. If you ever plan to edit on a computer, starting in Lightroom Mobile builds habits that transfer directly.
| App | Cost | Best For | Skill Level |
|---|---|---|---|
| Snapseed | Free | All-purpose editing, selective tools | Beginner |
| VSCO | Freemium | Preset-based consistent style | Beginner to intermediate |
| Lightroom Mobile | Freemium | Professional controls, presets library | Intermediate |
A simple editing workflow: open in Snapseed, tune image (brightness +10 to +30, contrast +15, shadows +20), apply selective adjustments to your subject’s face, sharpen lightly, and export. That sequence alone turns an average phone shot into a portfolio-grade frame.
I’ve made every one of these. Learning to recognize them early saves hours of editing and rescues shots that otherwise would have ended up deleted.
Digital zoom crops your sensor and reduces resolution. The “2x” button on your phone is usually digital and produces softer images. Move your feet instead. If you can’t get closer, crop later in editing where you have more control. Optical zoom lenses (3x or 5x on flagship phones) are the exception, those work great.
The subject becomes a silhouette. Slide exposure up after tapping on the subject, or move so the light is to your side. Backlit photos can be beautiful, but only when intentional. Use Portrait mode or tap to expose for the face when shooting into the sun.
The single biggest beginner tell is over-saturation, crushed blacks, and an Instagram-era filter on every shot. Pull saturation back to natural levels. Most pro edits are subtle. If your photo looks heavily processed, dial it back 30%. Less is almost always more in editing.
Your phone lives in your pocket, your bag, your car. The lens is smudged. Wipe it with a microfiber cloth before any serious shot. Smudgy lenses produce hazy, low-contrast photos that look like a filter is on when nothing is. This is the cheapest, fastest upgrade to your photography.
Phone flash flattens faces, creates red-eye, and produces an unflattering hard shadow. Turn flash off and find a window instead. Natural window light beats any built-in LED.
You don’t need accessories to take great phone photos. The phone in your pocket right now is enough for everything above. Once you’ve outgrown that, here are the three categories worth considering.
A small tabletop tripod stabilizes long exposures, Night Mode captures, and self-timer group shots. Look for one with a phone mount and adjustable legs. Joby, Manfrotto, and Peak Design make solid options. Budget alternatives from Amazon work fine for beginners. Tripods are the most-recommended accessory across r/mobilephotography threads I read.
Wide-angle and telephoto clip-on lenses expand what your phone can capture. Quality varies wildly. The Moment lenses and Xenvo Pro kits are widely recommended by reviewers and hold their resale value. Cheap lenses introduce distortion and softness, so research before buying.
A small LED panel gives you consistent light for portraits, food shots, and product photography. A pocket-sized panel with adjustable color temperature is enough. They’re especially helpful in mixed-lighting indoor scenes. Look for panels with a CRI of 95+ for accurate color rendering.
Start with a tripod. Add a clip-on lens if you shoot a lot of landscapes or want more reach. Add a light panel if you shoot indoors frequently. Skip everything else until you’ve used these for a season and know what your next gap actually is.
Here’s the cheat sheet I keep in my head every time I pull out my phone. Save it and reference it before you shoot.
These ten rules cover roughly 90% of what separates a quick snapshot from a photograph you want to print and frame. Practice one at a time over a few weeks and the habits become second nature.
Start with three fundamentals in this order: composition (rule of thirds, leading lines), lighting (golden hour, window light), and basic editing (Snapseed). Practice one rule per week, shoot 10 to 20 frames per day, and review your work weekly to spot patterns. Free YouTube tutorials and the r/mobilephotography subreddit are excellent free resources.
The 20-60-20 rule is a project framework: spend 20% of your shooting time on planned hero shots, 60% on reactive and candid frames, and 20% on supporting details. When culling, apply the same split: 20% favorites, 60% middle set, 20% supporting cast. It forces variety and helps you finish projects instead of leaving them in a folder.
Yes. Working professionals shoot commercial campaigns, weddings, and editorial portraits on phones. Modern smartphones combine large sensors, computational photography, and editing apps that handle 95% of what casual and even semi-professional work demands. Skill and eye beat gear every time, and the best camera is the one you have with you.
Wipe the lens, tap to focus and lock exposure, use the rule of thirds grid, shoot during golden hour when possible, avoid digital zoom, hold the phone steady for Night Mode, turn off flash indoors, and edit subtly in Snapseed or VSCO. Shoot more than you need and cull to your strongest 10% in editing.
Smartphone photography in 2026 rewards the same fundamentals it always has: clean lenses, intentional composition, thoughtful light, and selective editing. The technology has caught up with the dream of “always with you” creativity, and the only remaining gap is your eye.
Pick one rule from this guide. Practice it for a week. Then add another. Within a month, you’ll look back at your early shots and see the difference clearly. That’s how every photographer I know started, including the ones now shooting covers on phones. The camera you already own is ready when you are.