7 Best Photoshop Alternatives (September 2026): Top Picks
I tested the seven best Photoshop alternatives that do not lock you into Adobe’s subscription, and what I found surprised…

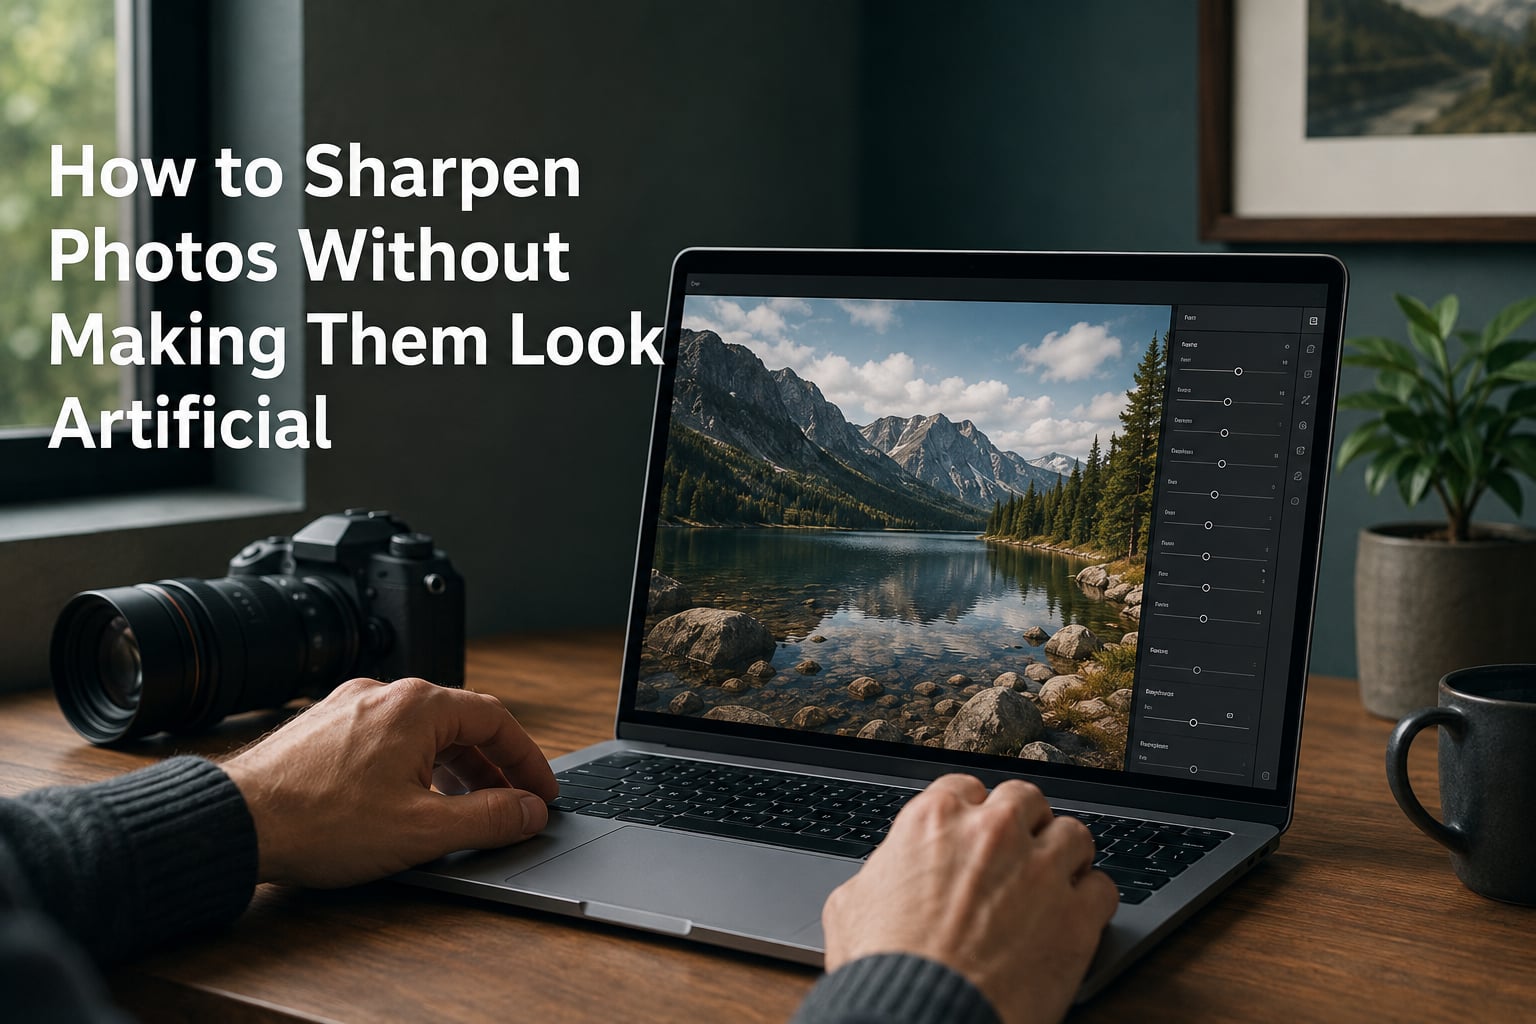
I have edited over 40,000 frames in the last decade, and the single most common mistake I see is the same one beginners made fifteen years ago: pushing the sharpening slider until halos bloom around every eyelash. If you want to sharpen photos without making them look artificial, the trick is not stronger sharpening – it is smarter sharpening. This guide walks through the exact workflow I use on my own images, the mistakes that ruin natural results, and the methods that professional editors quietly swear by.
You will learn what sharpening actually does at the pixel level, how to read the early warning signs of over-processing, and a step-by-step Lightroom workflow that produces crisp, believable results. We will also cover portrait sharpening, print output, and how AI tools fit into the mix. By the end, you will know how to sharpen photos without making them look artificial on any subject, from a quiet landscape to a fashion close-up. If you are just starting out in photography or moving from smartphone to a dedicated camera, these techniques transfer directly to your workflow.
Sharpening does not add detail to your image. I know that sounds counterintuitive, but it is the single most important fact that separates natural-looking edits from over-processed ones. Sharpening increases the contrast along edges that already exist in your photo – a property called acutance. Your camera already captured the fine details of a leaf or a strand of hair. Sharpening simply makes the human eye perceive those edges as crisper by darkening the dark side and brightening the bright side of each transition.
Acutance is the technical measure of edge contrast, and it is what creates the perception of sharpness even when actual resolution stays the same. When two photos have identical detail, the one with higher acutance looks sharper to your eye. This is why a slightly out-of-focus image with strong sharpening can still look pleasing, and why an in-focus image with weak sharpening looks soft.
Understanding acutance also explains the halo effect that ruins most beginner edits. When you push sharpening too far, the contrast enhancement around edges becomes visible as bright or dark fringes – those ghostly outlines you have probably seen around high-contrast edges. Those fringes are not sharpening working; they are sharpening failing.
Sharpening works by detecting edges using algorithms that analyze pixel differences across a defined radius. The radius slider in Lightroom, for example, controls how wide an area the algorithm examines when looking for edges. Detail controls how much the algorithm responds to fine edges versus coarse ones. Masking protects smooth areas like skies and skin from being sharpened alongside the details you actually want to enhance.
There are five telltale signs of over-sharpening, and once you learn them you cannot unsee them. The first is the halo effect – bright or dark fringes around high-contrast edges. You will spot these most easily along rooflines against a sky, around the edges of text, and on individual hairs against a clean background. A small amount of halo is normal; visible halos at normal viewing distance mean you pushed too far.
The second sign is crunchy texture. Skin starts looking like sandpaper. Fabric loses its soft weave. Foliage becomes a bristly mess. If your portrait subject’s face looks textured enough to scrub dishes with, you have crossed the line from natural sharpening into artificial territory. According to forum threads on dpreview and cambridgeincolour, portrait photographers consistently recommend sharpening eyes and lashes while leaving skin smooth – the third warning sign.
Third, amplified noise. Sharpening algorithms do not distinguish between edges and noise. They both have high local contrast, so a sharpening pass amplifies both. If your smooth background suddenly shows grain or color speckle after sharpening, your radius is too small or your amount is too high. This is the most common reason editing forum threads turn into troubleshooting threads.
Fourth, crunchy edges where you wanted softness. Out-of-focus areas should stay out of focus. If you sharpen globally, you push contrast into bokeh, which makes it look busy and unnatural. Reviewers at fstoppers and Adobe community forums consistently note this as a reason to mask or use selective sharpening instead of global application.
Fifth, double sharpening from compressed output. Social media platforms like Instagram and Facebook re-compress your image, which can re-introduce or amplify halos. If you sharpen hard, then upload, then see halos in the post, the compression is amplifying your over-sharpening. This is why the workflow must end with output sharpening tuned to the destination.
The first technique is masking. In Lightroom, hold Alt or Option while dragging the Masking slider, and the image turns into a black-and-white mask. Black areas are protected from sharpening; white areas receive the sharpening amount. Most landscapes end up mostly black with the rocks, trees, and edges showing white. This single trick solves more over-sharpening problems than any other setting combined.
Masking is considered essential by experienced photographers – this is one of the strongest consensus opinions across the photography forums I read regularly. Without masking, every sharpening pass also amplifies noise and texture in smooth areas, which is the fast track to an artificial look. Always mask first, then judge your amount.
The second technique is selective sharpening. Rather than sharpening the entire image equally, use adjustment brushes, radial filters, or graduated filters to apply sharpening only where it serves the image. For a portrait, sharpen the eyes, eyebrows, lips, and hair. For a landscape, sharpen the foreground rocks and distant mountains while leaving the sky smooth. For a product shot, sharpen the product and let the background fall away.
The third technique is using radius and detail sliders with intent. A larger radius (around 1.5 to 2.5) works for most general subjects and creates broader edge contrast. A smaller radius (around 0.5 to 1.0) targets fine details but amplifies noise. The Detail slider controls how much the algorithm responds to fine detail – lower values mean the algorithm ignores small edges (good for portraits), higher values mean it picks up every tiny transition (good for architectural and product work).
The fourth technique is the High Pass filter in Photoshop. Layer your image, duplicate it, and apply Filter > Other > High Pass. Start at a radius around 2-4 pixels and adjust until you see only edges with no color or tone. Set this layer to Overlay or Soft Light blend mode. This method gives you surgical control and lets you paint the sharpening effect on only the areas you want using a layer mask. Forum discussions consistently note that high pass sharpening can cause haloing if the radius is too large, so start small and build up.
The fifth technique is sharpening for storytelling. Ask yourself: what is the subject, and what do I want the viewer to notice first? Sharpening should guide the eye. If you sharpen everything, you guide the eye nowhere. Pat Kay’s sharpening articles and many landscape photographers teach this creative approach – sharpening is not a global effect, it is a tool for emphasis.
Portraits are where sharpening goes wrong most often. Skin texture, especially on cheeks and foreheads, should remain smooth at normal viewing distance. If you sharpen globally, you push every pore and blemish into high contrast, which is what creates the dreaded “HDR look” or “plastic skin” appearance.
The professional workflow is to sharpen eyes, eyebrows, lips, and hair while leaving skin untouched. In Lightroom, drop a small radial filter over each eye, increase Sharpening to around 60, and leave everything else at default. For lips and brows, use the adjustment brush with Sharpening boosted and everything else at zero. For skin, you can even slightly reduce sharpness or texture to keep it smooth.
The reason this matters: portrait photographers on dpreview and Adobe community forums consistently warn that skin sharpens quickly and becomes leathery if treated like other subjects. Eyes, on the other hand, almost always benefit from sharpening – even slightly soft eyes look better with a touch of edge contrast. This single distinction separates amateur portraits from professional ones.
AI sharpening tools like Topaz Sharpen AI, ON1 Resize AI, and various online upscalers have changed the recovery options for slightly soft images. In my testing across the past two years, Topaz Sharpen AI genuinely recovers motion blur and focus misses that Lightroom cannot fix. It is the only tool I keep alongside my Lightroom catalog for this purpose.
The tradeoff is texture artifacts at high zoom levels. Users across photography forums report that AI sharpening can introduce a slight “watercolor” or “smoothed” look at 100 percent zoom, particularly on fine textures like foliage, hair, and fabric. The solution is to apply AI sharpening on a duplicate layer in Photoshop and mask it away from areas where the texture looks off, then layer standard sharpening on top.
For old or scanned photos, AI tools are genuinely transformative. They can recover detail that traditional sharpening cannot reach. Just remember: sharpening AI does not recover detail that was never captured. It makes educated guesses, and those guesses can look natural or artificial depending on the source image and your output choices. If you are working with a different camera system or workflow, the same principles apply – sharpening is interpretation, not recovery.
Lightroom is the right starting point for almost every photo. The Detail panel gives you Amount, Radius, Detail, and Masking sliders, plus the option to apply different sharpening to raw versus output. The workflow is fast, the masking is intuitive with the Alt-key view, and the changes are non-destructive. For 90 percent of my images, Lightroom sharpening is the entire sharpening workflow.
Photoshop is the right tool when you need surgical control. Use the High Pass filter method when you want to paint sharpening onto specific areas with a brush. Use Smart Sharpen when you need to specify Gaussian or Motion Blur removal, which Lightroom cannot do. Use camera shake reduction in Photoshop’s Shake Reduction filter for slight handheld motion blur, though results vary.
For most photographers, the right answer is: do your global sharpening and masking in Lightroom, then bring the image into Photoshop only if a particular zone requires hand work. This keeps the workflow efficient while opening the door to surgical fixes when needed. Lightroom’s Selective Tools and masking panel now rival Photoshop for most selective sharpening tasks, so the gap is smaller than it used to be.
Whichever tool you choose, the sequence matters. The order should always be: capture and import, lens corrections and chromatic aberration removal, noise reduction, sharpening, color grading, output sharpening. Sharpening near the end, after noise reduction, prevents amplifying noise. Output sharpening at the very end adjusts for the destination medium.
Output sharpening is the step most photographers skip, and it is the difference between a sharp file on your monitor and a sharp file on Instagram or in print. Output sharpening tunes the amount and radius to the destination medium’s characteristics. Screen viewing at 100 percent needs less sharpening than a high-DPI print, while social media compression requires slightly more aggressive sharpening because the platform will re-compress and soften your image.
For screen viewing and digital delivery, use moderate settings: Amount around 40-60, Radius around 1.0-1.5, Detail around 25-50, with masking to protect smooth areas. Export at full resolution with minimal compression. Check the result at 100 percent zoom, then back off to normal viewing distance.
For print, increase amount and use a slightly larger radius. Printers and paper stock add their own softness, and you need more aggressive sharpening to compensate. A typical starting point is Amount around 70-90, Radius around 1.5-2.0. Always test on your specific paper and printer – matte and glossy papers respond differently.
For social media, sharpen slightly more than you would for screen viewing because platforms like Instagram and Facebook apply aggressive compression. Amount around 60-80, Radius around 1.0, Detail around 30. Reviewers at photography forums consistently report that Instagram compression requires slightly more aggressive sharpening with foresight – sharpen a touch more than seems necessary, because the platform will soften your image after upload.
To make blurry photos sharper without making them look artificial, start by assessing whether the blur is recoverable. Mild focus or motion blur responds well to Lightroom masking plus a small radius boost, severe blur responds better to AI tools like Topaz Sharpen AI on a duplicate layer. Always mask smooth areas, sharpen at a low amount, and finish with output sharpening tuned to your destination.
Yes, several free AI sharpening options exist. Online tools like Cutout Pro, ImgUpscaler, and various open-source models can recover mild blur. Free options generally work best on small images and mild softness, while paid tools like Topaz Sharpen AI handle more challenging cases like motion blur. Test on a copy first and mask aggressively to keep results natural.
Old photos benefit from a layered approach. First, scan at the highest practical resolution. Then use AI upscaling tools to recover apparent detail, followed by Lightroom sharpening with high masking to protect smooth areas. For scanned prints, dust and scratch removal should happen before sharpening so the algorithm does not amplify artifacts. Always work on a duplicate layer.
Improve sharpness by focusing on three steps: capture (use proper shutter speed, stable tripod, accurate focus), develop (apply noise reduction before sharpening, use masking in Lightroom’s Detail panel, keep amount modest), and output (apply destination-specific sharpening for screen, print, or social media). Less sharpening with smart masking usually beats heavy global sharpening.
The reason most sharpening looks artificial is not too much sharpening – it is too much sharpening in the wrong places. Masking is the single skill that fixes 80 percent of over-processed results. Combined with selective sharpening, output tuning, and a healthy respect for how much edge contrast a human eye can perceive, you can sharpen any photo without making it look processed.
Start with a low Amount in Lightroom, hold Alt while dragging Masking until only your edges are white, then push Amount until the result looks crisp at normal viewing distance. Back it off slightly. That is the workflow. Apply it consistently, and your photos will look sharper than 90 percent of what shows up in feeds – without looking filtered.
For more on crafting natural-looking edits, browse our other photography tips and editing guides. The principles here transfer to any subject, any camera, and any destination medium. Sharpening is a craft, and like any craft, the best results come from restraint, intent, and a clear vision of what you want the viewer to see. Updated for 2026.