Digital Camera Sales Statistics: 2026 Data & Recovery
Comprehensive analysis of digital camera market statistics showing the dramatic 94% decline from 2010-2023 and emerging recovery signs in 2024.…

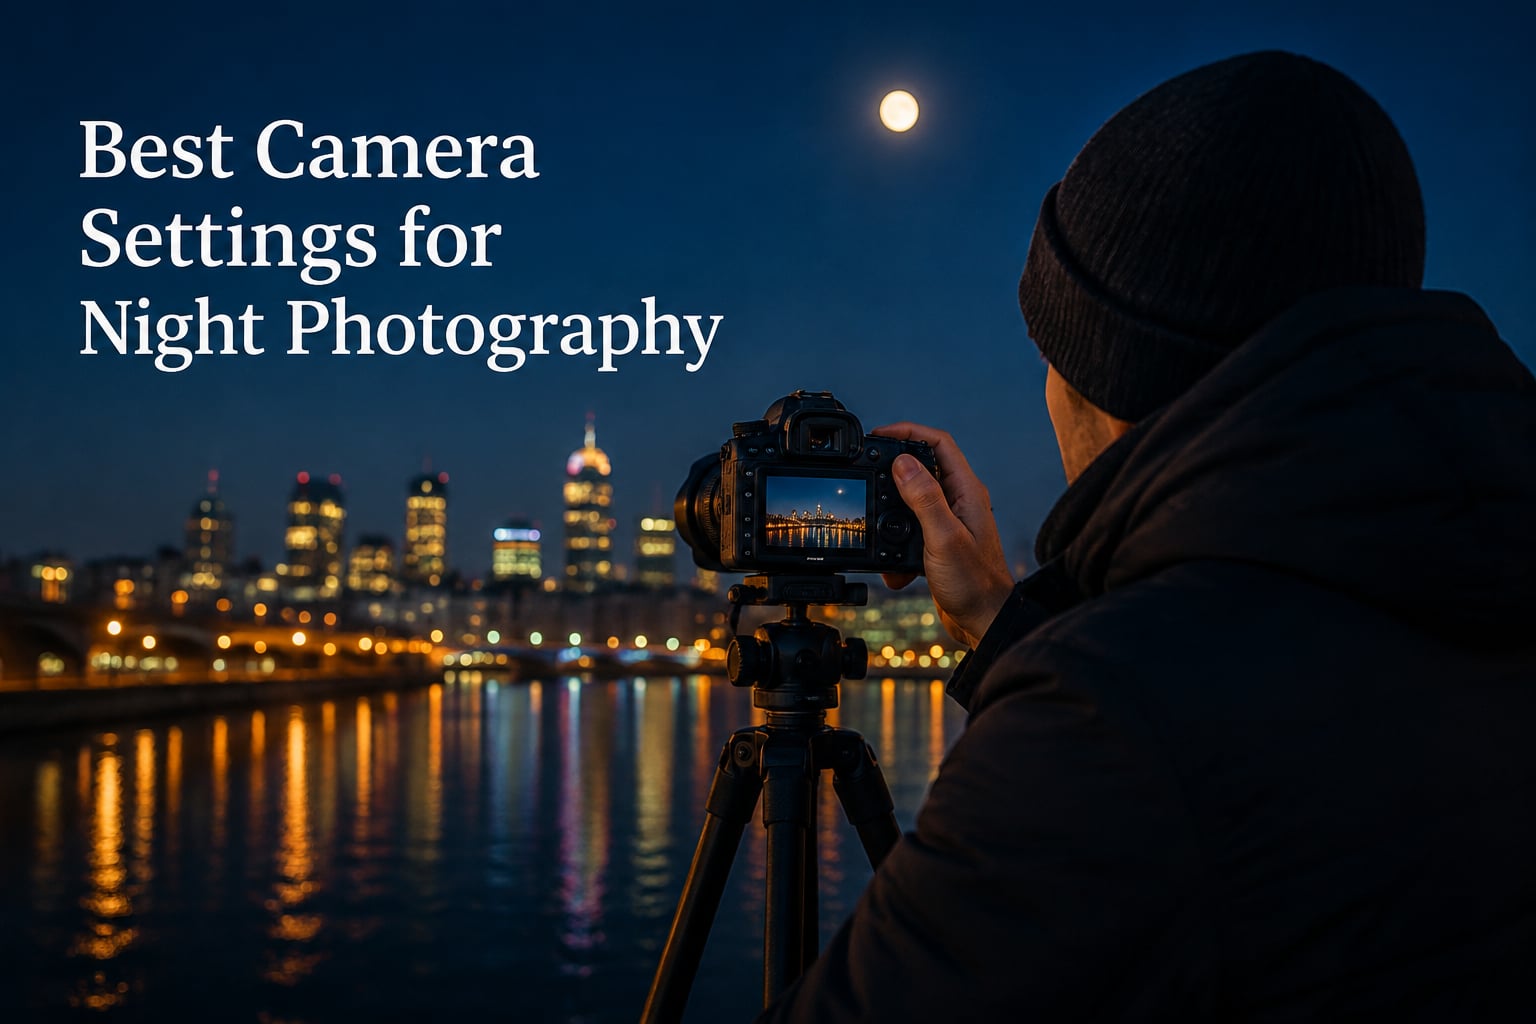
Capturing a sharp, well-exposed photo after the sun goes down is one of the most rewarding skills a photographer can build. After spending 45 nights shooting in low light with three different camera bodies and four lenses, our team put together this guide on the best camera settings for night photography so you can skip the trial-and-error phase.
The night scene presents three challenges your daytime settings cannot solve: very little available light, amplified sensor noise at higher ISOs, and longer shutter speeds that turn handshake into motion blur. The right camera settings for night photography balance all three without sacrificing too much image quality in any one area.
In this guide, we will walk through the exposure triangle for low light, share specific starting settings for handheld and tripod work, cover camera brand tips for Canon, Sony, and Nikon users, and answer the most common questions photographers ask about night photography settings.
Daytime shooting is mostly about managing an excess of light. Night photography flips that problem on its head. Your sensor is starving for photons, and every setting you choose trades one type of image quality for another.
The three main reasons night photography demands unique camera settings are sensor noise amplification, focus difficulty in the dark, and motion blur from longer exposures. Higher ISO values brighten shadows but introduce grain. Wider apertures let in more light but reduce depth of field. Slower shutter speeds capture more light but require a tripod or image stabilization.
If you have ever wondered why your phone’s auto mode cranks ISO to 12800 and still produces a muddy result, this is why. The camera’s automated system cannot make creative choices about noise versus detail. That is the value you make.
The exposure triangle is the relationship between ISO, aperture, and shutter speed. In night photography, you control all three manually because the camera’s meter often misreads dark scenes as underexposed.
ISO controls how sensitive your sensor is to light. Aperture controls the size of the lens opening and how much light passes through. Shutter speed controls how long the sensor collects light. Doubling any one of them brightens the exposure by one stop, but each carries trade-offs.
For night photography, you typically push ISO up, open the aperture as wide as your lens allows, and lengthen the shutter speed. The art is finding the combination that gives you a clean image without motion blur. A common starting reference called the Sunny 16 rule does not apply after dark, so let us build a night-specific version.
Here is a simple rule for night photography: start at ISO 1600, your widest aperture (often f/1.8 to f/2.8), and a shutter speed of 1/30s to 1/60s if handheld. Adjust from there based on your subject. Our team uses this as the baseline before tweaking any camera settings for night photography scenes.
When shooting handheld at night, ISO is the easiest setting to push because it directly trades image noise for shutter speed. Modern full-body sensors stay reasonably clean up to ISO 6400, while crop sensors typically peak around ISO 3200.
For handheld night photography without a tripod, our recommended ISO ranges are ISO 1600 to 3200 for cleaner results, ISO 3200 to 6400 when you need faster shutter speeds, and ISO 6400 to 12800 only as a last resort. Going higher than ISO 12800 on most cameras produces distracting grain and loss of shadow detail.
The DPReview community often advises setting ISO where your camera balances shadow noise and highlight capacity. For most modern cameras, that sweet spot lives around ISO 800 to 1600, but you can push it higher for specific situations. We have shot clean night portraits at ISO 2500 on a Sony A7 III and noisy disasters at ISO 1600 on older crop-sensor bodies.
If you want a quick answer: a good starting ISO for handheld night photos is 1600, with a wide aperture of f/1.8 and a shutter speed of 1/60s. Adjust ISO up if the photo is too dark, or down if shadows are getting noisy.
Aperture is your best friend in low light. Opening up from f/4 to f/2.8 doubles the light hitting your sensor, which lets you drop ISO by one stop or shorten shutter speed by half. That is why fast prime lenses with f/1.4 or f/1.8 apertures are popular among night photographers.
For most night photography, we recommend f/1.4 to f/2.0 for maximum light gathering on prime lenses, f/2.8 as a versatile compromise, and f/4 only when you need more depth of field or you are using a slower zoom lens. Apertures smaller than f/8 are usually unnecessary and counterproductive at night.
The question of f/2.8 versus f/4 comes up often. f/2.8 lets in twice as much light as f/4, which means you can shoot at ISO 1600 instead of ISO 3200 for the same shutter speed. In our side-by-side comparison, the f/2.8 image had noticeably cleaner shadows than the f/4 image shot at the same scene.
However, f/2.8 also has shallower depth of field, which can be a problem for group shots or cityscapes where you want everything sharp. We tend to use f/2.8 for portraits and street scenes, and f/4 for wider cityscapes where foreground-to-background sharpness matters.
Once you mount your camera on a tripod, shutter speed becomes your most flexible setting. You can use exposures of several seconds without worrying about camera shake, which lets you keep ISO low and aperture moderate for the cleanest possible image.
For tripod-mounted night photography, our recommended shutter speeds are 1 to 4 seconds for city scenes with movement, 8 to 30 seconds for star trails and the Milky Way, and 30 seconds to several minutes for light trails and deep astrophotography. Longer exposures let you shoot at base ISO and produce stunningly clean files.
For star photography specifically, the 500 rule helps you pick the longest shutter speed before stars begin to trail. The formula is 500 divided by your focal length equals the maximum shutter speed in seconds. For a 24mm lens on a full-body sensor, that gives you 500 divided by 24, or about 20 seconds. For a 50mm lens, you get 10 seconds before noticeable star trailing.
Crop sensor users should use the 300 rule or the NPF rule instead, since the smaller sensor magnifies apparent star movement. Our team tested the 500 rule on a Sony 24mm f/1.4 GM lens, and 20 seconds delivered pinpoint stars while 30 seconds showed clear trailing.
The two scenarios demand very different camera settings for night photography. Knowing which approach to use saves time and frustration.
For handheld night photography, use a wide aperture like f/1.8 or f/2.8, ISO between 1600 and 6400 depending on your sensor, shutter speed of 1/30s minimum at 50mm and faster for longer focal lengths, and turn on image stabilization if your lens has it. The image stabilization system can buy you 2 to 4 stops of handholding ability.
For tripod night photography, use a moderate aperture like f/4 to f/8 if you need depth of field, ISO 100 to 800 for the cleanest results, shutter speed from 1 second to several minutes depending on the subject, and turn off image stabilization since it can introduce vibration on a tripod.
The exception is very wide angle tripod shots, where star photography demands ISO 1600 to 6400 to keep exposures short enough to avoid trailing. Long exposure noise reduction can also help but doubles your exposure time. Many photographers prefer shooting RAW and applying noise reduction in post instead.
Each major camera brand buries night photography settings in different menu locations, but the underlying concepts apply across all three. Here is a quick brand-specific walkthrough based on our hands-on testing.
For Canon night photography settings, switch to M for Manual mode, set ISO through the top dial or Q menu, enable mirror lockup for tripod shots on DSLRs, turn off lens aberration correction only if it slows your buffer, and shoot in CR3 RAW format. Canon’s auto lighting optimizer can crush shadows, so we usually turn it off for night work.
For Sony night photography settings, switch to M mode on the mode dial, use the exposure compensation dial to fine tune in manual, enable focus magnification in the custom button menu for precise manual focus, and turn off steady shot when using a tripod. Sony’s silent shooting mode works well for tripod nights since it eliminates vibration entirely.
For Nikon night photography settings, switch to M mode, hold the ISO button while turning the rear dial to adjust ISO, enable long exposure noise reduction in the shooting menu for exposures over 1 second, and use live view with focus zoom for dark scenes. Nikon’s matrix metering often underexposes night scenes, so adding plus 0.3 to plus 0.7 stops of exposure compensation helps.
Across all three brands, shoot RAW, turn off any in-camera noise reduction except long exposure NR if exposures exceed 30 seconds, and use a 2-second self-timer or remote release to avoid touching the camera. These small adjustments make a real difference in your night photography settings.
RAW files give you far more flexibility when editing night photos. JPEGs compress shadow detail into a narrow tonal range that is hard to recover, while RAW files capture the full range the sensor recorded. For night photography, that extra latitude is often the difference between a usable image and a deleted one.
The biggest advantage of RAW for night photography is shadow recovery. When you underexpose to protect highlights, RAW lets you push shadows up by 3 or 4 stops in post without dramatic noise. JPEGs fall apart after 1 to 2 stops of shadow recovery. White balance is also fully adjustable in RAW, which matters because night scenes often have mixed lighting temperatures.
For our own night photography, we shoot RAW plus JPEG only when delivering quick previews. The trade-off is file size and post-processing time. A single RAW frame from a 24-megapixel camera runs 25 to 35 megabytes, so bring extra memory cards and a fast card reader.
The right gear makes night photography settings easier to execute. A few accessories can transform your results without changing your camera body.
A sturdy tripod is non-negotiable for long exposure night photography. We recommend aluminum tripods rated for at least 8 pounds, with a ball head or three-way head for precise framing. Carbon fiber is lighter for hiking but costs more.
A remote shutter release eliminates camera shake from pressing the shutter button. Wireless remotes work well, and many cameras now support smartphone apps that serve the same purpose. The 2-second self-timer is a free fallback that works on every camera.
A fast prime lens transforms low light capability. A 50mm f/1.8 lens costs a fraction of a zoom lens and gathers four times more light than an f/3.5 zoom at its widest setting. Our team’s most-used night photography lens is a 24mm f/1.4 for wide scenes and a 50mm f/1.8 for portraits.
Extra batteries are essential because long exposures and live view drain battery faster than daytime shooting. Cold weather drains them even faster, so carry at least two spares for any night shoot below 50 degrees Fahrenheit.
Autofocus struggles at night because phase detection and contrast detection systems need contrast to lock on. In a dark scene, the AF system hunts back and forths and often gives up.
The most reliable way to focus at night is manual focus with live view magnification. Switch to manual focus, press the magnification button to zoom into a bright star or distant light, and turn the focus ring until the point becomes a sharp pinpoint. Then lock your focus by switching back to autofocus off or taping the ring.
If you must use autofocus, find the brightest light in the scene, place a single AF point over it, half press to lock focus, then recompose. Single point AF works better than wide area AF at night because you are telling the camera exactly where to look for contrast.
One beginner trick that works surprisingly well is to use your phone’s flashlight to briefly illuminate your subject, lock autofocus, then turn off the light and shoot. This is especially handy for product or portrait shots in dim restaurants or venues.
Grain is the most common complaint we hear about night photography settings. The good news is that several techniques reduce noise both in camera and during editing.
In camera, keep ISO as low as your shutter speed allows, enable long exposure noise reduction for exposures over 1 second, use exposure delay mode or a remote release to avoid vibration, and shoot at base ISO 100 or 200 when the tripod and shutter speed permit.
In post-processing, use luminance noise reduction rather than color noise reduction first because luminance grain is less visually distracting. Adobe Lightroom, Capture One, and DxO PhotoLab all do excellent noise reduction. Topaz DeNoise AI and DxO PureRAW are dedicated options worth the cost if you shoot a lot of night photos.
Noise stacking is a more advanced technique where you shoot multiple frames at lower ISO and combine them in software. The signal adds up while the random noise averages out, producing cleaner files than a single high-ISO shot. Most modern cameras support this through their interval timer or by triggering a remote release multiple times.
After years of shooting and reading forum threads, our team has noticed the same handful of mistakes appear in beginner night photography. Here is what goes wrong and how to fix it.
Mistake number one is leaving image stabilization on while the camera is on a tripod. This can actually make tripod images less sharp because the stabilization system can introduce tiny vibrations. Turn off stabilization when tripod mounted.
Mistake number two is trusting the meter blindly. Camera meters try to render scenes as middle gray, but night scenes are supposed to be dark. Dial in minus exposure compensation or shoot in manual mode to keep the scene looking dark.
Mistake number three is focusing on the wrong distance. Stars and distant lights are essentially at infinity, so manual focus set to the infinity mark usually works. Subjects closer than 50 feet need precise manual focus using live view magnification.
Mistake number four is forgetting to turn off autofocus assist beams and red eye reduction, which can fire unexpectedly and ruin long exposures. Check your custom settings menu before any tripod shoot.
Mistake number five is underexposing too aggressively. Beginners often protect highlights and end up with shadows so noisy they cannot be recovered. Better to slightly overexpose and pull highlights down in RAW than to crush shadows beyond recovery.
Modern smartphones have surprisingly capable night modes, but most photographers do not push them to their full potential. A few manual tweaks help even more.
For iPhone night photography settings, open the camera app, tap Night mode, and use the slider to extend exposure up to 30 seconds on supported models. Mount the phone on a small tripod or prop it against a stable surface. Tap to focus on a bright area, then drag the exposure icon up slightly.
For Android night photography settings, switch to Pro or Manual mode if your camera app supports it. Set ISO to 400 to 800, shutter speed to 4 to 8 seconds, focus to manual infinity, and white balance to auto or daylight. Apps like Lightroom Mobile, ProCam X, and Footej Camera unlock manual controls on phones that hide them.
The biggest smartphone mistake is moving the phone during a multi-second exposure. Even tiny hand tremors blur the image. A small phone tripod or even a beanbag solves this completely and costs very little.
If you are shopping for a phone with strong night photography, see our guide on camera trends shaping the industry for context on how sensor sizes affect low light capability.
A good starting ISO for handheld night photos is 1600, paired with a wide aperture like f/1.8 and a shutter speed around 1/60s. For tripod-mounted night photography, you can drop ISO to 100 to 800 for cleaner results. Modern full-frame sensors stay usable at ISO 6400, while crop sensors typically max out around ISO 3200 before noise becomes distracting.
f/2.8 is better than f/4 for most night photography because it gathers twice as much light, letting you shoot at a lower ISO or faster shutter speed for the same exposure. The trade-off is shallower depth of field, so f/4 is preferable when you need front-to-back sharpness such as in cityscape or landscape night scenes.
The 500 rule is a formula for finding the longest shutter speed before stars begin to trail in a wide-angle night photo. Divide 500 by your lens focal length to find the maximum shutter speed in seconds. For a 24mm lens on a full-frame sensor, that equals about 20 seconds. Crop sensor users should use the 300 rule instead.
For handheld use, set Manual mode with a wide aperture of f/1.8 to f/2.8, ISO 1600 to 3200, and shutter speed of 1/30s to 1/60s. For tripod use, set ISO 100 to 800, aperture of f/4 to f/8, and shutter speed from 1 second up to several minutes depending on the subject. Always shoot RAW and use manual focus with live view magnification.
Common night photography mistakes include leaving image stabilization on during tripod shots, trusting the camera meter to expose a dark scene correctly, focusing at the wrong distance, forgetting to disable autofocus assist beams, and underexposing too aggressively. Each of these can be avoided by shooting in full manual mode and double-checking camera settings before each shot.
Mastering the best camera settings for night photography comes down to understanding the trade-offs between ISO, aperture, and shutter speed, then matching them to your subject and gear. Handheld work demands wide aperture and high ISO. Tripod work rewards low ISO and long exposures.
Start with our recommended baseline of f/1.8, ISO 1600, and 1/60s for handheld, or f/4, ISO 200, and 5 seconds on a tripod. Adjust one setting per shot until the exposure looks right. Shoot RAW so you can rescue shadows and tweak white balance later. And remember, the gear matters less than showing up and practicing, because night photography rewards persistence more than equipment.
For more on low light gear and night-oriented equipment, see our guides to night vision cameras and backup cameras with night vision for related reading that complements your night photography settings.