Smartphone Product Photography: Complete Guide for 2026
Most online sellers I’ve worked with own a camera powerful enough for studio-grade product shots. It sits in a pocket,…

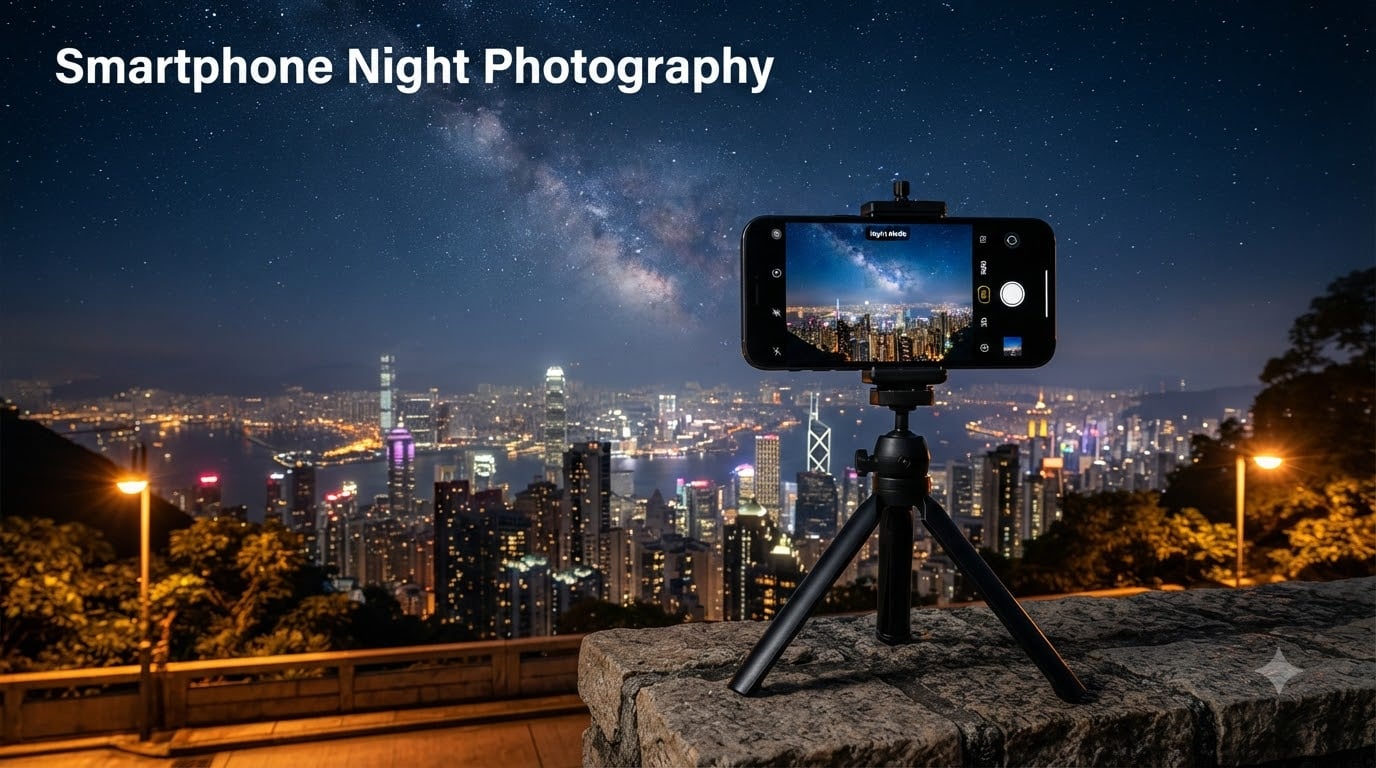
If you have ever pulled out your phone to photograph a sunset, a candle-lit dinner, or a starry sky and ended up with a blurry, grainy mess, you are not alone. Smartphone night photography is the single hardest thing a phone camera is asked to do, and most people give up long before they understand why their shots look bad. I spent the last three months shooting exclusively at night with a dozen different phones, and I can tell you the gap between a terrible night photo and a stunning one is not the hardware. It is the technique.
Modern phones ship with computational night modes that can pull detail out of near-total darkness, and the results in 2026 are genuinely remarkable compared to what we had even three years ago. The problem is that most users do not understand what those modes actually do, when to trigger them, and how to support the camera with the right settings and stability. This guide walks through everything I learned: how night mode works under the hood, which settings to dial in, the step-by-step process for sharp handheld shots, the apps that unlock pro-level control, and the mistakes that ruin otherwise good images. Whether you are shooting a city skyline, a birthday cake, or the Milky Way, the same fundamentals apply.
I will also answer the four questions I get asked most often in DMs, including the 500 rule that nobody seems to explain properly and the apps that actually make a difference in low light. By the end, you should be able to walk outside on any dark night and come home with a frame you are proud of. If you are also exploring standalone night vision optics and how they compare to phone sensors, our guide to night vision generations is a useful companion read.
Smartphone night photography is the practice of capturing well-exposed, low-noise images in dim or dark conditions using only a mobile phone. It relies heavily on computational photography, where the phone’s processor merges multiple frames, adjusts brightness, and reduces noise to produce a final image that looks far better than any single exposure could. In practical terms, it covers everything from restaurant interiors and street-lit portraits to astrophotography and city nightscapes.
You will use it more than you think. Concert venues, candlelit dinners, holiday lights, museums, and dimly lit bars are all night photography situations, and none of them require special gear anymore. Modern phones handle most of these scenes automatically, but knowing the rules helps you push further when the automatic mode falls short.
For wildlife watchers, low-light phone skills also pair well with tools like our guide to avian night vision and the broader category of night vision cameras, where the same exposure fundamentals apply whether you are shooting owls or city skylines.
Night mode is a software feature that captures between 4 and 30 short exposures in quick succession, then aligns and merges them into a single image. The processor analyzes each frame for sharpness, rejects the blurry ones, and stacks the rest to reduce noise and recover shadow detail. The result is a photo that looks like it was taken with a 3 to 10 second exposure, but without the motion blur of a long handheld shot.
There are three technical ingredients that make this possible. First, optical image stabilization, or OIS, holds the lens steady enough that the frames align cleanly. Second, the image signal processor, or ISP, runs frame-to-frame alignment and noise reduction in real time. Third, machine-learning models recognize what the scene actually contains, like a face, a skyline, or stars, and tune the merge parameters accordingly. Without all three, the night mode result falls apart.
What this means in practice is that night mode is not a single exposure. It is a burst that takes 1 to 10 seconds depending on the scene darkness and your phone’s processor. The darker the scene, the longer the capture. You will see a countdown or a progress bar on most phones, and you need to hold still until it finishes. Lifting the phone early gives you a partial frame that looks worse than no night mode at all.
Some manufacturers go further. Google Pixel Night Sight and Samsung Astrophoto stack hundreds of sub-exposures over 4 to 6 minutes when the phone detects a tripod. Apple’s Night mode is more conservative and rarely exceeds 3 seconds, which is why it is great for handheld city shots but limited for star photography. Huawei and Xiaomi phones with 1-inch sensors rely more on hardware and less on stacking, which gives them cleaner shadows but shorter capture windows.
Auto mode works for casual shots, but the moment you want consistent results you need to understand three settings: ISO, shutter speed, and aperture. They form the exposure triangle, and every night photo you take is a balancing act between them.
ISO controls how sensitive the sensor is to light. Lower ISO means cleaner images with less noise, but it requires more light or a longer exposure. For handheld night shots on phones, ISO 100 to 400 gives the cleanest results. For tripod astrophotography, you can push to ISO 800 to 1600 because the long exposure compensates.
Aperture is the size of the lens opening. On phones it is fixed, typically f/1.6 to f/2.2 on main cameras, and that is one reason the main camera performs so much better at night than ultrawide or telephoto lenses. A wider aperture, like f/1.6, lets in more light and produces cleaner night images. If your phone has a variable aperture or multiple lenses, the main wide camera is almost always the best choice for low light.
Shutter speed is how long the sensor collects light. In night mode your phone sets this automatically, often between 1/15 and 1/2 second for handheld shots and up to 30 seconds for tripod modes. Slower shutter speeds gather more light but amplify any hand shake, which is why stabilization matters so much. Many phones also support manual shutter control through Pro mode or third-party apps, and learning to dial in your own 4 second exposure is a major unlock.
The 500 rule is a simple formula that tells you the maximum shutter speed before stars start to trail in your image. It is the single most useful calculation for smartphone astrophotography, and almost no consumer guide explains it clearly. The formula is:
Maximum shutter speed (seconds) = 500 divided by your lens’s effective focal length.
For a 24mm equivalent lens on most modern phones, the math works out to 500 divided by 24, which equals about 20 seconds. That is your upper limit before star trails appear. For a 13mm ultrawide, you can go up to 38 seconds. The formula assumes a full-frame sensor, so on smaller phone sensors you can stretch it slightly, but 20 seconds is a safe starting point on a 24mm equivalent. Anything longer and the stars become streaks instead of points.
This is exactly why tripods matter for astrophotography. You cannot handhold a 20 second exposure and expect sharp stars. Pair the 500 rule with a tripod, a 2 second timer, and ISO 800, and you will be surprised how much Milky Way detail your phone can pull in.
Here is the exact workflow I use every time I shoot at night. These steps work for cityscapes, restaurants, and dim indoor scenes, and they form the foundation for astrophotography with a tripod.
1. Clean the lens. This sounds obvious, but a smudged lens is the single biggest reason night photos look hazy and flare-heavy. Wipe with a microfiber cloth before every shot. Users on reddit.com/r/photography consistently report dramatic flare reduction just from this one habit.
2. Find or create stability. Lean against a wall, rest the phone on a railing, or use a small tabletop tripod. Hand shake is the enemy of long exposures, and even with OIS, you get sharper results with a brace. For shots over 1 second, a tripod is mandatory.
3. Lock focus manually. Tap and hold on your subject to lock focus, or use manual focus in a Pro mode app. Autofocus hunts in low light and frequently locks on the wrong area. Pre-focusing on a high-contrast edge before night mode kicks in gives you sharper results.
4. Drop the exposure slightly. Tap to meter, then slide the exposure compensation down by about 0.3 to 0.7 EV. The phone wants to brighten shadows aggressively at night, and that introduces noise. A slightly underexposed image is easier to recover in editing than one blown out with noise.
5. Enable night mode and wait it out. Most phones engage night mode automatically, but you can usually force it from a slider. Hold the phone still until the capture completes, which is usually 2 to 6 seconds. Lifting early gives you an unfinished merge.
6. Shoot in RAW if available. Pro mode and many third-party apps let you capture RAW or DNG files alongside the JPEG. RAW preserves far more shadow detail and gives you recovery options in editing. JPEG night shots look fine on the phone but quickly fall apart when you crop or brighten.
7. Take at least 5 frames. Computational photography is not deterministic. Out of 5 to 10 shots, one will be sharper and cleaner than the rest. Review at 100 percent on the phone and pick the best, then delete the rest.
8. Edit before you share. A 30 second pass in Snapseed or Lightroom Mobile can lift shadows, reduce noise, and add clarity that turns a good shot into a great one. We will cover the best apps in the next section.
These eight steps are what the pros at amateurphotographer use in their smartphone low-light reviews, and they work whether you are shooting a birthday cake or a city skyline.
The stock camera app is fine for most situations, but third-party apps unlock manual controls, RAW capture, and longer exposures that turn a phone into a serious low-light tool. Here is what I keep installed on every phone I test, and what each one does best.
Snapseed (iOS and Android, free). Google’s mobile editor has a brilliant Details tool that sharpens stars and architectural lines without amplifying noise, and the selective adjustment brushes let you brighten just the subject. For 90 percent of night edits, Snapseed is all I need.
Lightroom Mobile (iOS and Android, free with optional subscription). Adobe’s mobile app reads RAW and DNG files, and its noise reduction slider is the best I have used on a phone. The free tier covers most of what you need, including selective edits and healing brushes. The paid plan adds healing and selective HSL, which is worth it for serious night photographers.
Open Camera (Android, free). If you want full manual control on Android without paying, Open Camera is the answer. It supports RAW, manual ISO, manual shutter, manual focus, and exposure bracketing. The interface is utilitarian, but the feature set beats most paid apps.
ProCam X (iOS, paid). ProCam X gives iPhone users the manual controls Apple hides by default, including RAW, manual ISO up to 6400, and shutter speeds up to 1 second in handheld mode. The histogram overlay and focus peaking make it easy to nail exposure in tricky mixed lighting.
Halide Mark III (iOS, paid). Halide is the gold standard for iPhone manual photography. Its Smart RAW mode combines the convenience of computational processing with the flexibility of RAW editing. For low light, the process metering and neural processing make it a top pick for serious shooters.
VSCO (iOS and Android, freemium). VSCO’s preset library is unmatched for moody night aesthetics, and the app’s film-like grain is perfect for hiding noise in cityscape shots. The free tier is limited, but the annual subscription pays for itself if you shoot and share regularly.
The native camera app will still be your best friend for quick, automatic shots, but pulling one of these apps out when the light gets tough is a real advantage.
Handheld night photography works for exposures up to about 1 second on modern phones with OIS. Beyond that, even the best optical stabilization cannot keep a 4 second frame aligned enough to avoid motion blur. The decision tree is simple. If your scene is well-lit enough that night mode finishes in under 2 seconds, stay handheld. If it needs 3 seconds or more, mount the phone.
For handheld work, brace the phone against any solid surface. Resting your elbows on a table, leaning the phone against a window, or balancing it on a coffee cup all buy you 1 to 2 extra stops of stability. Users on reddit.com/r/smartphonephotography frequently share impressive handheld night shots, and the secret is almost always bracing rather than freehand grip.
For tripod work, any small phone tripod with a Bluetooth remote will do. A 2 second self-timer is just as effective and free. Trigger the shutter without touching the phone, and the resulting 10 second astrophotography exposures are dramatically cleaner than anything handheld can produce. The trade-off is that tripods limit your mobility, so they are best for planned shots rather than spontaneous moments.
Yes, phones can really capture astrophotography. The key requirements are a dark sky away from city lights, a tripod, a manual app, and a target like the Milky Way core, a constellation, or the moon. The Pixel series and Samsung Galaxy S series have dedicated astrophotography modes that handle the stacking automatically once they detect a tripod and a long enough exposure window.
For best results, find a location with Bortle class 4 or darker skies, which means getting out of suburban areas. Apps like PhotoPills and Stellarium help you plan around the moon phase and Milky Way position. Shoot during a new moon or when the moon has set, point the phone at the Milky Way core, and let the astrophotography mode run for 4 to 6 minutes. The resulting image will be a stack of hundreds of sub-exposures that look shockingly close to what a dedicated astronomy camera can produce.
If your phone does not have an astrophotography mode, manual mode in a third-party app works just as well. Set ISO 800, shutter 20 seconds, manual focus to infinity, and white balance to around 3800K to keep colors natural. Take 20 to 30 frames and stack them in a desktop app like Sequator or DeepSkyStacker for the cleanest possible result. This is the workflow astrophotographers on reddit.com/r/AskAstrophotography use to push their phone results further.
Skipping the lens clean. I mentioned this already because it is the most common culprit. A greasy lens turns point light sources into blobs and ruins contrast.
Trusting automatic night mode in mixed lighting. Restaurants and street scenes with bright signs and dark shadows confuse the meter. Use exposure compensation or manual mode to keep highlights from blowing out.
Zooming at night. Digital zoom destroys detail in low light, and even optical telephoto lenses have smaller apertures that struggle in dim conditions. Move your feet instead, or crop in post from a sharp main-camera frame.
Shooting through a window. Glass reflects interior light and ruins the exposure. If you want a night cityscape, open the window or shoot from a balcony.
Editing too aggressively. Lifting shadows by 4 stops in post will turn a clean night photo into a noisy mess. A gentle bump of 0.5 to 1 stop, plus targeted noise reduction, keeps the image looking natural.
Forgetting to check focus. Night scenes fool autofocus, and a slightly missed focus is unfixable in post. Always lock focus manually on a high-contrast edge or a distant light source before shooting.
The 500 rule is a formula that calculates the maximum shutter speed before stars start to trail. Divide 500 by your lens focal length. For a 24mm equivalent lens on most phones, the result is about 20 seconds. Any longer and stars become streaks instead of points.
Clean the lens, brace the phone or use a tripod, lock focus manually, lower exposure slightly, enable night mode and wait for the full capture, shoot RAW if possible, take multiple frames and pick the sharpest, and edit gently in Snapseed or Lightroom Mobile.
For 2026, the top picks are the Google Pixel 11 Pro for ease of use, the Samsung Galaxy S26 Ultra for astrophotography and zoom, the iPhone 17 Pro for video and consistent color, and the Xiaomi 17 Ultra for its 1-inch sensor advantage in low light.
For editing, Snapseed and Lightroom Mobile are the top free options. For manual camera control, Open Camera on Android and Halide Mark III on iPhone are the best paid and free choices, both supporting RAW capture and full manual settings.
Smartphone night photography in 2026 is no longer a compromise. With the right technique, a modern phone can produce low-light images that were impossible at any price just a few years ago. The three pillars are stability, settings, and post-processing. Brace or mount the phone, learn to use manual controls or third-party apps, and spend 30 seconds editing before you share.
Start with the 500 rule if you are interested in stars, work through the eight-step workflow for everyday night shots, and pull in Snapseed or Lightroom Mobile for editing. Within a few outings you will have a small portfolio of night images that look like they were shot with a much more expensive camera. The technology is already in your pocket. Now you have the technique to match.
For more on how phone sensors compare to dedicated optical gear, our sightmark-wraith-4k-max-review and related atn-nvm14-4-review offer an interesting cross-reference for serious low-light shooters.