Artificial Light Photography: Complete Guide for 2026
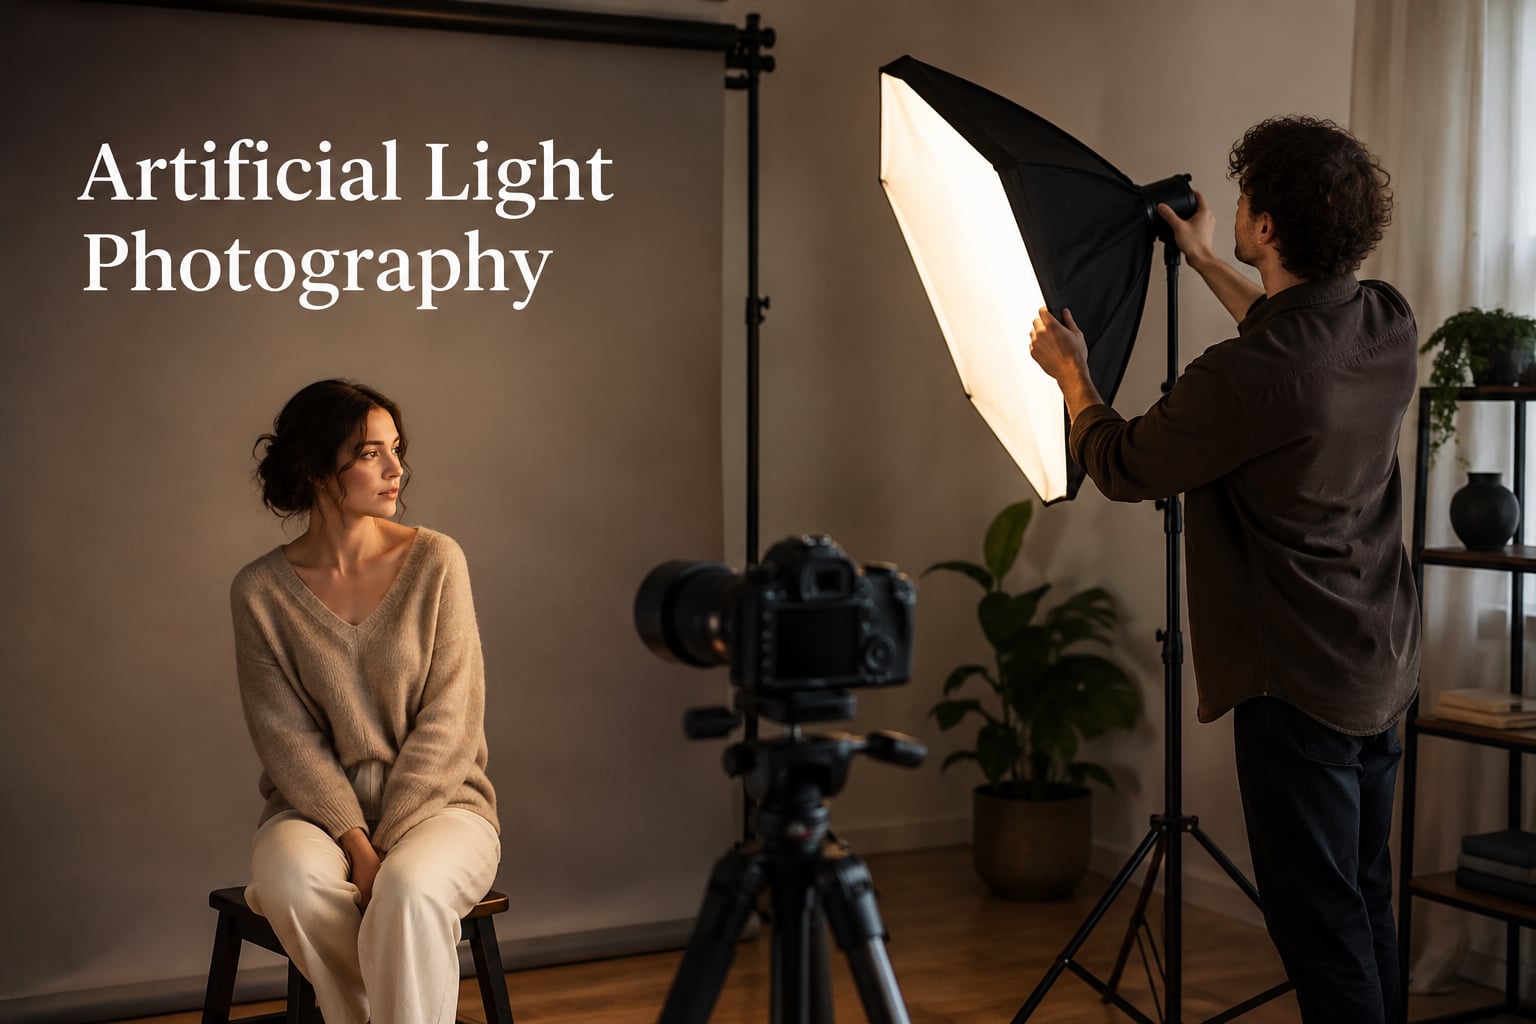
Artificial light photography uses man-made light sources such as flashes, LED panels, and strobes to illuminate your subject instead of…

If you have ever spun your camera’s mode dial past Auto and Program and wondered which of the two semi-automatic settings to actually pick, you are not alone. The aperture priority vs shutter priority debate is one of the first creative decisions every photographer makes, and it is also one of the most misunderstood.
Here at Revell Photography we have spent years watching new shooters default to full Manual mode because they were told it is the “professional” choice. In practice, most working photographers reach for Aperture Priority or Shutter Priority far more often than Manual because these semi-automatic modes give you creative control where it matters while letting the camera handle the rest.
In this guide I will walk you through exactly what each mode does, when to use it, how the two differ at a technical level, and how to pick the right one in the field in under ten seconds. You will also get a brand-by-brand naming reference, a comparison table, and a decision flowchart that no other article on this topic currently offers.
Every photograph is the result of three variables working together: aperture, shutter speed, and ISO. Together they form what photographers call the exposure triangle.
The triangle works as a trade-off system: if you make one variable darker, you must make one of the others brighter to maintain the same overall exposure. Aperture Priority and Shutter Priority let you choose which variable you want to control creatively and hand the rest to the camera.
Aperture Priority is a semi-automatic camera mode where you choose the aperture (f-stop) and the camera automatically selects the shutter speed needed for a correct exposure. ISO is typically set by you, by Auto ISO, or both depending on your camera.
By selecting the aperture, you are really selecting your depth of field, which is how much of the image is in sharp focus from front to back. Pick a wide aperture like f/1.8 and only your subject is in focus while the background melts into creamy bokeh. Pick a narrow aperture like f/11 and everything from the foreground rocks to the distant mountains stays sharp.
In Aperture Priority, what you control is the f-stop and usually the ISO. What the camera controls is the shutter speed, and that decision updates in real time as light changes or you recompose.
Aperture Priority is labeled “A” on most Nikon, Sony, and Fujifilm cameras and “Av” on Canon cameras. This brand-specific naming trips up a lot of beginners, and we will clear it up in the reference table later in the article.
Shutter Priority is the mirror image of Aperture Priority. You choose the shutter speed and the camera automatically selects the aperture needed for a correct exposure.
By selecting the shutter speed, you are really selecting how motion is rendered in your image. Pick a fast shutter speed like 1/2000s and a moving subject will be frozen mid-stride with every droplet and hair sharp. Pick a slow shutter speed like 1/15s and intentional motion blur will streak across the frame.
In Shutter Priority, what you control is the shutter speed and usually the ISO. What the camera controls is the aperture, and again that updates as light changes.
Shutter Priority is labeled “S” on Nikon, Sony, and Fujifilm cameras and “Tv” (for “time value”) on Canon cameras.
This table is your quick reference when you need to remember which mode controls what.
| Feature | Aperture Priority (A / Av) | Shutter Priority (S / Tv) |
|---|---|---|
| You control | Aperture (f-stop) and ISO | Shutter speed and ISO |
| Camera controls | Shutter speed | Aperture (f-stop) |
| Primary creative effect | Depth of field and bokeh | Motion blur or motion freezing |
| Best for | Portraits, landscapes, low-light stills | Sports, wildlife, action, kids and pets |
| Typical use by working pros | Around 70 to 90 percent of frames | Around 10 to 25 percent of frames |
| Canon label | Av | Tv |
| Nikon, Sony, Fujifilm label | A | S |
| Risk if light is low | Camera may choose a shutter speed too slow for handheld shots | Camera may choose an aperture wider than your lens allows, causing underexposure |
Every camera maker uses its own label for these two modes. Bookmark this table and you will never second-guess yourself again.
| Brand | Aperture Priority | Shutter Priority |
|---|---|---|
| Canon | Av | Tv |
| Nikon | A | S |
| Sony | A | S |
| Fujifilm | A | S |
| Panasonic and Olympus | A | S |
| Pentax | Av | Tv |
Note: “A” is short for Aperture, “S” is short for Shutter, “Av” stands for Aperture value, and “Tv” stands for Time value. Same modes, same behavior, different letters.
Aperture Priority is the right call when depth of field is the creative decision that matters most for your scene. Here are the scenarios where it shines.
Portraits. For headshots, environmental portraits, and especially single-subject photos, set a wide aperture like f/1.8 or f/2.8. Your subject stays sharp while the background blurs into clean bokeh, separating them from distractions. I shoot roughly 90 percent of my portrait sessions in Aperture Priority for this reason.
Landscapes. For grand vistas where you want everything from foreground to horizon in focus, set a narrow aperture like f/8 to f/11. Aperture Priority lets you lock in the depth of field and lets the camera meter the shutter speed for the changing light.
Group photos. When photographing groups of people lined up at different depths, use a mid-range aperture like f/5.6 or f/8 to keep everyone’s faces sharp. Aperture Priority gives you that control without thinking about shutter speed.
Low-light still subjects. When your subject is not moving and the light is dim, like a wedding ceremony guest at a reception, a city street at dusk, or a restaurant interior, Aperture Priority lets you widen the aperture to gather light while the camera picks a workable shutter speed.
Travel and street photography. Travel scenes change fast and depth of field is usually more important than motion control. Aperture Priority is the default for travel and street work for exactly this reason.
Shutter Priority is the right call when motion rendering is the creative decision that matters most for your scene. Here are the scenarios where it earns its place.
Sports photography. For football, soccer, basketball, or any fast action, set a shutter speed of 1/1000s or faster. Shutter Priority keeps that speed locked in so every frame is sharp, and the camera adjusts aperture as subjects move between bright and shaded areas.
Wildlife photography. For birds in flight, running mammals, or any unpredictable animal motion, Shutter Priority is the safer bet. A shutter speed of 1/1600s to 1/2500s will freeze most wing beats and running gaits.
Kids and pets at home. Toddlers and puppies move unpredictably. Set a shutter speed of 1/500s or faster and let the camera pick the aperture. This is one of the few everyday situations where Shutter Priority beats Aperture Priority for most photographers.
Panning shots. When you intentionally want motion blur behind a sharp subject, like a cyclist passing at 1/30s with the rider sharp and the background streaked, Shutter Priority lets you dial in that exact blur-creating speed and trust it.
Long exposures. For intentional blur effects like waterfalls, light trails, or silky water, Shutter Priority works for exposures in the one to thirty second range. For very long exposures beyond thirty seconds you will usually need Manual mode, but Shutter Priority covers the rest of the range cleanly.
None of the major articles on aperture priority vs shutter priority give you a fast decision tool, so we created one. Run through this flowchart the next time you raise your camera and you will land on the right mode almost every time.
Real-world shortcut. Ask yourself one question: what do I want to control creatively, depth of field or motion? If the answer is depth of field, choose Aperture Priority. If the answer is motion, choose Shutter Priority. That single question resolves about 80 percent of real-world shooting decisions.
ISO and exposure compensation work the same way in both Aperture Priority and Shutter Priority, which is good news. You still control ISO manually in both modes, and you can still dial in exposure compensation to tell the camera to make every frame brighter or darker than its meter suggests.
Auto ISO is a great companion to both semi-automatic modes because it acts like a third automatic safety net. With Auto ISO on, you pick the aperture in Aperture Priority, the camera picks the shutter speed, and if the camera runs out of shutter speed it will quietly raise the ISO to keep the exposure correct. This is how many travel and event photographers shoot all day without ever touching anything except their f-stop.
Exposure compensation is the plus and minus button you press to override the camera’s meter. In Aperture Priority, exposure compensation tells the camera to use a faster or slower shutter speed than it picked. In Shutter Priority, exposure compensation tells the camera to use a wider or narrower aperture than it picked. The dial behaves identically, the meaning shifts depending on which mode you are in.
A common beginner mistake is using exposure compensation to fix a wrong ISO setting. Exposure compensation does not change ISO; it changes the brightness of the final image by overriding the meter’s choice of the variable the camera controls.
These are the issues I see most often when new shooters switch from Auto into Aperture Priority or Shutter Priority.
Shutter speed too slow for handheld shooting. In Aperture Priority indoors, the camera often picks 1/30s or slower, which produces camera shake. The fix is to enable Auto ISO, widen your aperture, or use a lens with image stabilization.
Lens hits its maximum aperture and the image goes dark. In Shutter Priority in low light, the camera may try to use f/1.4 but your lens only opens to f/4. The result is an underexposed frame. The fix is to lower your shutter speed, raise ISO manually, or switch to Aperture Priority for low-light stills.
Focus misses in shallow depth of field. A common complaint on photography forums is that Aperture Priority shots at f/1.4 have soft focus on the subject’s eye. The fix is single-point autofocus on the nearest eye and careful technique, not switching modes.
Treating Manual as automatically better. Many beginners think Manual is more “professional” than Aperture Priority. In reality, pros use Manual when they need to lock both aperture and shutter speed, such as in studio lighting or long exposures. For everyday shooting, Aperture Priority produces equally professional results with less work.
Forgetting exposure compensation. Bright snow scenes and dark forests trick every meter. If your images look gray instead of white snow or rich dark green forest, dial in positive or negative exposure compensation to taste.
Aperture Priority (A or Av) is a semi-automatic camera mode where you choose the f-stop and the camera picks the shutter speed for correct exposure. Shutter Priority (S or Tv) is the opposite: you choose the shutter speed and the camera picks the aperture. Aperture Priority gives you control over depth of field, while Shutter Priority gives you control over motion rendering.
Use Aperture Priority when your subject is mostly still and depth of field is the creative decision you care about, such as portraits, landscapes, travel, and street photography. Use Shutter Priority when your subject is moving and motion rendering is the creative decision you care about, such as sports, wildlife, kids, and pets. Most working photographers default to Aperture Priority for roughly 70 to 90 percent of their shots.
Yes, plenty do, including many wedding, portrait, and event photographers. Aperture Priority is a fully professional mode. It is not a beginner mode or a compromise. Many pros use Aperture Priority with Auto ISO all day because it lets them focus on composition and depth of field while the camera handles shutter speed and sensitivity in real time.
The classic rule of thumb is that your shutter speed should be at least the reciprocal of your focal length to avoid camera shake when handholding. For a 50mm lens that means 1/50s or faster, for a 200mm lens that means 1/200s or faster. Modern lenses with image stabilization can push that two to four stops slower. For freezing fast action you typically need 1/500s for kids and pets and 1/1000s or faster for sports and wildlife.
There is no single best mode for all photography. Aperture Priority is the most common default because depth of field drives most creative decisions, especially for portraits, landscapes, and travel. Shutter Priority is best when motion is the creative priority, such as sports and wildlife. Manual is best when both aperture and shutter speed must be locked, such as studio flash and very long exposures.
The three most important settings are aperture, shutter speed, and ISO, which together form the exposure triangle. Aperture controls depth of field, shutter speed controls motion rendering, and ISO controls sensor sensitivity and image noise. Mastering how these three trade off against each other is the foundation of moving beyond Auto mode into Aperture Priority, Shutter Priority, and Manual.
After years of teaching workshops and shooting in the field, the answer to the aperture priority vs shutter priority debate is clear. Default to Aperture Priority for roughly 80 percent of your shooting because depth of field is the creative decision that drives most portraits, landscapes, travel, and street work. Switch to Shutter Priority specifically when motion is the creative decision, such as sports, wildlife, kids, pets, and intentional motion blur. Use Manual when both variables must be locked, such as studio flash or very long exposures.
Bookmark the mode selection flowchart in this guide, keep the brand naming table on your phone, and you will never second-guess the mode dial again. Aperture Priority and Shutter Priority are not beginner crutches. They are professional tools that free you to focus on the part of the photograph that actually matters: the creative choice you are making in that exact moment.