Artificial Light Photography: Complete Guide for 2026
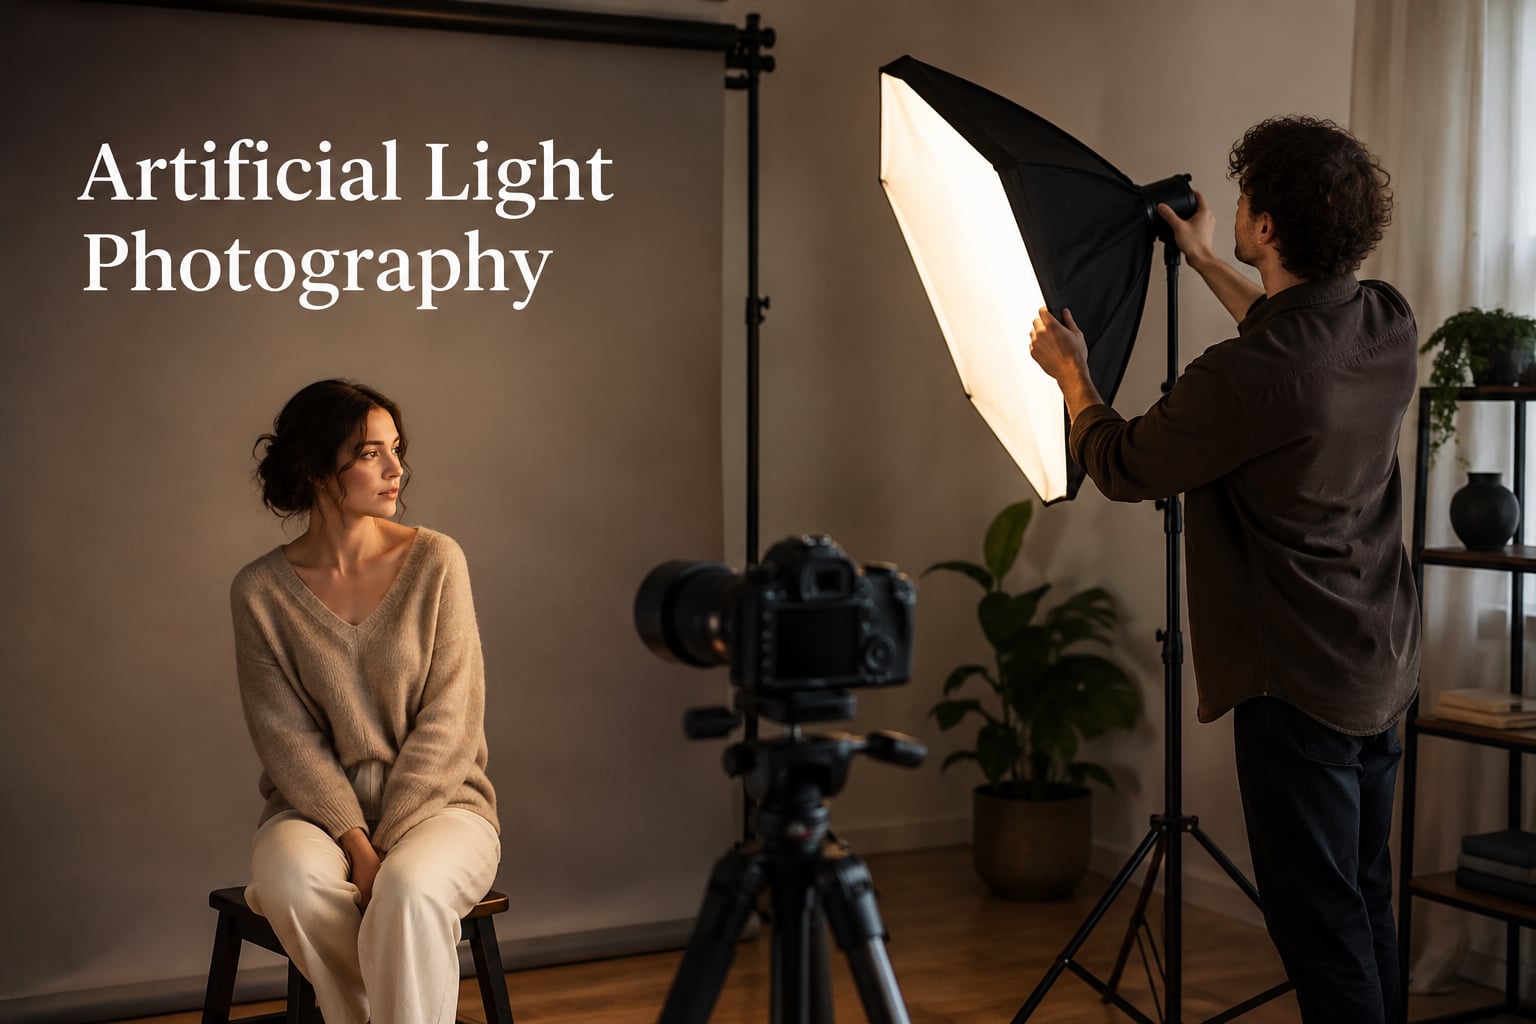
Artificial light photography uses man-made light sources such as flashes, LED panels, and strobes to illuminate your subject instead of…

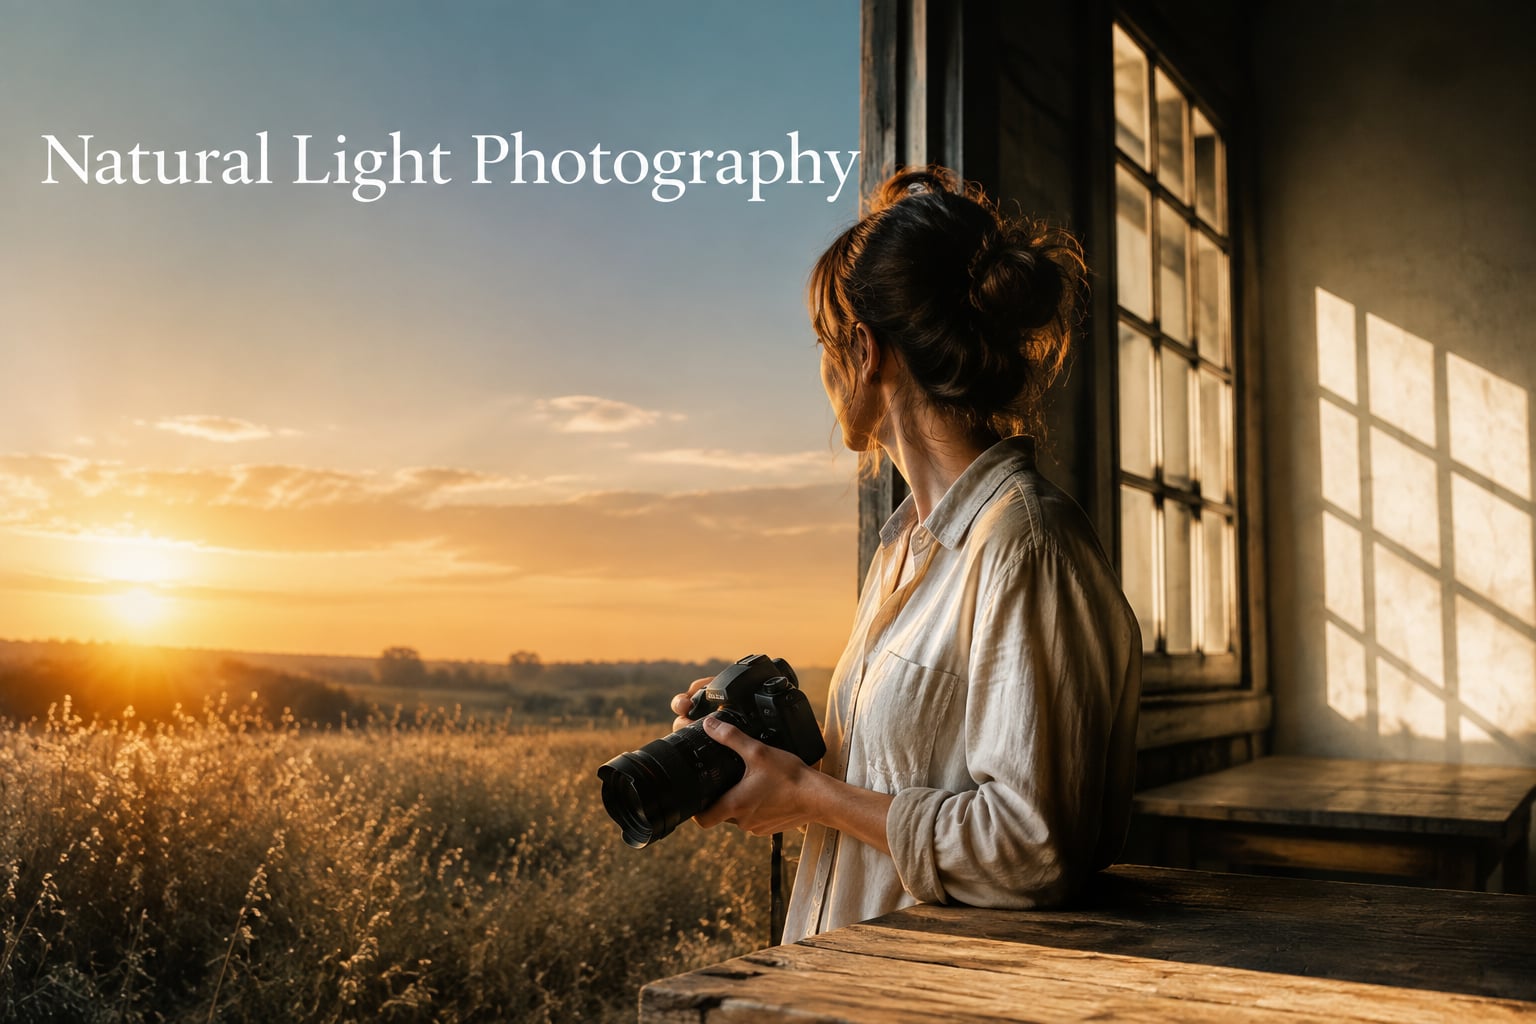
Natural light photography is the practice of using sunlight as your primary light source instead of strobes or flashes, capturing images with whatever ambient light the scene gives you. I have leaned on this technique for years, and it remains the most authentic way to produce images that feel honest and emotionally resonant. In this 2026 guide, our team walks through the techniques we use every day to master available light across portraits, products, and landscapes.
You will learn how light direction shapes a subject, what makes golden hour magic, how to expose for tricky midday scenes, and the camera settings that keep your images sharp. We will also cover practical tips for indoor window light and the small tools like reflectors that make a huge difference. Whether you are just picking up a camera or refining years of experience, these fundamentals will sharpen your eye.
If you want to deepen other parts of your craft, our photography techniques resource explores creative compositions for product work. Natural light is the foundation, though, and mastering it will improve every other genre you shoot.
Natural light photography uses only sunlight to illuminate a scene, whether that sun is direct, diffused through clouds, or filtered through a window. Unlike flash photography or strobe work, you do not add light. Instead, you observe what already exists, then position your subject and adjust your camera to work with it. This approach is sometimes called available light or ambient light photography.
The core skill is reading light, then responding to it. Photographers who master this craft learn to identify light direction, quality, intensity, and color temperature in seconds. They notice where shadows fall, where highlights bloom, and how the mood of a scene shifts as clouds pass or the sun moves across the sky.
Natural light matters because it produces authentic results. Skin tones look real, colors feel organic, and the emotion in a portrait reads true. I have shot thousands of portraits this way, and the consistency comes from practice, not gear. You can create stunning images with a basic camera and a willingness to watch the light.
Not all daylight is the same. The character of shadows, the warmth of color, and the mood of an image depend heavily on the type of natural light falling on your subject.
Direct sunlight produces hard shadows, strong highlights, and high contrast. It is the light you get on a clear afternoon when the sun is unobstructed. Direct light works well for dramatic landscapes, bold portraits with intentional shadows, and graphic compositions.
Diffused light arrives when something between the sun and your subject softens the rays. Clouds, sheer curtains, and shade all act as giant diffusers. Diffused light wraps gently around faces, hides blemishes, and produces even illumination from edge to edge. Most portrait photographers prefer overcast days for this reason.
Window light is the classic indoor natural light. Light streaming through a window is naturally directional yet soft. North-facing windows give the most consistent, even light throughout the day in the northern hemisphere. Window light has powered some of the most famous portraits in history.
Open shade is the gentle, even light you find on the shaded side of a building or under a large tree. Open shade is shielded from direct sun but still lit by ambient sky bounce. It is one of the most flattering light sources for portraits because shadows are minimal and skin tones stay natural.
The direction your light comes from shapes your image more than almost any other variable. Three primary directions deserve attention: front lighting, side lighting, and backlighting. Each creates a different feeling.
Front lighting hits your subject from behind the camera. The light falls evenly across the face, shadows are minimal, and exposure is forgiving. Front light is safe and predictable, but it can flatten features because there is little shadow to give shape. Many beginner photographers start here.
Side lighting comes from the left or right of your subject, typically at a 45 to 90 degree angle from the camera. This creates dimension because one side of the face is lit while the other falls into shadow. Side lighting is the workhorse of portrait photography because it sculpts features, reveals texture, and adds depth. Photographers on Reddit and Facebook photography groups consistently recommend side lighting as the most flattering choice.
Backlighting places the sun behind your subject, facing the camera. Backlighting creates silhouettes, glowing rim light around hair, and dramatic atmosphere. It can be challenging to expose correctly because the camera sees the bright background, but the result is often worth the effort.
The 3:1 lighting ratio is a classic rule. It states that the lit side of your subject should be roughly three times brighter than the shadow side. This creates dimension without losing detail in the shadows. To achieve this outdoors, look for situations where your subject is partly shaded or position them so a reflector fills in the shadows.
Light changes character throughout the day. The hour you choose to shoot often determines the mood of your final image more than any other decision.
Golden hour is the hour after sunrise and the hour before sunset. The sun sits low on the horizon, sending light through a thicker slice of atmosphere that filters out blue tones. The result is warm, soft, golden light that flatters skin and makes everything glow. Golden hour is the favorite time for portrait, wedding, and landscape photographers alike. The light is directional yet soft, and shadows are long and forgiving.
Blue hour arrives just before sunrise and just after sunset, when the sun is below the horizon but still illuminates the sky. Blue hour produces a deep blue ambient light that pairs beautifully with warm artificial lights from buildings, streetlamps, and windows. It is a favorite for cityscapes and moody portraits.
Midday light comes when the sun sits high overhead, usually between 10 AM and 4 PM. This light is harsh, casts short unflattering shadows under eyes and noses, and creates strong contrast. Most photographers avoid midday for people, but it works for architecture, graphic shapes, and abstract compositions where you want bold shadows and high contrast.
Overcast days act as a giant softbox. Clouds diffuse the sun into a giant source of soft, even light that flatters skin and reduces contrast. Cloudy days are some of the best for portraits, food photography, and product photography where you want minimal shadows.
Light quality falls into two camps, and learning to tell them apart at a glance is a foundational skill.
Hard light comes from a small or distant light source like the unobstructed midday sun. Hard light produces sharp, well-defined shadow edges. Each shadow has a distinct boundary. Hard light reveals texture, makes for dramatic portraits, and creates strong contrast. It can be unforgiving on skin because every wrinkle and blemish gets highlighted.
Soft light comes from a large or diffused source like an overcast sky or a north-facing window. Soft light produces gradual shadow transitions, gentle contrast, and forgiving illumination. Soft light minimizes texture, smooths skin, and creates a calm, even look. Most portrait photographers prefer soft light for everyday work.
To tell them apart, look at the shadow of your subject. Sharp shadow edges mean hard light. Fuzzy, gradient edges mean soft light. This simple test works every time and helps you choose the right time of day for your subject.
Your camera gives you three main controls to manage exposure: ISO, aperture, and shutter speed. Together they form the exposure triangle. Learning to balance these three settings is the technical core of natural light photography.
ISO controls your sensor’s sensitivity to light. Lower ISO values like 100 or 200 produce clean images with minimal noise. Higher ISO values brighten your image but introduce grain or digital noise. In bright outdoor conditions, keep ISO at 100 or 200. In shade or low light, raise ISO as needed but watch for noise above ISO 1600 on entry-level bodies and ISO 3200 on professional cameras.
Aperture controls how much light enters through the lens and how much of your image is in focus. Wide apertures like f/1.8 or f/2.8 let in lots of light and create shallow depth of field, perfect for portraits with creamy blurred backgrounds. Narrow apertures like f/8 or f/11 let in less light but keep more of the scene sharp, ideal for landscapes and group shots.
Shutter speed controls how long your sensor is exposed to light. Fast shutter speeds like 1/1000 freeze motion. Slow shutter speeds like 1/30 allow motion blur. A good rule for handheld shooting is to keep shutter speed at least equal to your focal length. Shoot a 50mm lens at 1/50 or faster to avoid camera shake.
For portraits in open shade, I often start at ISO 200, f/2.8, and 1/200. For landscapes at golden hour, ISO 100, f/11, 1/60 on a stable tripod works beautifully. These are starting points, then I adjust based on the histogram to make sure I am not losing detail in shadows or highlights.
Exposure compensation lets you quickly override your camera’s metering to make images brighter or darker. Set it to plus one-third or plus two-thirds in scenes with lots of bright background to keep faces from underexposing. Dial it down for scenes with lots of dark surfaces to prevent washed-out results.
Color temperature describes the warmth or coolness of light, measured in Kelvin (K). Lower Kelvin numbers like 2000K to 3000K produce warm, orange-tinted light. Mid-range Kelvin values around 5000K to 5500K produce neutral, daylight-balanced light. Higher Kelvin values above 7000K produce cool, blue-tinted light.
Sunlight shifts color temperature throughout the day. Sunrise and sunset can read as low as 2000K to 3000K, giving that golden glow. Midday sun sits around 5500K, which is what cameras are calibrated for. Overcast skies climb to 6500K to 8000K and produce a noticeably cooler image. Open shade can reach 8000K or higher because the subject is lit by blue sky bounce rather than direct sun.
Your camera has a white balance setting that compensates for these shifts. The Daylight or Auto white balance modes work well most of the time. The Cloudy or Shade settings warm it up intentionally, which can rescue cool-toned shade shots. The Tungsten setting cools down warm indoor scenes.
Shooting in RAW format gives you maximum flexibility to adjust white balance after the fact without quality loss. If you shoot JPEG, get the white balance right in camera because adjustments are limited. I shoot RAW almost exclusively because it lets me respond to tricky mixed lighting situations during editing.
Two tools make a dramatic difference in natural light photography: reflectors and diffusers. Both are simple, light, and surprisingly affordable, yet they solve the most common problems photographers face outdoors.
A reflector is a surface that bounces light back into your subject’s shadow side. White reflectors add soft, neutral fill. Silver reflectors add brighter, slightly cooler fill. Gold reflectors add warm, golden fill that mimics sunset light. A 5-in-1 reflector with all these surfaces plus a black side for subtracting light gives you everything you need.
Diffusers do the opposite. They go between the sun and your subject to soften harsh light into something more flattering. A simple white bedsheet held by an assistant works wonderfully. So does a dedicated photography diffuser panel. Position the diffuser between the sun and your subject, and watch harsh shadows become soft and pleasing.
Use a reflector whenever your subject has strong shadow on one side that you want to lift. Use a diffuser whenever the sun is harsh and creating unflattering shadows. Photographers in online forums consistently share that a simple white reflector is the single most useful accessory they own.
Indoor natural light photography relies almost entirely on window light. The good news is that windows produce some of the most beautiful light available to photographers. The challenge is that indoor light changes rapidly as clouds pass or the sun moves.
Position your subject so the window is to the side rather than behind or in front of them. Side window light creates dimension and avoids flat results. If the light is too harsh, hang a sheer white curtain between the window and your subject to diffuse it. Even a thin white sheet works.
North-facing windows give the most consistent light throughout the day in the northern hemisphere because the sun never shines directly through them. South-facing windows give stronger but more variable light. East and west windows give strong morning or evening light respectively.
Watch for color casts. Indoor scenes often mix window light with tungsten or fluorescent lamps, producing mixed color temperatures. Turn off artificial lights when possible to keep the scene clean. If you cannot turn them off, expect to need careful white balance adjustments or shoot RAW for post-processing.
Open up your aperture to f/1.8 or f/2.8 to let in more light and create a soft background. Raise ISO as needed to maintain shutter speeds above 1/100 for sharp handheld results. A reflector or white foam board on the shadow side lifts shadows gently without adding artificial light.
For those interested in creative compositions using natural light, indoor settings offer endless possibilities with mirrors, prisms, and shaped shadows.
After thousands of shoots, here are the tips that have made the biggest difference in my own work and that experienced photographers on Reddit and photography forums consistently recommend.
Learn to see the light first. Before raising your camera, study the scene. Notice where the sun is, where shadows fall, and what color the light carries. Photographers who see light before they see subjects create consistently stronger images.
Position your subject for the light, not the other way around. It is almost always easier to move your subject than to change the light. If the light is too harsh, move into shade. If shadows are unflattering, rotate the subject until they improve.
Use open shade for portraits whenever possible. Open shade gives even, flattering light without harsh shadows. Position subjects just inside the shadow line of a structure or tree, facing the open light.
Work with the sun, not against it. If the sun is high, embrace it. Shoot downward to use it as a rim light or use it as a backlight. If the sun is low, use it as your key light source.
Practice in varied conditions. Shoot in golden hour, midday, overcast, and indoor window light. Each teaches different lessons. The more conditions you practice in, the faster you will learn to adapt on location.
Review your work and analyze failures. Look at images that did not work and figure out why. Was the light too harsh? Shadows too deep? Colors too cool? Each failure teaches a lesson that will improve your next shoot.
Natural light photography is the practice of using sunlight as your primary light source. It includes direct sun, diffused light from clouds, and window light. Photographers observe and adapt to existing light rather than adding artificial illumination.
Position your subject near a window indoors, shoot during golden hour or overcast conditions outdoors, use open shade on bright days, and turn off artificial lights to avoid mixed color temperatures. Always face your subject toward the strongest light source for the most flattering results.
The 3 lighting rule refers to using key light, fill light, and backlight together. The key light is your main source, fill light softens the shadows, and backlight separates your subject from the background. In natural light, the sun serves as the key light while reflectors act as fill.
The 3:1 rule states that the lit side of your subject should be roughly three times brighter than the shadow side. This creates dimension and depth without losing shadow detail. Achieve it outdoors by positioning them so the sun lights one side while a reflector fills the other.
Start by shooting during golden hour for warm, soft light. Position your subject with the light coming from the side for flattering dimension. Use a wide aperture to blur the background. Set ISO to 100 outdoors and adjust aperture and shutter speed to balance the exposure.
Natural light looks better because it creates authentic tones, organic color transitions, and realistic skin rendering. Sunlight contains a full spectrum of colors that artificial lights struggle to match. The result is images that feel true to life and emotionally resonant.
Natural light photography is a skill that rewards patience, observation, and consistent practice. Once you learn to read light direction, identify quality, and adjust your settings in response, you will create images with depth and authenticity that artificial lighting rarely matches.
Start with golden hour, work in open shade on bright days, and use window light indoors. Keep a small reflector in your bag, shoot in RAW whenever possible, and review your work to learn from each session. These habits build over time, and within months you will see dramatic improvement in every genre you shoot.
Our team hopes this 2026 guide gives you the foundation to start shooting with confidence. Pick one technique from this article and apply it on your next session. The light is already there, waiting for you to use it well.