Artificial Light Photography: Complete Guide for 2026
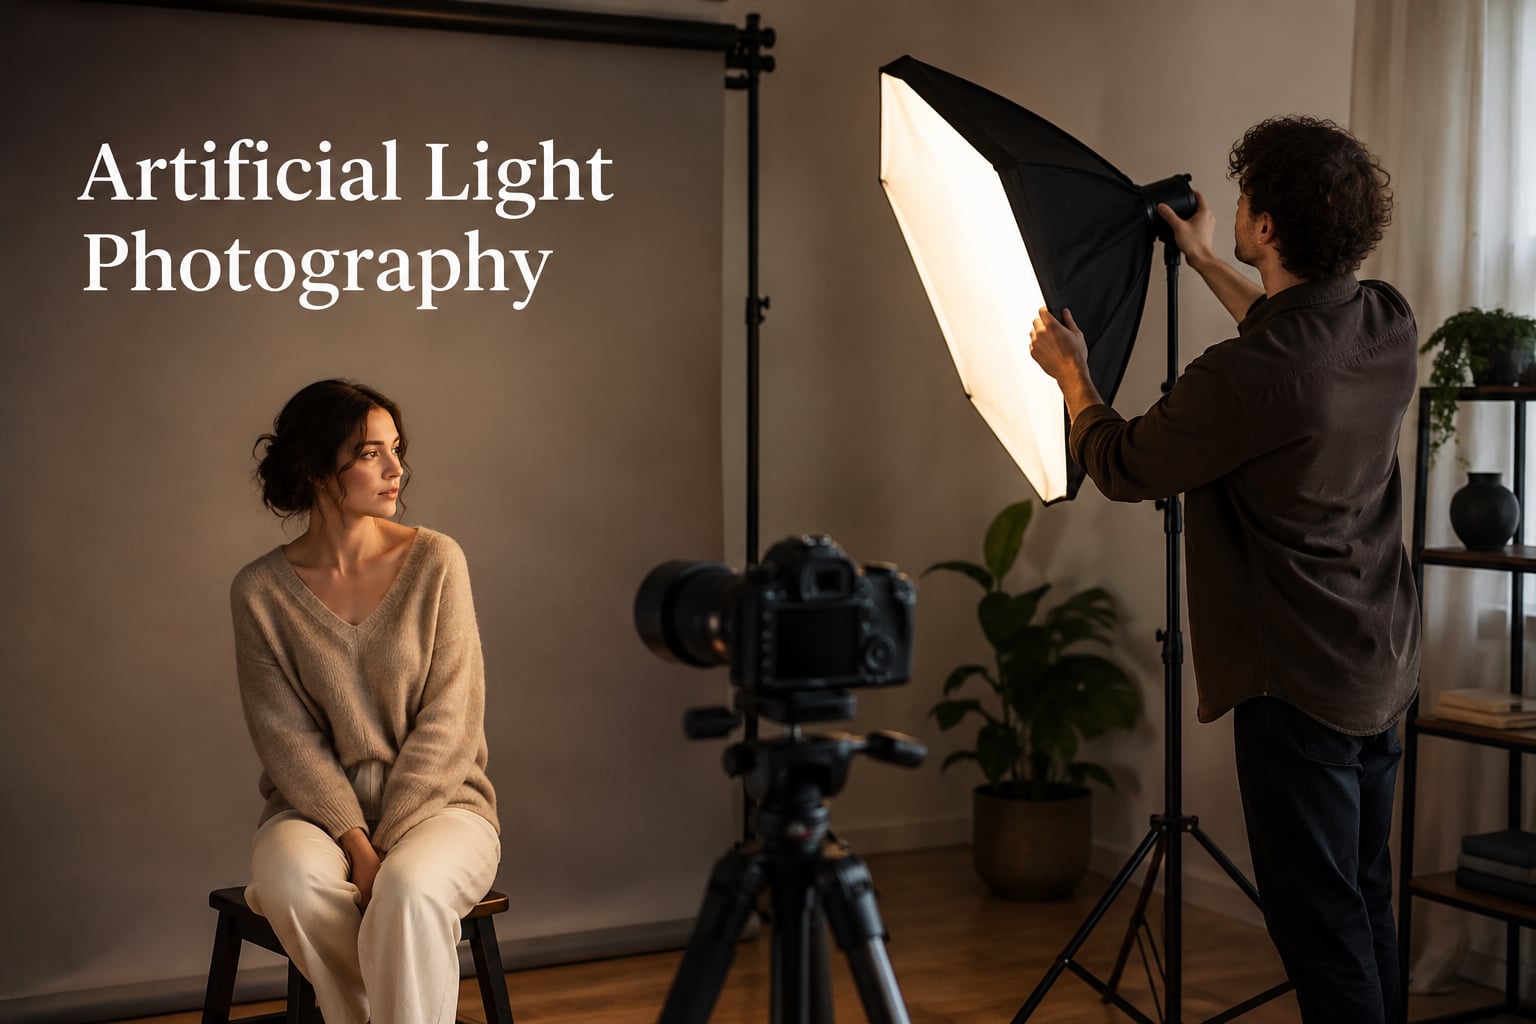
Artificial light photography uses man-made light sources such as flashes, LED panels, and strobes to illuminate your subject instead of…

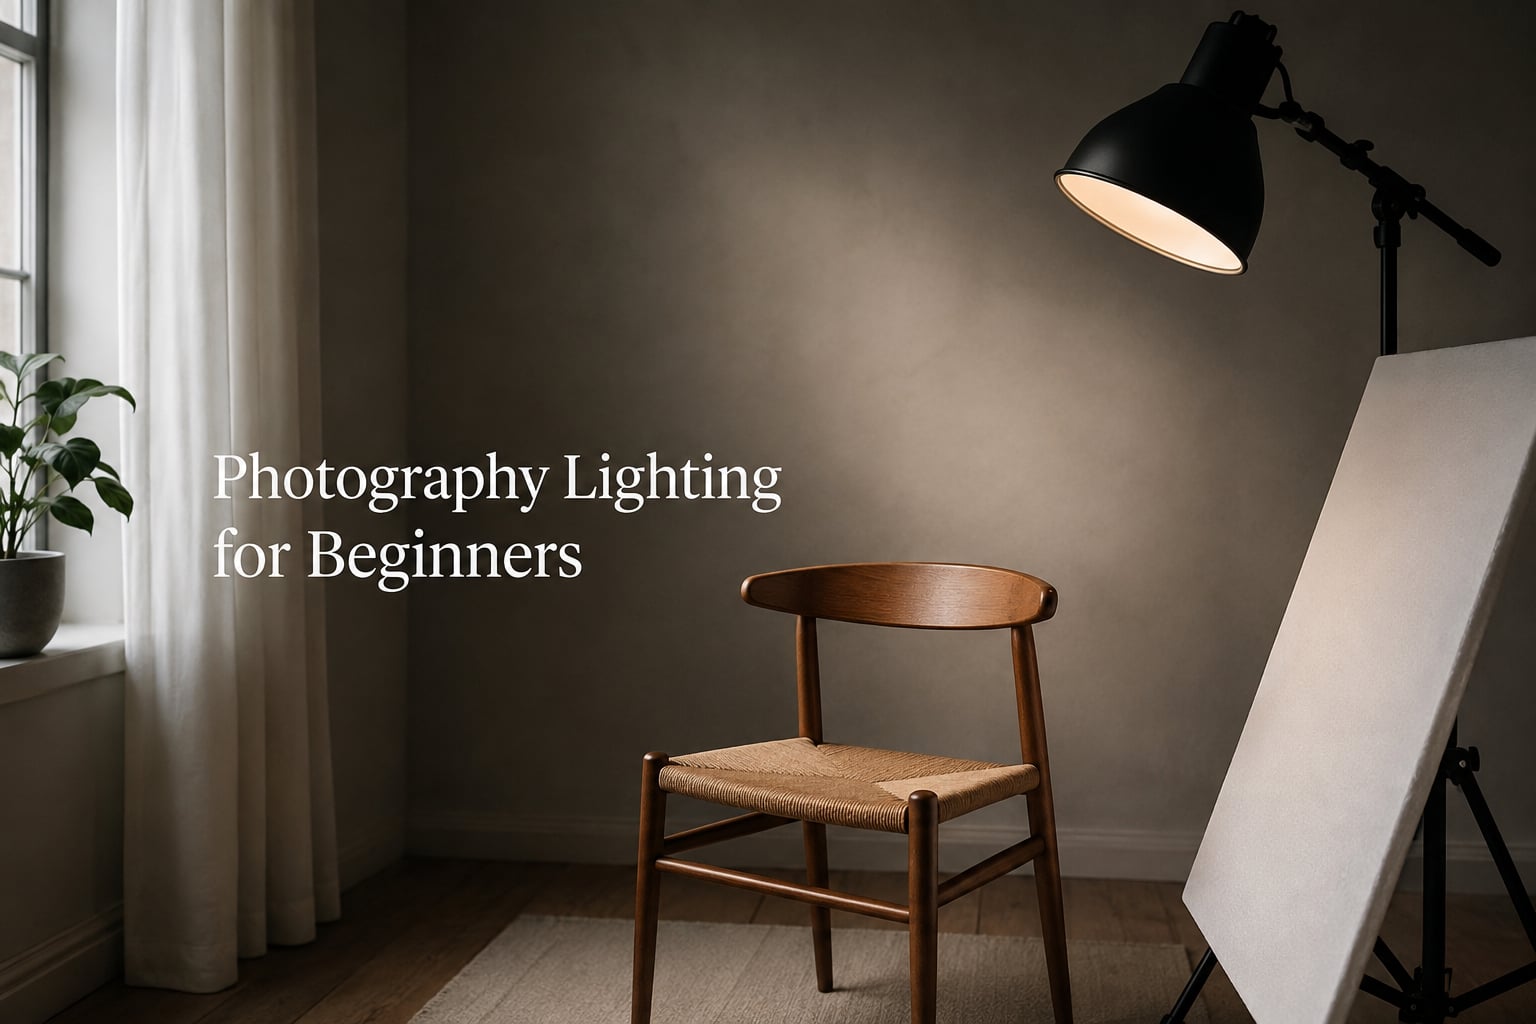
I still remember the first photo I was proud of, and the lighting did almost all the work. My camera was a kit lens on a crop sensor, my subject was my cousin on her porch, and I had nothing but late afternoon sun and a white bedsheet clipped to a broomstick. That single sheet turned harsh midday glare into the softest wraparound light I had ever seen. I did not know it at the time, but I had just learned the single most important skill in photography lighting for beginners: shaping light is more important than buying light.
If you are starting out with photography, lighting feels like the deepest rabbit hole. There are softboxes, umbrellas, gels, strobes, continuous LEDs, hot shoe flashes, ring lights, and a thousand forum threads insisting each one is essential. The good news is that none of it is required on day one. In this guide, I will walk you through the same foundational concepts that professional photographers build on, and I will show you how to practice with whatever light you already have. By the end, you will understand soft light versus hard light, light direction, the Kelvin scale, and three beginner lighting setups you can replicate at home.
This is the article I wish I had read before buying a single piece of gear. Whether you are exploring creative photography styles, getting into product photography, or just trying to take better portraits of your family, the lighting fundamentals below will lift every single photo you take in 2026 and beyond.
Photography lighting is how light is used, shaped, and positioned to create an image. The direction of the light, its softness or hardness, its color, and its intensity together decide exposure, contrast, mood, and how your subject appears. Good lighting is the difference between a snapshot and a photograph.
I learned this the hard way. I owned a camera for two years before I learned anything about lighting, and most of my early photos looked flat, blurry, or just plain dull. The problem was never the camera. A modern phone sensor is honestly enough for many of the photos beginners want to take. The problem is always how the light lands on the subject.
Here is why lighting matters more than any other variable in photography:
The single most liberating idea in beginner lighting is this: light is your raw material, not your camera. Once you start seeing light as something to be controlled, every photo you take becomes intentional. If you want a deeper dive into how lighting affects mood in creative genres, our forced perspective photography guide shows how directional choices completely change the story.
The single most important concept in photography lighting for beginners is the difference between soft light and hard light. Everything else flows from this distinction, and once you understand it you will start seeing light the way professional photographers do.
Soft light is light that wraps around the subject. It comes from a large source relative to the subject, or from a source that has been diffused through fabric, paper, clouds, or shade. Shadows are gentle, transitions between light and dark are gradual, and skin looks smooth and flattering. Think of an open shade portrait on a cloudy day, or a window with a sheer curtain pulled across it.
Hard light comes from a small, direct, undiffused source. It produces sharp, well defined shadows, harsh transitions, and high contrast. Think of direct midday sun, a bare flash pointed at your subject, or a clear streetlight at night. Hard light is dramatic, edgy, and unforgiving. It reveals every pore and every texture.
Here is a quick cheat sheet I use when I am on location:
A simple test: hold your hand under a lamp on your desk. Notice the shadow. Move your hand closer to the lamp and notice how the shadow edges become sharper. Move your hand further away and the shadow edges become softer. That is hard light versus soft light in miniature, and the same physics applies to a softbox the size of a wall.
For beginners, soft light is your friend 90 percent of the time. It is forgiving on faces, easy to meter, and produces flattering results with almost any subject. Reach for hard light when you want drama, edge, or to emphasize texture in a still life.
Light direction is the second pillar of photography lighting for beginners. Where the light comes from changes the shape of the face, the depth of the image, and the story your photo tells. Photographers describe direction by clock position relative to the subject.
Here are the six most useful directions to learn:
The 45 degree rule is the most useful trick you will learn. Place your key light at roughly 45 degrees to one side of your subject and slightly above eye level. Aim it across the face so the far cheek has a soft triangular highlight. That little triangle is called Rembrandt lighting when it sits just above the shadow side of the mouth, and it is the single most flattering setup for almost any face.
Light height also matters more than beginners expect. A light at chest height will give you flat, almost shadowless lighting. A light raised to about 45 degrees above the subject creates natural shadows under the brow, nose, and chin, which is what makes a face look three dimensional. Practice by moving a single lamp up and down while you photograph a friend, and watch how the shadows shift.
Light has color, and that color has a name. Photographers measure light color on the Kelvin scale, named after Lord Kelvin, who worked out that heating a black metal object produces predictable color changes from red to orange to yellow to white to blue. Lower Kelvin numbers are warm and orange, higher numbers are cool and blue.
Here are the numbers you will actually use:
Your camera has a white balance setting that lets you tell it what color of light is illuminating your scene. Set it to the matching Kelvin temperature and colors look natural. Set it wrong and you get orange or blue color casts. In JPEG or video work, getting this right in camera saves hours of editing. In RAW, you can adjust white balance after the fact, which is one of the great freedoms of shooting RAW.
Color temperature is also a creative tool. Shoot a portrait at 2700K tungsten light and set your white balance to 5500K daylight, and the image goes orange and moody. Shoot under a blue sky and set your white balance to 3200K tungsten, and you get a cold, cinematic look. The mismatch itself becomes the style.
Two practical rules of thumb: shoot a custom white balance using a white card or a gray card whenever you move to a new light source, and when you are mixing lights (window light plus a lamp), pick one color temperature and either match the other light to it with gels, or accept the mixed look as a creative choice.
Light modifiers are anything you put between the source and the subject, or anything you bounce the light off, to change the quality, direction, or color of the light. The four modifiers you will see most often are diffusers, reflectors, softboxes, and umbrellas. You do not need to buy any of them on day one, but you should know what each does.
A diffuser is a translucent material that softens light by scattering it. White shower curtains, frosted shower doors, thin white sheets, and dedicated diffuser panels all do the same job. The classic use is hanging a white sheet over a window to turn harsh direct sun into soft window light, or holding a diffuser frame between your subject and the sun outdoors to eliminate harsh shadows on a face.
A reflector is anything that bounces light back into the shadow side of your subject. White foam boards from a craft store, white walls, ceilings, crumpled aluminum foil on cardboard, and dedicated 5 in 1 reflector discs all work. Reflectors do not add light, they rescue light that already exists. A $5 piece of white foam board held under a face will produce portraits that look like they were shot with a $500 reflector.
A softbox is a fabric box that surrounds a light source, then diffuses the light through a front panel. Softboxes produce very directional, very soft light with clean shadow falloff. They are the workhorse of portrait and product photography studios. Sizes range from small 12 inch speedlight softboxes up to 6 foot octababs that produce the softest light of all.
An umbrella is similar to a softbox but simpler. Shoot-through umbrellas diffuse light through white fabric, bounce umbrellas fire light into the back of a reflective surface and bounce it forward. Umbrellas are cheaper than softboxes, easier to set up, and produce softer but less controlled light. They spill light everywhere, which can be a feature in a small room.
My honest advice for 2026 is to start with one reflector and one diffuser before you buy anything else. You can build a complete portrait setup with a window, a $6 piece of foam board, and a sheet. The rest can wait until you know what direction you want to grow.
The best modifier is the one you already own. Before you spend a single dollar on lighting gear, raid your house and your recycling bin. Forum users on r/AskPhotography and r/photography have been sharing these tricks for years, and they are not hacks. They are real solutions used by working photographers on tight deadlines and tight budgets.
Here are my favorite DIY modifiers, all tested on real shoots:
I want to be specific about the budget question I see in every beginner forum. The honest answer is that you can build a complete portrait lighting setup for under $50 using household items and one piece of foam board. A real studio kit with a softbox, stand, and reflector runs more, and is worth it when you are ready. But until you know what kind of photography you love, the household setup is the smartest move.
Now we get to the practical part. These are the three lighting setups I teach every beginner in person, and they cover roughly 90% of the lighting situations a starter photographer will face. Practice each one with a single lamp, a window, or a speedlight before you add more gear.
Setup 1: Window light with a reflector. This is the ultimate beginner setup and a legitimate professional setup. Place your subject facing a window, ideally one that does not get direct sun. Position them so the window light comes from about 45 degrees to one side. Hold a white foam board on the opposite side, angled to fill the shadow side of the face. That is it. You now have soft key light, gentle fill, and flattering wrap. It works for portraits, headshots, products, and food.
Setup 2: The 45 degree key light with bounce fill. Place a single light source at 45 degrees to one side of your subject and 45 degrees above. Aim it slightly down at the face. Place a reflector opposite the light to fill the shadows. This is the Rembrandt setup, and it is the most flattering single-light setup for portraits. Once you have this one working, you can light almost anyone.
Setup 3: Three point lighting. This is the classic studio setup used everywhere from news anchors to movie posters. You have three lights:
For beginners, the easiest version of three point lighting is one key light, one reflector as fill, and a window behind the subject as a free rim light. As you grow, you can replace the reflector with a second flash and the window with a third flash on a stand, but the principle is the same.
Practice order: start with setup one using a window. When that feels easy, add a lamp as your key light for setup two. When you are comfortable shaping shadows, add a third source and try setup three. Each step adds control and complexity, and each one is worth the effort only when the previous setup feels limiting.
Every beginner makes the same handful of mistakes, and none of them require new gear to fix. I have made every one of these myself, and I have watched dozens of students make them in workshops. Knowing them in advance saves you months of frustration.
The fix for almost every beginner lighting problem is one of three things: move the light, diffuse the light, or change the angle. Try those three before you buy anything new.
The 3 lighting rule refers to three-point lighting, the standard studio setup using a key light as the main source at roughly 45 degrees to one side and above the subject, a fill light or reflector opposite the key to soften shadows, and a rim or back light behind the subject to separate them from the background.
Start with one light source and one reflector. Place the light at 45 degrees to one side of your subject and 45 degrees above eye level. Use a white foam board or reflector opposite the light to soften shadows. Diffuse the source with a sheet or curtain if it is too harsh. Practice with window light before buying any gear.
Soft light is light from a large or diffused source that wraps around the subject. It produces gentle shadows, gradual transitions between light and dark, and flattering rendering of skin and texture. Examples include overcast sky, window light with a sheer curtain, and any light through a softbox or diffuser.
The 20 60 20 rule is a lighting composition idea suggesting that 20 percent of the frame should hold the brightest highlights, 60 percent should sit in midtones, and 20 percent should sit in the deepest shadows. The rule helps beginners balance exposure and produce images with a natural tonal range rather than flat or harsh lighting.
Photography lighting for beginners is not about buying the right gear. It is about training your eye to see direction, quality, and color, then learning to control those three variables with whatever light is in front of you. Master window light, then a single lamp, then a single flash with a reflector, and you will be able to light almost anything a beginner wants to shoot in 2026.
Pick one setup from this guide, practice it for a week, and notice how your photos change. Once one setup feels easy, add another light or another modifier. The progression from window light to a full three point kit is the same path working photographers walked, and there is no shortcut that skips the practice.
Light is the oldest and most forgiving tool we have ever used. It wants to help you make better pictures. Your only job is to learn its language.