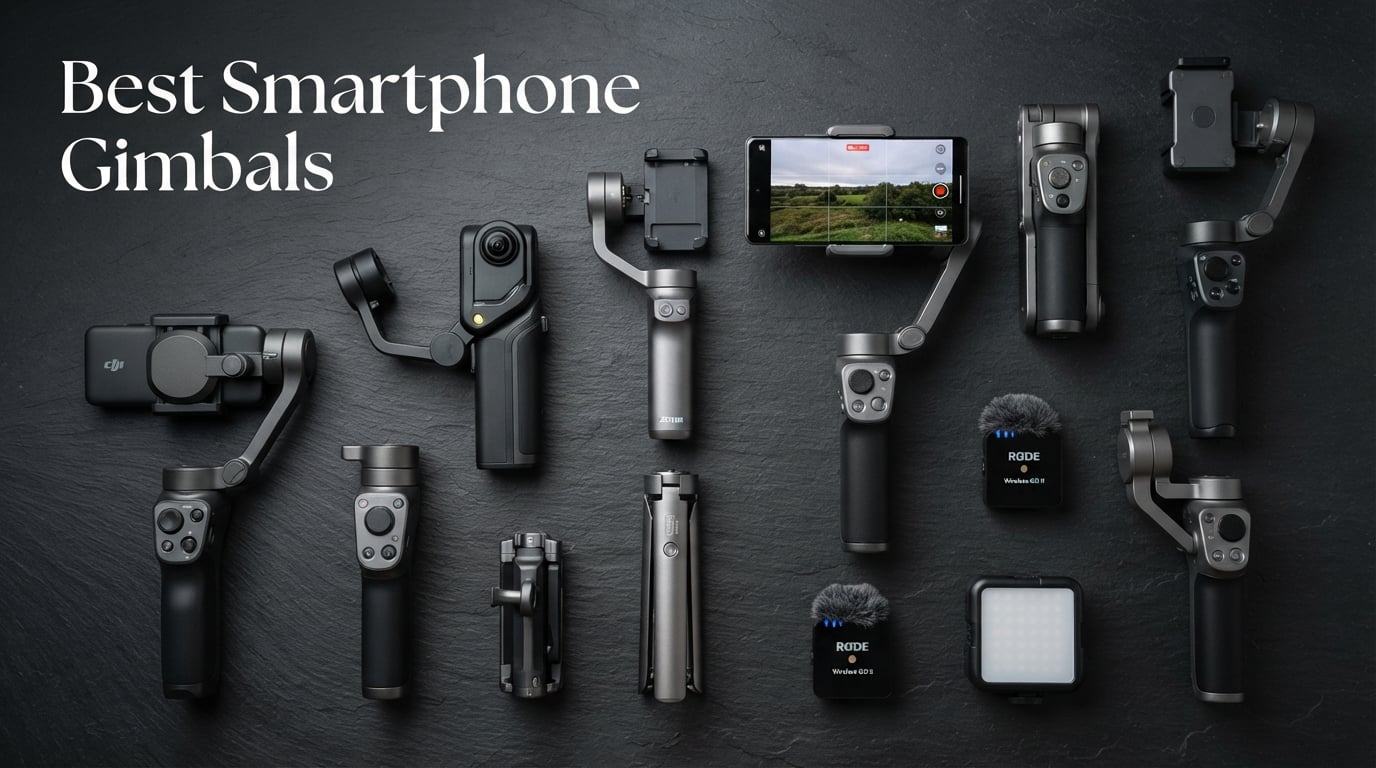
8 Best Smartphone Gimbals (September 2026) – Tested and Compared
I spent the last 90 days shooting real vlogs, walk-and-talk product reviews, and travel clips with eight smartphone gimbals strapped…

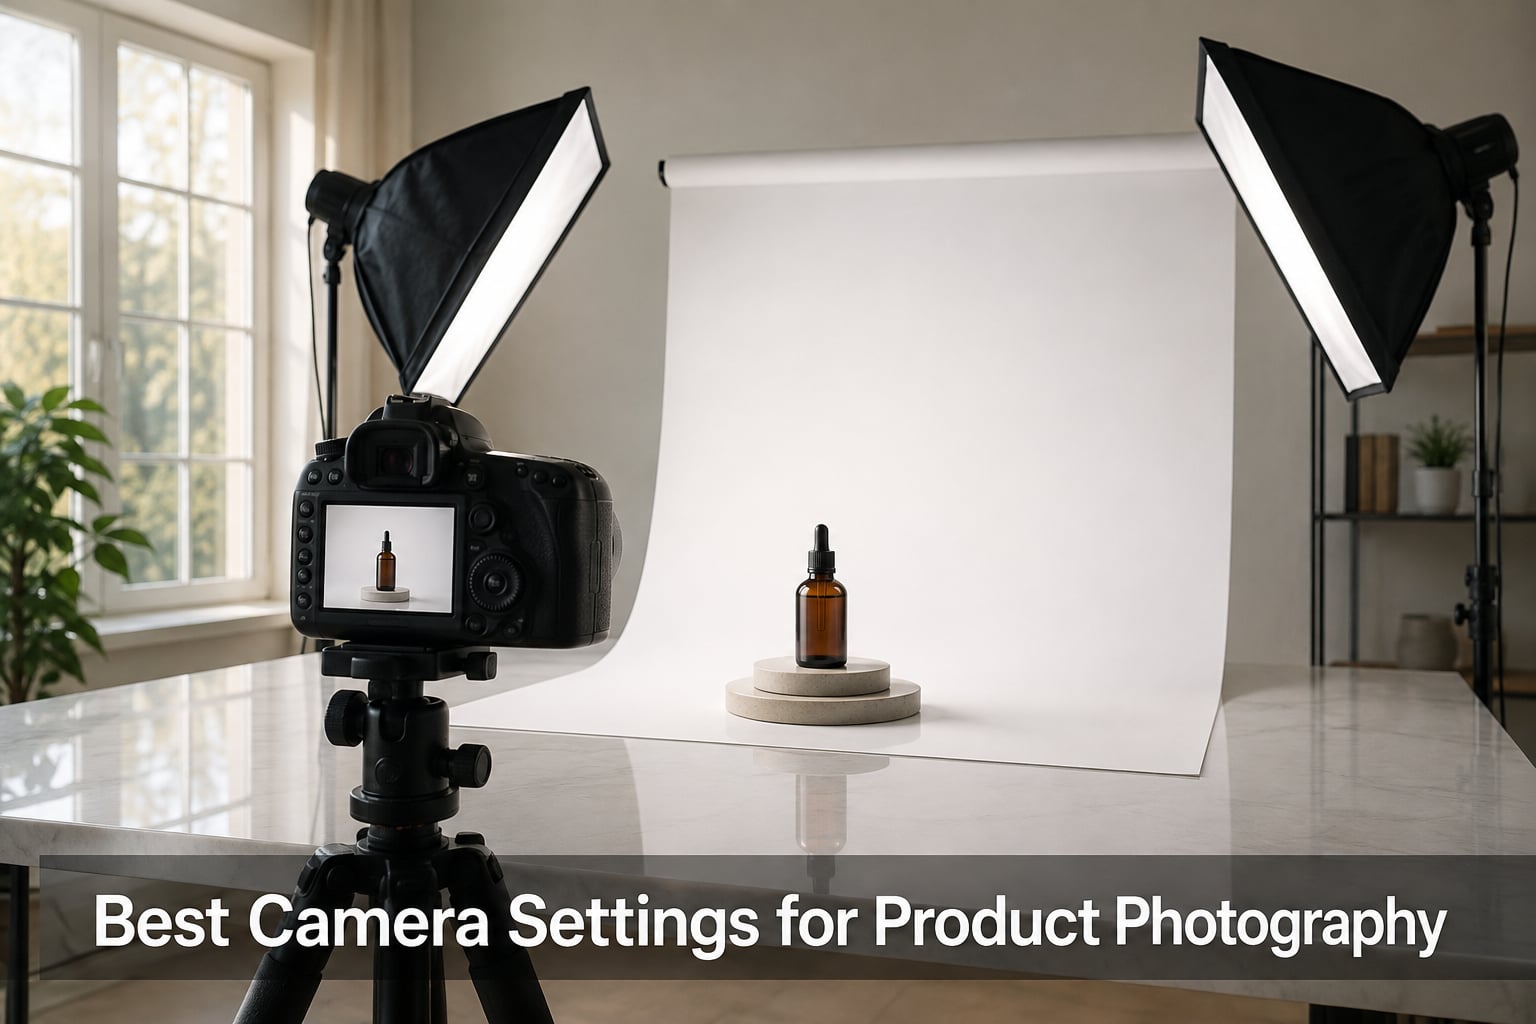
When I first started photographing products for my wife’s Etsy shop, my shots looked like snapshots, not sales. The breakthrough came when I dialed in the right camera settings for product photography and stopped letting the camera guess for me. Three years and thousands of listings later, I’m sharing the exact configuration I use on every shoot.
If you want crisp, color-accurate product images that build buyer trust, the right camera settings are non-negotiable. This guide breaks down the exposure triangle, aperture sweet spot, ISO ranges, shutter speeds, file formats, and white balance settings used by professional e-commerce photographers. You’ll also get a settings cheat sheet tailored to different product types plus a section on smartphone setups if that’s your starting point.
Save this page before your next shoot, and check our 15 Creative Product Photography Ideas for inspiration on shots after your settings are dialed in.
Before we dive deep, here is the configuration I dial in on roughly 80 percent of my product shoots. Copy these camera settings for product photography and you will get sharp, well-exposed, color-accurate images on the first try.
This baseline gives you tack-sharp images with full depth of field across the product. We will unpack each setting below.
The exposure triangle is the relationship between aperture, ISO, and shutter speed. Together, they control how bright or dark your image looks. In product photography, you also use them to control sharpness, depth of field, and noise, which is why dialing them in manually is essential.
Aperture controls how much light enters the lens and how much of the scene is in focus. ISO controls how sensitive the sensor is to that light. Shutter speed controls how long the sensor is exposed. Changing one usually means adjusting another to maintain the same overall exposure. Manual mode lets you lock all three in place so every shot in your series looks identical.
Skip the Auto or Program modes for your hero shots. They will shift exposure between frames and ruin the look of a consistent product gallery. Lock the camera down, lock the settings, and you are shooting like a pro.
Aperture is the opening inside your lens that lets light hit the sensor. Wider apertures (f/1.4, f/2.8) let in more light but reduce depth of field. Narrower apertures (f/8, f/11) let in less light but keep more of the scene sharp from front to back.
For most product photography, you want the entire product in focus from the closest edge to the farthest. That is why I shoot at f/8 to f/11 almost every time. At these apertures, a 50mm prime or 100mm macro will keep everything sharp while still rendering backgrounds pleasantly soft.
Avoid f/1.8 to f/4 unless you are going for an intentional shallow depth-of-field effect. Otherwise, parts of your product will fall out of focus and look soft. Also avoid f/16 and higher. Beyond f/11, most lenses lose sharpness due to a phenomenon called diffraction softening.
For very small products like jewelry, you can push to f/11 or even f/16 if you need extra depth. For larger items like furniture, f/5.6 may be enough if your subject is mostly flat to the camera.
ISO is the sensor’s sensitivity to light. Lower ISO values (100, 200) produce cleaner images with less digital noise. Higher ISO values (800, 1600, 3200) brighten your image but introduce visible grain and color speckles that look ugly in product shots.
For product photography, always use ISO 100 whenever possible. ISO 200 is fine if your camera does not have a native ISO 100 option. Anything above ISO 400 will start to show noise, especially in shadow areas, and you will spend forever trying to clean it up in post.
Reviewers on Reddit’s r/photography confirm the same approach. Low ISO, paired with controlled lighting, gives the cleanest, most professional results. If your images look grainy, your ISO is too high or your light is too weak.
When shooting outdoors with bright daylight, ISO 100 plus f/8 plus 1/125 will give you a clean, well-exposed shot. Indoors with strobes or continuous LEDs, you control the light, so ISO 100 stays in play.
Shutter speed is how long the sensor is exposed to light. For product photography, you almost always want between 1/125 and 1/250 second. This range is fast enough to freeze any tiny camera movement and is the standard sync speed for most studio flash units.
When I shoot with strobes, I stay at 1/125 to 1/160 to stay under the flash sync limit. When I shoot with continuous LED panels, I can push to 1/200 or 1/250 for extra crispness. Anything slower than 1/100 invites motion blur from accidental nudges, mirror slap, or shutter vibration, even on a sturdy tripod.
You will rarely need anything faster than 1/250. Products do not move. The trick is keeping the camera still and the shutter speed in this narrow range for maximum sharpness.
Use the 2-second self-timer or a wired remote release. Pressing the shutter button directly introduces vibration that softens your image, especially at slower shutter speeds.
JPEG is a compressed, processed file that throws away a lot of the data your sensor captured. RAW is an uncompressed file that preserves everything the sensor saw, including highlight and shadow detail, color information, and white balance metadata you can adjust later.
For product photography, always shoot RAW. You will pull more detail out of highlights and shadows when editing. You can fix color casts that are nearly impossible to correct in JPEG. You will also have far more flexibility if you need to swap a white balance later.
If file size is a concern, shoot RAW plus JPEG as a backup. The JPEG lets you quickly share previews while the RAW file waits in your archive for serious editing.
Set your camera to the highest quality RAW setting (14-bit if available, otherwise 12-bit). Lossless or compressed RAW is fine. Avoid lossy compressed RAW unless storage space is critical.
White balance tells your camera what should look neutral white in your scene. Get it right, and product colors look true to life. Get it wrong, and a cream-colored shirt looks yellow, a red mug looks orange, and you ship products that do not match the listing.
For the most accurate color, set a custom white balance every time your lighting changes. Place a neutral gray card (or a white piece of paper) in the scene under your actual lighting, fill the frame with it, then use your camera’s custom white balance tool to lock it in.
If you do not have a gray card, dial in Kelvin manually. Daylight is roughly 5500K. Tungsten lights are around 3200K. Overcast skies run closer to 6500K. Flash is close to daylight, around 5500K. Match the Kelvin to your source for a neutral starting point.
For the most color-critical clients like watches, supplements, and fashion, invest in a color checker passport. Photographers in product-focused forums on Reddit consistently recommend it as the cheapest insurance against color-related returns.
Every product category has its own personality. Jewelry reflects light everywhere. Glassware shows what’s behind it. Clothing wrinkles under its own weight. Tailor your camera settings for product photography to the subject.
For shiny or reflective items like jewelry, watches, and electronics, use f/11 for extra depth of field and a larger light source to control reflections. A 100mm macro lens works beautifully here. Polarizing filters also help tame glare.
For glassware and transparent items, backlighting plus a white background is the trick. Shoot at f/8 to f/11 with the light behind the subject and a softbox or reflector in front to fill the shadows.
For clothing and textiles, shoot flat lay or on a mannequin at f/8 with ISO 100 and a custom white balance. Use a steamer right before the shot to remove wrinkles.
For furniture and larger items, f/5.6 to f/8 is usually enough depth. Move the light source further away to keep it soft over a larger area. Use a wider lens like a 50mm prime to fit everything in frame.
Lighting matters more than camera gear. You can take incredible shots with a basic DSLR and a good light, and you can take terrible shots with a flagship camera and bad light.
Natural light works well for lifestyle product shots. Place your product near a large window with indirect light. Avoid direct sun, which creates harsh shadows. A north-facing window gives the most consistent, soft light throughout the day.
Continuous LEDs give you full control indoors and let you preview exactly what your image will look like. Softboxes and strip lights spread the light evenly across the product, eliminating hot spots. Two-light setups with a key light and a fill light are the standard for catalog work.
Strobes and speedlights give the most power and freezing action. They sync at 1/125 to 1/250 second depending on your camera. Softbox-mounted strobes are the workhorse of most product studios.
For DIY setups, build a lightbox from white foam board or a translucent plastic storage tub. Cut a window in the side, place your LED panel or daylight-balanced bulb outside, and shoot through the front opening. It is cheap and surprisingly effective for small items.
A sturdy tripod is the single most underrated piece of product photography equipment. It locks your camera in place between shots, keeps your framing consistent across a series, and frees you to adjust lighting and styling without disturbing composition.
Pair your tripod with a remote shutter release or the camera’s self-timer. This eliminates shake from pressing the shutter button. Turn off image stabilization when the camera is on a tripod; it can actually soften images when there is no movement to stabilize.
Shoot each product from multiple angles: front, three-quarter, side, back, top down, and one detail close-up. Buyers want to see exactly what they will receive. The more angles you provide, the fewer surprises and returns you will have.
For composition, the rule of thirds still applies. Place key details along the third lines rather than dead center for more dynamic shots. Leave breathing room around the product. A little negative space lets the item stand out.
For style ideas beyond the basics, our Creative Product Photography Ideas gallery is full of setups worth borrowing.
Modern phones can absolutely produce commercial-quality product images when dialed in. The controls are buried but they are there.
Open your camera app and switch to Pro or Manual mode (most Android phones and recent iPhones have it). Lock ISO to its lowest value, usually 50 or 100. Set white balance to match your lighting. Focus manually by tapping on the product and sliding the focus distance if your app supports it.
Use a small phone tripod with a Bluetooth remote or the self-timer. The phone has no mechanical mirror, but it still introduces tiny vibrations when you tap the screen.
Shoot in RAW if your phone supports it. iPhone 12 Pro and newer, plus many flagship Android phones, can shoot ProRAW or DNG. RAW files give you the same editing flexibility as a dedicated camera.
For specific jewelry work, our Jewelry Photography Ideas guide covers phone-friendly lighting setups that cost almost nothing.
Most product photography problems trace to one of three issues: wrong aperture, wrong ISO, or mixed lighting. Here is how to fix the headaches our readers run into most often.
Grainy or noisy images: Your ISO is too high. Drop it to 100 and add more light to compensate. Open the aperture by one stop (f/8 to f/5.6) or slow the shutter to 1/60 if you must.
Soft, blurry images: Your shutter speed is too slow or your tripod is moving. Bump shutter to 1/125 minimum and use a remote release.
Colors look wrong: Your white balance is off. Set a custom white balance using a gray card. If you already shot RAW, fix it in post with the white balance eyedropper.
Reflections and glare on shiny products: Your light is too small or too close. Move it further away or use a larger diffuser between the light and the subject. Tilt the product slightly to redirect reflections.
Inconsistent results across a batch: You are probably shooting in semi-auto mode. Switch to full Manual and lock every setting. Also check that your lighting setup has not shifted between shots.
For more on staying current with gear and technique, our Camera Trends guide tracks what is changing in 2026 and beyond.
Neither is ideal. f/8 to f/11 is the product photography sweet spot because it keeps the entire product sharp from front to back. f/2.8 and f/4 are too shallow and parts of your product will fall out of focus.
The big three are aperture, ISO, and shutter speed. Together they form the exposure triangle and determine how bright, sharp, and noise-free your image will be. Master all three and you control every exposure decision.
f/8 to f/11. This range gives you sharp focus across the entire product while staying inside your lens’s sharpest optical zone. Go to f/16 only for very small items like jewelry where extra depth is critical.
The 400 rule helps calculate the slowest handheld shutter speed before blur from camera shake. Divide 400 by your focal length. For a 50mm lens that is 8 seconds, but for product photography always use a tripod and stay at 1/125 or faster.
Manual mode, ISO 100, aperture f/8 to f/11, shutter speed 1/125 to 1/250, RAW format, custom white balance, and a sturdy tripod with remote release. This combination gives sharp, color-accurate, noise-free results.
The right camera settings are the foundation of every great product shot. Once you lock in Manual mode, ISO 100, f/8 to f/11, 1/125 to 1/250, RAW, and proper white balance, you stop fighting your gear and start focusing on styling, lighting, and composition.
Bookmark the quick-start settings above and use them as your baseline. Adjust aperture and lighting based on what you are shooting, but keep the rest locked. Practice on five products this week and you will see the difference in image quality within the first batch.
For more advanced techniques and gear reviews to pair with these camera settings for product photography, explore the rest of our photography guides.