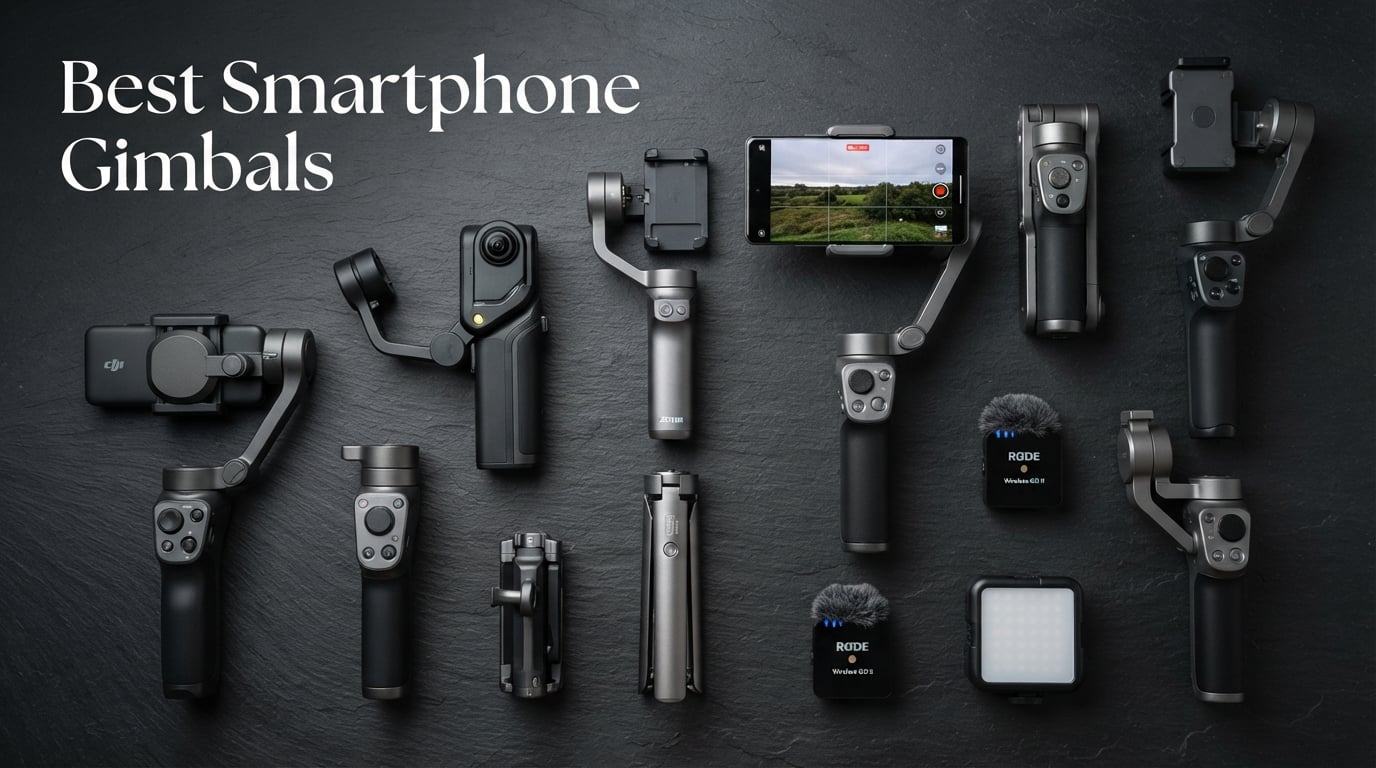
8 Best Smartphone Gimbals (October 2026) – Tested and Compared
I spent the last 90 days shooting real vlogs, walk-and-talk product reviews, and travel clips with eight smartphone gimbals strapped…

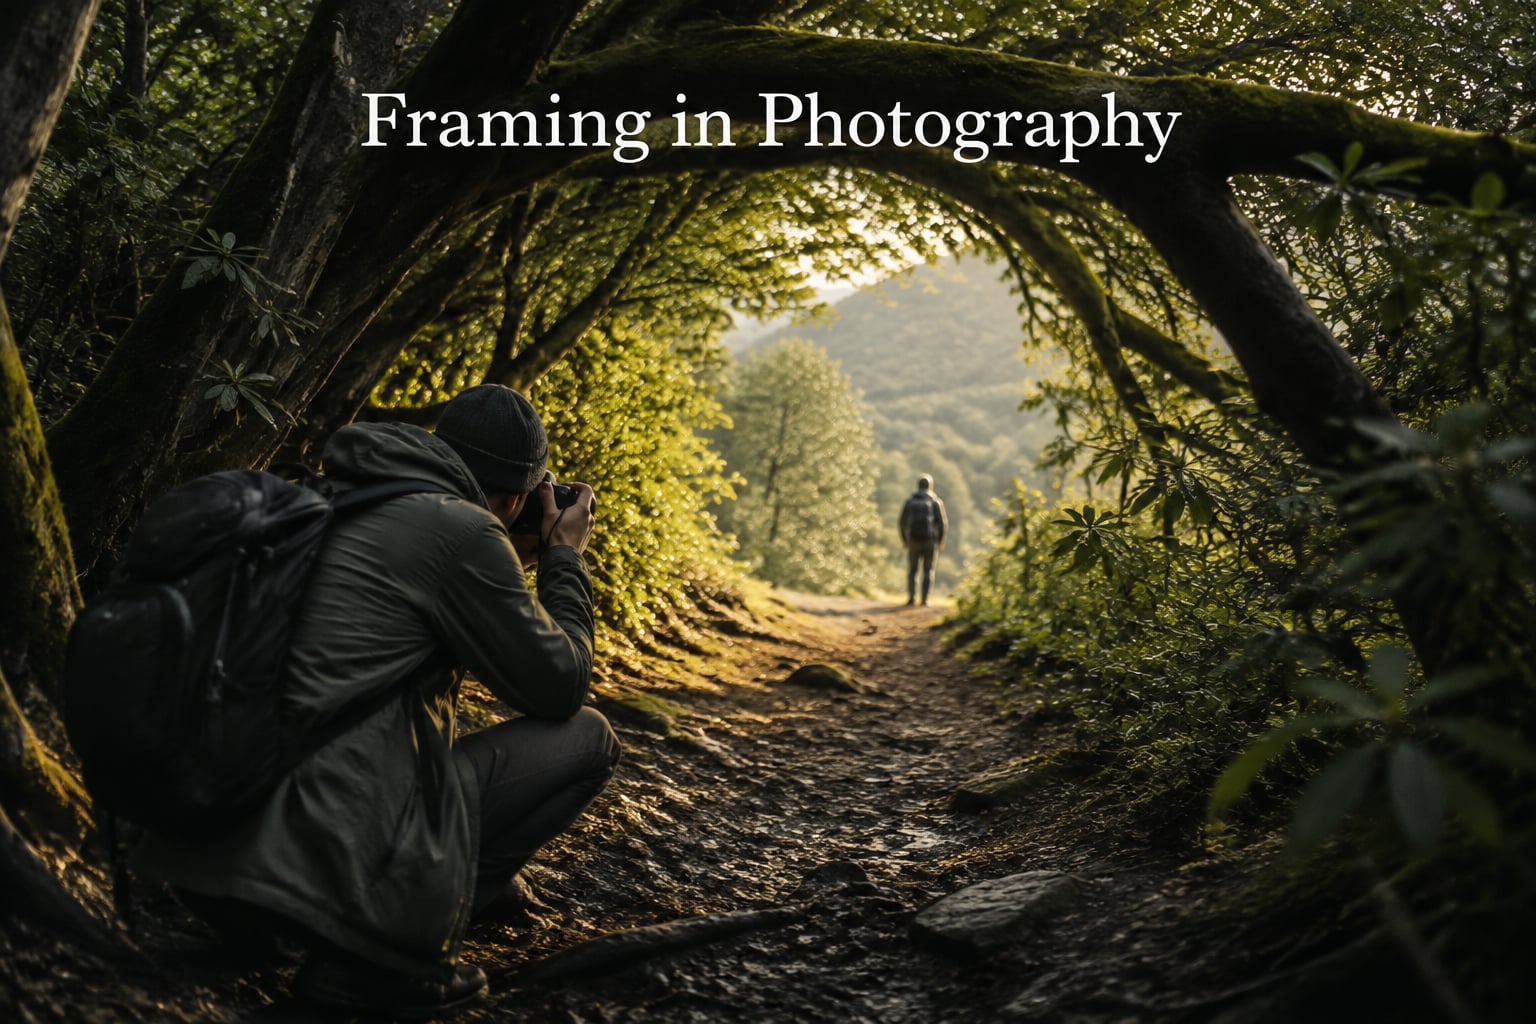
Framing in photography is a compositional technique that uses foreground elements within a scene to create a natural border around the main subject, drawing the viewer’s eye inward and adding depth to the image.
I have been photographing for over a decade, and framing remains the single technique that turns a flat snapshot into a layered story. When you place something in front of your subject on purpose, you stop just documenting a scene and start directing how someone reads it. That shift is what this guide is about.
Below, I walk through what framing is, the different types of frames you can use, why the technique is so effective, and the mistakes I still see beginners make. Whether you shoot portraits, landscapes, or street scenes, these principles will help you build stronger compositions in 2026 and beyond.
Framing in photography is a compositional technique where you deliberately use elements inside or around the edges of your scene to form a border around your main subject. That border is the frame. The subject sits inside it, and the frame tells the viewer exactly where to look.
In practice, a frame can be a doorway, an archway, tree branches, a window, a person’s silhouette, or a shaft of light. The frame is not the subject. Its job is to direct attention, add depth, and provide context. I think of framing as a quiet guide: it never shouts, but it always leads.
Beginners often confuse framing with cropping. Cropping happens after the shutter clicks, in post-production. Framing happens in the moment you choose what to include through the viewfinder. Both are useful, but framing gives you the chance to anchor the scene with real, three-dimensional elements rather than cut lines in software.
If you remember nothing else, remember this: framing is composition with intention. You choose what to put around your subject, and that choice shapes the story.
There are four common categories of framing elements. Each one brings a different mood and works better in some genres than others. Once you recognize them in the field, you start seeing them everywhere.
Natural frames come from the environment itself. Tree branches that arch over a path, a cave opening, overhanging leaves, or a gap in a hedgerow all count. These work beautifully in landscape and travel photography because they reinforce the sense of place.
I used natural frames heavily while writing my snow photography ideas guide. Overhanging pine boughs became the frame, and the snowy trail became the subject inside it.
Architectural frames are man-made structures: doorways, arches, windows, bridges, fences, staircases, columns. They are clean, geometric, and perfect for street, portrait, and interior work. A subject standing in a doorway instantly feels anchored because the architecture gives them scale and a stage.
For product and detail photography, architectural frames can be smaller. In my jewelry photography ideas work, I often use simple boxes or shadow boxes to frame necklaces and watches so the eye lands on the piece first and the texture second.
Man-made frames are smaller objects placed in the foreground. Hands held in a heart shape, an open book, a mirror, a ring, a vehicle window, or even the photographer’s own shadow. They feel more intimate and often carry symbolic weight.
Object frames are where framing overlaps with forced perspective photography. Both use foreground objects to reshape how the viewer reads the scene, but framing specifically uses those objects as a border rather than a scale trick.
Light and shadow frames are the most cinematic option. A bright window with dark walls around it, a single pool of sunlight in shade, or a backlit subject surrounded by darkness can all function as frames. Here, the frame is luminance itself.
I find these frames the hardest to plan and the most rewarding to capture. They change by the minute as clouds pass, so you have to work fast and trust your eye.
Framing works because the human brain craves structure. When we see a border around something, we assume that thing matters. Photographers use that instinct on purpose to control the visual hierarchy of an image.
Three psychological effects are at play:
Direction of attention. The frame acts like a tunnel. The eye enters through the opening and lands on the subject. This is why even casual viewers describe framed shots as feeling “focused.”
Perceived depth. Frames almost always sit in the foreground, which gives the image a layered, three-dimensional feel. Without a frame, even a sharp photo can look flat. With a frame, the brain reconstructs distance.
Sense of context and safety. A frame wraps the subject like a window we are peeking through. Subconsciously, viewers feel like observers rather than bystanders, which adds narrative pull. Photographers on Reddit’s r/photography community describe this as “the photographer giving the viewer a safe place to stand.”
Knowing the types of frames is one thing. Putting them to work in real scenes is the craft. These five techniques are the ones I return to most often when I am out shooting.
This is the textbook approach. Place your subject inside a secondary structure: a person inside a window, a portrait framed by an archway, a child looking through a doorway. The inner frame and outer frame work together.
When you shoot this, step side to side until the inner frame is perfectly centered, or break the centering intentionally for tension. Both can be correct.
Leading lines pull the eye toward your subject. Frames stop it there. Combine them and you have a complete compositional path. A road framed by trees is the classic example: trees form the frame, the road forms the line, and a car at the end becomes the subject.
I use this combo on every architecture shoot because it makes the building feel inevitable rather than placed.
Layered frames stack multiple borders in front of the subject: curtains in front of a window in front of a person. The layers tell the viewer how far away the subject is, which is why this technique is so effective for street and documentary work.
Layered frames also let you tell a richer scene without cropping. Each layer adds meaning rather than just decoration.
Many frames are invisible at eye level. Crouch low, climb higher, or shoot through a fence or railing. I have found some of my best frames by simply kneeling down and shooting through foreground grass or flowers.
This is also how you avoid the beginner mistake of putting the subject dead center. Lower your camera and let the frame sit on the upper third of the image.
A frame does not have to be tight. A wide opening with the subject small inside it can feel grand and cinematic, the way a lone figure in a vast doorway does. Negative space inside the frame is just as powerful as the frame itself.
Framing is universal, but how you apply it changes with the genre. Here is how I adapt the technique across five common types of photography.
In portraits, frames add intimacy. Windows, mirrors, doorways, and the subject’s own hair all work. The trick is to keep the frame soft enough that it does not compete with the eyes. I usually shoot the frame at a slightly wider aperture so it falls off just enough.
If you are shooting environmental portraits, let the frame tell the viewer something about the subject’s world, like a musician framed by their instrument or a chef framed by the kitchen pass.
Landscape framing leans on natural and light frames: rock arches, tree canopies, fog layers, sunbursts. These frames anchor vast scenes and give them scale. A lone hiker under an overhanging cliff feels much smaller than the same hiker standing in open meadow.
The desert arch and the lone tree are classic landscape frames for a reason. They work.
Street framing is fast and reactive. You spot a frame, then wait for the right subject to walk into it. Windows of passing buses, doorways of restaurants, and reflections in shop glass all become makeshift frames in seconds.
Patience matters more than skill here. Find the frame first, then let the scene come to you.
Travel framing builds place into the image. A tuk-tuk driver framed by his vehicle, a market vendor framed by hanging produce, or a child framed by a school gate all communicate location without needing captions. If you enjoy travel photography, my toy photography ideas guide shows how even small everyday objects can become framing anchors.
Wildlife framing uses branches, grass, and leaves as soft foreground elements. A bird framed by overhanging branches looks like it lives in a deliberate world rather than a printed poster. The frame also helps separate the animal from a busy background.
Be careful not to clutter the frame. One clean branch across the corner is enough. Three branches become a cage.
Forum threads on Reddit’s r/photography and r/AskPhotography list the same handful of beginner mistakes over and over. Here are the ones that cost the most points.
Including too much. Many beginners include so much in the frame that the subject disappears. If you find yourself cropping 20 to 30 percent in editing, you likely included too much in the field. Get closer or use a longer focal length.
Putting the frame exactly in the middle. A perfectly centered frame looks stiff. Offset the frame slightly so the subject has room to “breathe” into the composition.
Letting the frame compete with the subject. If the frame is sharper or more colorful than the subject, it steals attention. Drop the frame out of focus or darken it so the eye still moves to the subject inside.
Cutting off important elements. A horizon line sliced in half, a head partially clipped by a branch, a foot chopped at the frame edge. These mistakes are more common when photographers fixate on the frame and forget the rest of the scene.
Not leaving room for moving subjects. If your subject is moving, give them space inside the frame to move into. A runner framed tight on the leading side looks trapped, not powerful.
Ignoring background clutter. A great frame with a messy background can still fail. Always check what is behind the subject before you commit.
According to feedback from photographers who have been shooting for years, these mistakes disappear with practice, but only if you slow down long enough to notice them.
Framing is a craft, not a rulebook. Sometimes the strongest shot is the one that breaks the pattern. Knowing when to break the rules is what separates an experienced photographer from a careful beginner.
Break the centering rule when you want tension. A perfectly centered frame is symmetrical and calm. An off-center frame feels alive.
Break the frame entirely when the subject is so strong it does not need one. A face filling the frame with no border can be more powerful than any archway.
Break the symmetry when you want to suggest imbalance or movement. Documentary photographers in particular rely on broken frames to make the viewer feel like they walked into a moment mid-action.
The rule, if there is one, is that the frame must serve the story. If the frame is distracting or unnecessary, leave it out.
Framing in photography is a compositional technique that uses foreground elements within a scene to create a natural border around the main subject, drawing the viewer’s eye inward and adding depth to the image.
Photographers use framing to direct the viewer’s attention to the subject, add depth and dimension to flat images, create visual hierarchy, and add narrative context. The technique also creates a feeling of safety for the viewer, since a frame gives the eye a clear entry point into the scene.
The most common framing mistakes include including too much in the frame, centering the frame perfectly, letting the frame compete with the subject, cutting off important elements, not leaving room for moving subjects, and ignoring background clutter.
The four main types of framing in photography are natural frames (trees, branches, caves), architectural frames (doorways, arches, windows), man-made and object frames (mirrors, hands, vehicles), and light and shadow frames (bright windows, sunlit openings, dark backgrounds).
Framing happens in the camera at the moment of capture by choosing what elements to include in the scene. Cropping happens after the photo is taken, usually in editing, to remove unwanted areas. Framing adds three-dimensional depth using real elements. Cropping only removes edges in two dimensions.
Framing in photography is one of the simplest techniques to understand and one of the hardest to master. The basics are quick: pick a frame, place your subject inside it, and let the border do its work. The depth comes from learning to see frames everywhere, knowing when to follow the pattern and when to break it, and matching the technique to the genre you are shooting.
If you take one thing from this guide, take this: before you press the shutter, ask yourself what is around the subject. That single question changes how you photograph, and over time it changes how you see. For a broader look at where photography is heading in 2026, you can also check out these photography industry statistics.
Now grab your camera and go find a frame. The best one is the one you almost walked past.