Maven CM1 8×32 Review: Premium Compact Monocular 2026
After 45 days of extensive field testing, the Maven CM1 8x32 stands out as a premium compact monocular delivering exceptional…

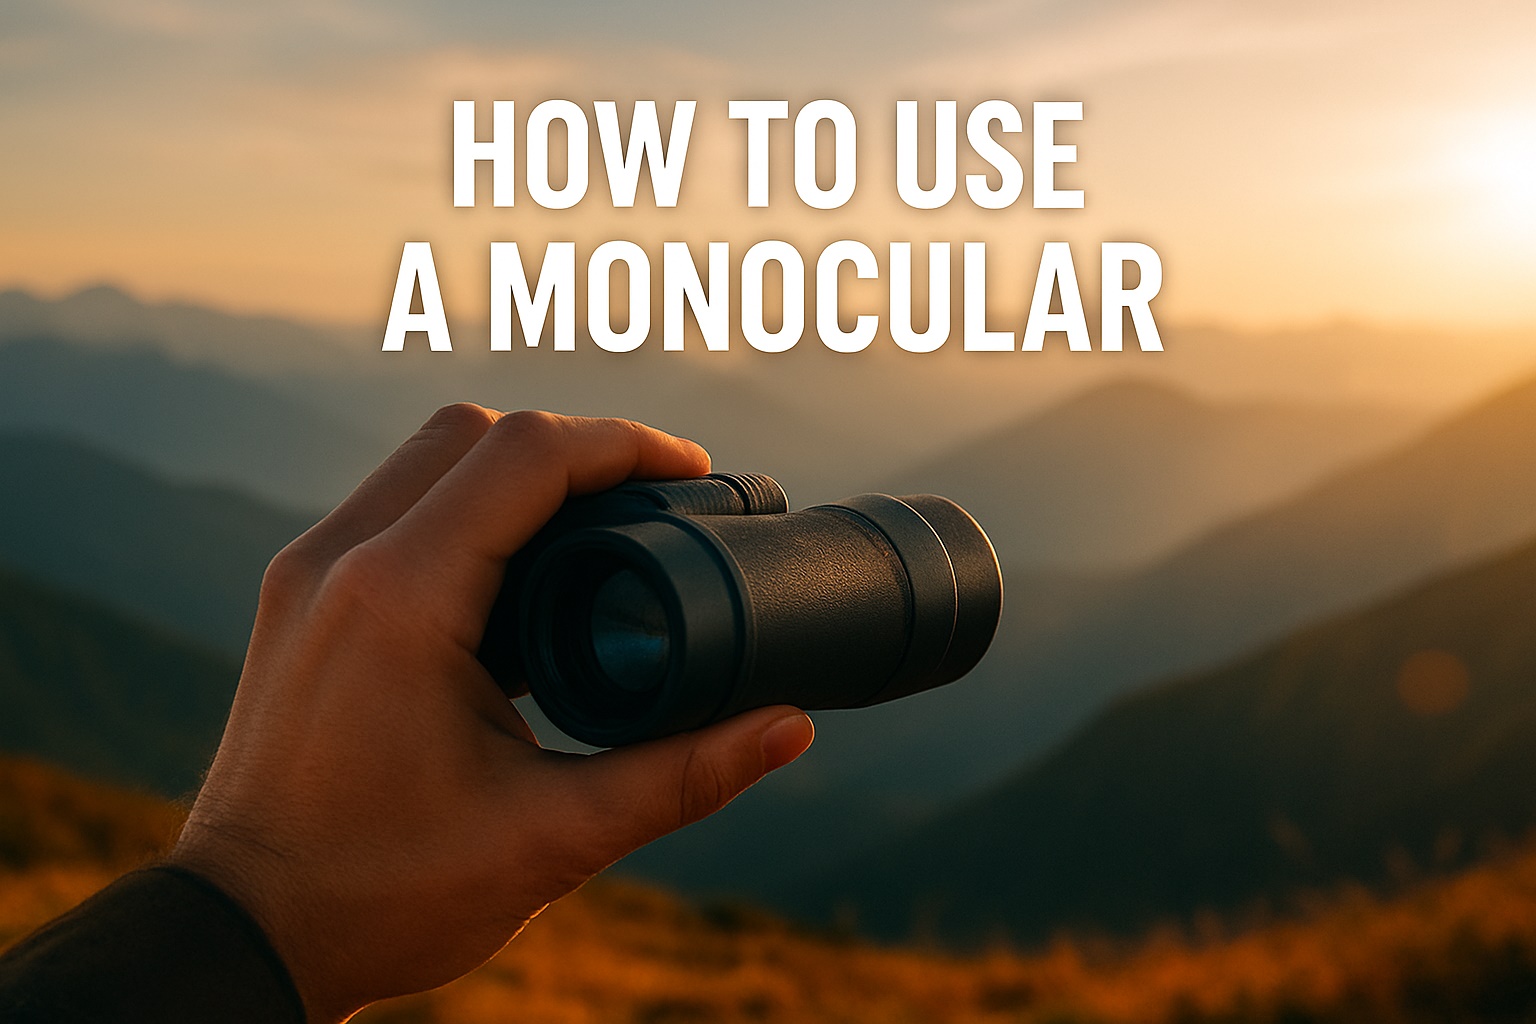
Pick up a modern monocular in 2026 and you are holding roughly half a century of optical refinement in one hand. Today’s pocket-sized scopes ship with BAK4 prisms, dielectric coatings, and ED glass that rivals the performance of binoculars three times their size. Yet most new owners still fumble with shaky views, black rings around the image, and eye fatigue within minutes of looking through the eyepiece.
The gap between owning a monocular and actually using it well comes down to technique. After guiding hundreds of birders, hunters, stargazers, and concert-goers through their first months with a monocular, I can tell you the same handful of habits separates the frustrated beginners from the people who pull a steady, tack-sharp view in any condition. None of those habits require special talent. They only require learning the right sequence, in the right order, with the right expectations.
This step-by-step guide gives you that sequence. You will learn the parts of a monocular, how to hold it for a steady view, how to focus quickly, and how to adapt the technique to glasses, smartphones, image-stabilized models, and digital or night-vision units. Whether you just unboxed your first scope or have been struggling with one for a while, the next few thousand words will get you to a place where the optics feel like an extension of your own eyes. For help picking the right model in the first place, our best monocular roundup is a good companion read.
If you have never used a monocular before, work through these six steps in order. They are the same sequence vision specialists, birders, and optics instructors use to get new users from “I can see a blurry blob” to a clean, focused image in under a minute.
Once these six steps feel automatic, the rest of this guide adds the nuance that turns a beginner into a confident observer.
Before working on technique, take a minute to learn the parts you are handling. A monocular is essentially half a binocular, built from the same core optical path. The large lens at the front is the objective lens, which gathers light from the scene. The smaller lens you press to your eye is the eyepiece, which magnifies the focused image. Between them sits a focusing mechanism (almost always a center focus wheel on modern models) and an internal prism that flips the inverted image right-side up.
The numbers stamped on the body tell a precise story. A monocular marked “10×42” means 10x magnification with a 42mm objective lens. The first number controls how much closer the image appears; the second controls how much light the scope can collect. Higher magnification makes distant objects appear closer, but it also narrows the field of view and amplifies every tiny hand tremor, which is why ultra-high power scopes are hard to use handheld.
Inside the body, you will find one of two prism designs. Roof prisms (used in straight-barrel monoculars) keep the optical path in line with the body, producing the slim, pocket-friendly shape most people picture. Porro prisms offset the objective lens from the eyepiece, which makes the body wider but often gives a slightly deeper, more three-dimensional image. Both work well, and which you own mostly affects grip and balance.
Modern monoculars also rely heavily on three pieces of optical technology that have become standard since roughly 2020. ED (extra-low dispersion) glass reduces color fringing around high-contrast edges, which is especially noticeable when viewing treetops against bright sky. BAK4 prisms transmit more light than the older BK7 glass, giving you a brighter image and a cleaner, rounder exit pupil. Dielectric coatings on the prism surfaces reflect over 99 percent of light through the system instead of absorbing it, which translates to noticeably brighter, more color-accurate views in low light. Fully multi-coated lenses on top of that stack push total light transmission above 90 percent in premium models.
Look for physical features that change how the monocular feels in your hand. Rubber armor protects against drops and improves grip in wet conditions. Twist-up or fold-down eyecups are essential if you wear glasses. A tripod socket on the underside gives you a stability upgrade for long observation sessions. Waterproofing and nitrogen or argon purging prevent internal fogging when you move between temperature extremes.
Pull the monocular out of its case and check that every lens cap is off. New users almost always forget the front objective cap and spend their first minute wondering why they are staring into darkness. Pocket the caps right away. You will need them again as soon as you finish viewing.
Give the lenses a quick clean before first use. A rocket-blower or soft lens brush knocks off loose dust, then a microfiber cloth with a tiny breath of condensation wipes away smudges in slow, circular motions from the center of the lens outward. Skip your shirt, paper towels, or facial tissues. The wood fibers in paper products and the grit embedded in fabric can permanently scratch the multi-coatings that make the image clear in the first place.
Adjust the eyecup before you raise the monocular to your eye. If you wear glasses, twist the eyecup down or fold it flat. The goal is to maintain a working distance of roughly 14 to 17 millimeters between your cornea and the eyepiece lens, known as the eye relief. Without glasses, twist the eyecup up to its fully extended position. The wrong setting causes the black tunnel effect called vignetting, where the edges of the image go dark and your usable field of view shrinks.
Attach the neck strap or wrist strap before you do anything else. A surprising number of monoculars end their lives in the first month because the owner dropped them while reacting to a sudden wildlife sighting. Thread the strap through the factory loops and adjust it so the monocular sits at chest height when you stand relaxed. That way it is ready to swing up to your eye in one motion without flopping around.
Handshake is the most common complaint from new monocular users, and it shows up worse in a monocular than in binoculars because you are balancing the entire weight on a single arm. Unlike a binocular, which spreads its mass across both hands, a monocular demands a deliberate grip and a steady base.
Start with the standard three-point grip. Wrap your fingers loosely around the barrel with your index finger resting near the focus wheel on top. Support the body from below with your thumb. The remaining two or three fingers wrap to the opposite side. The grip should feel like you are holding a small bird, firm enough to control, light enough that your hand is not visibly shaking from tension.
Brace the monocular against your face for an instant stability boost. Rest the heel of your hand against your cheekbone, or rest your thumb lightly against the bridge of your nose. This creates a direct mechanical link between the monocular and your skull, so the only shake left is from your heartbeat. Many experienced observers find that the nose-brace technique is the single biggest improvement they make in their first month.
Keep your non-viewing eye open during the search phase. Two open eyes reduces eye strain, gives you peripheral awareness of your surroundings, and helps you maintain the spatial sense that closing one eye tends to disrupt. Once you have located and focused on a target, you can close the non-viewing eye for longer observation if it helps you concentrate. Train yourself to switch back and forth without re-aiming.
When you need an even steadier view, lean into the environment. A tree trunk, a doorframe, the roof of a vehicle, a fence rail, or a set of stone steps all give you a second or third contact point. Seated observers can rest their elbows on their knees, which is often more stable than a standing brace. In wide open terrain, even crossing your free arm over your supporting arm and gripping your own elbow adds a noticeable reduction in shake.
If you are willing to invest in accessories, a small tabletop tripod or a monopod transforms a monocular. With a monopod planted between your feet or against a rock, even a 12x or 15x monocular becomes as steady as a spotting scope. Image stabilized monoculars, which use internal gyros or electronic stabilization, are the premium answer: they cancel out most hand jitter and let you hold 10x or 12x steady from a standing position, at the cost of higher price and slightly heavier weight.
Focusing a monocular is a one-eyed version of focusing a binocular, but the single-eyepiece design makes precise focus more important. Start by pointing the monocular at a distant subject at least 50 feet away. Distant targets give you a wide focusing range and make the focal sweet spot easier to find.
Close your non-viewing eye, look through the eyepiece, and rotate the focus wheel slowly. Most monoculars turn clockwise for far focus and counterclockwise for near focus, but the direction is not universal, so trust what your eye tells you rather than the convention. Slow rotation matters: rapid spinning often sweeps past the sharp point so quickly that your brain registers it as soft focus and stops searching.
Pick a high-contrast edge as your focus reference. A roofline against the sky, the edge of a distant sign, or a single tree branch against a pale cloud are all excellent targets. Soft, textureless areas like open sky or blank walls are difficult to judge. The moment the edge snaps to a thin, dark line is the moment you have found correct focus.
Bracket the focus to dial it in. Rotate slightly past the point of clarity, then back the other way until the image pops sharp. This overshoot-and-return technique removes the brain’s tendency to fill in a slightly soft image and accept it as focused. After you think you have it, look away for two seconds, then glance back. If the image has gone soft again, the focus was not quite centered.
Refocus every time your target distance changes significantly. Monoculars are not focus-locked the way some cameras are, and the focus wheel position for a bird 30 feet away will be wildly different from the position needed for a treeline 200 yards out. With practice, your fingers learn the rough number of turns between common distances, and refocusing becomes nearly subconscious.
Once the basics feel automatic, a few intermediate techniques turn casual viewing into genuinely productive observation. These methods work for any monocular, but they matter most in the field, where lighting, distance, and subject movement are constantly changing.
The anchor and pivot method is the cleanest way to scan a wide area. Plant your feet shoulder-width apart, lock your elbows against your ribs, and rotate at the waist while keeping your head and the monocular as a single unit. This converts your body into a slow, controlled panning head and eliminates the small jerks that come from trying to scan with your arm alone. Birders and stadium spectators rely on this to track movement across long sightlines.
Predictive tracking beats reactive tracking almost every time. Instead of chasing a moving subject with the monocular, anticipate where it is going and aim slightly ahead of its path. Let the subject glide into your field of view. This works for birds in flight, cars on a distant road, sailboats crossing a bay, and even soccer players moving down a field. The technique reduces both arm fatigue and the lag that always shows up when you react to movement.
Use naked-eye reference points to find targets faster. Spotting something far away with a monocular is hard because the magnified view is a tiny window onto a tiny piece of the world. Instead, locate a major landmark with your bare eyes (a tall tree, a distinctive rooftop, a bend in a trail), find that landmark through the monocular first, then steer toward your target from there. Experienced observers can acquire a target in two or three seconds using this method.
Train the quick draw motion for spontaneous wildlife. Practice lifting the monocular from chest height to your viewing eye in a single smooth arc, with both eyes open and your gaze already locked on the subject. Done correctly, the target will appear centered the moment the eyepiece reaches your eye. The trick is to keep your eye on the target during the lift instead of looking at the monocular on its way up.
For low-light viewing, give your eyes 10 to 15 minutes to dark-adapt before raising the monocular. Use averted vision: aim the monocular slightly off the part of the scene you actually want to see, because the rod cells at the edges of your retina are far more light-sensitive than the cones at the center. Avoid any bright light source during viewing, including phone screens, since a single flash can reset your dark adaptation in seconds.
Smartphone adapter viewing is now a standard technique worth learning. A universal monocular smartphone adapter clamps your phone to the eyepiece, turning the monocular into a digiscoping lens that can capture photos and video of distant subjects at the monocular’s full magnification. To use one well, center your phone’s camera lens over the eyepiece, open the camera app, then tap to focus. Adjust the adapter’s clamp until the image fills the frame without vignetting, and brace the entire rig against a tree or your body to control shake. Adapters cost far less than a dedicated phone-compatible scope and let you share or document what you see.
Digital monoculars add their own layer of technique. Many recent models pair with a phone app over Bluetooth or Wi-Fi, which lets you stream the magnified image to a larger screen, record video, or share views in real time. When using a digital monocular, allow a few extra seconds for the sensor and display to lock on, and keep the lens cap on whenever you set the unit down. Digital sensors are far more sensitive to sun damage than glass optics, and pointing an uncovered digital monocular at the sun can permanently burn the sensor.
Different activities reward different habits. For bird watching, slow down. Minimize noise, avoid quick movements, and try to predict where the bird will pause. Aim at likely perches a second or two before the bird arrives rather than chasing it from branch to branch. A small monopod, a window mount, or even a beanbag draped over a car door makes a huge difference during long sessions.
At sporting events and concerts, monoculars shine because of their compact size. A monocular is far less obtrusive than a full binocular, and it fits in a jacket pocket between plays. Use short, focused looks rather than extended viewing, and be aware of the people behind you who may also want to see. Sharing a quick glimpse with a neighbor usually makes the whole experience more pleasant.
Astronomy with a monocular is a quiet pleasure rather than a deep science tool. A 10×42 monocular framed against a dark sky reveals craters on the Moon, the moons of Jupiter, the Pleiades star cluster, and the brightest nebulae. For stargazing, always mount the monocular on a tripod or a stable surface. Even small tremors that are invisible on a daytime subject become obvious at night. Start with the Moon, then move to bright planets, then to the brightest deep-sky targets as your eyes adapt.
On the trail, a monocular is the lightest distance-viewing tool you can carry. Tuck it inside your jacket in rain or snow and pull it out only for actual viewing. In dusty environments, keep the lens caps on between looks. If you walk from a cold car into a warm cabin, give the monocular ten or fifteen minutes to acclimate before you uncap it, or you will be staring at a fogged lens for the first critical minutes of viewing.
For surveillance or security applications, remain inconspicuous by using natural viewing positions. Avoid pointing directly at subjects for extended periods. Instead, observe peripherally and use quick, purposeful looks. Remember that in many jurisdictions, privacy laws restrict observation of private property.
Shaky images are the universal beginner problem, and most of the fix is in your grip and your breathing. Beyond the bracing techniques described earlier, drop down a magnification step if you can. An 8x monocular shows roughly 40 percent less shake than a 10x monocular at the same hand steadiness, which is why 8x remains the most popular general-purpose power. If shake still ruins your views, a small monopod or an image stabilized monocular is the next investment.
Double images or a view that refuses to merge usually mean your eye is not centered behind the eyepiece. Shift the monocular slightly up, down, left, and right until the field of view appears as a single, clean circle. Adjust the eyecup position to match whether you wear glasses. The sweet spot is real, and finding it is a matter of millimeters.
Eye fatigue comes from holding one eye closed for too long. Take a break every ten to fifteen minutes, look at a distant scene with both eyes, and let the muscles relax. With regular use, you can build up to longer sessions. If your dominant eye gets tired, train your non-dominant eye on a regular basis so you can switch without losing sharpness.
Fogging is a fact of life with all optical equipment. External fog wipes away with a microfiber cloth. Internal fog, which appears as a hazy bloom on the eyepiece or objective lens, has to evaporate on its own. Never take a monocular apart to clear internal fog; you will misalign the optics and void any warranty. The fix is to bring the monocular into a dry, room-temperature space and wait an hour or so for the moisture to clear.
If you cannot focus at all on a distant object, the monocular may be set to its close-focus range. Most monoculars have a minimum focus distance between 6 and 15 feet, and some macro-capable units focus as close as 12 inches. Aim at something far beyond that range. If distance targets still refuse to focus sharply, the unit may need professional collimation, which means the internal prism and lens alignment has drifted out of spec.
Routine maintenance keeps a monocular working like new for decades. After every outing, brush loose debris off the lenses with a soft lens brush before you touch a cloth. Dragging even a single grain of sand across a coated lens can leave a visible scratch. Pay special attention to the area around the focus wheel, where grit gradually works its way into the mechanism and makes the focus feel gritty.
Store the monocular in its case with a fresh silica gel packet. Even waterproof and nitrogen-purged models benefit from dry storage, because the seals only resist moisture entry, they do not actively pull water out of the air. Recap the lenses only after they are completely dry. Trapping even a little moisture under a lens cap encourages fungus growth on the internal glass, which is one of the few problems that cannot be cleaned away.
Do a deeper clean once a month if you use the monocular regularly. Wipe the body with a barely damp cloth, taking care not to let moisture seep into the focus mechanism or the eyepiece. If the focus wheel feels stiff, a single small drop of lightweight synthetic lubricant on the moving parts (or a service visit, if the manufacturer recommends it) will keep things smooth.
Check the body screws and hinge points a few times a year. Vibration from backpacks and daily use loosens fasteners over time. Tighten gently to factory tension, marking the original position with a fine pencil line so you can return to it. Avoid power tools; stripped threads and cracked plastic housings are expensive to repair.
For long-term peace of mind, a professional cleaning every two to three years preserves image quality. A technician can clean internal lens surfaces, realign the prisms, and replace any worn seals or eyecup rubber. The cost is modest compared with replacing the entire unit, and it keeps a quality monocular performing well past the decade mark.
The technique you use depends heavily on the type of monocular you own. Modern optics fall into roughly five categories, and each one has habits that make a real difference in the field.
Compact 8x or 10x monoculars are the everyday workhorses. Their wide field of view and forgiving optics make them ideal for handheld use without a brace. Use a light, three-point grip, keep both eyes open during scanning, and let the wide field of view do the work for you. These monoculars pair nicely with smartphone adapters, because the lower magnification gives the phone camera more usable light and a more forgiving focus range.
High-power monoculars of 12x and up demand more discipline. Plan to use a tripod, monopod, or at least a braced position. Breathing control helps a lot: take a half breath in, exhale partially, and hold for the few seconds you need for a sharp view. Many rifle and competitive shooting guides teach the same technique, and it transfers directly to high-power monocular work.
Image stabilized monoculars are a category that has matured fast since around 2020. These units contain tiny gyroscopes or electronic stabilization systems that cancel out hand tremor in real time. The technique is more relaxed than with a regular monocular: you can hold them with one hand, watch moving subjects comfortably, and even use them from a kayak or a moving vehicle. They cost more and weigh more, but for people with shaky hands, arthritic conditions, or a need for long observation sessions, they are worth the premium.
Digital monoculars combine optics with an image sensor, an internal display, and usually a smartphone app. They open up features like image and video capture, zoom on a tap, and even AI-assisted subject identification on some newer models. The technique is different: focus is often a button press or a tap, the image is viewed on a screen rather than through an eyepiece, and the device is more sensitive to sun damage. Always use the lens cap, never point the unit at the sun, and keep the firmware updated for the best image quality.
Night vision and thermal monoculars are specialty tools that require extra care. Gen 2 and Gen 3 image-intensifier tubes can be permanently damaged by bright daylight, so use the lens cap, work in low light, and power the unit up only when you are ready to view. Thermal sensors are more forgiving but can still saturate in direct sun. The grip on these units is usually heavier than on a standard monocular, so adjust your stance and consider a neck strap as a basic safety measure.
Monoculars for glasses wearers are a category worth mentioning on its own. If you wear glasses, look for a model with at least 15 millimeters of eye relief, twist-up eyecups that click into place, and a wide field of view. Brands increasingly advertise eyeglass-friendly models, and the difference is significant. With the right monocular, you can keep your glasses on, see the full field of view without vignetting, and enjoy the same sharp image as a non-glasses user.
The single most important safety rule with any monocular is also the most obvious: never point it at the sun. The objective lens concentrates sunlight the same way a magnifying glass does, and the focused beam can burn your retina in less than a second, leaving a permanent blind spot. Solar observation requires a certified solar filter mounted on the front of the monocular, not a tiny filter on the eyepiece. The same caution applies to looking at welding arcs, laser beams, or any other intense, focused light source.
Stay aware of your surroundings while looking through the eyepiece. The magnified view cuts off almost all peripheral vision, which can make you vulnerable to trip hazards, traffic, or simply walking into a low branch. Lower the monocular every few steps when you are on the move, and never use a monocular while driving, riding a bicycle, or operating any kind of machinery.
Respect privacy and wildlife laws. Many parks, wildlife refuges, and private properties have rules about how close you can approach animals, and most jurisdictions restrict optical surveillance of private homes. Keep your distance from nesting birds, give wildlife a clear escape path, and never use a monocular to peer into windows.
Protect the monocular itself from theft and loss. Avoid displaying expensive optics in crowded venues, use a plain case instead of a logo-heavy one, and register the serial number with the manufacturer after purchase. A photo of the monocular, stored in a cloud account, is invaluable if you ever need to make an insurance claim.
Weather matters. Light rain on a waterproof monocular is no problem, but driving rain can still soak the focus mechanism. Strong wind at high magnification makes steady viewing nearly impossible. Extreme cold shortens battery life in digital and image stabilized units, and rapid temperature changes cause internal fogging that can take an hour to clear.
Technical skill and observation skill are different things, and observation skill is what separates a casual viewer from a sharp one. Start with systematic scanning: move the monocular in slow, overlapping passes across the area you want to cover, the way you would mow a lawn in straight lines. Aiming in random directions is the single most common reason people miss the subject standing in plain sight.
Learn to read shape and movement before reaching for the monocular. Birds have characteristic flight patterns, deer move in a distinctive stiff-legged walk, and foxes have a low, fluid trot. Pre-identifying these patterns with the naked eye tells you where to point the monocular next, which is far faster than scanning the magnified view at random.
Keep a short observation log. A pocket notebook or a phone note with the date, location, weather, target, and technique used takes a few seconds per session. Reviewing your notes after a month reveals patterns: which times of day give the best light, which positions are most stable, which focus technique works best at each distance. The improvement is faster than you would expect.
Practice estimating sizes and distances without the monocular, then verify with a view. Use familiar references like a car, a person, or a building to gauge an unknown subject. This trains your spatial sense and dramatically speeds up target acquisition in the field.
Join a local club or an online community. Birding groups, astronomy clubs, wildlife photography meetups, and even online monocular forums are full of experienced observers who love to share tips. Group outings are also a chance to try different monocular models side by side and discover what features actually matter for your kind of viewing.
Monoculars sit in a useful middle ground between binoculars and spotting scopes. They are more compact than either, which makes them the right choice when size and weight matter. Hikers, travelers, and concert-goers tend to reach for a monocular because it slips into a pocket and gets out of the way until needed. A binocular gives you more comfortable long observation thanks to two-eyed viewing, and a spotting scope gives you higher magnification and a stable tripod platform, but neither fits in a coat pocket.
Monoculars are also a better choice than binoculars for users with unequal vision between the eyes. With a binocular, you have to balance the focus and diopter to compensate, which adds setup time. A monocular, used one eye at a time, simply uses your better eye. People with one significantly stronger eye often find monoculars more comfortable for long sessions.
The learning curve for monoculars is shorter than for telescopes but slightly longer than for binoculars, mostly because of the stability challenge. Once you build the brace-and-pivot habit, operation becomes almost as natural as using binoculars, and the speed advantage of a pocket-sized tool more than makes up for the extra practice. Cost is another point in the monocular’s favor: you are buying half the optical system, so a quality monocular costs noticeably less than a comparable binocular.
Digital scopes and smartphone camera systems have their own appeal, but they do not replace the immediacy of a monocular. A monocular wakes up the instant you raise it to your eye, has no battery, no app to launch, and no menu to navigate. For quick, decisive viewing, nothing beats raising a monocular to your eye and seeing the answer in under a second.
Use your dominant eye for the sharpest, most comfortable view. To find your dominant eye, hold both hands at arm’s length and form a small triangle around a distant object. Close one eye at a time. The eye that keeps the object centered inside the triangle is your dominant eye. Most right-handed people are right-eye dominant, but a meaningful minority of right-handers lead with the left eye, so check rather than assume.
Yes. Most modern monoculars are designed for glasses wearers. Twist the eyecup down or fold it flat to maintain the correct eye relief of 15 to 17 millimeters. A monocular for glasses wearers should advertise long eye relief and a wide field of view, and many models include a click-stop twist-up eyecup that holds its position. With the right model, you can keep your glasses on and still see the full image without vignetting.
Combine better grip, better support, and lower magnification. Brace your elbows against your ribs, lean against a tree or a wall, and rest your thumb against your nose for a third contact point. Choose an 8x or 10x monocular for the steadiest handheld views. For long sessions or higher magnifications, a monopod or small tripod is the single biggest upgrade. Image stabilized monoculars are the premium solution and cancel out most hand jitter electronically.
Fogging happens when warm, humid air meets a cold lens surface, or vice versa. The fix is acclimation: give the monocular 10 to 15 minutes to match the temperature of your viewing environment before you uncap the lenses. Store the monocular with silica gel packets to reduce internal moisture. If the inside of the lens has fogged, do not open the monocular to wipe it. Let the moisture evaporate naturally in a warm, dry space over an hour or so.
Start with 8x or 10x. These magnifications offer a meaningful jump in detail over naked-eye viewing while remaining stable enough for handheld use. An 8x monocular suits stadium sports, theater, and casual travel. A 10x monocular works well for bird watching, hiking, and most wildlife observation. Higher magnifications such as 12x and 15x produce noticeably shakier views and usually need a tripod or monopod to be useful.
Most monoculars have a minimum focus distance between 6 and 15 feet. Check the specifications for your model. A few macro-capable monoculars focus as close as 12 inches, at the cost of reduced performance at long distances. Standard monoculars are not designed for reading or close inspection work, so do not expect sharp focus on a book or a phone screen.
Yes, especially during the search phase. Both eyes open reduces eye strain, gives you peripheral awareness, and helps you maintain the sense of space that closing one eye tends to disrupt. Once you have found and focused on a target, you can close the non-viewing eye for longer, more concentrated observation. Train yourself to switch back and forth without losing the target.
Use tools designed for optical glass. Start with a soft lens brush or a rocket blower to remove loose dust, then clean the lens with a microfiber cloth or a lens tissue in slow, circular motions from the center outward. A small drop of lens cleaning solution can help with fingerprints. Avoid paper towels, facial tissues, or shirt fabric, all of which can scratch the anti-reflective coatings that make a monocular worth using.
Smartphone adapters have turned monoculars into one of the most affordable digiscoping tools available. Clamp the adapter around the eyepiece, slide your phone in until the camera lens lines up dead-center with the eyepiece, then open your camera app. You may need to nudge the phone slightly to remove the dark ring around the image. Hold the entire setup with two hands, brace your elbows against your body, and tap to focus on the phone screen the same way you would for any other subject. The result is a magnified photo or video at the monocular’s full power, ready to share or save.
Mastering a monocular is less about talent and more about the small habits that add up over time. The grip, the focus technique, the brace against your cheekbone, the slow pivot at the waist, the predictive tracking, the dark-adapted eye: each one is a small change on its own, and together they turn a shaky beginner’s view into a steady, professional-looking image. Most of these habits take only a few outings to develop, and they stay with you for the rest of your life.
The technology has caught up with the technique in a big way in the last few years. ED glass, BAK4 prisms, dielectric coatings, image stabilized bodies, and digital monoculars with smartphone pairing have all moved from the high-end professional market into price ranges that casual users can afford. There has never been a better time in 2026 to learn the basics, because the optics you can carry in a coat pocket now outperform what professionals strapped to their chests a generation ago.
Pick one or two skills from this guide and practice them on your next outing. Once those feel automatic, add another pair. Within a season, the monocular will feel less like a tool you are learning to use and more like an extension of your own vision. The world holds a surprising amount of detail just past what the naked eye can resolve, and a well-used monocular is one of the most enjoyable ways to see it. If you are still choosing a model, our guide to the best monoculars of 2026 is a good place to start.
Most of all, enjoy the practice. Every session is a chance to refine your grip, sharpen your eye, and notice something you would have walked past before. That is the real reward of learning how to use a monocular: a long, slow widening of what the world looks like.