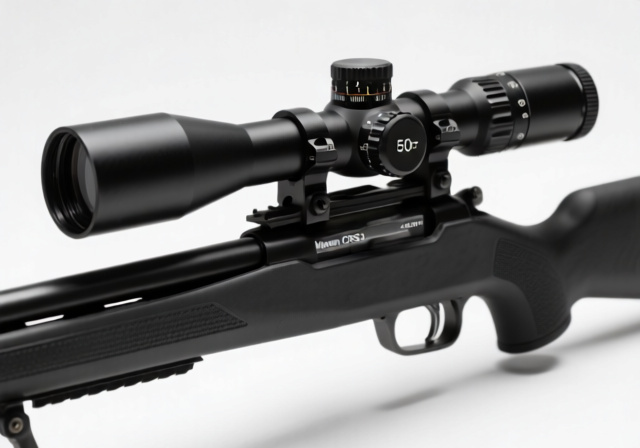
Maven CRS.3 4-20×50 FFP Review (September 2026): Worth It?
After extensive testing across multiple platforms and conditions, the Maven CRS.3 4-20x50 FFP emerges as one of the best values…

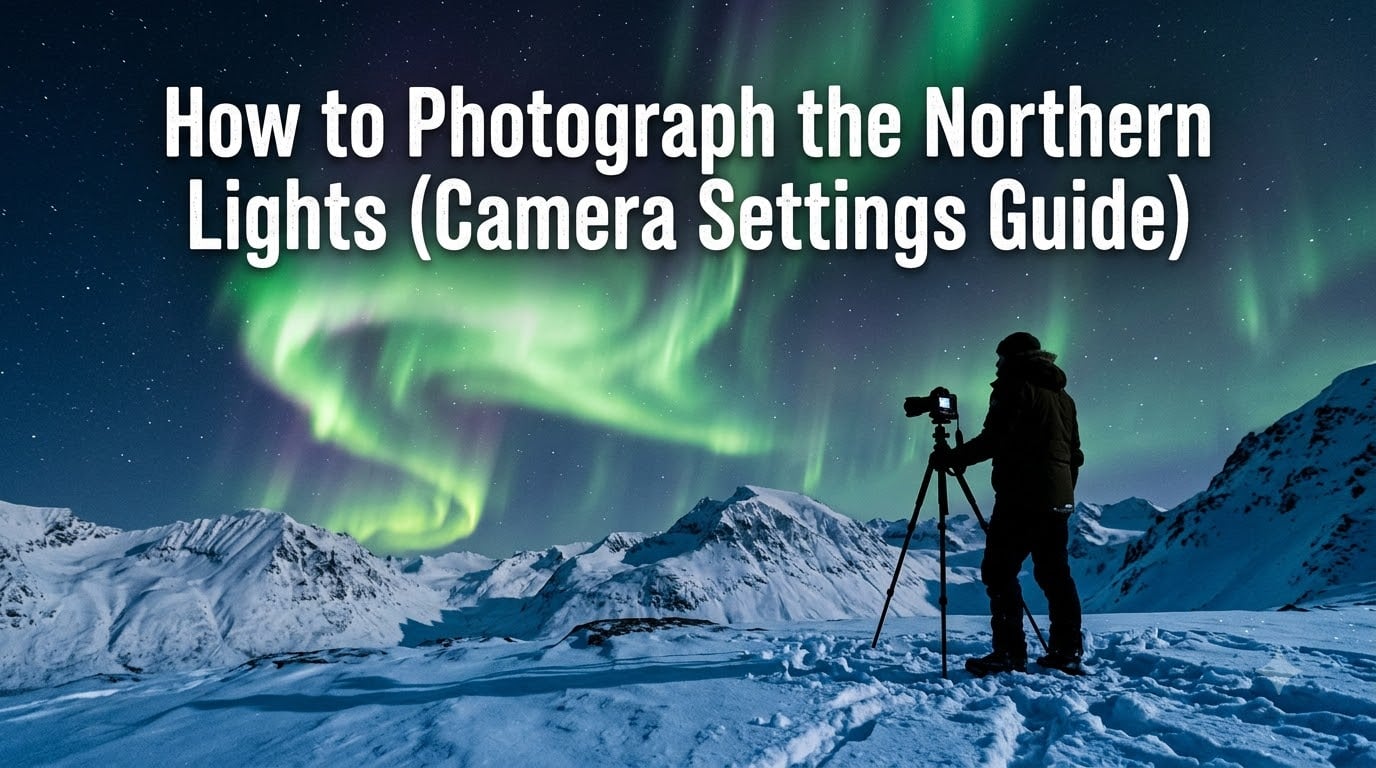
If you have ever stood beneath a sky alive with green ribbons and wondered how to capture it, learning how to photograph the northern lights is one of the most rewarding skills a night photographer can build. I have spent over a dozen winter trips chasing auroras from Alaska to Iceland, and the truth is simple: the right camera settings matter far more than expensive gear.
This guide walks you through everything you need to photograph the aurora borealis, from core camera settings and focusing techniques to planning, smartphone alternatives, and post-processing. Whether you shoot with a full-frame mirrorless body or just your iPhone, you will find a workflow that works on your next trip.
By the end, you will know exactly which settings to dial in, when to press the shutter, and how to turn a faint glow on the horizon into a vivid photo you will be proud to print.
If you only have 30 seconds before the aurora peaks, copy these settings. They are the same starting point I use on every shoot, and they cover roughly 90% of conditions you will face:
These are the canonical northern lights camera settings that appear in nearly every pro guide. The rest of this article explains why each one matters and how to adapt on the fly.
You do not need the newest camera to capture a stunning aurora. You do need a few specific things that make night photography possible in the first place.
Camera body: Any modern DSLR or mirrorless camera with a Manual mode will work. Full-frame sensors handle high ISO noise better, but an APS-C or Micro Four Thirds body still produces excellent results when paired with a fast lens. If you already own a camera you like, it is almost certainly good enough.
Wide-angle lens: A lens in the 14-24mm range (full-frame equivalent) gives you two things: a wide field of view to capture the whole aurora arc, and a fast maximum aperture of f/2.8 or wider. A 24mm f/1.4 or a 14-24mm f/2.8 are workhorses for this kind of work. If you only have a kit lens, you can still shoot aurora, but expect higher ISO noise and tighter compositions.
Sturdy tripod: This is non-negotiable. Long exposures between 2 and 30 seconds require a tripod that does not move. A carbon fiber travel tripod in the 2-3 kg range strikes a good balance between stability and packability. Add a ball head that locks firmly, and you are set.
Other essentials:
If you want a deeper dive into the gear side of night photography, our guide on how to photograph stars covers a lot of the same equipment in more detail.
Once you understand what each setting does, you can react to changing aurora conditions in real time instead of guessing. Here is the full breakdown of camera settings for the northern lights.
Auto and semi-auto modes will under-expose or over-expose as the aurora’s brightness changes from second to second. Manual mode locks your exposure so the camera stops second-guessing you. Shoot in RAW so you have the most data to work with in post. JPEG files clip highlights and crush shadows in a way that makes aurora colors hard to recover.
ISO controls how sensitive your sensor is to light. Higher ISO means brighter images, but also more digital noise. For aurora photography, you will typically use ISO 800 to 6400. I usually start at 1600 and adjust based on three things: how bright the aurora is, how fast it is moving, and how noisy my camera gets at higher ISOs.
If you shoot with an older or entry-level camera, lean toward ISO 800-1600. If you shoot with a recent full-frame body, ISO 3200-6400 is perfectly usable.
Aperture controls how much light hits the sensor. A wider aperture (smaller f-number like f/1.4 or f/2.8) lets in more light, which means you can use a lower ISO or faster shutter speed. It also creates a shallower depth of field, but at night with a wide-angle lens focused near infinity, that rarely matters.
Set your lens to its widest aperture and leave it there unless you have a specific reason to stop down. Every fraction of a stop of light you gather at the lens is a stop less noise you have to deal with later.
Shutter speed is the setting that most affects whether your aurora looks like a sharp curtain or a blurry green smear. Slow, gentle aurora lets you use 15-30 second exposures. Fast, dancing aurora demands shorter exposures of 2-6 seconds to preserve structure and color detail.
A useful rule of thumb I picked up from veteran aurora chasers: start at 8 seconds. If the aurora looks like solid bands with visible detail, lengthen to 15-25 seconds. If it looks like a blurry mess, shorten to 2-4 seconds. The aurora tells you what it needs.
A custom white balance around 3500-4200K keeps the green tones of the aurora looking natural without being sickly yellow. Many photographers set Auto White Balance and tweak in post. Both approaches work. I prefer setting it in-camera so I can quickly judge a shot on the rear LCD.
Turn this off. In-camera noise reduction doubles your exposure time (it takes a dark frame of equal length), and during a fast-changing aurora you will lose the moment. Handle noise in software like Lightroom or Topaz DeNoise instead.
Focusing in the dark is the single most common reason aurora photos come out soft. Autofocus hunts and fails because there is not enough contrast for it to lock onto. Manual focus is faster, more reliable, and the only way to get sharp stars.
Here is the technique I teach on every workshop. Switch to Live View, point your camera at a bright star or a distant light on the horizon, and zoom in digitally on the rear LCD. Adjust the focus ring slowly until the star collapses to a sharp point of light. If your lens has a hard infinity stop, do not trust it. Most lenses focus slightly past or before infinity, and the difference is enough to ruin a shot.
Once you have a sharp star, tape your focus ring in place with a small piece of gaff tape so it cannot drift. Re-check focus every hour or so, especially if you move the camera between shots. A final tip from the field: use a 2-second self-timer or remote release to fire the shutter. Pressing the button with your finger introduces enough vibration to soften a 15-second exposure, and you will not always see it on the small rear screen.
The best camera settings in the world will not save you if the aurora never appears. Smart planning is half the job. A few tools and concepts make the difference between going home with a full memory card and going home disappointed.
The KP index measures geomagnetic activity on a scale from 0 to 9. Higher numbers mean a stronger aurora and visibility farther south. A KP of 3-4 will produce visible aurora in places like Fairbanks, Reykjavik, and Tromso. A KP of 5 or higher is considered a geomagnetic storm and pushes the aurora into the northern United States, the UK, and even parts of central Europe.
Check the KP index through apps like My Aurora Forecast, Space Weather Live, or NOAA’s Space Weather Prediction Center. The forecast updates every few hours, and KP predictions 24-48 hours out are usually reliable enough to plan a trip around.
Aurora season runs from late September through late March in the Northern Hemisphere. You need dark skies, and that means avoiding the midnight sun. The weeks around the equinoxes (September and March) tend to produce slightly more geomagnetic activity, which is a nice bonus.
Within a given night, the most active period is typically 10 PM to 2 AM local time, though strong storms can produce aurora at any hour of darkness.
Get away from city lights. Even a small town can wash out a faint aurora. Dark Sky Parks and remote coastal or mountain locations give you the cleanest backgrounds. Check the cloud cover forecast too. A clear sky trumps a strong KP index. A cloudy sky with a KP of 7 will still leave you with nothing to shoot.
Where you go matters almost as much as when. The auroral oval sits over the magnetic pole, so destinations inside or near that oval give you the most consistent sightings.
Travel publications regularly rank Iceland and Norway among the most photogenic aurora destinations, and I agree based on the trips I have done. Pick one that matches your budget and travel style; all of them deliver when conditions cooperate.
Not all auroras look the same. Recognizing the four main forms helps you pick the right shutter speed and composition. Most beginners only know the green ribbon, but the aurora has a whole vocabulary.
Arcs are quiet, horizontal bands on the northern horizon. They glow steadily and reward long exposures of 15-30 seconds. They are the most common form during low KP nights.
Curtains are vertical sheets of light that hang from the arc like drapery. They show the most structure and respond best to moderate exposures of 6-15 seconds. This is the classic aurora photo most people picture.
Pillars and rays shoot straight up from the horizon in narrow columns. They are the most dynamic form and require short exposures of 2-4 seconds to keep the rays sharp rather than smeared.
Coronas appear directly overhead when the aurora is right above you. They fan out from a central point and look spectacular shot straight up with a fisheye or ultra-wide lens. Exposures of 4-8 seconds usually work well.
Knowing which form you are shooting helps you adjust shutter speed on the fly. The aurora will literally tell you what it needs if you watch the rear LCD for a few frames.
Modern smartphones can absolutely photograph the northern lights. The iPhone 12 and newer, the Samsung Galaxy S21 and newer, and the Google Pixel 6 and newer all have dedicated Night Mode or Pro Mode features that produce surprisingly good results.
Smartphones have limitations. They cannot match a full-frame camera for noise, dynamic range, or wide-field composition. But for travelers who do not want to haul a DSLR into the cold, a phone on a tripod is a real option. For more on gear that supports different shooting styles, our camera microphone guide shows how a small setup can still deliver professional results in a different context.
Settings get you a sharp, well-exposed image. Composition is what makes the photo feel like art. A perfectly exposed aurora floating in a sea of black sky looks unimpressive. The same aurora over a cabin, a mountain, or a lone pine tree looks unforgettable.
Arrive early and scout your foreground in daylight. Look for interesting shapes: a lone tree, a frozen lake, a mountain ridge, an old fence. Position yourself so the aurora will rise behind or beside the foreground, not in an empty patch of sky.
Use the rule of thirds. Place the horizon on the lower third when the aurora is the main subject, and on the upper third when the foreground is the star. Include a person as a silhouette for scale; a small human figure under a massive aurora adds emotional weight that no amount of pixels can replace. This trick, sometimes called the silhouette technique, was popularized by photographers like Mikko Lagerstedt and works especially well during strong geomagnetic storms.
Shoot vertical compositions when the aurora forms pillars or a corona overhead. Horizontal compositions suit wide arcs and curtains. Mix both and you double your keeper rate.
RAW files from an aurora shoot often look flat straight out of camera. A few minutes in Lightroom or another editor can transform them.
Start by adjusting white balance until the green looks natural, not neon. Pull the highlights down to recover any blown-out bright spots in the aurora core. Lift the shadows to bring foreground detail back. Add a small amount of clarity and dehaze for punch without overdoing it. If the image is noisy, run it through a noise reduction tool like Topaz DeNoise or Lightroom’s built-in AI Denoise.
For more creative edits, try selectively boosting the saturation of the green channel while leaving the rest alone. A subtle vibrance bump also helps the aurora pop without making the sky look cartoonish. If you are curious how editing fits into a larger creative workflow, the principles in our Ring Floodlight camera review show how post-processing can rescue tricky low-light images, even from very different gear.
Use Night Mode with the timer set to 3 seconds, lock focus on the aurora, and slide the exposure slider up to 10 seconds if your iPhone supports it. Mount the phone on a tripod, because any shake ruins long exposures. For more manual control, the NightCap app lets you set ISO and shutter speed directly.
Switch to Pro Mode in the Samsung camera app. Set ISO to 1600, shutter speed to 8-10 seconds, and focus to manual infinity. Save in RAW (DNG) if your phone supports it, and always use a tripod to keep the phone perfectly still during the exposure.
Set your camera to Manual mode, mount it on a tripod, and use a wide-angle lens at its widest aperture (f/1.4-f/2.8). Set ISO 1600 and a shutter speed of 8 seconds, focus manually to infinity, and shoot in RAW. The long exposure collects far more light than your eyes, so the aurora appears vivid and colorful in the final image.
Yes. Modern iPhones (12 and newer), Samsung Galaxy phones (S21 and newer), and Google Pixel phones (6 and newer) can all capture the aurora using Night Mode or Pro Mode, a tripod, and a 4-10 second exposure. Results will not match a full-frame camera, but they are more than good enough for social media and prints up to 8×10 inches.
Use Manual mode with ISO 800-6400 (start at 1600), aperture f/1.4-f/2.8 (widest available), and shutter speed 4-30 seconds (8 seconds is a good starting point). Set focus manually to infinity, white balance around 3800K, and shoot in RAW. Use a 2-second self-timer or remote release to avoid camera shake.
Learning how to photograph the northern lights is less about owning the most expensive camera and more about showing up prepared. Use the quick-start settings, master manual focus, plan around the KP index, and dress for the cold. The aurora does the rest.
Your first shoot will not be perfect, and that is fine. Every photographer I know came home from their first aurora trip with a mix of keepers and lessons. Stack those lessons, keep an eye on the forecast, and the next time the sky lights up, you will be ready. The northern lights are waiting for you in 2026 and every year after. Go chase them.
![Pit Viper Sunglasses Review [cy]: 6 Months of Brutal Testing](https://revellphotography.com/wp-content/uploads/2026/09/featured-update-4392-1788717321236.jpg)