How to Choose a Rifle Scope: The Complete Guide (May 2026)
The rifle scope market explodes with choices each year, leaving shooters drowning in specifications they do not understand. A 3-9×40…
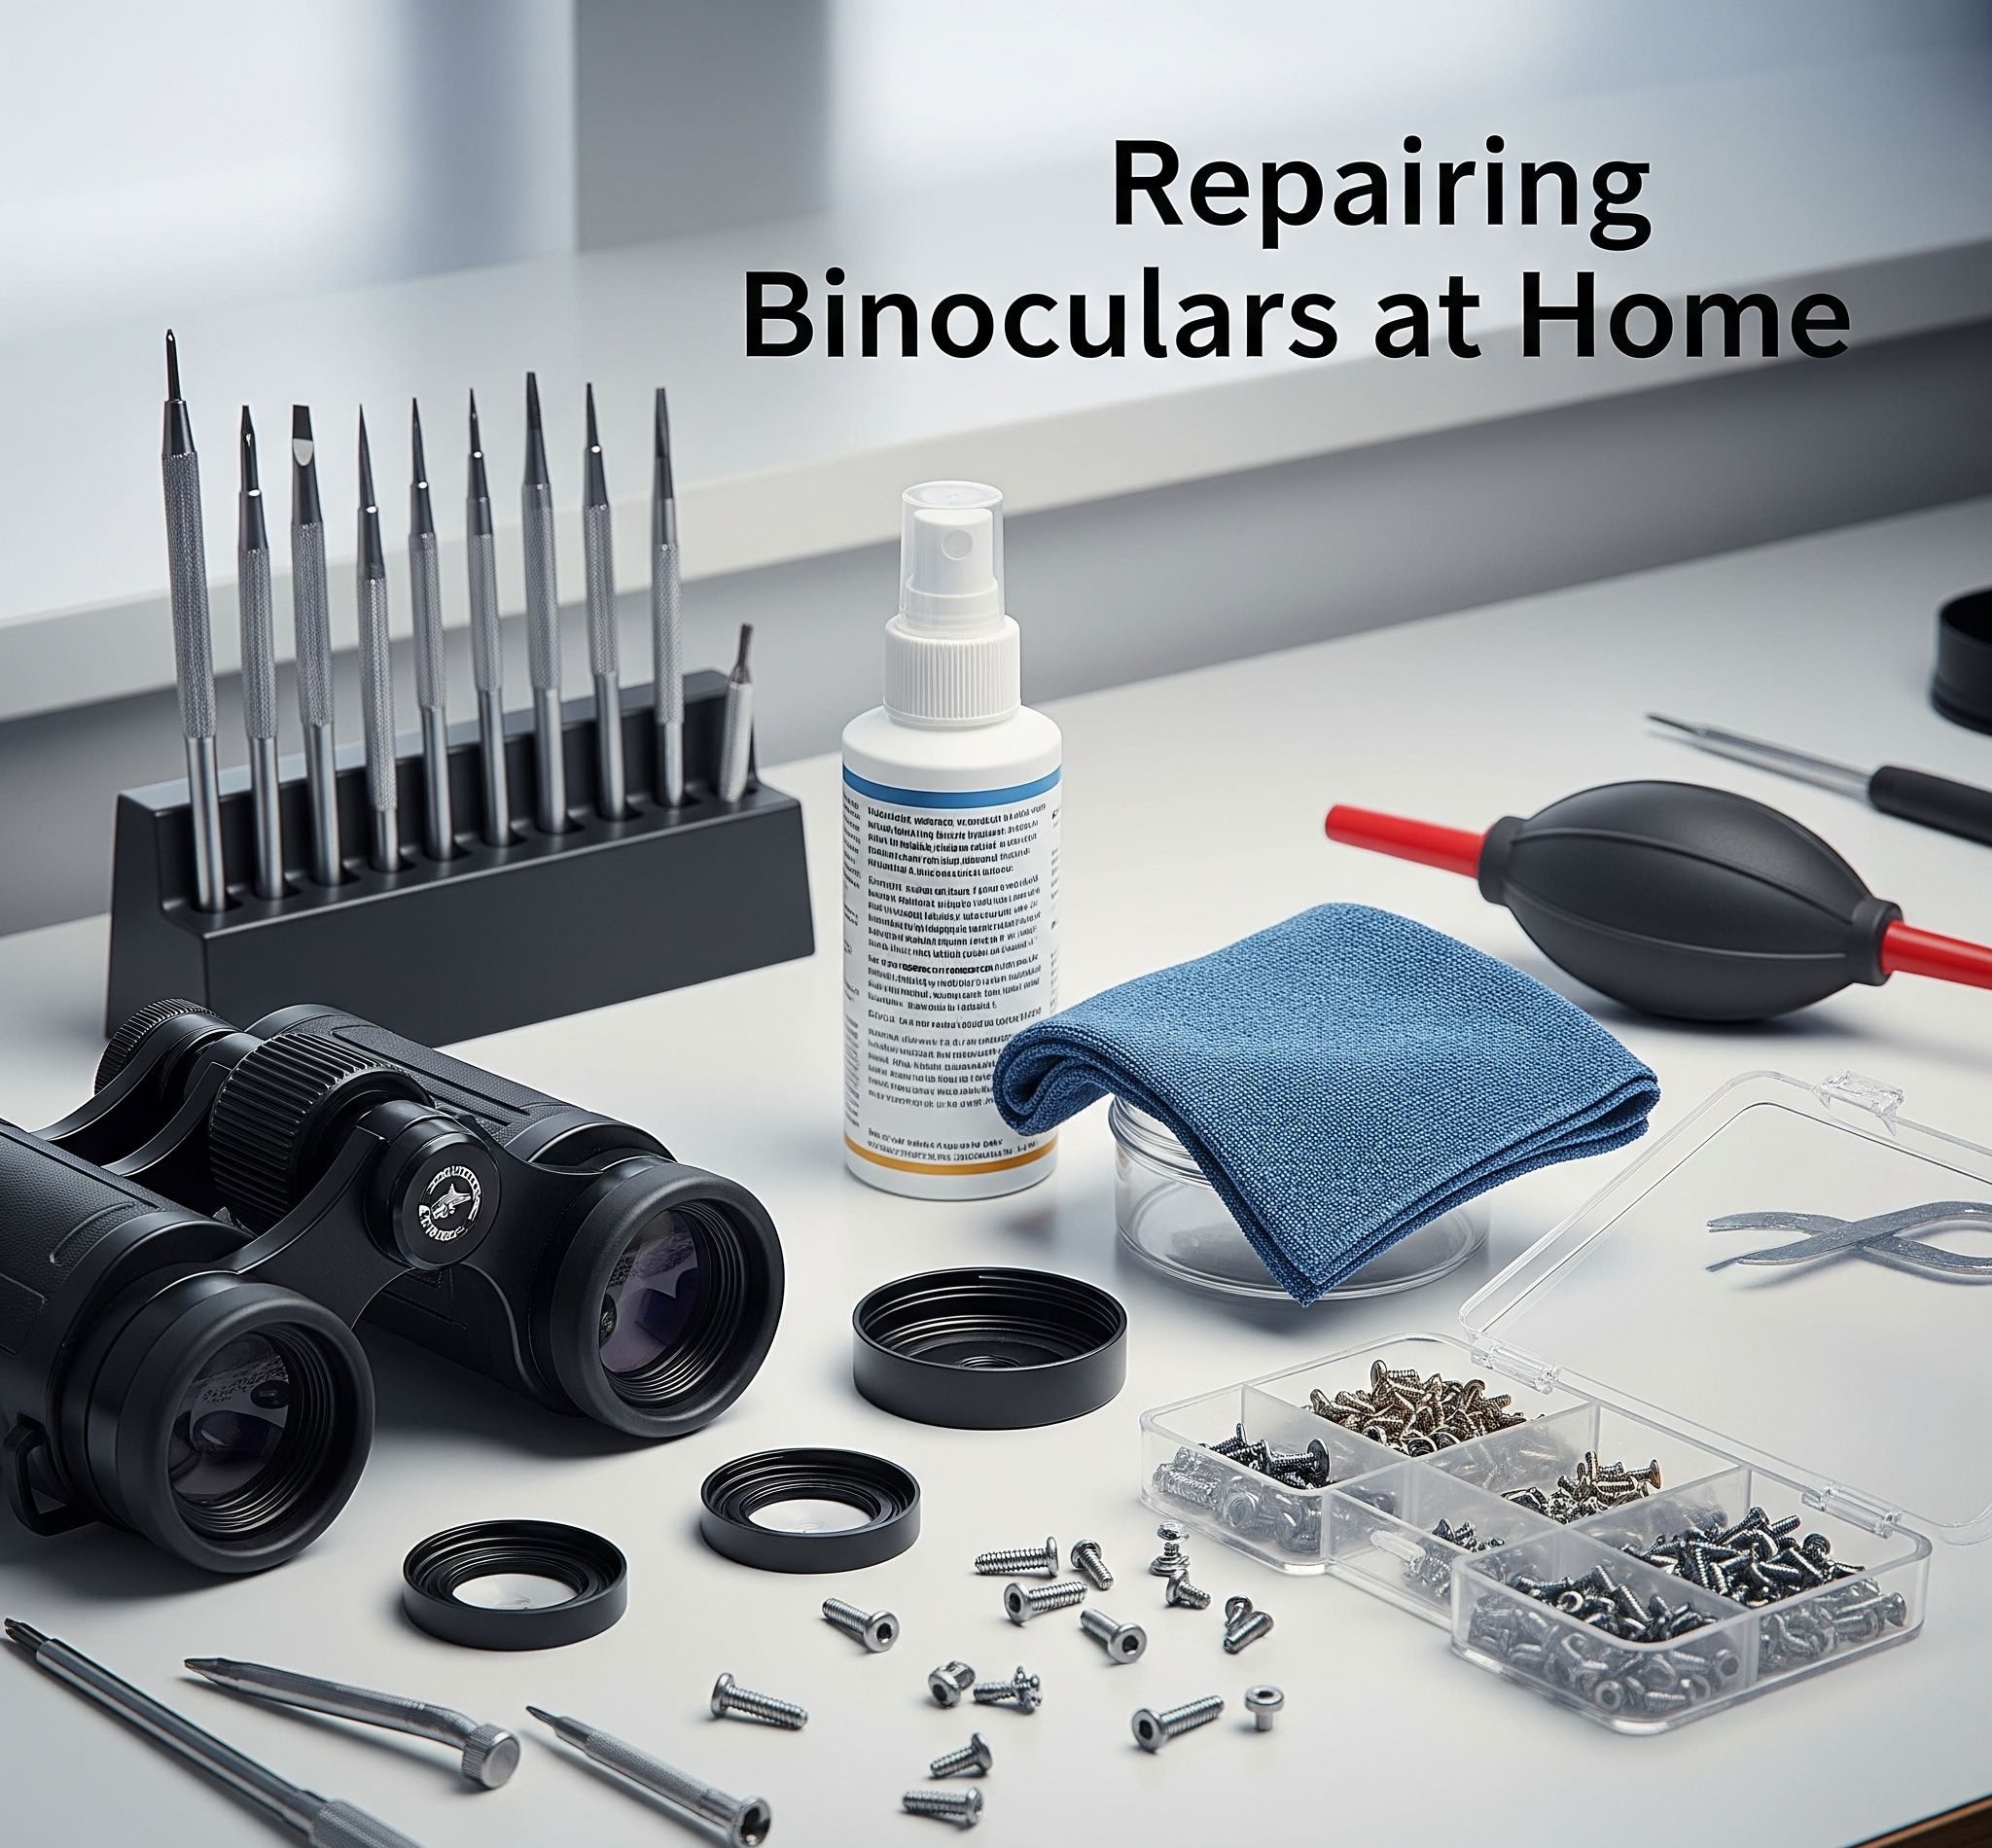
Your binoculars suddenly show double vision after an accidental drop. The repair shop quotes you $75 just to look at them. Sound familiar? You are not alone. Bird watchers, astronomers, and outdoor enthusiasts frequently face the dilemma of whether to fix their own binoculars or pay steep professional fees. The good news is that many common binocular problems can be solved at home with basic tools, patience, and the right guidance. This comprehensive guide walks you through repairing binoculars at home, covering collimating binoculars techniques, optical repair methods, prism adjustment procedures, and practical maintenance tips that can save you hundreds of dollars in 2026.
Whether you inherited a vintage pair from a family member, picked up an affordable option that has seen better days, or simply want to extend the life of your current optics, understanding how to fix binoculars yourself empowers you to take control of your equipment. Binocular alignment issues, foggy lenses, stiff focus wheels, and diopter problems respond well to careful DIY attention when approached with the right knowledge.
Before attempting any repair work, identifying the specific problem affecting your binoculars determines which approach you should take. The most frequently encountered issues include misaligned optics causing double vision, moisture infiltration leading to foggy lenses, degraded lubricants making focus wheels stiff, and worn components creating loose or slippery parts. Each of these problems has distinct symptoms and requires different repair strategies.
Double vision, technically called diplopia, occurs when the two optical tubes fall out of binocular alignment. This typically happens after the binoculars experience impact or prolonged use that loosens internal components. The result is two overlapping images instead of one clear view, which strains the eyes and ruins the viewing experience. This is fundamentally an optical repair issue involving the realignment of internal prisms and lenses within the housing.
Foggy lenses usually indicate that moisture has penetrated the sealed interior of your binoculars. This can result from degraded rubber seals, cracked housings, or rapid temperature changes that cause condensation inside the optical chamber. Interior fogging is more serious than exterior moisture because it may signal the beginning of mold growth or coating deterioration if left untreated.
A stiff or gritty focus wheel typically stems from dried lubricant inside the focus mechanism. Years of use evaporate light oils and leave behind thick, sticky residue that impedes smooth movement. In some cases, debris particles enter the mechanism and cause grinding or catching sensations when adjusting focus.
The diopter adjustment, usually found on the right eyepiece, can also develop problems. A loose diopter fails to hold its setting, causing one eye to see differently than the other after each use. A stuck diopter may indicate internal damage or severe contamination requiring more involved repair work.
Having the proper tools makes the difference between a successful repair and a frustrating mess. Quality tools protect delicate optical components from damage and enable precise adjustments that cheap alternatives cannot achieve.
Completing a thorough pre-repair checklist prevents costly mistakes and helps you make informed decisions about whether to proceed with DIY repairs or seek professional help.
Opening your binoculars will void any existing warranty. If your binoculars are still under warranty, contact the manufacturer first. Many reputable brands like Vortex, Nikon, and Bushnell offer excellent warranty programs that cover manufacturing defects at no cost. Some warranties even include accidental damage protection, so always check before attempting any self-repair.
Professional binocular repairs typically cost within these ranges:
If your binoculars cost less than $200 new, professional repair might not make economic sense unless they have significant sentimental or collectible value. This is where learning to fix binoculars yourself provides the most value.
Some repairs should never be attempted at home regardless of your confidence level:
When in doubt, consult a professional. The cost of a mistaken DIY attempt on high-value optics often exceeds what professional repair would have cost from the start.
Double vision is the most common binocular problem that can be fixed at home through the process of collimating binoculars. However, understand that home repairs involve “conditional alignment” rather than true professional collimation, which requires specialized optical equipment and controlled environments.
Proper binocular alignment ensures both optical tubes point at exactly the same target, merging two images into one three-dimensional view. When misalignment occurs, your brain receives two different images that cannot be combined, resulting in the double vision many users experience. Collimation is the process of restoring this alignment through careful adjustment of internal optical elements.
The degree of misalignment determines difficulty. Minor drift after years of use often responds well to simple screw adjustments. Severe misalignment from impact may require multiple attempts or professional intervention if home methods fail to resolve the issue.
Collimation screws are typically hidden beneath the rubber armor near the prism housing. These screws control the angle of the internal optical elements, allowing you to make fine adjustments to binocular alignment. Finding them requires careful inspection of your specific model.
On most porro prism binoculars, you will find 2-4 adjustment screws per barrel. These may be located:
Roof prism binoculars typically have fewer user-accessible adjustment points, and some models have no collimation screws at all, meaning misalignment requires professional service. Check your manual or search online for your specific model to confirm whether user adjustment is possible.
Mount your binoculars on a tripod for stable, hands-free viewing. Aim at a distant target at least 100 yards away, or use a bright star like Polaris for astronomy applications. The viewing distance should be approximately 10 times your magnification in meters (for example, 10x binoculars work best with a target 100 meters away).
Aim at a simple, high-contrast target like a streetlight, radio tower, or isolated tree against an open sky. This makes detecting misalignment easier than when viewing complex scenes with many visual elements competing for attention.
Focus the binoculars normally on your target using the center focus wheel. Once you have a clear image, lock your focus by tightening the tripod mount if available. Now use the diopter adjustment on the right eyepiece to defocus one eye while keeping the other eye focused.
You should see a bright, focused point (the target) surrounded by a larger, blurred circle (the defocused image from the other barrel). The bright point should appear centered within that blur. If it does not, misalignment is present and adjustment is needed to achieve proper binocular alignment.
Turn each collimation screw only 1/8 turn at a time, checking the image after each adjustment. Document which direction each screw moves the image:
Aim to correct approximately half the misalignment on each barrel rather than adjusting only one side completely. This preserves more of the factory collimation settings and results in more symmetric optical performance. The process requires patience and typically takes 30-60 minutes for first-timers.
Recognizing the signs of poor collimation helps you identify when binocular alignment is needed:
If after multiple attempts you cannot achieve satisfactory results, the issue may be beyond simple adjustment and require professional optical repair involving prism replacement or more complex work.
Understanding the difference between porro prism and roof prism binoculars helps you approach repairs appropriately. These two designs have distinct advantages and limitations when it comes to user maintenance.
Porro prism binoculars, the traditional design with a zigzag shape between the objectives, generally offer easier user repair access. The separate barrels with visible bridges often have accessible collimation screws, and the simpler internal structure means fewer components can shift out of alignment. Vintage porro prism models especially respond well to home collimation efforts.
Roof prism binoculars feature a straighter, more compact design where the objectives align with the eyepieces. The more complex internal optics with phase-correct coatings and tightly tolerances make roof prism models less suitable for user adjustment. Many roof prism binoculars have no user-accessible collimation screws, meaning any misalignment requires professional service with specialized equipment.
If you own roof prism binoculars experiencing alignment issues, verify whether your model has user-accessible adjustment screws before attempting any work. Consult the manufacturer or search for model-specific documentation online.
Clean optics dramatically improve viewing quality and prevent long-term damage to expensive lens coatings. Regular cleaning extends the life of your binoculars and maintains optimal image clarity.
Internal condensation indicates a seal failure that allows moisture to enter the optical chamber. Addressing this promptly prevents mold growth and coating damage.
A sticky, difficult-to-turn focus wheel usually indicates dried lubricant or debris contamination in the focus mechanism. This affects smooth operation and can make precise focusing frustrating or impossible.
The diopter adjustment ring on the right eyepiece can develop problems over time. A loose diopter that cannot hold its setting typically indicates worn detent mechanism. A stuck diopter suggests contamination or damage inside the adjustment ring.
For a loose diopter, inspect the locking ring usually found below the adjustable eyepiece. This ring sometimes loosens with use and can be tightened with careful adjustment. If the diopter ring itself is worn, professional replacement of the eyepiece assembly may be necessary.
For a stuck diopter that resists turning, do not force it. Forcing can break internal components. Instead, apply a tiny amount of rubber-safe lubricant around the base of the ring and work it gently back and forth to loosen accumulated residue. If this fails, the issue requires professional service.
Vintage binoculars often represent exceptional optical quality that modern mass-produced models cannot match. German and Japanese binoculars from the 1950s through 1970s frequently feature superior optics housed in durable brass constructions. Restoring these pieces brings old optics back to life while preserving a piece of history.
Restoration of vintage binoculars typically involves several phases beyond standard repair. The exterior brass housing may need polishing to remove tarnish while preserving the original patina that many collectors value. Leather coverings often require replacement with new material that matches the original appearance.
Internal optical elements in vintage binoculars may need disassembly for thorough cleaning of aged cement bonds holding lens elements together. The original lens coatings, though different from modern treatments, often remain functional and should be preserved rather than aggressively cleaned.
If you are considering vintage binoculars restoration, research your specific model thoroughly. Some vintage pieces have significant collector value, and improper repair can reduce that value substantially. When in doubt, consult with a vintage optics specialist before proceeding.
Many outdoor enthusiasts successfully restore vintage military binoculars like the WWII-era German Bloch or Japanese Neoclassical models. These robust instruments were built to last generations and often respond well to careful cleaning, lubrication, and collimation work that brings them back to functional excellence.
Regular maintenance prevents most common problems and extends binocular lifespan significantly. Investing time in proper care reduces the likelihood of expensive repairs later.
For additional maintenance guidance, explore our comprehensive binocular maintenance guide that covers seasonal care tips and storage solutions.
While many repairs can be accomplished at home, certain situations require professional expertise and equipment that simply cannot be replicated in a hobbyist setting.
Look for repair shops that specialize specifically in optical equipment rather than general camera repair stores. Many camera repair shops do service binoculars, but specialists often provide better results for optical repair work.
Expect turnaround times of 2-4 weeks for most repairs. Quality optical work cannot be rushed. Some reputable services include Suddarth Optical Repair, Optical Repairs in the UK, and manufacturer-authorized service centers that use genuine replacement parts.
If your binoculars are older than 10 years, check our binocular reviews to explore replacement options that might offer better value than extensive repairs on aging equipment.
Before investing time and money in DIY repairs, evaluating whether the repair makes economic sense prevents spending more than the equipment is worth.
Working with optical equipment requires careful attention to safety for both you and your binoculars.
Solution: Examine your binoculars carefully under good lighting. Check under rubber plugs (these often pop out easily with a fingernail), beneath armor edges where rubber meets metal, under brand badges on top of the barrels, and behind decorative rings near the objective lenses. Some manufacturers hide adjustment points in surprising locations. If you still cannot locate any screws, your model may not support user adjustment, particularly if it is a roof prism design.
Solution: Stop immediately and document all current screw positions before making any further changes. Take photos from multiple angles showing each screw head and its orientation. Work systematically on one screw at a time, noting its original position and the result of each adjustment. If confused, return all screws to their starting positions and begin again with a fresh approach.
Solution: Ensure your cleaning cloths are completely clean with no residue from previous use. Use less cleaning solution rather than more, as excess liquid leaves residue. Finish with dedicated lens tissue designed for coated optics rather than relying solely on microfiber. Inspect the lens at an angle under good lighting to identify any remaining contamination.
Solution: The mechanism may have corrosion, worn gears, or damaged components that lubrication cannot fix. Forcing a damaged mechanism risks breaking internal parts that could make the problem irreversible. Consider whether the binoculars are worth the investment in professional service before proceeding further.
Solution: This happens frequently with vintage binoculars. Lay a white towel over your work surface so small parts are visible. As you remove each component, place it in order on the towel from left to right, corresponding to the order of removal. Photograph the arrangement before starting to create a reference guide for reassembly. Small springs and clips have specific orientations that matter for proper function.
Developing binocular repair expertise takes time, but starting with inexpensive practice pieces builds confidence before attempting work on valuable equipment.
Start by practicing disassembly and reassembly on older, less valuable binoculars purchased specifically for practice. This allows you to make mistakes without consequences and develop familiarity with how different designs assemble and function.
Online communities provide invaluable support for learning binocular repair. Cloudy Nights and BirdForum have dedicated sections with experienced members who answer questions and provide guidance. YouTube tutorials can demonstrate specific procedures, though quality and accuracy vary significantly between creators.
Consider purchasing broken binoculars cheaply to practice collimation and optical adjustment without risking damage to your primary viewing equipment. This hands-on experience builds confidence and familiarity with different designs that no amount of reading can replace.
It is worth repairing binoculars when the cost of professional service is significantly less than replacement value, when the binoculars have sentimental or collectible value, or when the repair needed is simple maintenance like cleaning or lubrication. For budget binoculars under $100, replacement is often more practical than paying for professional service.
Yes, many common binocular problems can be repaired at home including cleaning lenses, lubricating focus mechanisms, adjusting collimation for minor misalignment, fixing loose diopters, and addressing foggy lenses from moisture. However, cracked optics, damaged prisms, and complex internal issues require professional service with specialized equipment.
Signs of poor collimation include visible double vision when viewing distant objects, eye strain or headaches after short viewing sessions, difficulty merging the two images into one clear view, one eye working harder than the other, and objects appearing different in size between the two eyes. These symptoms indicate misalignment of the optical tubes.
To test for collimation issues, focus on a distant point and use the diopter to defocus one eye while keeping the other focused. The bright focused point should appear centered within the defocused blur from the other eye. If it appears offset to one side, your binoculars need collimation adjustment to restore proper binocular alignment.
Collimation screws are typically hidden under rubber armor near the prism housing, beneath small rubber plugs on the barrel exterior, under brand badges or decorative rings near the objectives, or beneath rubber flaps that can be carefully peeled back. Many roof prism binoculars have no user-accessible collimation screws.
Yes, you can use binoculars with astigmatism by properly using the diopter adjustment on the right eyepiece. Set the diopter to compensate for the difference in focus between your two eyes. For significant astigmatism, you may still need to wear your prescription glasses while using binoculars, especially for extended viewing sessions.
Old binoculars can be worth significant money depending on the brand, age, optical quality, and condition. German and Japanese binoculars from the mid-20th century often command premium prices among collectors. Vintage military binoculars and classic brands like Zeiss, Leitz, and Nikon professional models can be valuable. Research your specific model to determine its collector value before attempting repairs.
Learning to repair binoculars at home represents a valuable skill that pays dividends every time your optics need attention. The techniques for fixing binoculars yourself, from basic collimation adjustments to lens cleaning and lubrication, empower you to maintain equipment without depending on expensive professional services for every minor issue.
Start with simple maintenance tasks like external lens cleaning and progress gradually to more complex work like focus wheel lubrication and collimation adjustment as your confidence grows. Document your work thoroughly, take photographs at each stage, and never hesitate to stop and seek advice from online communities when facing unfamiliar challenges. The repair forums contain decades of collective experience from enthusiasts who started exactly where you are now.
Remember that patience proves more important than any tool or technique. Rushing repairs frequently creates new problems that cost more to fix than the original issue. When results do not improve despite careful effort, accepting that professional help is the right choice demonstrates wisdom rather than failure. Some issues simply require equipment and expertise beyond what home repair can provide.
Whether you are bringing a beloved pair of bird-watching binoculars back to peak performance, restoring a vintage find from an estate sale, or learning skills that serve you for decades of outdoor adventure, the satisfaction of maintaining your own equipment creates a deeper connection with your optics. In 2026 and beyond, these abilities ensure you never miss a perfect viewing moment due to preventable optical problems.