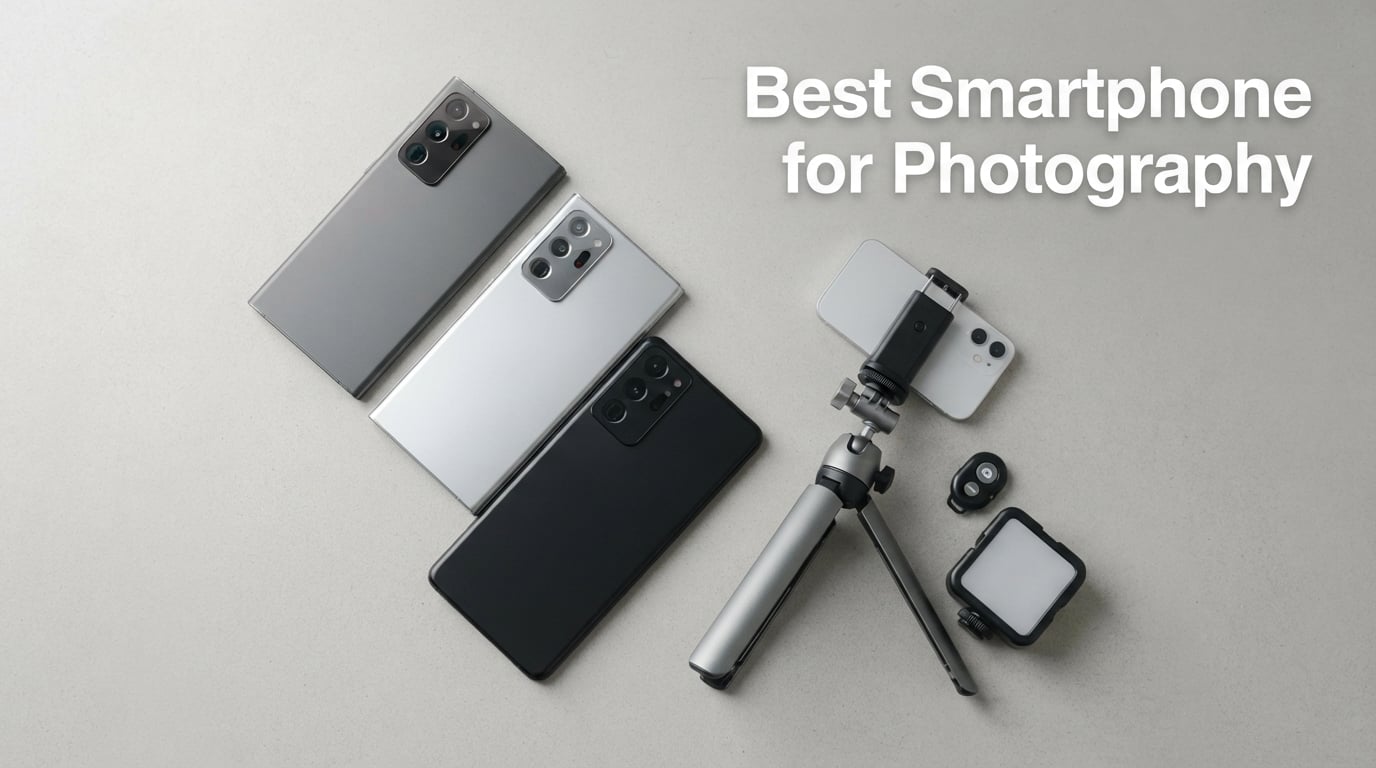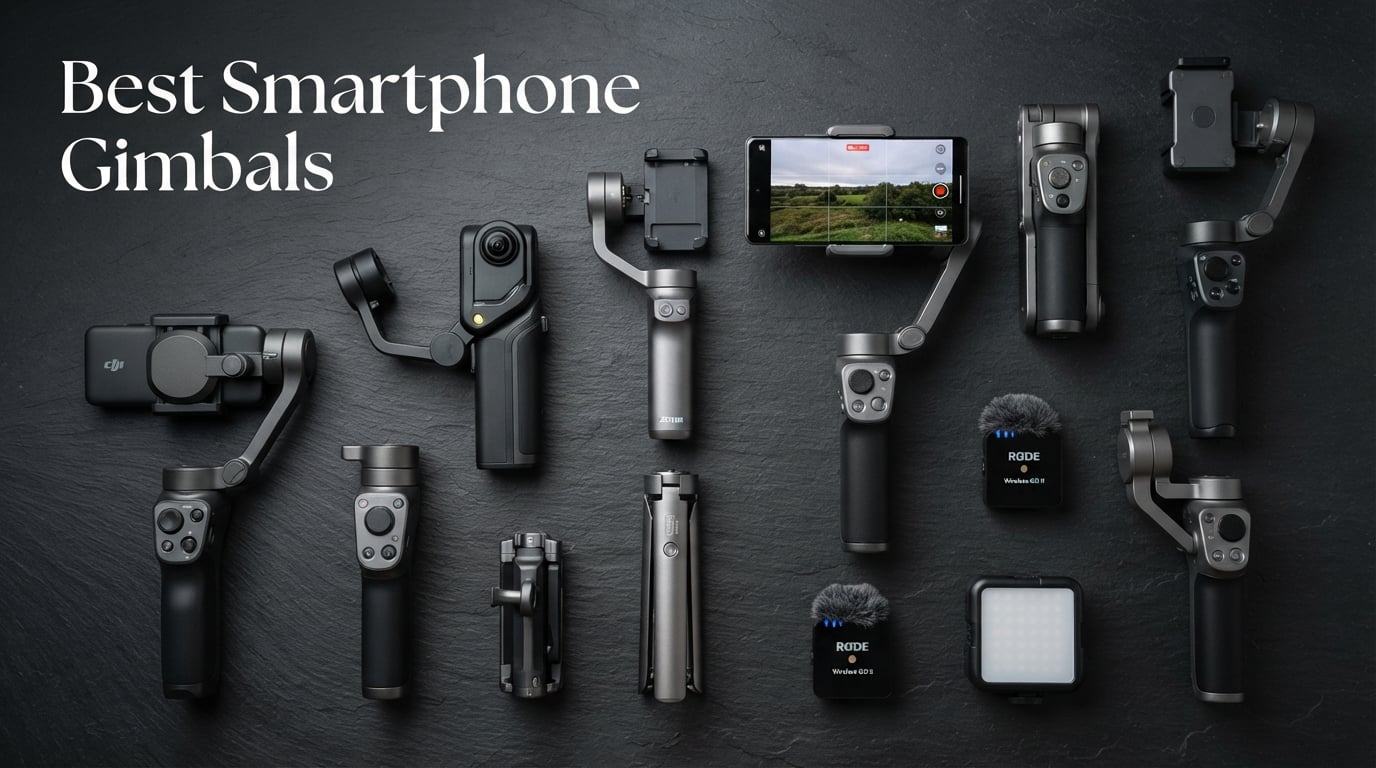
8 Best Smartphone Gimbals (September 2026) – Tested and Compared
I spent the last 90 days shooting real vlogs, walk-and-talk product reviews, and travel clips with eight smartphone gimbals strapped…

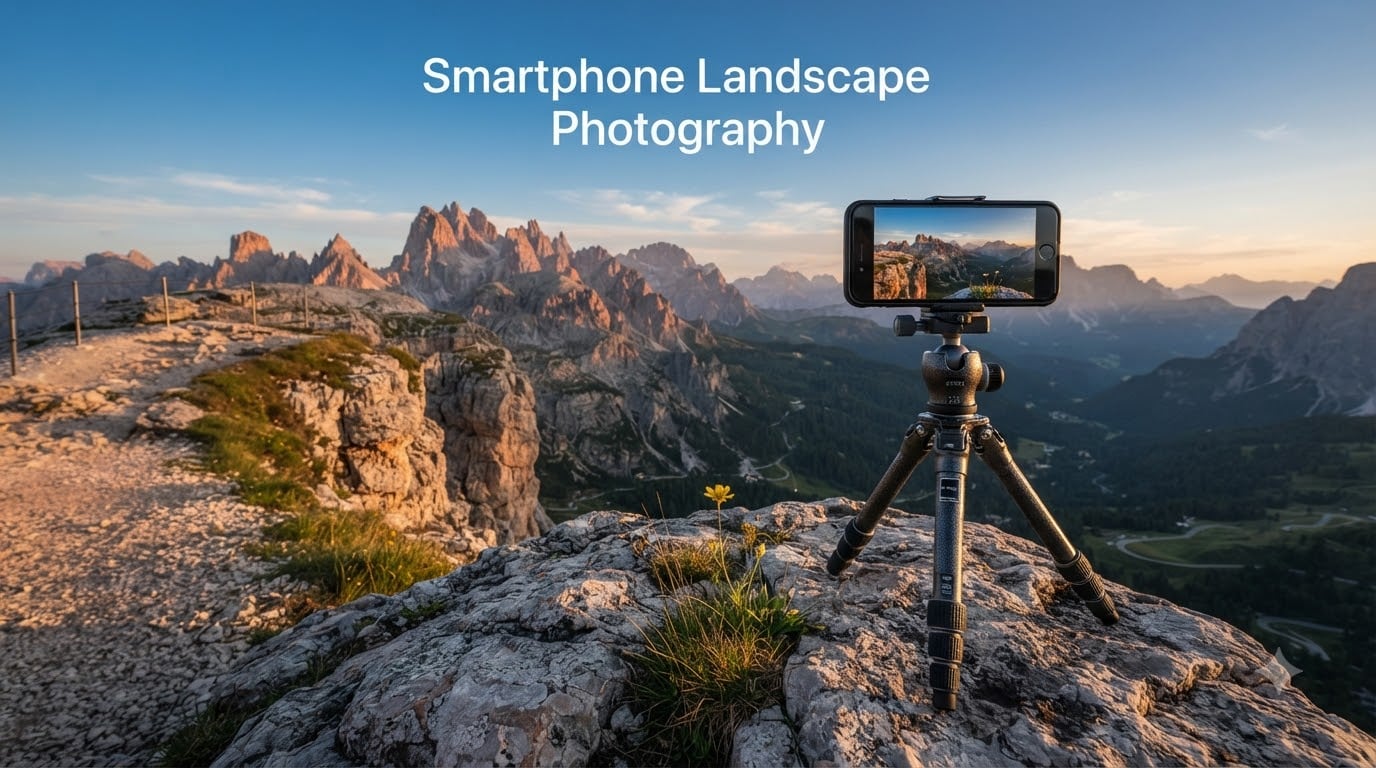
Two summers ago, I watched a fellow traveler pull out a bulky DSLR to capture a mountain sunrise while I stood next to him with nothing but my phone. He got a great shot. I got three great ones. The best camera is the one in your pocket, and that is exactly why smartphone landscape photography has exploded in 2026.
I have spent the last decade shooting landscapes, first with heavy mirrorless rigs and now mostly with the phone in my hand. Our team at Revell Photography has tested more than a dozen phones in the wild over the past three years, from alpine ridges to coastal cliffs. The results surprised us. With the right technique, your phone can absolutely hold its own against dedicated gear for most landscape work.
This guide is everything I wish someone had told me on day one. You will learn composition, lighting, manual settings, HDR, focus stacking, RAW workflows, panoramas, and the apps that make the difference. By the end, you will have a clear roadmap for turning your phone into a serious landscape tool in 2026 and beyond.
Smartphone landscape photography is the practice of capturing scenic outdoor images using only the camera built into your mobile phone. It relies on computational photography features, manual controls, accessories, and editing apps to overcome the inherent limitations of small sensors.
The category has grown because modern phones combine always-available convenience with surprisingly capable hardware. Computational features like Smart HDR, Night Mode, Deep Fusion, and multi-frame stacking do in milliseconds what would have required a tripod and Photoshop a decade ago.
If you are curious about the broader travel and outdoor photography scene, our guide to drones for cinematic landscape videography covers how aerial shots can complement your ground-level phone work. For unique shooting angles on the ground, our forced perspective photography guide is a good companion read.
Composition is the single biggest factor that separates snapshot-takers from photographers. A landscape scene contains too much visual information to capture cleanly without a framework. These are the techniques I teach first to every beginner on our team.
Turn on your phone’s grid overlay in the camera settings. This divides the frame into nine equal sections with two horizontal and two vertical lines. Place key horizons on the lower third line and key subjects like a mountain peak or tree on a vertical line intersection.
The rule of thirds works because it creates visual tension. A horizon dead-center feels static and static does not engage the eye. Off-center placement creates a path for the viewer’s gaze to follow.
Roads, rivers, fence lines, and shorelines are gifts to the landscape photographer. Position yourself so one of these lines starts at a corner of the frame and leads toward your main subject. Roads in particular work well because they imply a journey.
Flat landscape photos are the most common complaint I see on r/photography and r/LandscapePhotography. The fix is almost always the same: add a foreground element. Rocks, flowers, driftwood, or grass blades placed a few feet from the lens create depth and pull the viewer into the scene.
Use the 20-60-20 rule as a planning aid. Reserve about 20% of your frame for an interesting foreground, 60% for the midground and main landscape, and 20% for sky. This ratio prevents any single element from dominating.
Overhanging branches, archways, cave entrances, and windows all create natural frames. Position your subject inside these frames and the eye naturally settles there. I have used archways to frame distant mountains and tree canopies to frame waterfalls. Both worked beautifully.
Light is everything in landscape work. The same mountain looks lifeless at noon and majestic at sunrise. Learn to read light before you learn anything else.
Golden hour is the period shortly after sunrise and shortly before sunset when the sun is low on the horizon. Light during this window is warm, soft, directional, and flattering. Skies turn orange and pink, shadows lengthen, and textures pop.
The exact duration depends on latitude and season, but in most locations you have 30 to 60 minutes on each end. I use apps to plan my window precisely (more on those later). Arrive 20 minutes early so you can compose while the light builds.
Blue hour is the twilight window right before sunrise and right after sunset. The sky takes on deep blue tones and artificial lights begin to glow. It is the perfect time for cityscapes mixed with sky, harbor scenes, and mountain silhouettes.
Many beginners miss blue hour entirely because they pack up the moment the sun dips below the horizon. Stay out another 20 minutes and you will capture some of the best images of the trip.
Midday sun creates harsh shadows and bleached skies. Avoid flat landscapes during this window unless you are specifically seeking drama. Overcast days are actually excellent for waterfalls and coastal scenes because the soft light reveals textures without blowing out highlights.
Your phone’s automatic mode is smarter than it used to be, but it is not a photographer. Taking control of your settings is the difference between good and great. Most modern phones ship with a Pro or Manual mode that exposes the same controls you would find on a dedicated camera.
ISO controls sensor sensitivity. Keep ISO as low as possible (typically 50 or 100) for clean landscape images. Higher ISO introduces noise that is hard to remove in editing.
Shutter speed controls how long the sensor is exposed to light. In daylight, the phone will choose speeds around 1/1000s. In low light, you will need longer exposures, which is where a tripod becomes essential. Anything slower than about 1/30s handheld will likely blur.
Exposure compensation lets you dial the image brighter or darker than the camera’s automatic reading. Landscapes often benefit from underexposing by -0.3 to -0.7 EV to preserve highlight detail in skies. You can recover shadows in editing far more easily than highlights.
White balance controls color temperature. Auto works most of the time, but switching to a manual preset like Daylight, Cloudy, or Shade gives you more consistent results across a series of shots. Shooting in RAW also lets you adjust white balance non-destructively in post.
Tap your subject on the phone screen to set focus. On most phones, long-pressing locks both focus and exposure so the camera does not hunt when you recompose. This is critical for panoramas where the entire scene needs consistent exposure from left to right.
Modern flagship phones ship with three or four rear lenses: ultrawide, wide, telephoto, and sometimes a macro or periscope telephoto. Each has a role in landscape work.
The ultrawide lens is your best friend for sweeping vistas. It exaggerates foreground elements and creates dramatic depth. It also fits more sky, which is helpful for sunrise and sunset scenes. Watch out for edge distortion on near subjects, but for distant landscapes the lens distortion is generally minor.
The wide lens is your default workhorse. It produces the cleanest files and supports the most computational features. Reach for it first unless you have a specific reason to switch.
Telephoto lenses compress distance, making distant mountains look larger and closer. Optical zoom is preferred over digital zoom because digital zoom simply crops the sensor and reduces resolution. Periscope lenses on flagships deliver usable zoom at 5x to 10x focal lengths.
Smart HDR, Deep Fusion, Night Mode, and Photonic Engine are all examples of computational photography. The phone takes multiple frames in milliseconds, aligns them, and merges them for improved dynamic range, lower noise, and better detail. These features are the single biggest reason phone cameras have closed the gap with dedicated cameras.
Let the phone do its job. Trust the multi-frame stack in good light and use Night Mode in low light. Resist the urge to disable these features in pursuit of a “pure” image.
A small phone tripod is the single most useful accessory you can buy for landscape photography. It costs little, weighs almost nothing, and unlocks long exposures, panoramas, focus stacking, and self-portraits in landscapes.
Long exposures at sunrise or blue hour require stability. Handholding in low light produces blur. Even in daylight, a tripod helps you compose carefully, lock focus, and shoot multiple frames for HDR or focus stacking.
Look for a tripod that folds small enough to fit in a daypack. Models from Peak Design, Manfrotto, Joby, and Ulanzi are popular choices. A Bluetooth remote or using the phone’s timer avoids touching the phone during the exposure.
Neutral density filters reduce light entering the lens, allowing longer exposures in daylight. They enable silky water effects and motion blur in clouds during bright midday conditions.
Circular polarizers deepen blue skies, reduce glare on water and wet rocks, and boost color saturation in foliage. They are a must for outdoor landscape work in sunny conditions. Make sure any filter you buy matches your specific phone model because lens diameters vary.
HDR stands for High Dynamic Range. The technique captures multiple exposures of the same scene and combines them to preserve detail in both bright and dark areas. Modern phones automate this through Smart HDR, but you can also bracket manually for more control.
Manual bracketing captures three to five exposures at different brightness levels. The darkest preserves sky detail, the brightest preserves shadow detail, and the middle exposure captures midtones. Software then merges them into a single image with detail throughout.
Apps like ProCam, Lightroom Mobile, and Halide support bracketing on most phones. For best results, use a tripod so frames align perfectly. Bracket when scenes have extreme contrast like sunrise over dark mountains or sunlit rocks with deep shadows.
Focus stacking is a technique that solves one of the biggest challenges in landscape photography: getting both the foreground and the distant background sharp. Phone sensors inherently have a deep depth of field, but at close focus distances even phones can struggle to keep everything sharp from two feet to infinity.
The fix is to take multiple frames focused at different distances. Shoot one focused on the foreground rock two feet away. Shoot another focused on the midground tree 20 feet away. Shoot another focused on the distant mountain. Then merge them in software.
Apps like Helicon Focus Mobile, Focus Stacker, and the desktop version of Helicon Focus can blend these frames automatically. The result is an image that is tack-sharp throughout, which is impossible to achieve in a single exposure on any camera system.
This is one of the most underrated techniques in smartphone landscape photography and a great way to differentiate your images.
RAW files (often .DNG on phones) contain the unprocessed sensor data from your camera. They are far more flexible than JPEG files for editing because they preserve highlight and shadow detail that JPEG throws away during processing.
Most flagship phones support RAW capture through a Pro mode or third-party apps like Lightroom Mobile, Halide, or ProCam. Enable it whenever you intend to edit the image later. RAW files are larger than JPEGs, so plan your storage accordingly.
In editing, RAW files let you recover blown highlights, pull detail from deep shadows, adjust white balance without quality loss, and apply noise reduction with much better results than JPEG. The workflow takes longer but the final image quality is significantly higher.
Always shoot RAW plus JPEG simultaneously if storage allows. The JPEGs are convenient for quick sharing and the RAW files are your safety net for serious editing.
Panorama mode captures wide scenes that exceed your lens’s field of view. Phones stitch multiple frames together as you pan across the scene. The technique is ideal for cityscapes, mountain ranges, coastlines, and any scene where you want to convey scale.
For best results, stand the phone vertically (tall orientation) so the final image has more vertical resolution. Pan slowly and steadily, keeping the horizon level. Tap to lock exposure before starting so the entire panorama has consistent brightness.
Avoid scenes that include moving subjects near the frame edges because stitching artifacts often appear there. For sweeping mountain ranges and quiet coastlines, panoramas are an unbeatable tool.
Previsualization is the practice of imagining the final image before you shoot it. Walking a scene before the light arrives, identifying compositions, and choosing your camera position in advance is the difference between hoping for a good shot and coming home with one.
Planning apps take this further. PhotoPills shows the position of the sun and moon at any time from any location, plus golden hour, blue hour, and twilight windows. TPE (The Photographer’s Ephemeris) is the desktop standard for serious landscape photographers. Sun Surveyor helps visualize sun and moon trajectories overlaid on a live camera feed.
For weather and aurora planning, apps like Clear Outside, Astrospheric, and My Aurora Forecast predict cloud cover, atmospheric conditions, and northern lights activity. For compositional scouting, Google Earth and PeakVisor let you identify peaks, ridges, and viewpoints before you ever leave home.
Geotagging your landscape photos adds location data that can help you return to a spot or share it with the photography community. It can also harm fragile environments when sensitive locations get overrun by visitors.
Think carefully before posting precise GPS data for wildflower meadows, nesting bird sites, or rare geological features. Some photographers intentionally offset their GPS coordinates by a small amount to protect fragile locations. Consider the impact on the place before broadcasting its exact position.
The honest answer is that smartphones can do about 95% of what most landscape photographers need. Phones are always with you, computationally sophisticated, and capable of stunning results in good light. They also fall short in specific scenarios.
Where phones excel: convenience, computational features, instant sharing, light weight, low cost of ownership. Where phones struggle: extreme telephoto reach, sensor size in low light, dynamic range in extreme contrast, weather sealing in harsh environments.
For casual landscape work, travel photography, social media, and prints up to 16×20 inches, a phone is more than enough. For large fine-art prints above 20×30 inches, telephoto wildlife-in-landscape compositions, and serious astrophotography, a dedicated camera still has the edge.
Reddit photographers often echo this exact balance: phones are good enough for most uses, and dedicated cameras are clearly a step above when conditions push sensor limits. Choose based on what you actually shoot, not on what gear reviews claim is best.
Editing is where smartphone images transition from good to great. The right apps make the difference between snapshots and portfolio images.
Snapseed is a free Google app that handles selective adjustments, healing, curves, and RAW editing. Lightroom Mobile offers desktop-class RAW editing on your phone with selective masking tools and presets. VSCO provides film-like filters and fine color control. For panoramas, try Microsoft Pix or Huji. For focus stacking, Helicon Focus Mobile is the standout option.
For planning, PhotoPills, Sun Surveyor, and The Photographer’s Ephemeris cover sun, moon, and Milky Way positioning. Clear Outside and Astrospheric handle weather forecasting for photographers. For compositional scouting, Google Earth and PeakVisor identify peaks and viewpoints anywhere on the planet.
To take good landscape photos with your phone, start by enabling grid lines and using the rule of thirds. Shoot during golden hour or blue hour for the most flattering light, use a small tripod for stability, tap to set focus on your main subject, lock exposure by long-pressing the screen, and edit your shots in apps like Snapseed or Lightroom Mobile.
The 20-60-20 rule is a compositional guideline that suggests reserving roughly 20% of the frame for an interesting foreground element, 60% for the midground and main landscape, and 20% for sky. This ratio prevents any single element from dominating the frame and creates a balanced, depth-rich image.
Top apps for landscape photography include Snapseed for free RAW editing and selective tweaks, Lightroom Mobile for desktop-class RAW processing and presets, VSCO for film-like filters, PhotoPills for sun and moon positioning, Sun Surveyor for golden hour planning, Helicon Focus Mobile for focus stacking, and Clear Outside for weather forecasting.
For portrait photography, phones with larger sensors, fast lenses, and dedicated portrait modes perform best. Top options as of 2026 include Apple iPhone Pro models with the Photonic Engine, Google Pixel Pro models with computational portraits, and Samsung Galaxy S Ultra models with the Expert RAW app and periscope zoom.
Shoot in RAW whenever you intend to edit your landscape images. RAW files preserve highlight and shadow detail that JPEGs throw away, allow non-destructive white balance changes, and offer far more flexibility in apps like Lightroom Mobile. Use RAW plus JPEG simultaneous capture if storage allows so you have both formats.
Smartphone landscape photography has matured into a serious creative discipline. Modern phones, paired with the techniques in this guide, can produce images suitable for prints, galleries, magazines, and personal portfolios. The gear gap with DSLRs and mirrorless cameras has narrowed dramatically thanks to computational photography.
Start where you are. Pick one technique from this guide, practice it for a week, then add another. Master composition and light before chasing advanced techniques. Invest in a small tripod and Snapseed or Lightroom Mobile first, then add filters and lenses as your work develops.
For more creative landscape ideas, check out our snow photography guide, jewelry photography ideas, and toy photography guide for inspiration across other genres. Get out there, shoot often, and enjoy the landscapes you find in 2026.