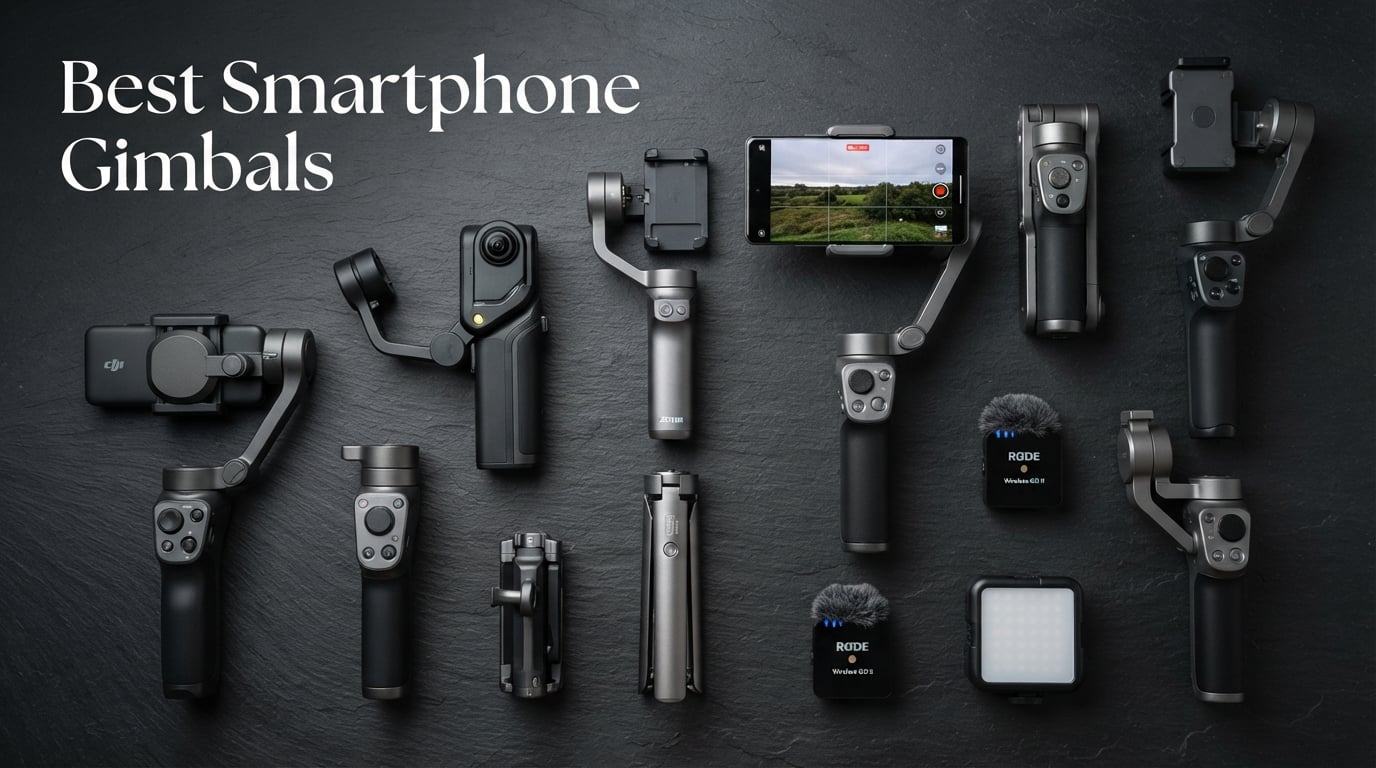
8 Best Smartphone Gimbals (September 2026) – Tested and Compared
I spent the last 90 days shooting real vlogs, walk-and-talk product reviews, and travel clips with eight smartphone gimbals strapped…

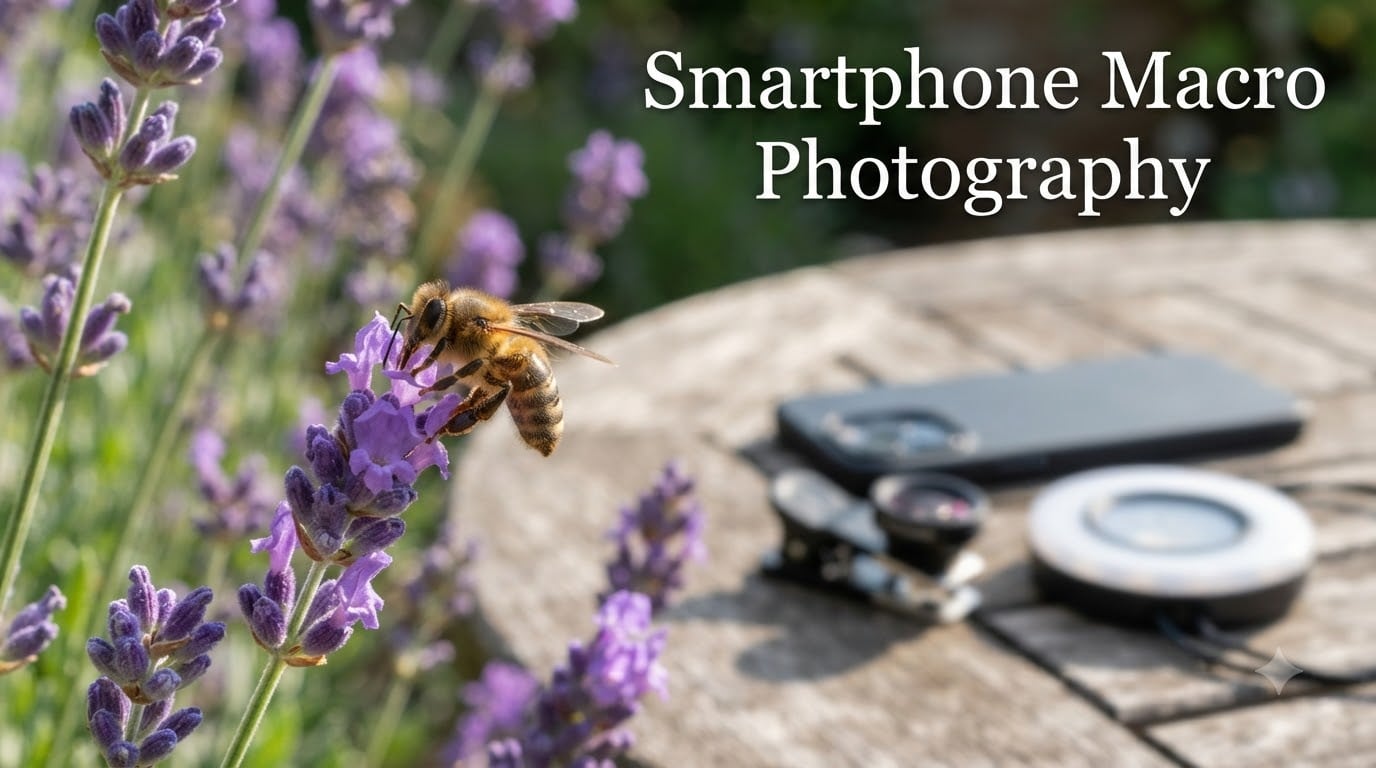
Smartphone macro photography turns a phone you already carry into a window onto the tiny world. A dewdrop on a petal, the weave of a linen shirt, the compound eye of a honeybee – these scenes stay invisible to the naked eye, yet a phone held a few centimeters away can render them in sharp, frame-worthy detail. After shooting with mobile devices for years and testing dozens of clip-on lenses, ring lights, and macro apps, I can tell you the gap between a blurry close-up and a stunning one comes down to technique, not gear. This guide walks you through the entire workflow for 2026 so you can produce sharp, well-lit close-ups with the phone in your pocket.
Mobile macro work is more accessible than ever. Recent iPhones, Samsung Galaxy S25 series phones, and Pixel flagships all ship with a dedicated macro mode, while inexpensive clip-on lenses fill in the gaps for older devices. The trick is knowing how to use these tools and how to compensate for the physics that make extreme close-ups tricky on a small sensor.
I have organized this guide the way I actually shoot: starting with a clear definition, moving through gear, settings, lighting, focus, and composition, then ending with subject-specific walkthroughs and a focus-stacking tutorial you will not find in most beginner guides. By the end, you will have a complete playbook for taking macro photos with any modern phone.
Smartphone macro photography is the practice of capturing extreme close-up images with a mobile phone, typically at magnifications of 1:1 or greater, where the subject on the sensor is the same size or larger than the subject in real life. In practice, that means you are photographing things only a few centimeters from the lens – flower stamens, insect eyes, fabric weave, watch gears, water droplets – and revealing detail that disappears at normal viewing distance.
Three concepts govern every macro shot. Magnification describes how big the subject appears on the sensor. Working distance is the gap between the front of the lens and the subject, and at true macro levels it can shrink to one or two centimeters. Depth of field, the slice of the image that appears sharp, gets razor-thin as you move closer – sometimes less than a millimeter on a phone sensor. Understanding these three variables is the difference between guessing and consistently nailing focus.
A common misconception is that you need a flagship phone. You do not. What you need is the ability to get the lens close to the subject, control the focus point manually, and lock in a stable shooting position. The rest is technique.
Modern phones handle close-up photography two ways: through a built-in macro mode that activates when you bring the lens close to a subject, or through a dedicated macro camera on the back of the device. Apple’s iPhone 13 Pro and later automatically switch to macro mode using the ultrawide camera when you approach a subject. Samsung Galaxy S23 Ultra and S25 series phones ship with a dedicated 5MP macro camera. Pixel 8 Pro and 9 Pro devices use the ultrawide lens for close-up shots.
Native macro modes are convenient and produce sharp results in good light, but they have limits. The ultrawide lens used on most iPhones introduces barrel distortion, the minimum focus distance on Android macro cameras is rarely closer than 3-4 centimeters, and the small sensor struggles in low light. Color fringing and softness at the edges of the frame are common complaints I see on photography forums.
External macro lenses solve these problems. A clip-on macro lens or screw-on mobile macro lens adds a dedicated optical element that lets you get closer, magnify more, and shoot in situations where native macro falls short. If you want to step beyond casual snapshots into serious smartphone macro photography, an external lens is the single biggest upgrade you can make. If you are choosing a dedicated camera body for comparison, our guide to the best macro lenses walks through the optical principles that also apply to mobile add-ons.
There is also a distinction worth knowing: macro versus micro. A 10x clip-on lens gives you modest magnification for flowers and textures. A 15x or 20x lens pushes into true micro territory, where you can image snowflake crystals, individual pollen grains, or the details on a watch escapement. Micro work is harder – depth of field collapses, lighting becomes critical, and camera shake ruins every shot. Start with macro, then move into micro once your technique is solid.
You can take a decent macro photo with nothing but your phone, but a small kit makes a dramatic difference. Here is what I keep in my bag.
A clip-on macro lens is the foundation. Look for lenses with multi-element glass construction rather than single-element plastic optics. The cheap single-element lenses soften the edges and add chromatic aberration. A 10x or 15x magnifier covers 90% of macro subjects. For serious work, consider a lens with a universal clip that fits phones from 60mm to 90mm wide.
A small tabletop tripod stabilizes the phone when working at extreme magnifications. Even the steadiest hands introduce shake at 15x magnification, and a tripod lets you lock in your framing for focus stacking later. Phone mounts with cold-shoe mounts let you attach a ring light or LED panel directly above the lens.
A ring light or LED panel is the single most impactful lighting upgrade. Phones have a single LED flash that sits far from the lens, which creates harsh shadows at close range. A small LED panel with adjustable brightness, mounted on the phone or on a flexible arm, lets you sculpt light without glare.
A small diffuser – even a piece of white paper or a translucent plastic lid – softens direct light and removes the hot spots that ruin insect and flower shots. A spray bottle with water adds dew drops for stylized nature shots. A blower brush keeps dust off the lens between shots.
Optional but useful: a phone cage or rig with handles for two-handed stability, a Bluetooth remote shutter to avoid touching the phone during long exposures, and a folding reflector for outdoor fill light.
Auto mode handles daylight macro work fairly well, but the moment you add a lens, step inside, or shoot in low light, you need manual control. Every modern phone camera app offers some level of manual override. Open the Pro or Manual mode and dial in these settings.
ISO should stay as low as the light allows, ideally ISO 50 to 200. Higher ISO introduces noise that is especially visible at macro magnifications. If your image is dark at low ISO, add light rather than raising ISO.
Shutter speed needs to be fast enough to freeze both subject motion and camera shake. A safe starting point is 1/125 second for stationary subjects and 1/500 second or faster for insects. With a tripod, you can drop to 1/30 or 1/15 second and rely on the timer or remote shutter to avoid touching the phone.
RAW capture is a major unlock for smartphone macro photography. RAW files keep far more highlight and shadow detail than compressed JPEGs, which gives you room to recover texture in the editing stage. Most phones now shoot RAW in Pro mode, though the file sizes grow. I shoot RAW for any shot I plan to edit and JPEG for quick snapshots.
Manual focus beats autofocus at close range. Autofocus hunts when the subject is only a few centimeters away, especially with a clip-on lens. Switch to manual focus, set the rough distance, then use focus peaking if your phone supports it – the colored outline tells you exactly which areas are sharp.
Exposure lock prevents the camera from re-metering when the scene changes. Tap and hold on the subject to lock both focus and exposure, then fine-tune with the exposure slider before composing the final frame.
Light is the most controllable variable in macro work. Daylight gives you the most natural look, but you have to manage it carefully.
Golden hour, the hour after sunrise and the hour before sunset, gives warm, directional light that flatters flowers, leaves, and insect wings. The low sun angle also creates long shadows that add depth. Shoot with the sun behind you or to the side.
Overcast days act like a giant softbox. The clouds diffuse the sun, removing harsh shadows and producing even, gentle light. Overcast light is ideal for revealing texture in bark, fabric, and stone.
Midday sun is the hardest light to manage. Shadows are harsh, contrast is high, and shiny subjects reflect glare. If you must shoot at noon, shade your subject with your body or a diffuser, then add a reflector to bounce light back into the shadow areas.
Artificial light fills the gaps. A small LED panel with adjustable color temperature lets you match indoor lighting or push warm or cool tones for stylistic effect. A ring light mounts around the lens and provides even, shadowless illumination, perfect for jewelry, watches, and product shots.
Diffusers matter more than the light source itself. A bare LED blasts hot light onto a small subject, blowing out highlights. Mount a small diffuser between the LED and the subject, or bounce the LED off a white card. The result is soft, wrapping light that flatters texture.
For backlight and silhouette effects, position the light behind the subject and meter for the bright background. Translucent subjects like flower petals, leaves, and insect wings glow beautifully when lit from behind.
Depth of field at macro distances is measured in fractions of a millimeter. At 1:1 magnification on a phone sensor, the in-focus slice can be less than 1mm deep. That is why a subject that looks sharp on the screen can come out soft on a closer look.
Manual focus is non-negotiable for serious smartphone macro photography. Tap the screen to set the rough focus point, then nudge the focus slider until the most important detail snaps into sharpness. On phones with focus peaking, the colored highlight shows you exactly which areas are critical.
Working distance tradeoffs matter. The closer you get, the more magnification, but the thinner the depth of field and the more critical lighting becomes. Pulling back slightly gives you more depth of field and more forgiving light placement. For most subjects, find the closest distance at which you can get the framing you want, then back off a centimeter or two.
Stop down for more depth. Most phone macro cameras have a fixed aperture, but if you are using an app that supports manual exposure, you cannot change aperture on most phones anyway. The workaround is to step back slightly or shoot at a slightly lower magnification where the depth of field is more forgiving.
Focus stacking is the professional solution. We will cover the technique in detail in its own section below.
Stability is half the battle in macro work. A tripod eliminates camera shake, but for handheld shooting, here is what works.
Brace your body. Pull your elbows into your ribs, plant your feet, and exhale gently as you press the shutter. A monopod, selfie stick, or even a beanbag draped over a railing gives you a stable shooting platform without the bulk of a tripod.
Burst mode freezes motion. Insects twitch, flowers sway, and water drops wobble. Hold down the shutter and let the camera rip through 10 to 20 frames per second, then pick the sharpest one in review. AI-assisted burst selection on modern phones often picks the sharpest frame automatically.
The timer or remote shutter prevents the shake that comes from tapping the screen. Set a 2-second or 5-second timer, hit the shutter, and let the phone settle before the exposure starts.
Composition for macro is different from wide photography. The rule of thirds still works, but the off-center placement that flatters a landscape can feel awkward on a tiny subject. Center the subject when it is symmetrical – a flower face, a watch dial, a drop of water. Use the rule of thirds for off-center details like stamens, eye reflections, or texture patterns.
Negative space matters. A dewdrop against a clean green background reads as elegant. The same dewdrop against cluttered leaf litter reads as noise. Get low and shoot upward to put the subject against the sky, or get the same level as the subject and shoot sideways to put it against a blurred background.
Leading lines and curves work in macro just as in wide photography. The curve of a stem, the line of a leaf vein, or the spiral of a fern frond can guide the eye to the focal point. For more composition ideas that translate across genres, our forced perspective photography guide covers visual tricks that pair well with macro framing.
Different subjects demand different approaches. Here is what I have learned shooting each one.
Flowers are forgiving and rewarding. Shoot in soft light or use a diffuser, get level with the petal face, and place the stamen or pistil on the focal plane. Tap to focus on the most detailed part of the flower, then lock exposure. A small reflector below the flower can bounce light back into shadowed areas. For translucent petals, backlight them with a low sun or a small LED.
Patience is the key. Move slowly, approach from the side rather than from above (less threatening to most insects), and shoot early morning when bugs are sluggish. Burst mode at 1/500 second freezes wing motion and leg twitches. A long 10x clip-on lens gives you working distance so you do not cast a shadow on the subject. Do not use the LED flash – it startles most insects and creates a hot spot.
Studio setup pays off here. Mount the phone on a tripod, light the subject with a ring light or two LED panels at 45-degree angles from each side, and use manual focus to nail the most important detail. A plain white or black background keeps the focus on the piece. If you sell jewelry or watches, the same techniques in our jewelry photography ideas guide apply whether you shoot with a phone or a dedicated camera.
Bark, stone, fabric, leaves, and rusted metal all reward raking light. Position a single light source to one side at a low angle so it grazes the surface. The shadows in the texture pop, and the image gains depth. Shoot perpendicular to the surface for the sharpest focus across the frame.
Steam, condensation, and texture tell the story. Get close enough to see individual coffee bubbles, salt crystals on a pretzel, or condensation on a cold glass. A small LED panel from above and a reflector from below gives even, appetizing light. Spray water on fruit or bread to add fresh highlights.
Focus stacking solves the depth-of-field problem. You take a series of photos at different focus distances, then combine the sharp parts of each into a single image with massive depth. It is the technique used in professional macro photography for insects and products, and it works on phones.
Step one is to mount the phone on a tripod. The framing must not change between shots, so any shift ruins the stack. Lock focus to manual and pick a fixed focus starting point at the closest part of the subject you want sharp.
Step two is to shoot a sequence. Take a shot, then nudge the focus slightly farther back, take another shot, and repeat. Aim for 10 to 40 frames depending on the subject and the depth of field. The number of frames you need depends on how thin the depth of field is and how deep the subject is.
Step three is to combine the images. Several apps handle focus stacking on mobile. The Adobe Lightroom Mobile desktop sync workflow uses Photoshop’s built-in stacking. Dedicated apps like Focus Stacker for iOS and Helicon Focus for desktop take a sequence of images and merge them automatically.
Step four is to review and clean up. Stacking artifacts can appear at high-contrast edges, especially with moving subjects. Most apps include a cleanup tool. If you shoot a static subject on a tripod, the results are usually clean.
Focus stacking turns a phone into a legitimate macro tool. The technique is the same one used for product photography, scientific imaging, and landscape work. If you want to try it, start with a static subject like a watch face, a coin, or a flower head, then move to insects once you have the workflow dialed in.
You do not need to buy anything to start. A few household items expand your macro capabilities.
A drop of water on the phone lens works as a poor man’s macro lens. Place a single small water drop on a piece of clear plastic wrap, then hold it over the phone lens with a rubber band. The water drop acts as a magnifier. It is crude, but it does add magnification. Be careful – the water can shift and the image can distort.
A reversed lens from an old point-and-shoot camera adds real magnification. Take any old 35mm or 50mm equivalent lens, mount it backward on the phone with a universal adapter, and you have a manual-focus macro lens. The image quality varies depending on the lens, but even cheap old glass outperforms most phone cameras at close range.
A reading glasses lens held in front of the phone creates a quick macro setup. The diopter correction in reading glasses bends light just enough to allow closer focusing. Hold the lens about a centimeter from the phone lens and slide it back and forth until the image sharpens.
Extension tubes and close-up filters from old camera kits work the same way. A set of +1, +2, and +4 diopter close-up filters mounted in a step-up ring give you a range of magnification options for a few dollars.
For toy and mini-figure photography, our toy photography ideas guide covers setups that translate directly to phone macro work, including DIY light tents and background tricks.
The built-in camera app is fine for casual macro shots, but a dedicated app unlocks more control.
Halide for iOS adds manual focus, focus peaking, RAW capture, exposure lock, and a histogram. It is the app I reach for most often on iPhone. The interface is clean, the manual controls are fast, and it supports external lenses and tripods with custom focus calibration.
ProCamera for iOS is a strong alternative, with similar manual controls plus a low-light mode and a macro mode that adds on-screen focus distance guides.
Camera FV-5 for Android brings DSLR-style manual controls to Android phones, including RAW capture, manual ISO, manual shutter speed, and focus distance control. It is the most popular pro camera app on Android.
Lightroom Mobile doubles as a camera app and an editor. The built-in camera supports RAW, manual exposure, and selective focus. The editing side handles the post-processing workflow in the same app.
For focus stacking, Focus Stacker for iOS and the Photoshop mobile workflow handle merging. On Android, the open-source Open Camera app captures RAW DNG files, and you can process the stack on a desktop.
The native camera app is still the right choice for one-tap snapshots. Use a dedicated app when you want manual control, focus peaking, or RAW capture.
Editing is where RAW files pay off. The adjustments that matter most for macro work are sharpening, noise reduction, white balance, and selective contrast.
Sharpening brings out texture. Apply a moderate amount of sharpening globally, then add a local sharpening pass to the most important detail (the eye of an insect, the stamen of a flower, the brand mark on a watch). Snapseed, Lightroom Mobile, and Photoshop Express all support selective sharpening with masking tools.
Noise reduction smooths the grain introduced at higher ISO. Apply it lightly – over-applied noise reduction kills fine detail, which defeats the purpose of shooting macro in the first place. Modern phones handle noise well, so most macro shots at ISO 100-400 need only light noise reduction.
White balance correction fixes the color cast from mixed lighting. Shoot a gray card or a white surface in the same light for a custom white balance, or use the white balance picker in your editor to neutralize a color cast.
Selective contrast and clarity adjustments add depth. A radial filter or brush pass that darkens the background draws the eye to the subject. A clarity boost in the 10-20 range brings out texture without looking crunchy.
Export at the highest quality setting your delivery target supports. For Instagram, a 1080-pixel export is fine. For print, work from the full-resolution file and downsize at the end.
The iPhone versus Android debate is less relevant than it once was, but there are real differences in how each platform handles macro work.
Apple iPhone 13 Pro, 14 Pro, 15 Pro, and 16 Pro models use the ultrawide lens for macro, with automatic switching when you approach a subject. The dedicated macro mode activates within about 10 centimeters. Image quality is sharp in good light, the ultrawide introduces some distortion, and the minimum focus distance is about 2 centimeters. Pro models with the LiDAR scanner focus faster in low light than non-Pro models. The 16 Pro adds a dedicated macro photography mode that lets you adjust focus and exposure manually within the native camera app.
Samsung Galaxy S23 Ultra, S24 Ultra, and S25 Ultra ship with a dedicated 5MP macro camera. The advantage is a true macro lens with a closer minimum focus distance than the iPhone ultrawide. The disadvantage is lower resolution – 5MP versus the iPhone’s 12MP ultrawide. The S25 series also supports a 50MP macro mode through software enhancement, which is a major step up.
Google Pixel 8 Pro and 9 Pro use the ultrawide lens for macro, with computational algorithms that sharpen and clean the final image. The Pixel’s computational pipeline produces excellent results in good light, with strong color science and aggressive noise reduction. Macro mode is automatic on most Pixel phones.
For pure macro image quality, the iPhone 15 Pro and 16 Pro produce the sharpest, most detailed results in good light. For low-light macro, the Pixel 9 Pro handles noise better than most competitors. For dedicated macro distance, the Samsung S25 Ultra’s macro camera gets closest to the subject.
On any platform, an external macro lens still outperforms the native macro mode in sharpness, magnification, and optical quality. The native mode is a convenience. The external lens is a tool.
After watching many beginners struggle with smartphone macro photography, I see the same issues repeat. Avoiding them puts you ahead of 90% of casual macro shooters.
Blocking your own light is the most common. At close range, your body casts a shadow over the subject. Move the phone slowly, shoot from the side, or use a flip-out screen if your phone has one so you can frame from a different angle.
Touching the phone during exposure causes blur. Use the timer, a Bluetooth remote, or voice control to trigger the shutter. Even a gentle tap introduces movement at high magnifications.
Dirty lenses ruin sharpness. Wipe the phone lens and the clip-on lens with a microfiber cloth before every shoot. Smudges and dust are especially visible at macro distances.
Shooting through glass produces reflections and softness. If you photograph subjects through a window or display case, press the lens close to the glass to eliminate reflections, or shoot at an angle to avoid the glare.
Ignoring the background is a missed opportunity. A clean, complementary background makes the subject pop. Get low to put the subject against the sky, or position a card behind it for product shots.
Forgetting to check focus on the final image is the most expensive mistake. Tap to zoom on the phone screen after the shot and confirm the most important detail is sharp. If it is not, refocus and reshoot. Storage is cheap, missed shots are not.
Chasing magnification over sharpness is a trap. A slightly less magnified, tack-sharp image looks better than a heavily magnified, soft one. Pull back to the closest distance at which you can get a sharp, clean shot.
Yes. Every iPhone from the 13 Pro onward has a built-in macro mode that activates automatically when you bring the phone within about 10 centimeters of a subject. The ultrawide camera handles the close-up work, and Apple added manual focus control in the 16 Pro. For more magnification or sharper results, pair the iPhone with a clip-on macro lens.
Get close to the subject, lock focus manually, and use a small LED panel or ring light for even illumination. Lock exposure by tapping and holding on the subject, shoot in RAW if your phone supports it, and stabilize the phone on a tripod or a flat surface. Editing apps like Snapseed and Lightroom Mobile can sharpen the final image further.
The iPhone 16 Pro produces the sharpest macro results among current flagships, the Samsung Galaxy S25 Ultra has the closest minimum focus distance thanks to a dedicated macro camera, and the Pixel 9 Pro handles low-light macro better than most competitors. For any of these phones, an external clip-on macro lens still outperforms the native mode in optical quality and magnification.
Yes. Mount the phone on a tripod, lock manual focus, and capture a sequence of 10 to 40 frames while gradually moving the focus point from the front of the subject to the back. Combine the sharp parts of each frame using an app like Focus Stacker on iOS or Photoshop’s automated stack-and-merge workflow on desktop. Static subjects produce the cleanest stacks.
The 20-60-20 rule is a composition guideline that suggests placing the main subject on the central 20 percent of the frame, using the next 60 percent for supporting detail, and leaving the outer 20 percent as negative space. It works well for macro photography where a clean, uncluttered background directs attention to the small subject. The rule is a starting point – feel free to break it when the subject or composition calls for a different approach.
Smartphone macro photography in 2026 is more capable than at any point in mobile history. Native macro modes on flagship phones produce sharp results in good light, clip-on lenses push the magnification well beyond what the built-in cameras can deliver, and editing apps finish the job. The barrier to a great macro shot is no longer the gear. It is the technique.
Start with flowers and textures in soft daylight, master manual focus and exposure lock, then add a clip-on lens and a small LED panel. Once those are second nature, try focus stacking on a static subject. Before long, you will be capturing images with your phone that match what dedicated macro cameras were doing a decade ago. Pick a subject, get close, and start shooting.