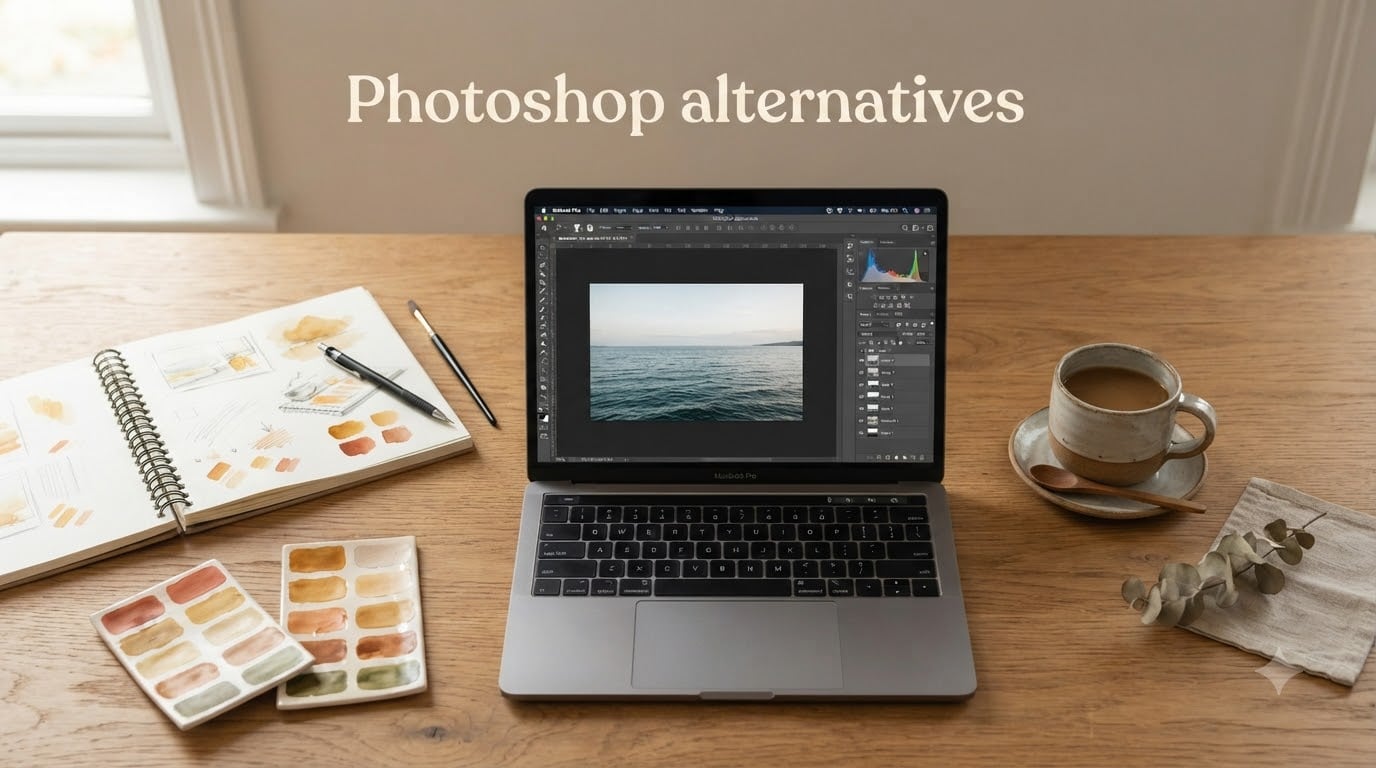
7 Best Photoshop Alternatives (September 2026): Top Picks
I tested the seven best Photoshop alternatives that do not lock you into Adobe’s subscription, and what I found surprised…

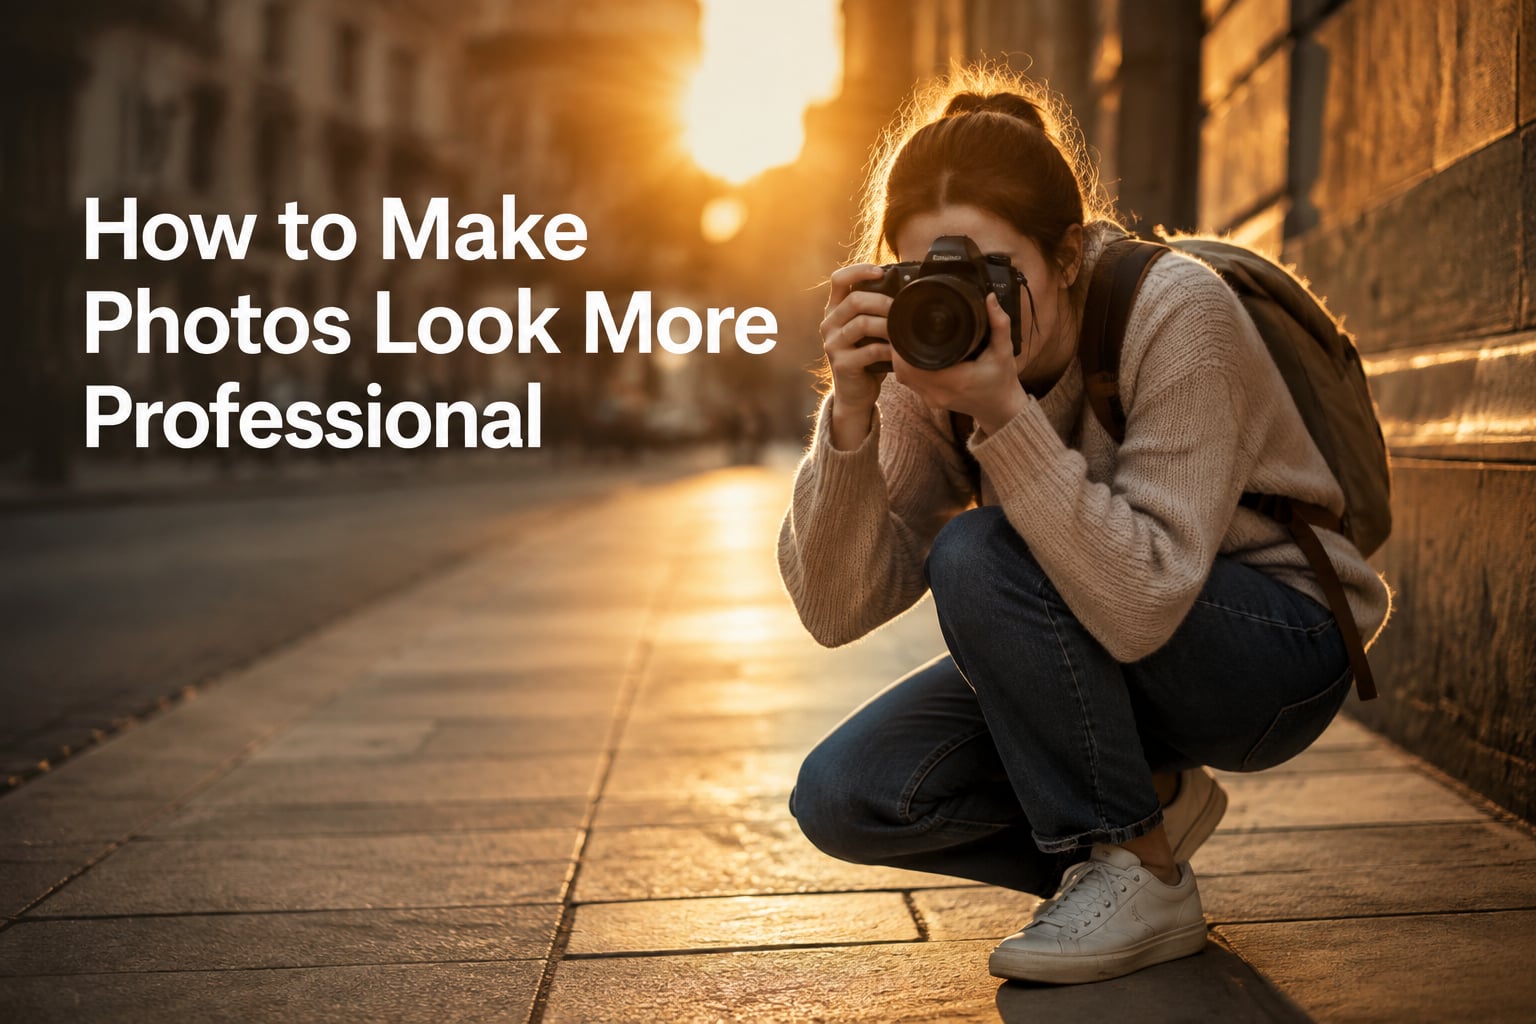
Sharp, balanced, well-lit photos used to be the domain of studios and expensive gear. In 2026, that gap has closed dramatically. I have spent the last three years shooting on everything from a $200 beginner DSLR to a smartphone in my pocket, and the same handful of techniques consistently separate amateur snapshots from photos that look like a professional photographer took them. This guide pulls those lessons together so you can stop guessing and start shooting with intent.
If you are searching for how to make photos look more professional, you probably already know that megapixels and brand logos do not carry the weight people assume. The real difference comes down to composition, lighting, angles, and editing. I will walk through the principles behind each, show you what to do on the spot, and call out the small mistakes that quietly sabotage great shots.
This article is also written for real situations. Some of you are shooting with a phone at a family dinner. Others are running a small business and need product photos that convert. A few of you are building a portfolio. The techniques below scale to all three. I have also folded in the 20/60/20 rule, which almost no competitor covers, and a clear answer to the question of why some attractive people look unflattering in photos. For readers who want to push further into genre-specific work, our guide on how to take photos through a telescope applies many of the same principles to a very different subject.
Before diving deep, here is a numbered list of the ten fastest ways to make a normal photo look professional. Use this for the featured snippet answer and as your on-location checklist.
Composition is the single biggest reason a photo looks professional. Gear helps, but composition is free and works on any camera. I think of composition as the deliberate arrangement of shapes, lines, and negative space so the eye knows exactly where to land.
The rule of thirds divides the frame into a 3×3 grid. Place your main subject on one of the four intersecting points, not in the dead center. Our eyes naturally prefer off-center compositions, so this small change makes your photos feel more dynamic without anything else changing.
Most phones and cameras let you turn on a grid overlay in settings. Enable it, frame your subject on the lines, and you will instantly feel the shift. The grid also helps you spot crooked horizons, which is one of the fastest ways a photo looks amateur.
Leading lines are real or implied lines that pull the viewer’s eye toward your subject. Roads, fences, shorelines, and architectural lines all work. I use them constantly in travel and portrait work because they tell the viewer where to look next.
When you are framing a shot, scan the scene for lines. Position yourself so those lines lead toward your subject, not away from it. The fix is almost always a small step to the left or right, not a zoom. If you enjoy shooting subjects that require real patience, our best bird feeders for cardinals guide shows how leading lines and waiting on light can transform backyard wildlife photos.
Framing means using elements in the scene to box in your subject. A doorway, an arch, or even a branch can act as a natural frame that adds depth and context. This is one of the easiest ways to add a sense of layered depth, which is a hallmark of professional photos.
Try it during your next portrait session. Stand the subject under an arch and shoot from a few steps back. The arch frames the face and adds scale. The same idea works in product photos by using shelves, books, or light tents.
Lighting is the second pillar. A perfectly composed shot will still look flat under bad light, while great light rescues an average composition. I treat light as the first thing I look for, before color, subject, or framing.
Golden hour is the hour after sunrise and the hour before sunset. The light is warm, soft, and directional. Shadows are long but soft, and skin tones look flattering without filters. Photographers love it because it makes almost any camera produce flattering results.
If you can plan one shoot per week at golden hour, your phone photos will start to look like the work of a professional photographer. For an even softer look, shoot on overcast days. Clouds act as a giant diffuser, wrapping the subject in soft light and removing harsh shadows.
Direct on-camera flash is the most common reason photos look amateur. It flattens features, creates red-eye, and produces hard shadows. Turn the flash off and find a window instead. Place your subject at an angle to the window so light falls across the face, not flat onto it.
When you have no choice but to shoot in mixed light, set a custom white balance. Auto white balance tends to drift warm under household bulbs and cool under fluorescent tubes. A quick white balance card or a manual preset fixes it in seconds.
Harsh midday sun creates raccoon eyes and shiny skin. If you cannot move indoors, diffuse the light with a white sheet, a reflector, or even a piece of paper held above the subject. The goal is to take the edge off the highlights without losing the direction of the light.
For portraits, a simple trick is to find open shade. Stand your subject under a tree or an awning with the face still facing the open sky. You get soft, even light and natural catchlights in the eyes, which is the subtle detail professional photographers obsess over.
Most amateur photographers shoot from eye level and rarely move. Professional-looking photos almost always come from a slightly unexpected angle. Changing the angle is free, fast, and more impactful than upgrading gear.
Shooting from slightly below eye level makes your subject feel taller and more confident. It also clears the background of clutter, which is a classic problem in crowded locations. For kids and pets, get all the way down to their eye level. The change is dramatic.
For landscapes, get low to include foreground interest like rocks or grass. The foreground adds depth and leads the eye into the frame, which is a technique the best landscape photographers use every single shoot.
Zooming in tightens the frame but does not change the perspective. Walking closer or stepping back changes the relationship between subject and background, which is what produces the layered, three-dimensional feel of a professional photo. I take almost every shot from at least three positions before settling.
If you shoot with a phone, do the same. A few steps to the left, then the right, then crouching low. Reviewers on the Fujifilm subreddit repeatedly say the same thing: most of the time, the issue is angle, not equipment.
Editing does not rescue bad photos. It tightens good ones. The professional look comes from subtle, repeatable adjustments, not from heavy filters. If you remember nothing else, remember this: less is more.
Start every edit with exposure and white balance. Open the file, brighten slightly if needed, then set white balance so the image looks neutral. Everything else builds on these. If exposure is off, the colors will look muddy no matter what you do next.
On a phone, the Lightroom mobile app, Snapseed, and the built-in editor all handle this well. Aim for a histogram that touches both edges but does not clip. Highlight clipping shows as pure white, shadow clipping as pure black, and both ruin detail.
Once exposure is set, recover any deep shadows by lifting them slightly. Pull highlights back if the sky or skin looks blown out. Add a small amount of contrast, often around 10 to 15 percent, and the photo will start to pop. Skip the heavy saturation and dramatic filters for now.
Sharpening should be the final step. Apply it selectively to the subject, especially the eyes in portraits. A light touch at the end ties the whole edit together. For those who want a faster workflow, batch presets work well, but always tweak them per image.
The 20/60/20 rule is a quick mental model that explains how a viewer reads your photo. The first 20 percent of the frame, usually a corner, anchors the eye. The middle 60 percent is the storytelling area where your subject lives. The final 20 percent is the exit point that lets the eye leave the frame without feeling trapped.
Use this rule when you are cropping or composing from the start. Place your strongest anchor on one of the 20 percent zones, keep your subject in the 60 percent storytelling area, and leave a clean exit on the opposite side. This is why centered compositions often feel static: the eye has nowhere to travel.
I applied this rule to a series of street photos last month and saw a noticeable jump in how polished they looked. The principle also explains why rule-of-thirds compositions feel more natural. They naturally place elements in the 20 and 60 percent zones.
This is one of the most common questions I get, and the answer has very little to do with actual looks. Photogenicity is a function of three things: how the face is lit, the angle of the camera, and the moment captured. You can be conventionally attractive and still photograph poorly if the lighting flattens your features.
Strong overhead light, for example, hides the eyes in shadow and emphasizes every pore. Shooting slightly above the subject narrows the face and emphasizes the forehead. Both are common reasons attractive people feel they look “off” in photos. The fix is technical, not personal.
If you feel you look bad in photos but good in person, the next shoot you do, try three things: shoot at eye level, find soft directional light, and take a burst of shots so you can pick the most relaxed expression. Most people photograph better than they think when the conditions are right.
AI has become the single biggest shift in photo editing since the move from film to digital. In 2026, a solid crop of AI tools can do in seconds what used to take a skilled editor half an hour. The best ones for photographers include generative fill, smart subject selection, and AI denoise for low-light shots.
That said, AI does not replace the fundamentals. No tool will save a poorly composed, badly lit photo. What AI does well is take a properly shot image and remove distractions, sharpen fine details, and create realistic extensions when you need more room in the frame. Used with restraint, AI is a force multiplier. Used as a crutch, it produces that plastic, over-processed look that screams amateur.
For most readers, the right starting point is the AI features inside Lightroom, Snapseed, or Apple Photos. They handle exposure, retouching, and subject selection well. If you need generative features, Adobe Firefly and Luminar Neo are worth exploring once you understand the underlying technique.
Start by cleaning the lens, turning on the grid overlay, and placing the subject on the rule of thirds lines. Shoot in soft natural light, tap to focus on the subject, and apply subtle edits for exposure, white balance, and contrast. These ten quick fixes alone will lift most amateur photos to a noticeably more professional level.
Photogenicity depends more on lighting and angle than on actual facial features. Harsh overhead light hides the eyes in shadow, and shooting from above narrows the face. Use soft, directional light at eye level and shoot in a relaxed burst so you can pick the most natural expression. Most people look better in photos than they think once the conditions are right.
The 20/60/20 rule says the viewer’s eye anchors in the first 20 percent of the frame, lives in the middle 60 percent storytelling area, and exits through the final 20 percent. Place your anchor in the first zone, your subject in the middle, and leave a clean exit on the opposite side. This is why off-center compositions feel more dynamic.
ChatGPT can guide you through camera settings, composition rules, and editing workflows, but it cannot capture or render an actual photograph on its own. To produce a professional-looking image, you still need a camera, a real scene, and the techniques in this guide. Use ChatGPT as a planning assistant, then shoot and edit yourself.
Common culprits are tilted horizons, harsh on-camera flash, cluttered backgrounds, dead-center compositions, heavy filters, and blown highlights. Shooting through a dirty lens or focusing on the wrong subject also quietly drags quality down. Fix those basics first and most photos will already look noticeably more professional.
Learning how to make photos look more professional is less about gear and more about the handful of decisions you make before you press the shutter. Composition, lighting, angles, and editing account for roughly 90 percent of the difference between an amateur snapshot and a professional-looking photo. Once you build those habits, the camera you use matters far less than your eye.
Start with one technique from the quick-wins list this week. Practice it until it becomes muscle memory, then add the next. If you want a deeper dive into specific genres, our flower photography guide walks through composition in detail, our Paper Shoot camera review shows how a tiny camera can still produce strong results, and our guide to photographing a lunar eclipse applies the same fundamentals to a very different kind of subject. Keep shooting, keep reviewing, and the professional look will follow.