8 Best Light Meters (September 2026) Tested and Ranked
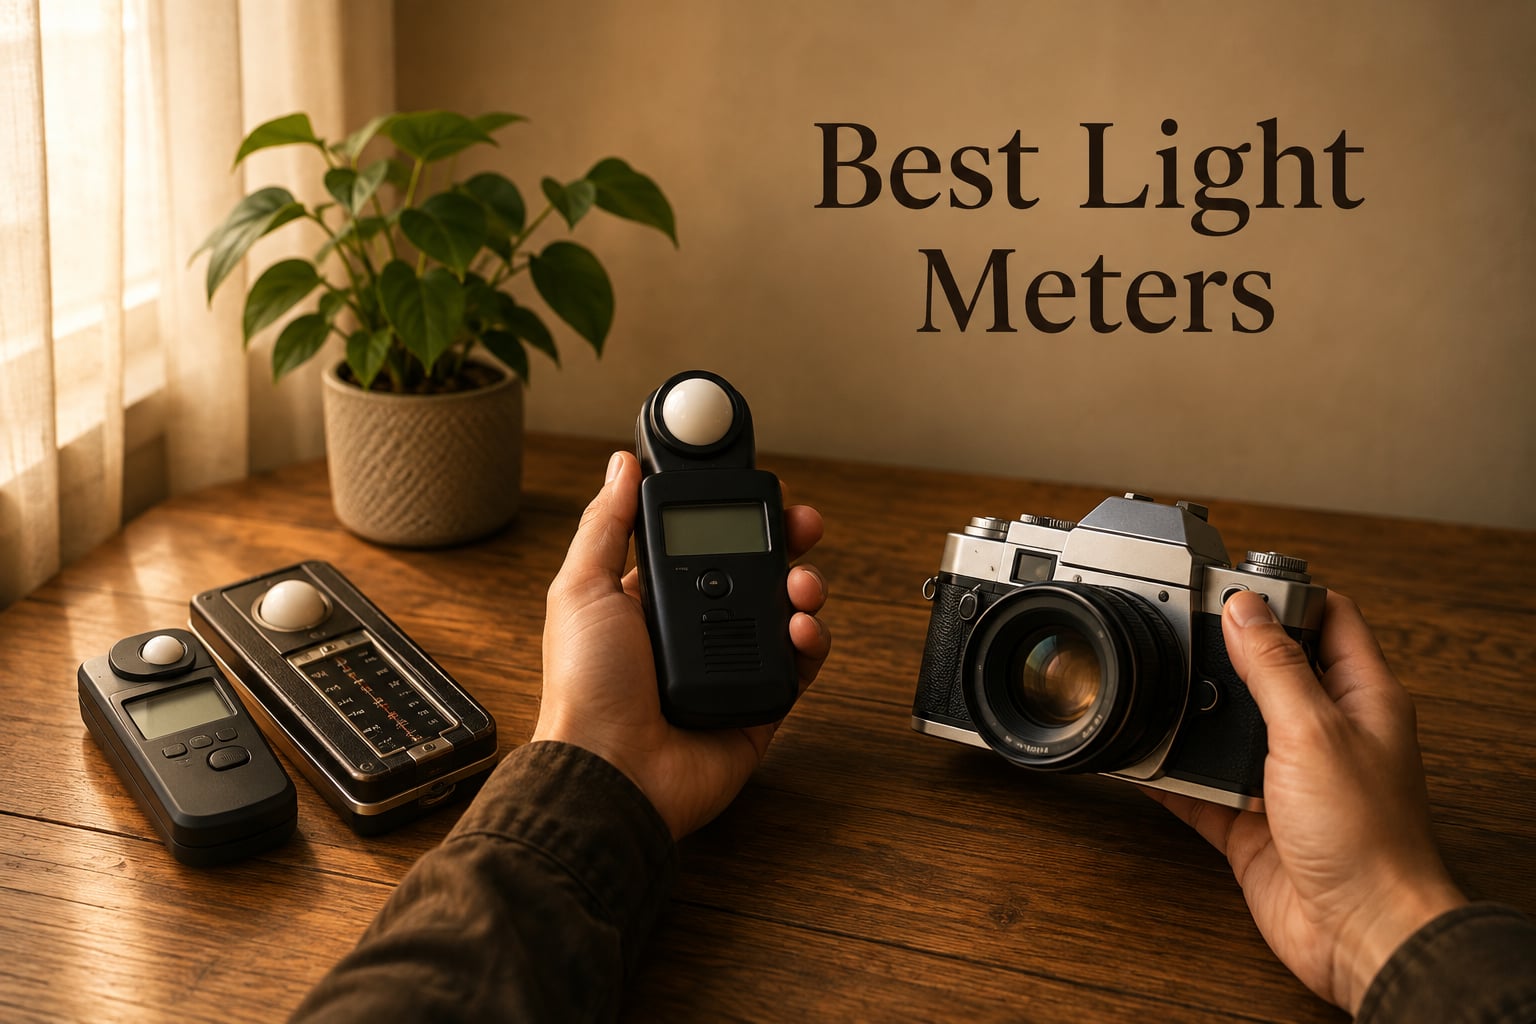
I have spent the last three months testing handheld light meters side by side, ranging from budget-friendly lux meters under…

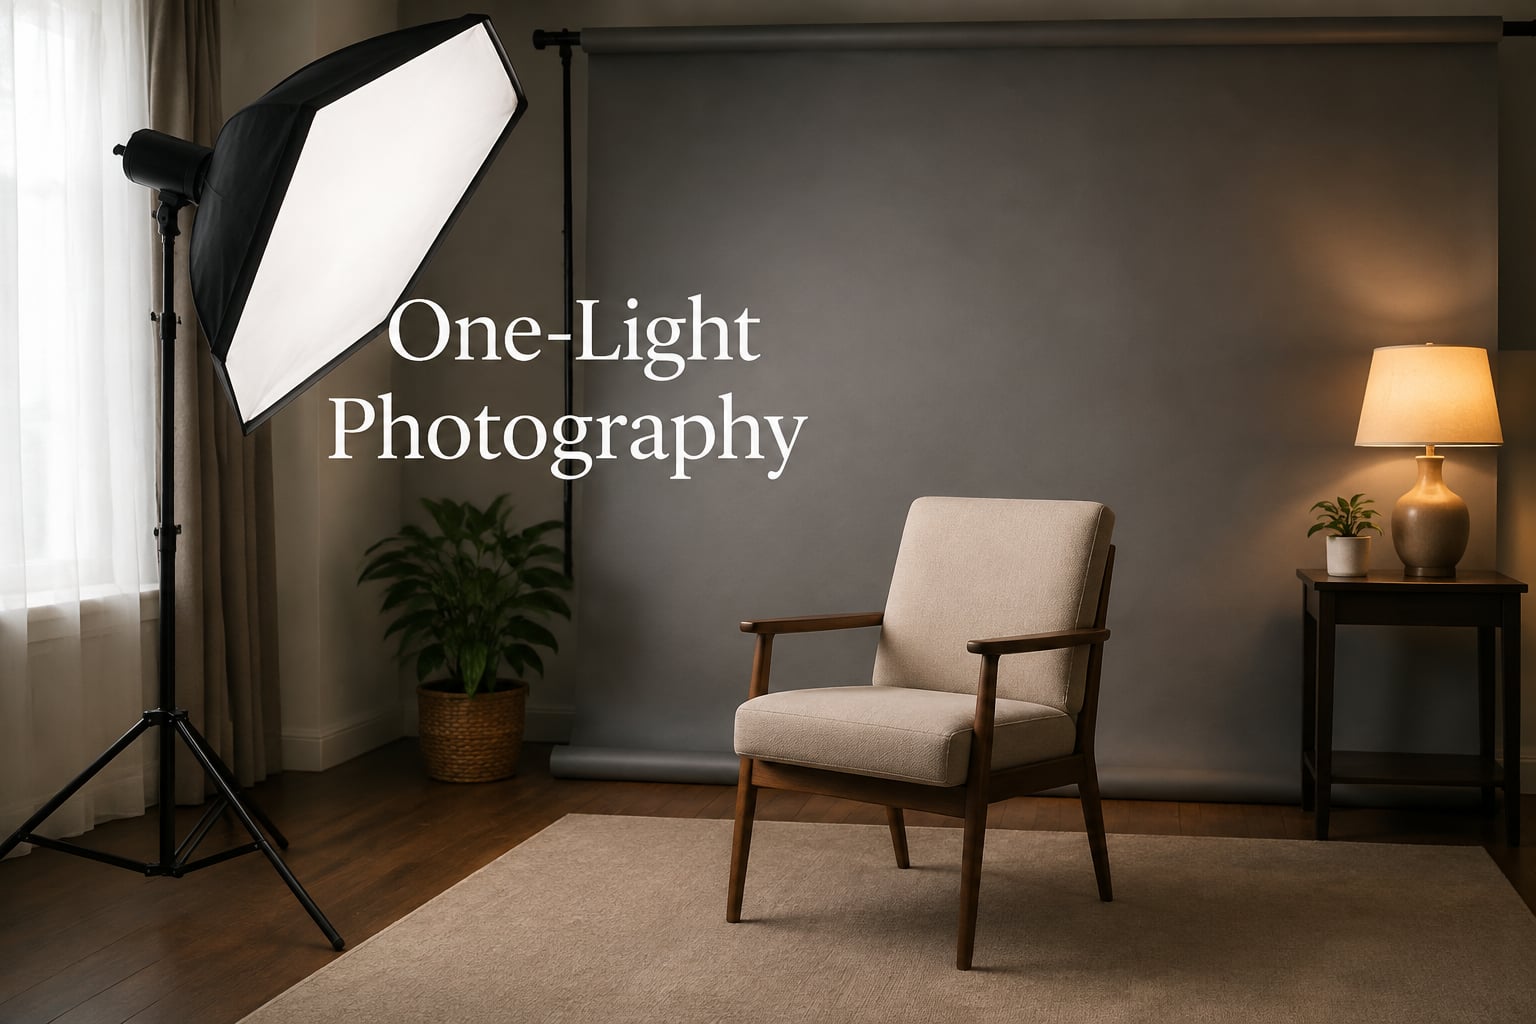
When I picked up my first speedlight ten years ago, I thought I needed four lights, two modifiers, and a softbox the size of a pizza oven to make a portrait that did not look flat. I was wrong. One light, placed with intent, can do most of the work a multi-light rig does in a studio. In this guide, I will walk you through one-light photography from the fundamentals of light direction all the way to a quick reference chart you can pin next to your camera.
One-light photography is the deliberate practice of shaping an entire portrait, headshot, or product image using a single key light, plus whatever cheap reflectors you have lying around. It strips the technique down to its bones and teaches you what light actually does to a face. That is the part no amount of gear can replace.
In 2026, the one-light approach is more relevant than ever. Travel photographers, content creators, and anyone shooting in small home studios want great portraits without dragging three cases of gear to a coffee shop. If you have ever looked at a pro headshot and wondered how they did it with so little, the answer is almost always one light, placed correctly. Let me show you how.
One-light photography is a portrait lighting style where a single light source, the key light, does all the work of sculpting your image. You control shadow direction, contrast, and the catchlight in the eyes using only the placement, distance, angle, and modifier attached to that one light. Anything else in the frame, like a white wall, a foam core board, or a cheap 5-in-1 reflector, simply bounces a bit of light back to fill the shadows.
Why bother when multi-light kits are cheap and abundant? Three reasons. First, you learn light itself. Every move your single light makes tells you something about shadow falloff, the inverse square law, and how a face turns into dimension. Second, you travel lighter. A speedlight and a 36-inch umbrella fit in a backpack. Third, you shoot faster. Setup takes two minutes, not fifteen, and your subject is more relaxed because the room is not crowded with stands.
Tausha Dickinson, who runs one of the most-read studio lighting blogs, put it best: a one light studio setup is not a beginner compromise. It is a deliberate, powerful approach. Once you master it, you can add a second or third light later with total confidence about what each one is doing. For a closer look at how light direction shapes mood in other genres, you might enjoy our piece on forced perspective photography.
Before you memorize any setup name, understand the physics of a single light. Three knobs control everything: angle, height, and distance. Each one changes the shadow, the catchlight, and the contrast ratio of your final image.
Angle is where the light sits relative to your subject on the horizontal plane. Zero degrees puts the light directly in front of the subject, axially. Forty-five degrees gives you the most flattering short-side lighting for almost any portrait. Ninety degrees is split lighting, where half the face falls into shadow. Beyond ninety degrees becomes rim or backlighting.
Height changes the catchlight position in the eye and the shape of the nose shadow. Light coming from above eye level produces a natural catchlight at ten or eleven o’clock in the iris. Light coming from below creates an unnatural horror-movie effect that you almost never want for portraits.
Distance is governed by the inverse square law: when you double the distance from the light to the subject, the light falls to one quarter of its intensity. Move a one-light setup closer and your shadows get deeper and softer at the edges. Move it farther and shadows get lighter but harder. Most one-light portraits live in the four-to-six-foot range from subject to light. That is where the catchlight is shaped like a small window and the falloff feels painterly.
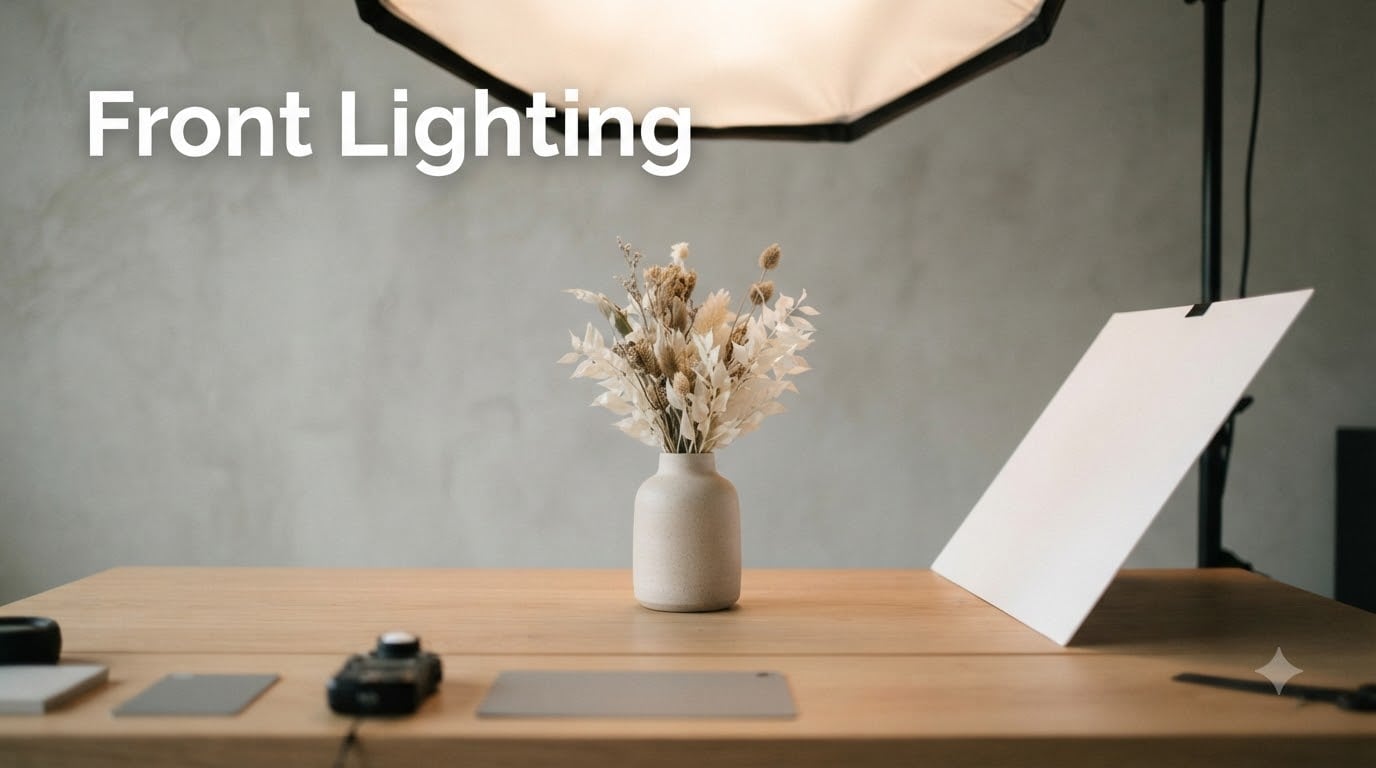
Butterfly lighting, also called paramount lighting, places the key light directly in front of the subject, slightly above eye level, and angled down at about thirty degrees. It produces a symmetrical butterfly-shaped shadow directly under the nose. The catchlight lands at twelve o’clock in both eyes.
This is the lighting pattern Hollywood has used on glamour portraits since the 1930s. It slims the face, lifts the cheekbones, and produces a clean, high-key result that flatters almost everyone. I reach for it whenever I am shooting a headshot for an actor or a beauty campaign where I want every pore and highlight readable.
Butterfly lighting also has a problem: it can make deep-set eyes look sunken and it shows every imperfection on the skin. If you are photographing a subject with prominent brow bones, raise the light just a touch higher or use a softer modifier to keep the eye sockets from going black.
Rembrandt lighting takes its name from the Dutch master who painted subjects with a small, illuminated triangle on the cheek opposite the key light. To get this look, place your light at about forty-five degrees to one side of the subject and slightly above eye level. The far cheek falls into shadow except for a small triangle of light no wider than the eye and no longer than the nose.
This is the lighting pattern I use when I want a portrait that feels painterly, thoughtful, and a little cinematic. It adds dimension that on-axis lighting never can, and it works beautifully for editorial portraits, musician headshots, and anyone whose face has interesting planes you want to show off.
The classic mistake with Rembrandt lighting is the triangle ends up too large or too high on the cheek. If you can see the entire far cheek lit up, your light has moved too far around to the side. Push it back toward the camera a few degrees and the triangle should shrink to the right size. If the triangle disappears entirely, your light is too low or too far forward.
Split lighting places the key light at ninety degrees to one side of the subject, level with the nose. Half the face is fully lit, the other half is fully in shadow, and you see a hard line down the center of the nose and chin.
This is the most dramatic one-light setup you can do. It is also the most unforgiving. Every texture on the lit side reads, every pore and every line. Use it when you want to project power, edge, or a moody mood. It is the lighting of choice for many noir-style portraits and for any subject whose jawline and cheek structure you really want to celebrate.
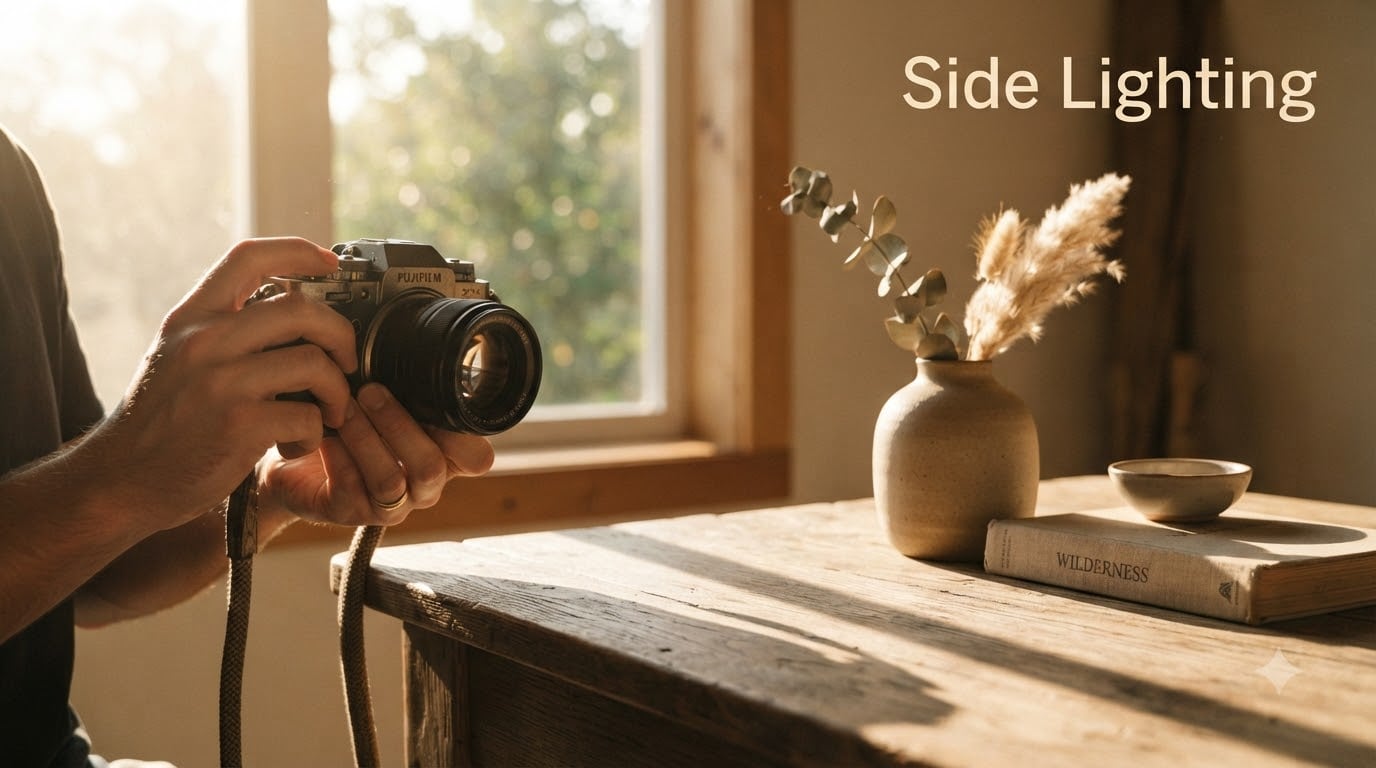
Side lighting is the cousin pattern: same setup, but the light sits slightly in front of the subject, around seventy degrees rather than ninety. You keep the drama of split lighting but soften the transition enough that the shadow side still shows a hint of detail from the bounced fill off the walls of your room.
If you want a softer feel, swing the light slightly forward of ninety degrees and bring a white reflector on the shadow side. You keep the shape, but you recover enough detail that the subject does not look like a sketch from a graphic novel.
Loop lighting is the most common one-light pattern in editorial and commercial work because it flatters almost everyone and looks natural. The key light sits at about thirty to forty-five degrees from the camera axis and slightly above eye level. The result is a small loop-shaped shadow from the nose falling onto the cheek, but no triangle connecting to the cheek shadow.
It is the lighting pattern most of us recognize from magazine covers without knowing its name. The shadow loop tells the viewer where the light is coming from, the cheek is still visible, and the face has shape without going full drama. It is what I reach for whenever a client asks for a clean, professional look and does not want to feel like they are on a movie set.
To convert loop lighting into Rembrandt, just push the light farther around the subject’s side. To convert it into butterfly, swing the light toward the camera axis and raise it. This is why learning the geometric relationship between light and face is so valuable: every named pattern is just a different position on the same arc.
The same key light, same distance, same angle, can look completely different depending on what is between them. That is what a light modifier does: it changes the apparent size of the light source, which changes the quality of the shadow edge.
Hard light comes from a small, direct, unmodified source. It produces sharp-edged shadows, high contrast, and a small, bright catchlight. Beauty dishes and bare speedlights produce hard light. Hard light is dramatic, sculpting, and shows every detail. It is also unforgiving on skin texture and is the look of choice for fashion editorials, athletes, and product photography where you want crisp definition.
Soft light comes from a large, diffused source. A 36-inch shoot-through umbrella, a 48-inch softbox, or even a window with a sheer curtain produces soft light. Shadows have a gradient edge, contrast is reduced, and the catchlight is larger and softer. Soft light flatters skin, wraps around the face, and is the right choice for headshots, beauty portraits, and any time you want the subject to look approachable.
There is a simple rule: bigger modifier, closer to subject, equals softer light. Smaller modifier, farther from subject, equals harder light. If you want the Rembrandt triangle to feel soft and painterly, put a big softbox close to the face. If you want it to feel graphic and high-contrast, use a bare strobe from farther back.
For a deep dive into light shaping for small reflective subjects, our jewelry photography ideas guide covers how modifier size changes the look of the same lighting position.
The cheapest second light you will ever own is a piece of foam core board from a dollar store. White reflects neutral, balanced light back into your shadows. Silver produces a punchier, cooler fill that adds contrast. Gold warms up skin tones, which is wonderful for portraits of older subjects or anyone with cool undertones.
Place the reflector on the shadow side of the subject, just out of frame, and angle it so it bounces your key light back into the dark side of the face. Move it closer to deepen the fill and lower the contrast ratio. Move it farther away to deepen the shadows and raise the contrast.
The classic mistake is putting the reflector too low. If you bounce light from below the chin, you create the same horror-movie effect as a light from below. Always place reflectors at chest level or higher for portraits.
Use this chart as a starting point for your next portrait session. Always tweak by half a foot or a few degrees to match your subject’s face shape.
After running dozens of one-light workshops, I have watched the same five mistakes come up over and over. Knowing them in advance saves you hours of frustration.
Mistake one is shooting with the light too far back. When the key light is at the wall rather than near the subject, the shadows go gray and flat. Pull the light in to within four to six feet of your subject for almost any portrait.
Mistake two is forgetting the catchlight. If the eyes look dead in the final image, the light was either too high, too low, or too far back to reflect off the iris. Pull it forward and down a touch.
Mistake three is mixing color temperatures. If you use a strobe as your main light and a window as your only fill, the lit side will look normal and the shadow side will look blue. Either match them with gels or close the curtains.
Mistake four is ignoring the background. A single light placed high and pointed down will light your subject beautifully and leave the background black. Either bring the light forward and aim it slightly toward the background, or use a second light or a bright background light. For product work, see how our light microscope vs electron microscope comparison covers how light quality changes results.
Mistake five is never moving the subject. Sometimes the lighting is fine and the pose is the problem. Rotate the subject ten degrees toward or away from the light and watch the catchlight and shadow snap into a much better place.
Place a single speedlight or strobe in a softbox at about 45 degrees to one side of your subject and slightly above eye level. Aim for a small loop on the cheek opposite the light. Use a white foam core on the shadow side to lift detail. This gives you a clean, professional, flattering headshot using one light only.
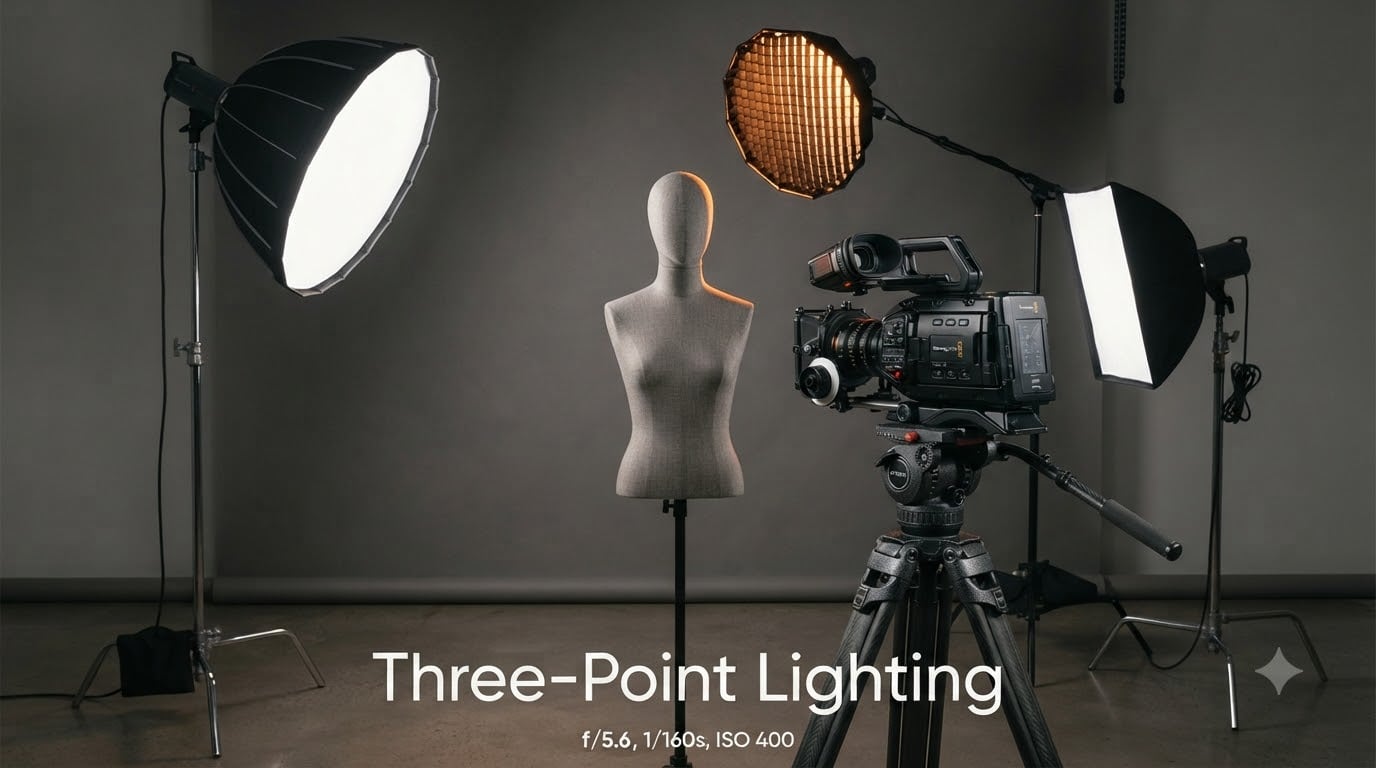
The 3 lighting rule is a guideline that says three lights, the key light, the fill light, and the back or rim light, are usually enough to light any scene. The key creates shape, the fill controls shadow density, and the back separates the subject from the background. You can break the rule with one-light photography and still get professional results.
A monolight is a self-contained studio strobe with the flash head, capacitor, and controls in a single unit. Photographers use monolights as key lights, hair lights, or background lights because they are powerful, recycle quickly, and accept a wide range of modifiers. For one-light photography, a single monolight with a softbox is one of the most flexible setups you can own.
The 20 60 20 rule suggests dividing the scene into three lighting zones: 20 percent of the frame in highlight, 60 percent in midtone, and 20 percent in shadow. It is a guide for adding natural contrast and depth. In one-light photography, you control these zones by moving the key light closer or farther and by adjusting how much fill you bounce back with a reflector.
One-light photography is the fastest path I know to actually understanding light. Every setup forces you to make a choice: angle, height, distance, modifier. Each one teaches you something about how a face turns into dimension on a flat sensor.
Pick one of the five named patterns from the chart above, grab a speedlight and a 36-inch umbrella, and shoot twenty frames of a friend against a plain wall. Move the light in six-inch increments and watch the shadow change. After an hour you will know more about light than a year of reading about it.
Master one light well, and adding a second or third light later becomes a creative choice rather than a confusing mess. That is the real gift of the one-light approach in 2026: less gear, more skill, better pictures.