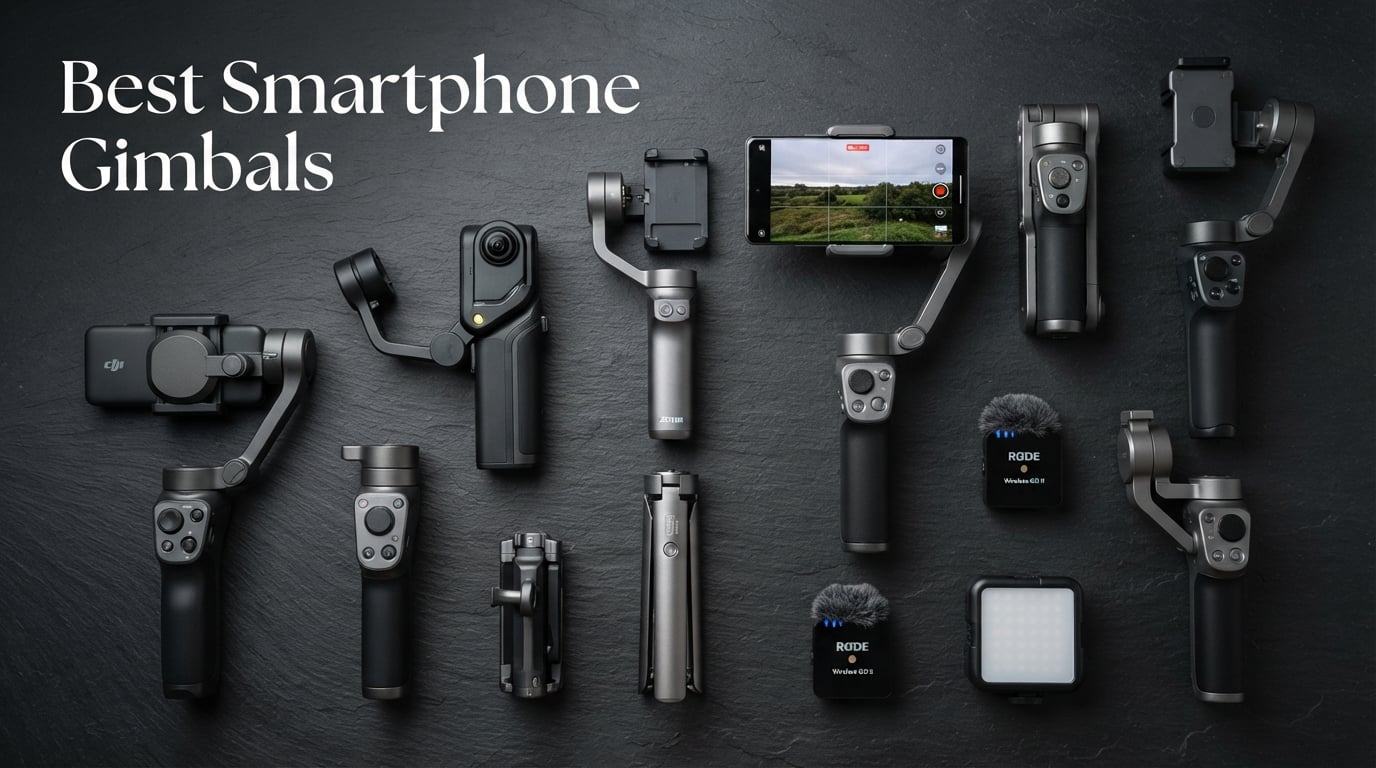
8 Best Smartphone Gimbals (September 2026) – Tested and Compared
I spent the last 90 days shooting real vlogs, walk-and-talk product reviews, and travel clips with eight smartphone gimbals strapped…

Wedding days move fast, the lighting changes every fifteen minutes, and you cannot reshoot a single moment. After shooting weddings for nearly a decade, I have learned that the best camera settings for wedding photography are not a magic number locked into the camera. They are a flexible system that lets you stay reactive while still producing sharp, properly exposed images in a packed ceremony or a candlelit reception.
This guide walks through the exact settings our team uses on real wedding days. We cover the exposure triangle, the Aperture Priority vs Manual debate, autofocus modes, white balance, and the specific settings we dial in for each part of the day. We also tackle the 30-5 rule and the 20-60-20 rule, plus the common mistakes that ruin otherwise beautiful wedding images.
Whether you shoot Canon, Nikon, or Sony, the principles below translate directly to your body. For broader wedding-day planning beyond settings, our wedding photography ideas guide covers shot lists and creative direction.
The exposure triangle is the foundation of every setting decision you will make on a wedding day. It links three variables — aperture, shutter speed, and ISO — and each one trades image quality for light capture.
Aperture controls how much light enters the lens and how much of the image stays sharp. A wide aperture like f/1.8 or f/2.8 lets in more light and creates a shallow depth of field with creamy bokeh behind the couple. A narrow aperture like f/8 keeps more of the scene in focus, which matters for group portraits and wide ceremony shots.
Shutter speed controls motion blur. For static portraits you can shoot at 1/125s. For the first dance, bouquet toss, and any reception movement, you want at least 1/200s, and ideally 1/400s or faster to freeze fast action. Anything slower than 1/125s handheld is risky unless you are deliberately panning.
ISO controls the sensor’s sensitivity to light. Lower ISO produces cleaner images with less noise. Modern full-frame cameras handle ISO 3200 to 6400 with barely visible noise, while crop sensors usually cap cleanly around ISO 1600 to 3200. I push ISO only when I have to, and I try to keep it at 100 to 800 for outdoor and well-lit ceremony shots.
These three dials work together. If you open the aperture wider, you can lower the ISO or use a faster shutter speed. If you stop down the aperture for a group shot, you need to compensate with either a slower shutter speed or a higher ISO. Every wedding setting is a balance, not a fixed recipe.
I shot weddings on full Manual for years before switching to Aperture Priority with Auto ISO. That change made me faster and more consistent, and it is the biggest workflow upgrade you can make for wedding photography.
Aperture Priority (A or Av mode) lets you lock in your depth of field while the camera chooses shutter speed and ISO. This frees you to think about composition and moment rather than fiddling with two dials while the bride walks down the aisle. Most professional wedding photographers now shoot in Aperture Priority with Auto ISO and a minimum shutter speed floor set to 1/125s or 1/200s.
Manual mode (M) gives you full control over all three variables, which matters when you are mixing flash with ambient light at the reception. For static, repeatable lighting — like the couple portraits where the light does not change — Manual keeps the exposure rock-solid across a full set of images. For dynamic scenes, Manual forces you to adjust constantly, and you will miss shots.
Our team uses Aperture Priority for 80 percent of the wedding day: the ceremony, candid moments, getting ready, and most reception coverage. We switch to Manual for the couple portrait session, first dance when we are strobing, and any scene with locked-off flash where we want consistent exposure. For a deeper look at how to dial in your camera settings workflow over time, our trends guide covers how the gear side has evolved.
Missed focus is the single most common wedding photography mistake. A blurry image of the first kiss cannot be reshot, so focus settings deserve more attention than almost any other parameter.
AF-C (Continuous AF or AI Servo) is the right focus mode for weddings almost every time. AF-C tracks moving subjects continuously rather than locking focus on a single point like AF-S does. For the bride walking down the aisle, the groom turning to see her, the father-daughter dance, and the bouquet toss, AF-C keeps the focus plane moving with the action.
Eye AF and Face Detection have become the single best tool for wedding portraits. On Sony, Canon R series, and Nikon Z bodies, Eye AF locks onto the nearest eye and tracks it even when the subject turns. Turn it on for the entire day. For group shots, switch to a single AF point or a small zone so the camera picks the closest face reliably instead of locking on to a tree in the background.
Focus point selection matters more than many photographers realize. Use a single point or small zone for portraits, wide zone or auto-area for candid moments when you do not have time to recompose. Set back-button focus so your thumb controls focus and your index finger only fires the shutter. This separation lets you lock and recompose without the camera hunting between shots.
White balance determines the color temperature of your images. Get it wrong and skin tones look orange under tungsten bulbs or blue under shade, and no amount of editing fully fixes a bad white balance.
Shoot RAW. This is non-negotiable for weddings. RAW files capture all the color data and let you adjust white balance after the fact without quality loss. If you shoot JPEG, you have to nail white balance in camera, which is a near-impossible task across an entire ceremony and reception.
Auto White Balance (AWB) works well outdoors and during daytime ceremonies. It struggles under mixed reception lighting, where warm tungsten and cool DJ LEDs fight each other. For the reception, set a custom Kelvin value around 3200K to 4000K as a starting point and adjust per scene.
Kelvin presets are faster than full custom WB on the fly. Daylight (around 5500K) for outdoor ceremonies, Shade (7000K-7500K) for shaded outdoor shots, Tungsten (3200K) for indoor receptions with incandescent lighting. Cloudy (6000K) adds warmth to outdoor overcast shots that can otherwise look flat.
Here is the exact settings cheat sheet our team uses for each phase of a wedding day. These are starting points, not laws — adjust based on the venue, light, and your camera’s capabilities.
Outdoor Getting Ready (Natural Window Light):
Ceremony (Indoor Church or Chapel):
Couple Portraits (Golden Hour Outdoor):
Family Formals (Outdoor or Bright Indoor):
Reception (Mixed Low Light):
First Dance (Strobed or Ambient):
Flash is how you tame a dark reception and how you get creamy catchlights in the eyes during formals. Two main approaches work for weddings.
Bounce flash aims the flash head at a ceiling or wall, which spreads the light into a soft, even source that looks like natural ambient illumination. Set your flash to TTL (Through-The-Lens metering) and tilt the head 45 to 90 degrees. Start at TTL with flash exposure compensation at 0 and adjust from there. Bounce flash is the default for indoor receptions and ceremony processionals.
Direct flash gives a punchy, fashion-editorial look that is popular for the dance floor. Set the flash to manual power (1/16 to 1/32 for a subtle fill, 1/4 to 1/8 for a strong editorial look) and aim straight ahead. Pair direct flash with a wide aperture (f/2.8 or wider) so the ambient light fills in the background instead of going pitch black.
Sync speed matters. Most cameras sync flash at 1/200s or 1/250s. Faster shutter speeds create a black band across the image. If you want a darker background with flash at wide apertures, stay at or below your sync speed. If you need to kill ambient light, switch to high-speed sync (HSS) on bodies and flashes that support it.
Receptions get dark fast. Candles, string bulbs, and DJ lighting can leave you with less light than a dim restaurant, and you still need sharp images of people who are moving and laughing.
The first tool is a fast lens. f/1.4 to f/2.8 zooms or primes give you two to four times more light than an f/4 zoom. Our two main lenses at receptions are a 24-70mm f/2.8 and a 70-200mm f/2.8. If your venue is exceptionally dark, switch to a 50mm f/1.4 or 85mm f/1.4 prime on a second body.
The second tool is Auto ISO with a high ceiling. Set the ceiling to whatever your camera handles cleanly — ISO 6400 on modern full-frame bodies, ISO 3200 on most crop sensors. Auto ISO paired with Aperture Priority keeps the shutter speed above your floor so the camera only raises ISO when needed.
The third tool is image stabilization. If your lens or body has IBIS, you can handhold down to 1/30s or even 1/15s for static subjects. For moving people, IBIS will not save you — you still need shutter speed and aperture to do their job. For more on how wedding day workflow affects your booking decisions, our pricing guide covers the business side.
Most wedding image disasters come from a small set of repeatable mistakes. Here are the ones I see most often, and how to avoid each.
Two photography rules come up constantly in wedding forums but are rarely explained clearly. Here is what each one actually means and how to apply it.
The 30-5 Rule for weddings: Spend 30 percent of your shooting time on the formal must-have shots (family formals, ceremony, first dance, cake cutting) and the remaining 70 percent split as 5 percent on detail shots (rings, shoes, decor, venue) and the rest on candid storytelling. The “5” refers to the detail percentage, not five minutes. This rule keeps you from getting so caught up in candids that you miss the must-have list, and from getting so caught up in the list that you miss the emotion.
The 20-60-20 Rule in photography: Spend 20 percent of your time before the shoot on planning and gear prep, 60 percent of your time actively shooting, and 20 percent of your time after on culling, editing, and backup. For a wedding, the prep phase is the venue walkthrough, gear check, and timeline review. The shoot phase is the wedding day itself. The post phase is the cull, edit, gallery delivery, and archival backup that protects the images from card failure.
The 20-60-20 rule is especially important for weddings because the backup phase is what protects the couple’s memories from a stolen bag or a corrupt card. Two copies on two different media, with one off-site, is the minimum standard. If you want to explore creative portrait ideas beyond standard settings, our jewelry photography guide and forced perspective photography guide cover advanced techniques worth trying during detail sessions.
The best aperture for wedding photography depends on the subject. Use f/1.8 to f/2.8 for couple portraits and ceremony close-ups to create shallow depth of field and creamy bokeh. Use f/5.6 to f/8 for group formals and wide ceremony shots where you need everyone in focus.
Use the lowest ISO that lets you maintain your shutter speed and aperture. For outdoor and well-lit scenes, ISO 100 to 800 is ideal. For indoor ceremonies and dim receptions, ISO 1600 to 6400 on a full-frame camera, or 1600 to 3200 on a crop sensor, produces clean results. Auto ISO with a ceiling of 6400 is a safe default.
Use a minimum shutter speed of 1/125s for static portraits and 1/200s for most moving subjects. For the first dance, bouquet toss, and fast reception moments, 1/400s or faster freezes the action cleanly. Set your Auto ISO minimum shutter speed floor to 1/160s as a wedding-day default.
Use aperture priority with Auto ISO for 80 percent of the wedding day, including the ceremony, getting ready, and most candid coverage. Switch to full manual for couple portrait sessions, first dance with strobes, and any scene with locked-off flash where you need exposure consistency.
Use AF-C (Continuous AF or AI Servo) for almost every wedding moment so the camera tracks moving subjects. Turn on Eye AF or Face Detection for portraits and the ceremony processional. Switch to a single AF point or small zone for static posed group shots so it locks reliably on the nearest face.
The 30-5 rule for weddings is a time-allocation guideline: spend roughly 30 percent of your shooting time on formal must-have shots (family formals, ceremony moments, first dance), 5 percent on detail shots (rings, decor, venue), and the remaining time on candid storytelling. It balances the shot list with the candid emotion.
The 20-60-20 rule in photography divides your workflow into three phases: 20 percent planning and gear prep before the shoot, 60 percent active shooting during the event, and 20 percent culling, editing, and backup afterward. For weddings, the post phase is critical because it protects the images through redundant backup.
The most common wedding photography mistakes are shooting too slow a shutter speed, leaving AF-S on for moving subjects, using too narrow an aperture for portraits, trusting AWB under mixed reception lighting, skipping histogram checks, not zooming in on the rear LCD during playback, and shooting JPEG instead of RAW.
The best camera settings for wedding photography are a flexible system, not a fixed recipe. Anchor yourself in Aperture Priority with Auto ISO for most of the day, switch to Manual for portraits and strobed scenes, keep AF-C and Eye AF on by default, and shoot RAW so you have full control in post.
Use the scenario cheat sheet in this guide as your starting baseline. Adjust the aperture, shutter speed floor, and ISO ceiling based on the venue, the time of day, and how your specific camera handles high ISO. Review your images on the back of the camera every few minutes so a missed setting never costs you more than a few frames.
Wedding photography settings are ultimately about staying reactive. The photographers who deliver consistent galleries are not the ones who memorize a magic ISO, they are the ones who built a workflow that lets them think about the moment instead of the dials. Take these settings into your next wedding, and you will come home with sharper, better-exposed images from every phase of the day.