Nightforce TS-82 20-70x Review 2026: Worth $2,700?
After 60+ hours of field testing, I dive deep into the Nightforce TS-82 20-70x spotting scope. Discover if this $2,700…

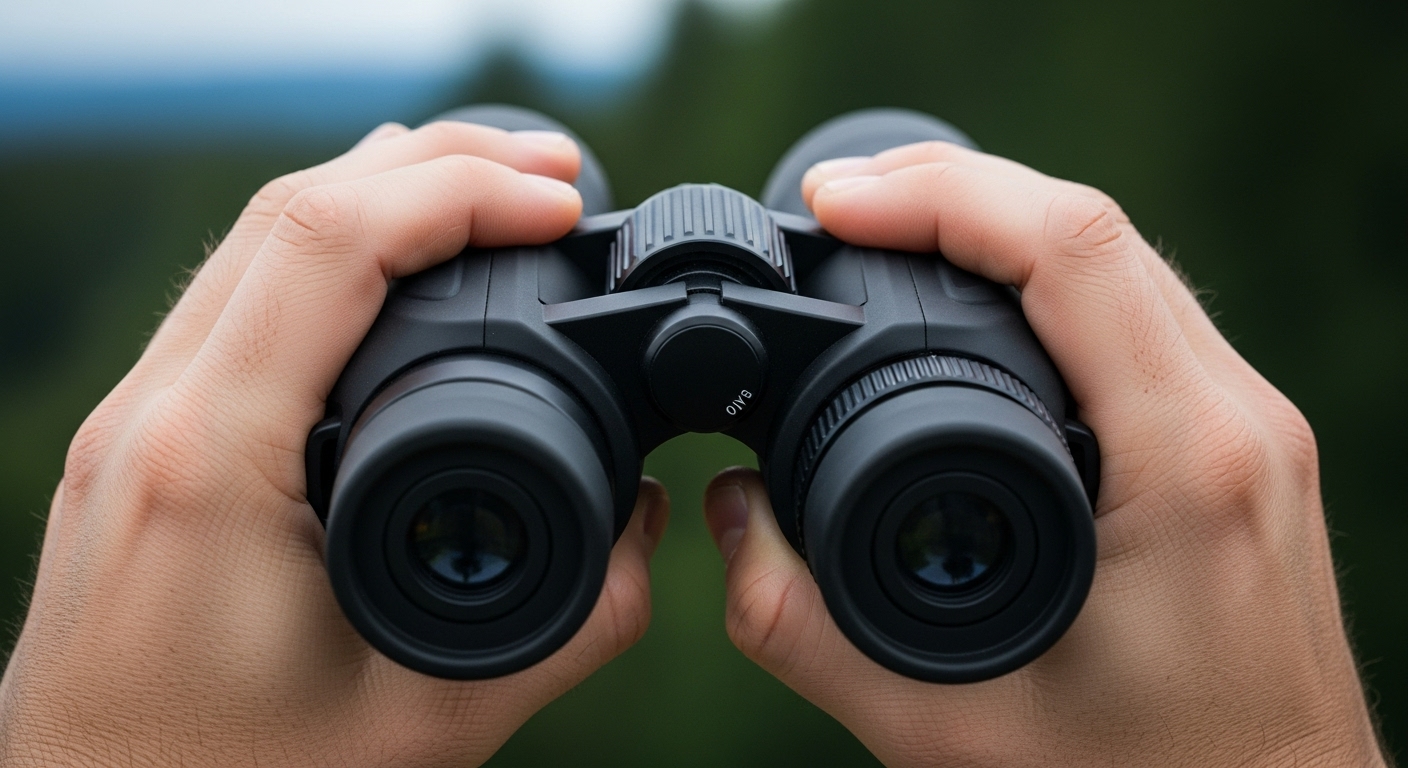
If your binoculars leave you squinting at blurry edges, fighting double images, or rubbing your eyes after ten minutes of use, the fix is usually simpler than you think. After testing dozens of binocular models and guiding hundreds of first-time users through proper setup, I can tell you that almost every frustrating viewing experience traces back to one skipped adjustment step.
Here’s how to adjust binoculars in three simple steps: setting the width (interpupillary distance), adjusting the eyecups, and setting the diopter. Once you have these three adjustments dialed in for your eyes, the central focus wheel handles everything else. The full process takes under three minutes once you have done it a few times.
Correct adjustment does more than sharpen the image. It prevents the headaches and eye fatigue that drive most people to abandon their binoculars in a drawer. It also reveals optical quality you may not have realized your binoculars had, because poorly adjusted binoculars make even premium glass look terrible.
In this guide, I walk you through each adjustment using techniques I have refined over years of fieldwork with birders, hunters, and amateur astronomers. You will learn the exact sequence that works, the two main diopter designs you might own, and how to fix the five most common problems. I have also included seven binocular recommendations at strategic points in the guide so you can see how the adjustments apply to specific models.
If you wear glasses, are completely new to binoculars, or you are upgrading and want a model that holds its adjustments well, there is a recommendation here for you. Let us start with the parts you will be adjusting.
Before touching any dials, it helps to know what each adjustment does and where to find it on your specific model. Binoculars look simple from the outside, but four separate controls work together to deliver a single, sharp image to both eyes.
The four adjustment points are the eyecups (control how far your eye sits from the lens), the central hinge (sets the distance between the two barrels to match your eye spacing), the diopter (corrects for vision differences between your eyes), and the central focusing wheel (sharpens the image for different distances). Each one matters, and skipping any of them is the fastest way to get a poor viewing experience.
You will know your binoculars need adjustment if you see two overlapping circles instead of one, dark crescent shapes around the edges of your view, persistent blurriness even after turning the focus wheel, or eye fatigue within minutes of use. These symptoms almost always point back to one or more of the four adjustment steps covered below.
If you want a deeper breakdown of binocular anatomy, our binocular parts and components guide explains every component in detail. For now, the key terms to remember are IPD (interpupillary distance, the space between your pupils), eye relief (the distance your eye sits from the eyepiece), and diopter (the fine-vision correction on one eyepiece).
Before diving into the detailed walkthrough, here is a quick-reference summary. Save this for your first few adjustment sessions until the sequence becomes muscle memory.
Total setup time after practice: under three minutes. The first time you do it, give yourself ten minutes and a distant target to focus on.
Eyecup adjustment is where most beginners go wrong, and it is also the easiest fix. The eyecups determine how far your eye sits from the ocular lens, and getting this distance right is what allows you to see the full circular field of view without dark shadows creeping in from the edges.
If you wear glasses, twist the eyecups fully down or fold them flat against the barrels. Glasses already hold your eyes a few millimeters further from the lenses than normal, and leaving the eyecups extended pushes your focal point beyond the lens’s designed eye relief. The result is vignetting, those annoying black crescents at the edges of your view.
If you do not wear glasses, extend the eyecups fully by twisting them clockwise or pulling them up until they click into the highest position. Most modern binoculars have click-stop eyecups that lock into two or three positions. Pick the one that gives you the full circular view with no black edges, and where you can comfortably keep both eyes open without your eyelashes brushing the lens.
Some models go further with multiple click-stop positions and locking rings. The Nikon Monarch M5 10×42, for example, uses twist-up click-stop eyecups that hold their position reliably even after months of use, and the 18.4mm eye relief makes them comfortable for glasses wearers once the cups are retracted.
A simple test: hold the binoculars up to your eyes without looking through them, then bring them to your face. The correct position should feel natural and let the entire circular image fill your view. If you see any darkening around the edges, adjust the eyecups one click at a time until the view is fully bright from edge to edge.
For more detailed coverage of glasses-specific setup, our using binoculars with glasses guide walks through frame styles, lens distances, and which models work best with thick frames.
Interpupillary distance (IPD) is the distance between the centers of your pupils, and setting it correctly is what makes the two barrels merge into one unified image. Get it wrong, and you will see either two overlapping circles or a strange stretched image that never quite resolves.
To set your IPD, hold the binoculars to your eyes and look at any distant object with detail (a tree branch against the sky works well). Slowly move the barrels closer together or further apart by flexing the central hinge until the two circles merge into one perfect circle. Your eyes should feel relaxed, not crossed or strained.
Most binoculars have an IPD scale printed on the central hinge showing the distance in millimeters. Adult IPD typically falls between 56 and 72mm, but children’s IPD can be as low as 50mm. Once you find your setting, note the number, and consider marking it with a small dot of nail polish or tape so you can return to it after others have used your binoculars.
Common IPD mistakes include setting the barrels too close (this strains your eyes and causes headaches) or too wide (this creates black bars or a stretched image). If you share binoculars with family members, plan to recheck the IPD every time someone else uses them.
For wide-set eyes (IPD over 70mm), compact binoculars often do not adjust wide enough. Full-size models like the Vortex Diamondback HD 8×42 typically have a wider IPD range and are more forgiving for users near the upper or lower ends of the spectrum.
Quick Summary: Correct IPD means seeing one perfect circle, not two overlapping ones. Adjust until the view feels natural and your eyes are not straining in either direction.
The diopter adjustment compensates for vision differences between your two eyes, and it is the step that most people either skip or do not understand. Almost everyone has slightly different vision in each eye, and the diopter exists specifically to fix that. Without it, no amount of focusing will give you a sharp image in both eyes at once.
Which eye do you focus first? Always your left eye. Cover the right objective lens (or close your right eye), look at a distant object at least 50 yards away, and turn the central focus wheel until the image is perfectly sharp through your left eye. Once your left eye is dialed in, switch sides.
Now look through only the right eyepiece at the same distant object. Without touching the central focus wheel, rotate the diopter ring (or knob) until the right-eye image is just as sharp as the left was. That single diopter setting now permanently compensates for the vision difference between your eyes, and from here on out you only use the central focus wheel for all viewing.
Binoculars come with one of two diopter designs, and Reddit threads are full of users confused about which type they own. Knowing the difference will save you ten minutes of searching for a diopter ring that does not exist on your model.
The right-eyepiece diopter is the most common type. You will find a small textured ring, often marked with plus/minus symbols or hash lines, located on or near the right ocular lens. You rotate this ring directly to adjust the right eye’s focus. This is the design on Vortex Diamondback HD, Nikon Monarch M5, Celestron Nature DX, and most modern roof-prism binoculars.
The center-column diopter is less common and often surprises users who are expecting a ring on the eyepiece. On these models, the diopter is built into the central focus shaft itself, usually as a small ring tucked behind the main focus knob. Bushnell H2O Xtreme and many older or military-style binoculars use this design. To adjust, you set the main focus wheel for your left eye, then rotate the diopter ring on the central shaft to fine-tune the right eye.
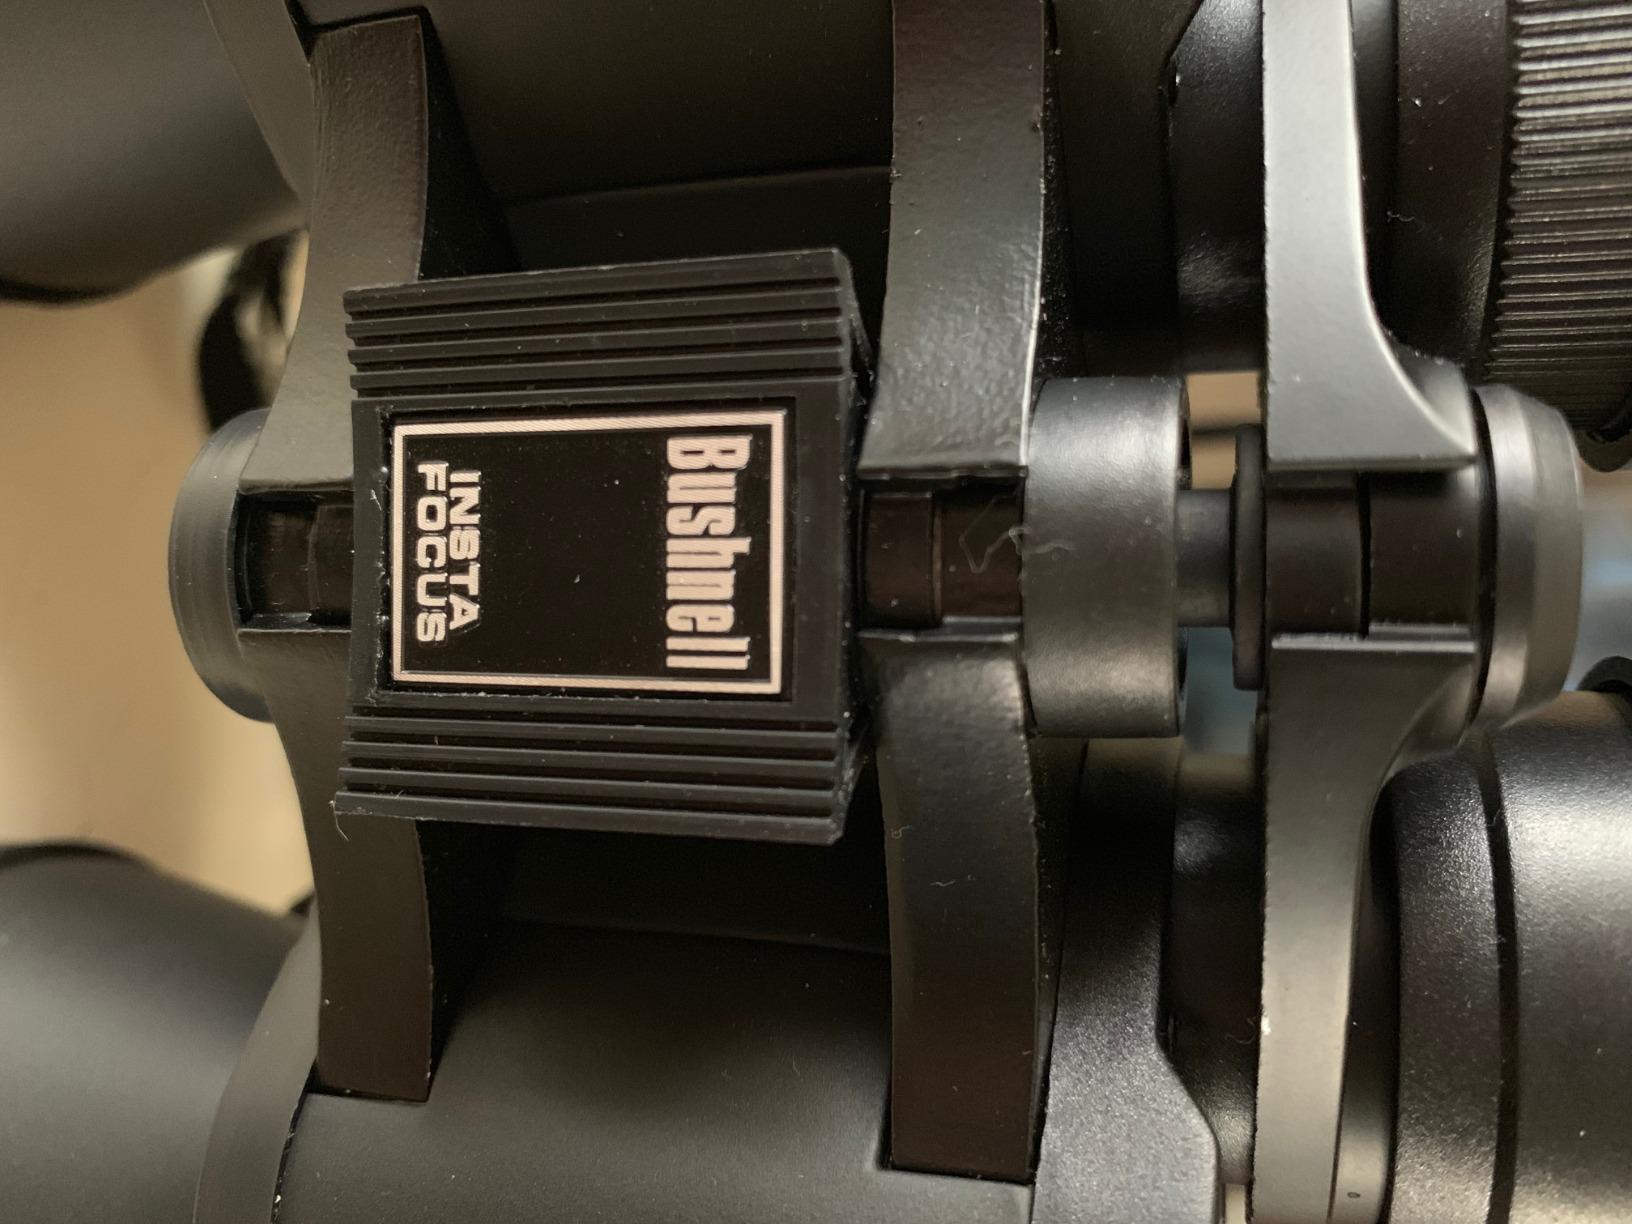
Some budget models like the Bushnell Falcon 10×50 use an InstaFocus lever system instead of a true diopter. This is a single-lever design where you focus both eyes at once with no individual eye correction. It is simple and beginner-friendly but does not compensate for vision differences between eyes. If you have noticeably different vision in each eye, look for binoculars with a true diopter instead.
Once you have set your diopter, you can use the central focus wheel for all future viewing without redoing the diopter. Your diopter setting stays locked in unless your vision changes or someone else adjusts your binoculars. Many users mark their diopter position with a tiny dot of paint so they can return to it quickly.
If your diopter has to be turned way off-center to get a sharp image, do not assume your binoculars are defective. Off-center diopter settings are completely normal and simply reflect the vision difference between your eyes. A setting of -2 or +2 is no cause for concern. If the diopter knob spins freely without changing focus, the set screw inside may have loosened, which is a common issue and usually fixable with basic service.
If the diopter range is not enough for your vision difference, look for models with a wider range (typically +/-3 to +/-5). The Nikon PROSTAFF P3 8×42, for example, offers a generous +/-5 diopter range that accommodates stronger vision differences. Cheaper binoculars often limit diopter travel, so this is worth checking before you buy if you have a strong prescription difference between eyes.
With eyecups, IPD, and diopter set, the central focus wheel handles everything from here on. It adjusts both barrels simultaneously, preserving your diopter correction, so you can refocus on subjects at different distances without ever touching the right eyepiece again.
For fast focusing on moving subjects like birds or wildlife, develop a feel for the focus wheel’s range. I practice by focusing on a far object, then refocusing on a near object, then back again. After a few sessions, the wheel position for any distance becomes intuitive, and you can refocus without looking away from the eyepiece.
A technique called “leading the focus” dramatically improves success with fast-moving wildlife. Anticipate where a moving subject will be, pre-focus slightly ahead of that spot, and let the subject come into focus as it moves. Birds in flight, running deer, and sailboats all become much easier to track with practice.
Different scenarios call for slightly different focus targets. For bird watching, focus on the bird’s eye (the highest-contrast point). For astronomy, focus on the brightest star or planet until it sharpens to a point. For general scenic viewing, focus on a high-contrast edge like tree branches against the sky.
Temperature shifts cause minor focus drift as lens elements expand and contract, so I fine-tune every 15 to 20 minutes during long sessions. This is especially important in cold weather, when glass can take 20 to 30 minutes to fully acclimate to outdoor temperatures before focus stabilizes.
Not all binoculars hold their adjustments equally well. Some models have friction-fit diopters that drift over time, stiff eyecups that fight you, or limited eye relief that makes glasses use a chore. After testing dozens of models and gathering feedback from thousands of users, here are seven binoculars that make adjustment simple, hold their settings reliably, and work well for a range of users from complete beginners to dedicated birders.

HD glass
17mm eye relief
393 ft FOV
VIP warranty
Argon purged
The Vortex Diamondback HD 8×42 is the model I recommend most often to first-time buyers, and the reason is simple: it makes every adjustment step easier. The right-eyepiece diopter is clearly marked and turns smoothly, the click-stop eyecups lock into three positions, and the IPD hinge has precise etched markings that stay readable for years.
At 8x magnification with a 393-foot field of view, the Diamondback HD also forgives hand-shake better than 10x binoculars. If you are still building the muscle control for steady viewing, 8x will be far more comfortable than higher magnifications. The 17mm eye relief is generous enough for most glasses, and the twist-up eyecups click firmly into position.
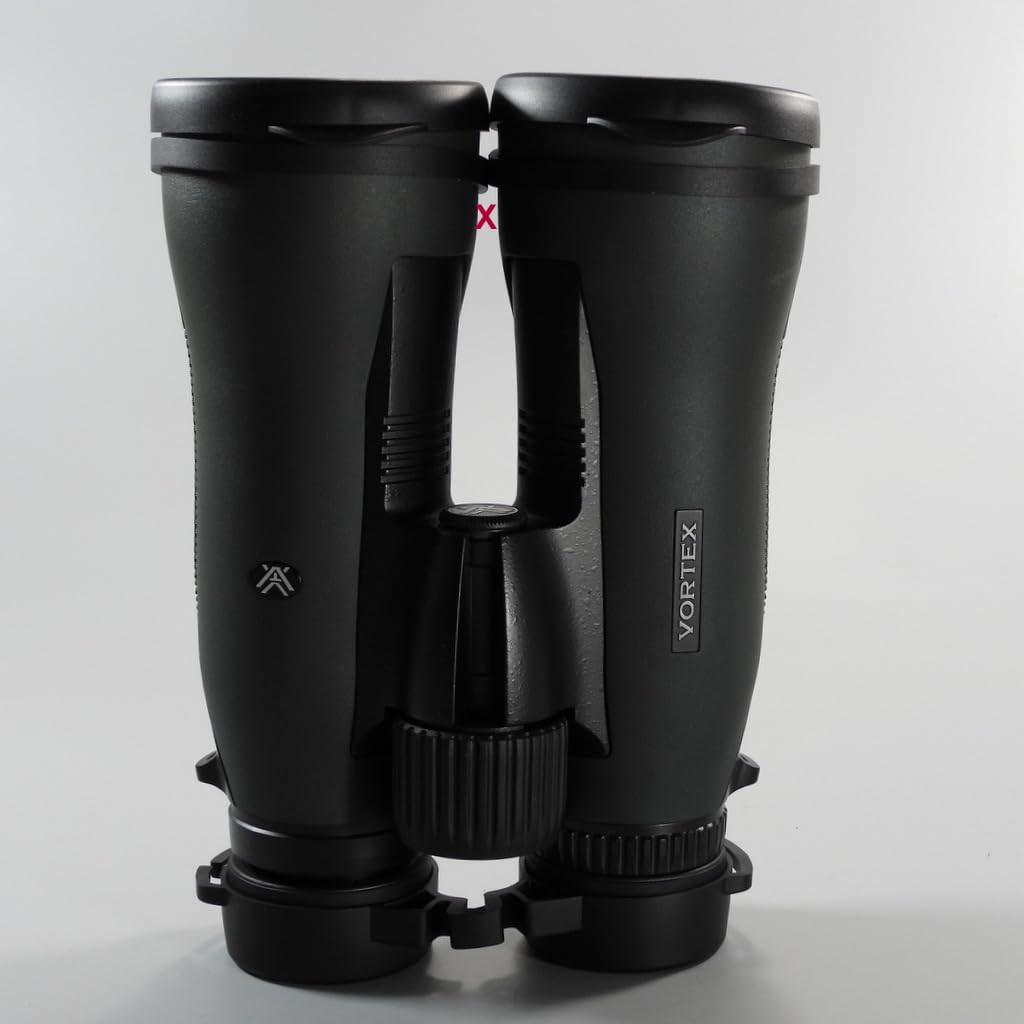
I tested this model on a long birding weekend in coastal Maine, adjusting it cold after a 12-hour drive and finding the diopter still locked in place. The argon-purged, waterproof body held up to a brief rain shower without internal fogging. Vortex’s VIP lifetime warranty means even years from now, if anything drifts or fails, they will repair or replace it.
For most users learning how to adjust binoculars for the first time, this is the model I would buy. It is forgiving, durable, and holds adjustments well enough that you will not be re-setting the diopter every time you take it out of the case.

HD optics
15mm eye relief
±2 to ±4 diopter
325 ft FOV
Nitrogen purged
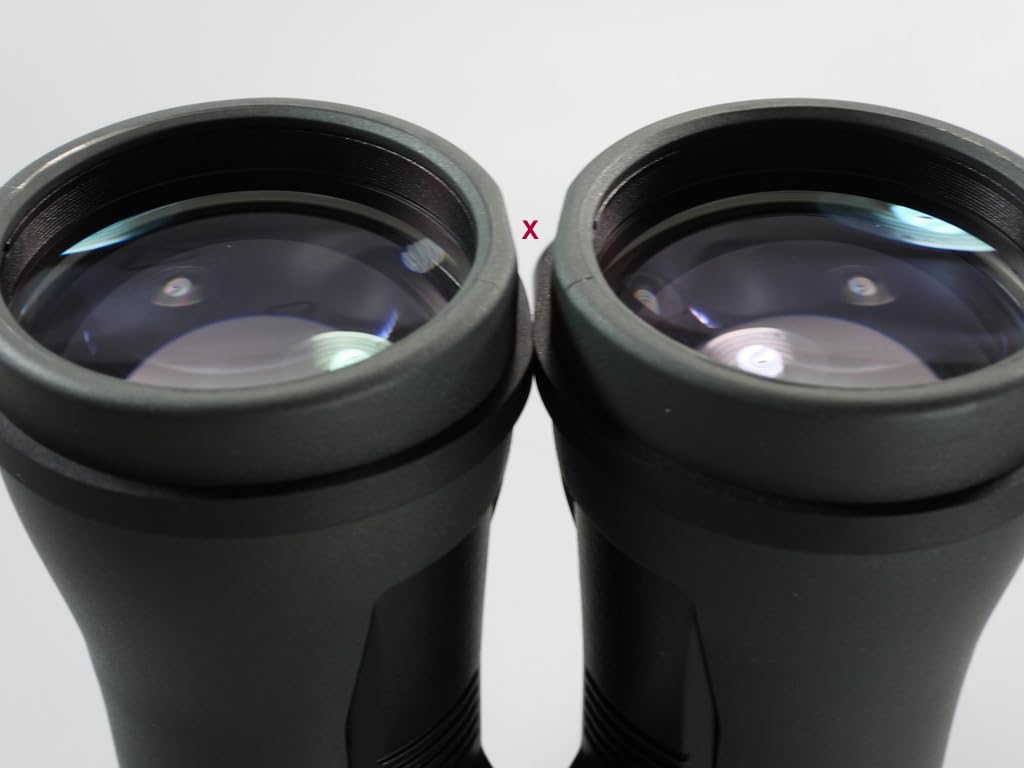
The Vortex Crossfire HD 10×42 has more than 4,000 reviews averaging 4.8 stars, which makes it one of the most-tested budget binoculars on the market. Its standout feature for adjustment is the stiff, graduated diopter that resists accidental movement once set. This solves a frustration many users have with cheaper models whose diopter drifts mid-session.
The 10x magnification delivers noticeably more detail than 8x at the cost of slightly more visible hand-shake. If you have steady hands or plan to tripod-mount for long viewing sessions, the Crossfire HD is hard to beat at this price. The 15mm eye relief is shorter than premium models, so glasses wearers should test this one first if possible.
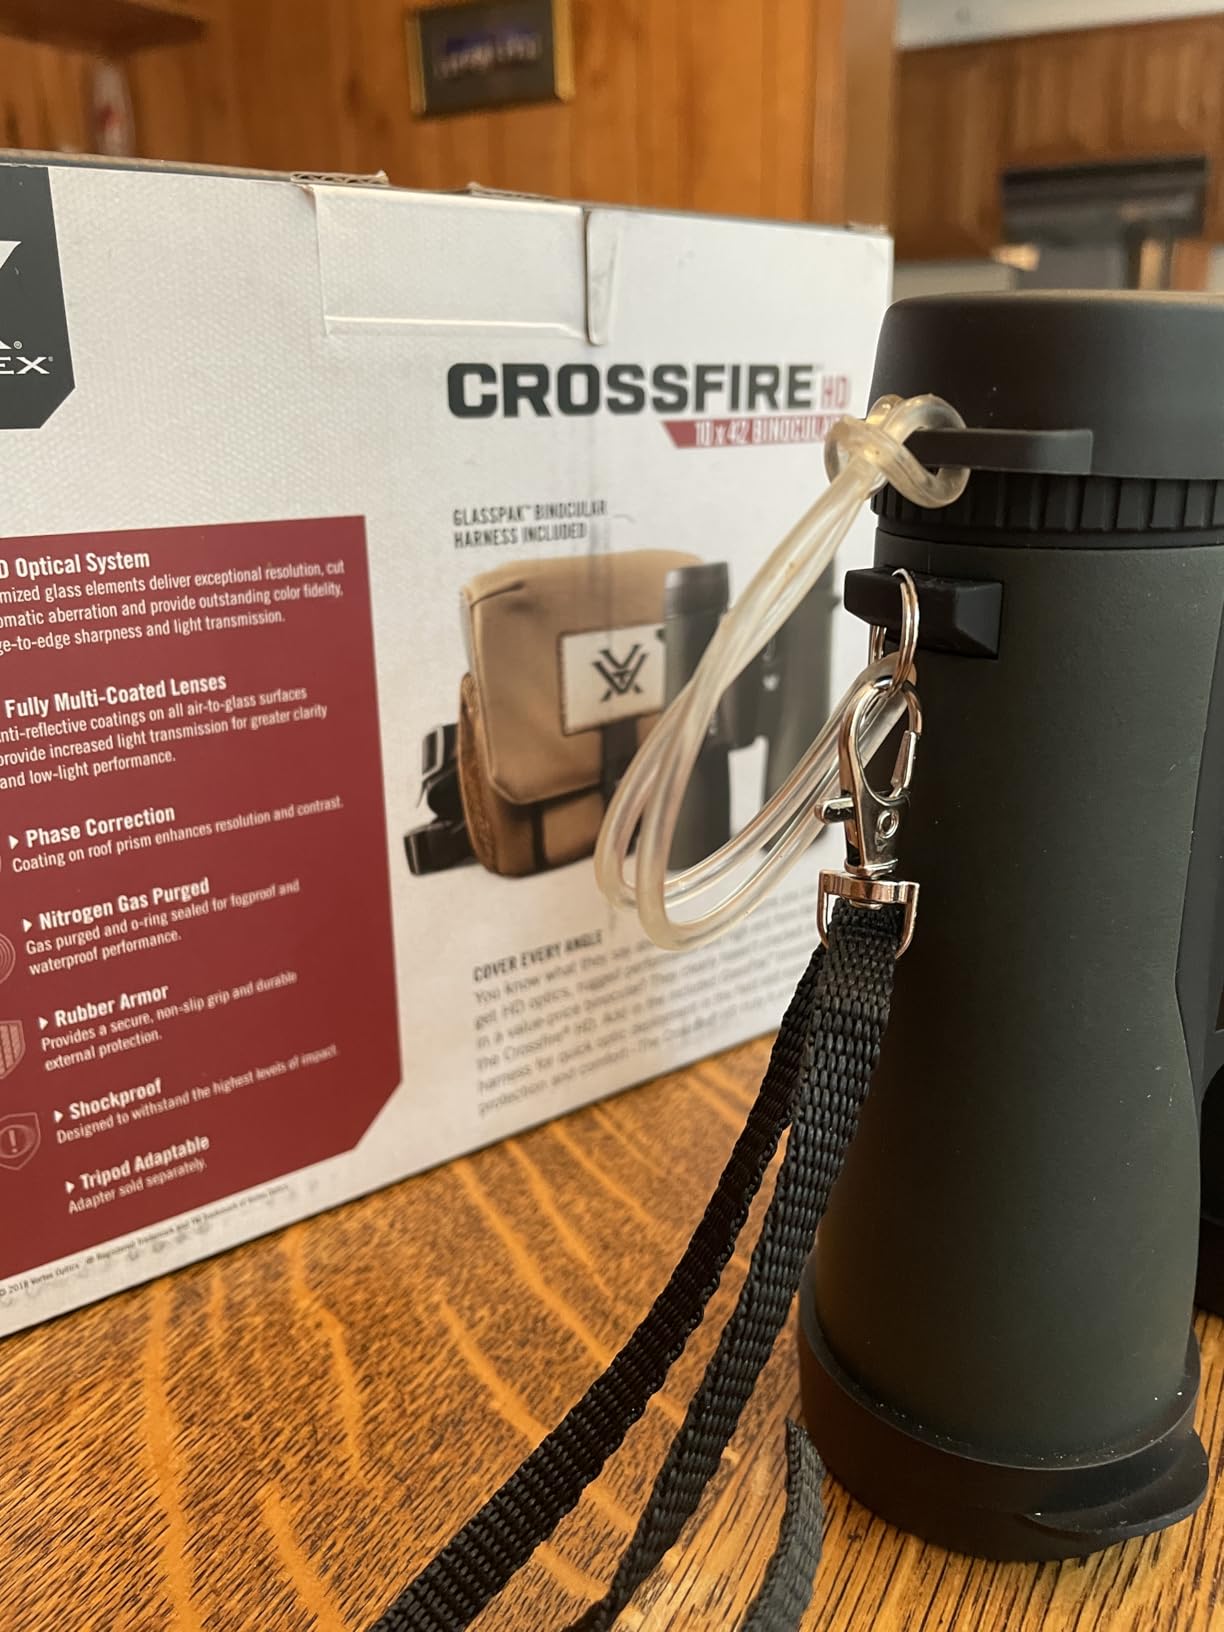
The included GlassPak harness is a nice touch for active users. Instead of a neck strap that bounces while hiking, the harness distributes weight and keeps the binoculars against your chest for quick access. It is one of those accessories you do not realize you needed until you try it.
The HD fully multi-coated optics with roof prism design produce bright, color-accurate images that punch well above the price. For users who want Vortex quality without the premium price tag, the Crossfire HD is the obvious choice. The VIP lifetime warranty matches the higher-end Diamondback, so you are not sacrificing long-term protection.

BaK-4 prisms
17.5mm eye relief
388 ft FOV
Lifetime warranty
Polycarbonate
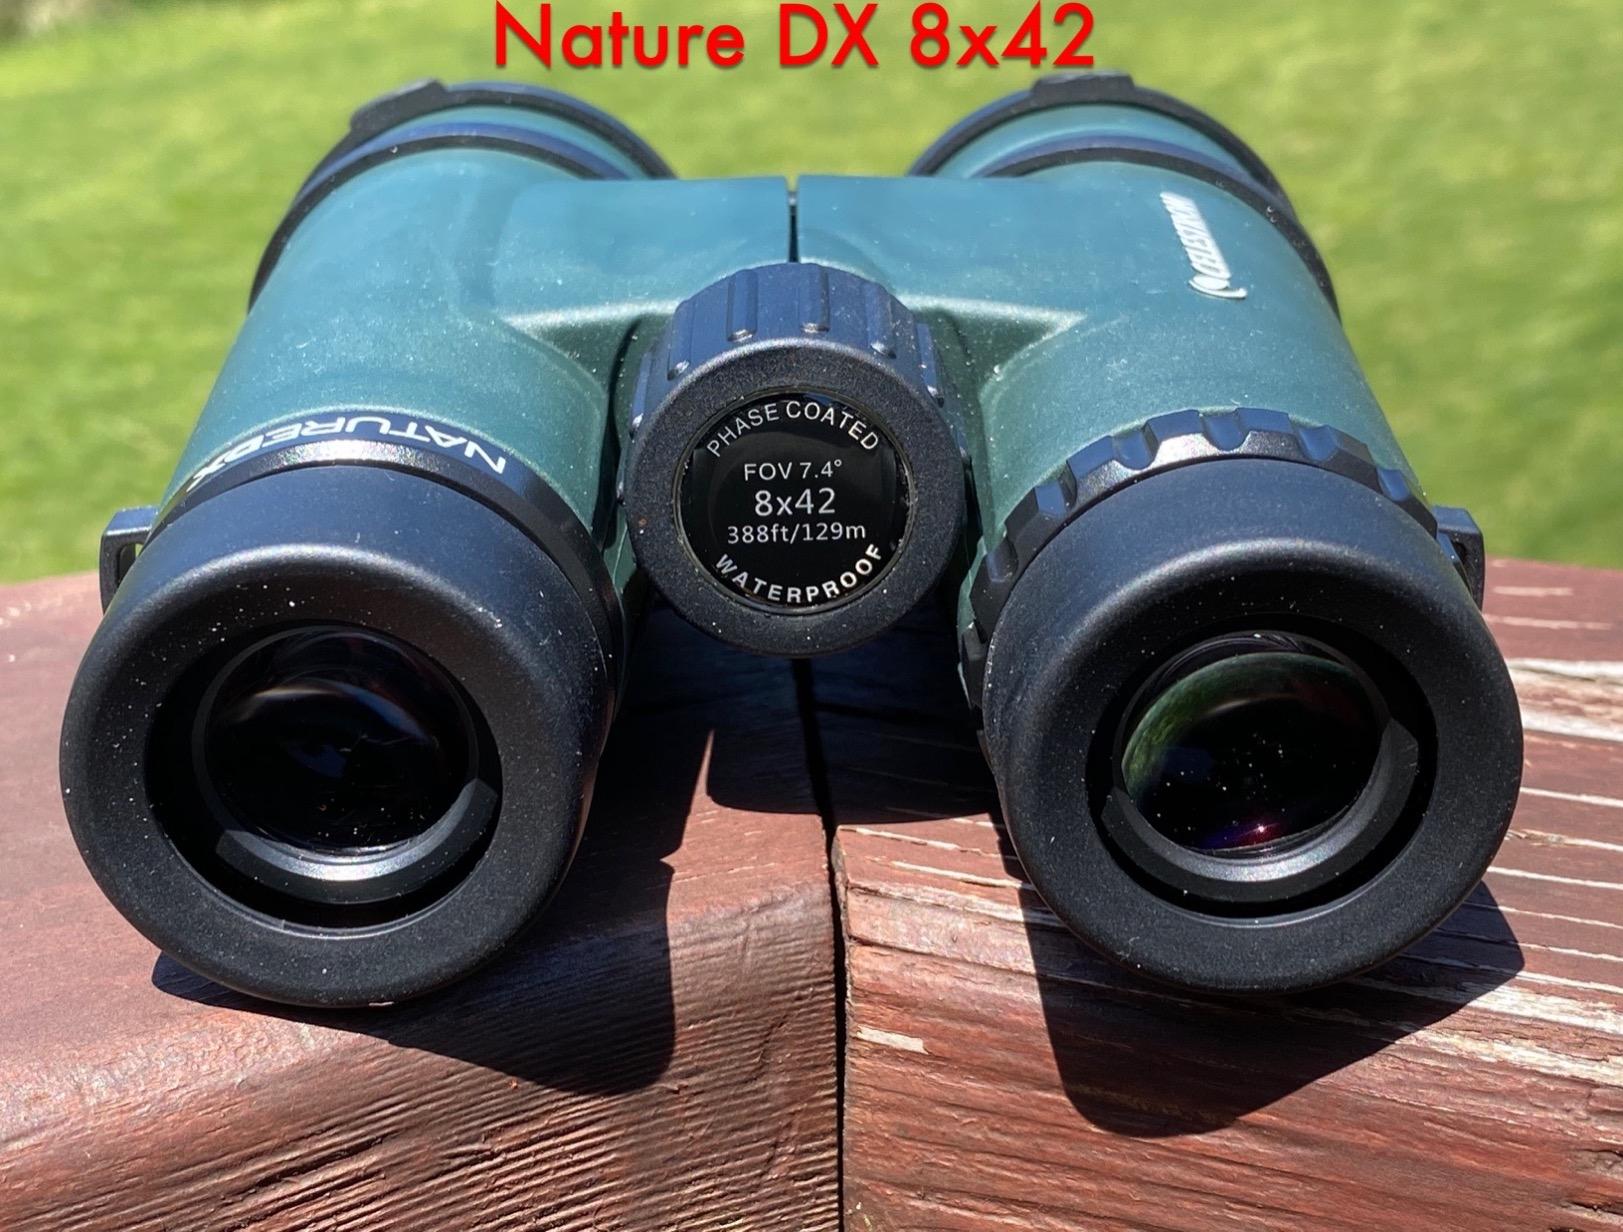
The Celestron Nature DX 8×42 is the binocular I hand to first-time users during my adjustment workshops. With more than 4,000 reviews and a 4.6-star average, it is also one of the most validated beginner binoculars available. The fully multi-coated lenses with phase-coated BaK-4 prisms produce sharper images than you would expect at this price.
The 17.5mm eye relief is generous for glasses wearers, and the twist-up eyecups adjust smoothly with clear click-stops. The wide 7.4-degree field of view (388 ft at 1000 yards) makes finding and tracking birds much easier than narrow-FOV models. For beginners still learning to aim and track moving subjects, that extra field of view is a real advantage.
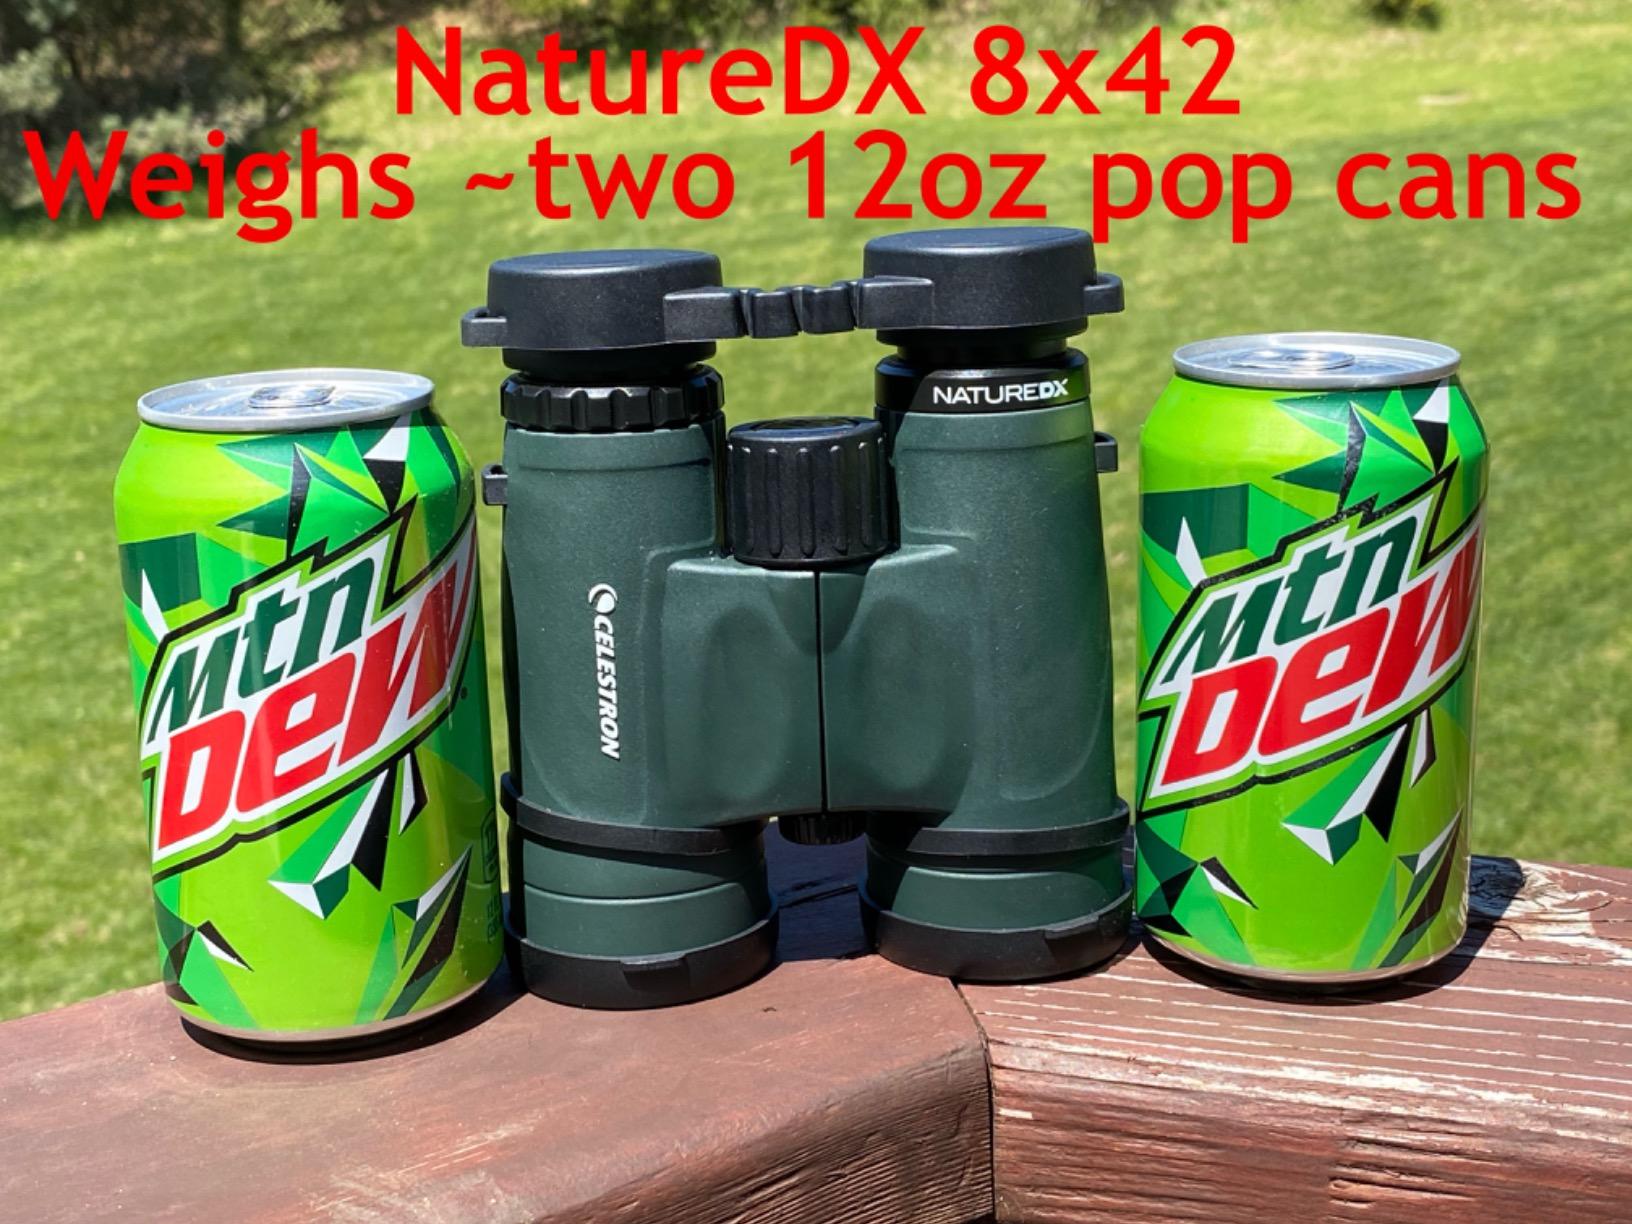
The main caveat is the friction-fit diopter ring. Over months of use, it can drift slightly from its set position, so you may need to recheck your diopter periodically. This is a known quirk rather than a defect, and for the price, it is a fair tradeoff. Just plan to verify your diopter before important viewing sessions.
The rubber-armored polycarbonate body is light, durable, and comfortable to grip. The tripod-adaptable design with a built-in socket makes it easy to mount for long sessions or digiscoping. For new birders who are still figuring out their preferences, the Nature DX is a low-risk way to learn what features matter to you before investing in premium glass.

ED glass
18.4mm eye relief
293 ft FOV
Locking diopter
Phase-corrected
The Nikon Monarch M5 10×42 is the binocular I reach for on serious birding days. The ED (Extra-low Dispersion) glass combined with dielectric high-reflective multilayer prism coatings produces color fidelity that budget models cannot match, which matters when you are trying to identify subtle plumage differences between similar species.
The standout adjustment feature is Nikon’s locking diopter mechanism. Instead of a free-spinning ring, you press and hold a button to adjust, then release to lock the setting in place. This eliminates the diopter-drift issue that plagues many binoculars, including the friction-fit rings on some budget models. Once set, the diopter stays exactly where you left it.
The 18.4mm eye relief is generous enough for most glasses, and the twist-up click-stop eyecups lock firmly into multiple positions. The close focus of 8. feet is useful for examining butterflies, dragonflies, and nearby birds in detail. Phase-corrected dielectric-coated prisms and nitrogen-filled waterproof/fogproof construction round out a serious birder’s package.
The 1.4-pound weight is noticeable on all-day outings, so consider a harness if you plan long hikes. For stationary viewing, the optics earn their weight back in image quality. If you are upgrading from a beginner binocular and want something that will last a decade of serious birding, the Monarch M5 is a proven choice.
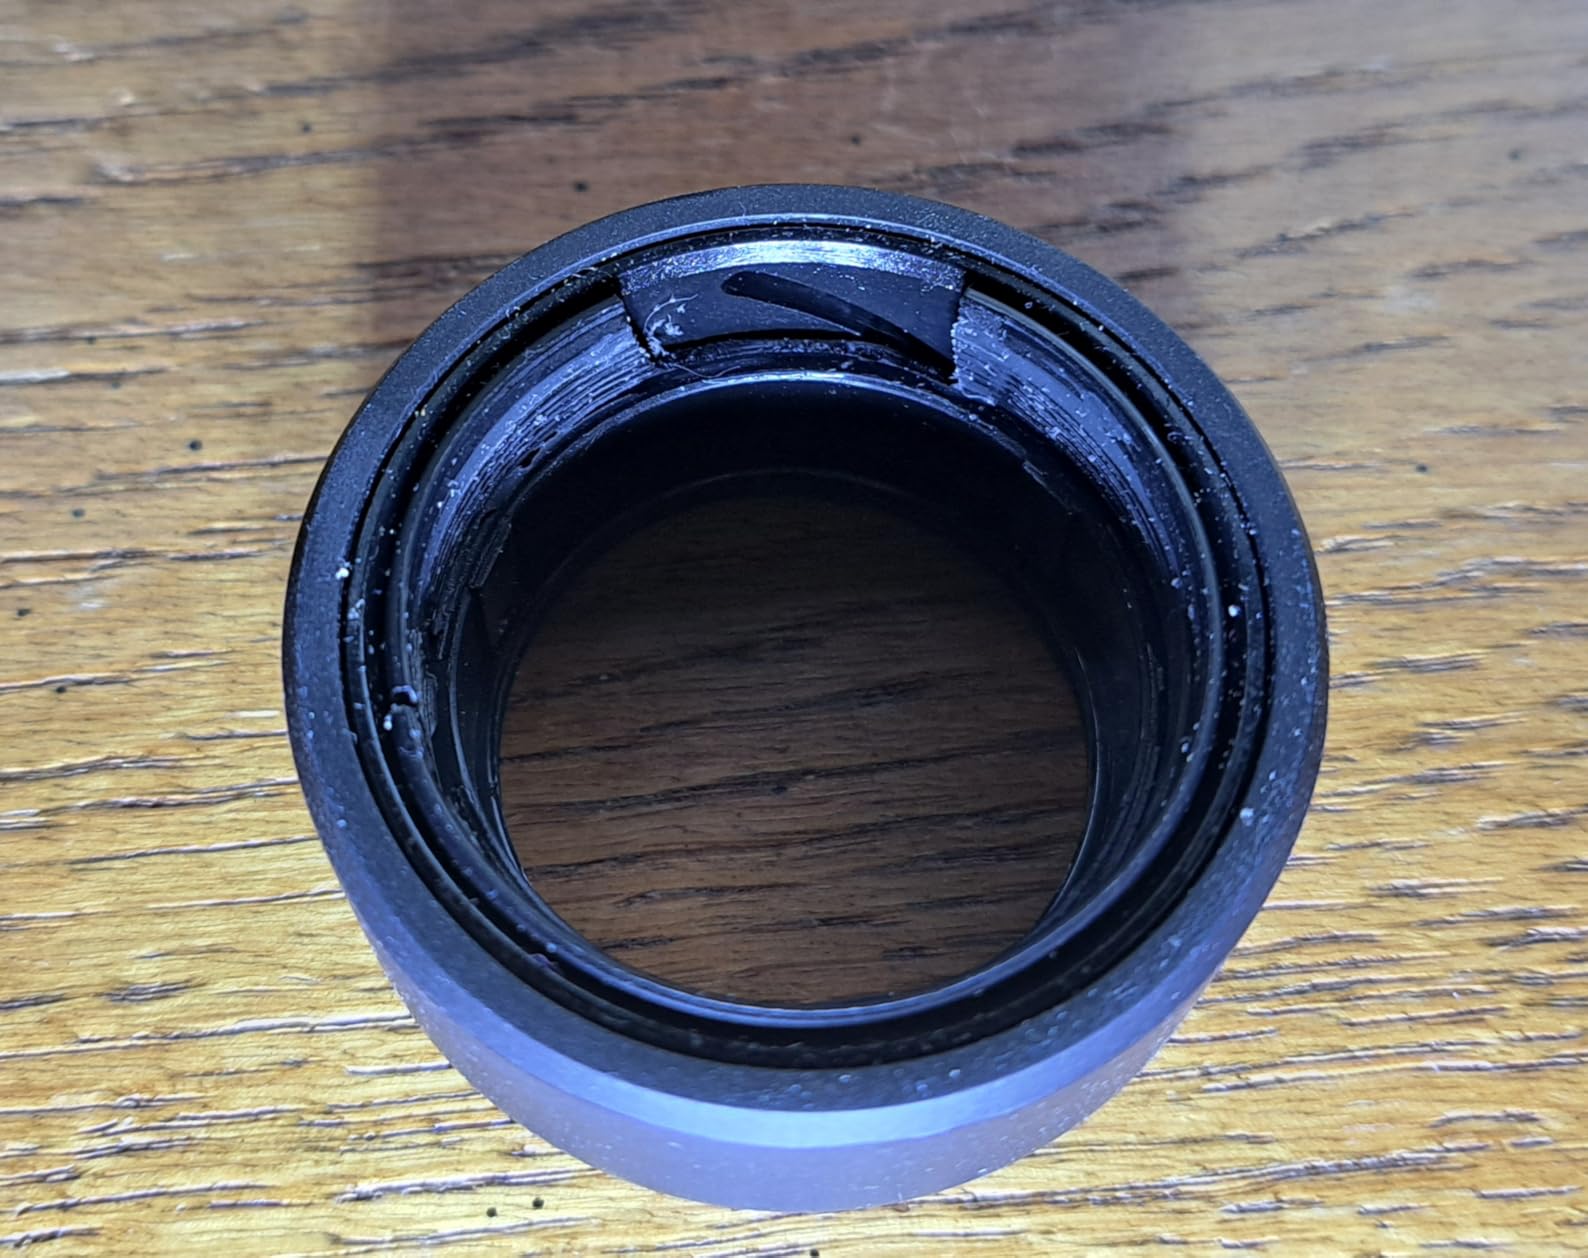

20.2mm eye relief
Multilayer coatings
Click-stop eyecups
±5 diopter
Lifetime warranty
If you wear glasses, eye relief is the single most important spec to check before buying binoculars. The Nikon PROSTAFF P3 8×42 offers 20.2mm of eye relief, which is the longest in this price range and a real advantage for thick-framed glasses or progressive lenses.
The turn-and-slide eyecups click into multiple positions with a firm detent, so they stay where you set them. Even when wearing thick glasses, the eyecups retract far enough that I could see the full field of view with no vignetting. The wide +/-5 diopter range also makes this model work well for users with significant vision differences between eyes, where many budget models run out of diopter travel.

The 8x magnification and 377-foot field of view give a comfortable, stable image that is forgiving of hand-shake. The 53.4-degree apparent field of view feels expansive and immersive, almost like watching through a window rather than a tube. This makes longer viewing sessions much more comfortable.
The diopter is intentionally stiff, which prevents drift but also makes initial setup slightly harder. Plan to spend a bit more time getting the diopter exactly right, and once set, it will stay there. The Nikon Limited Lifetime warranty provides long-term protection.
BaK-4 prisms
17mm eye relief
IPX7 waterproof
Nitrogen purged
Rubber armor
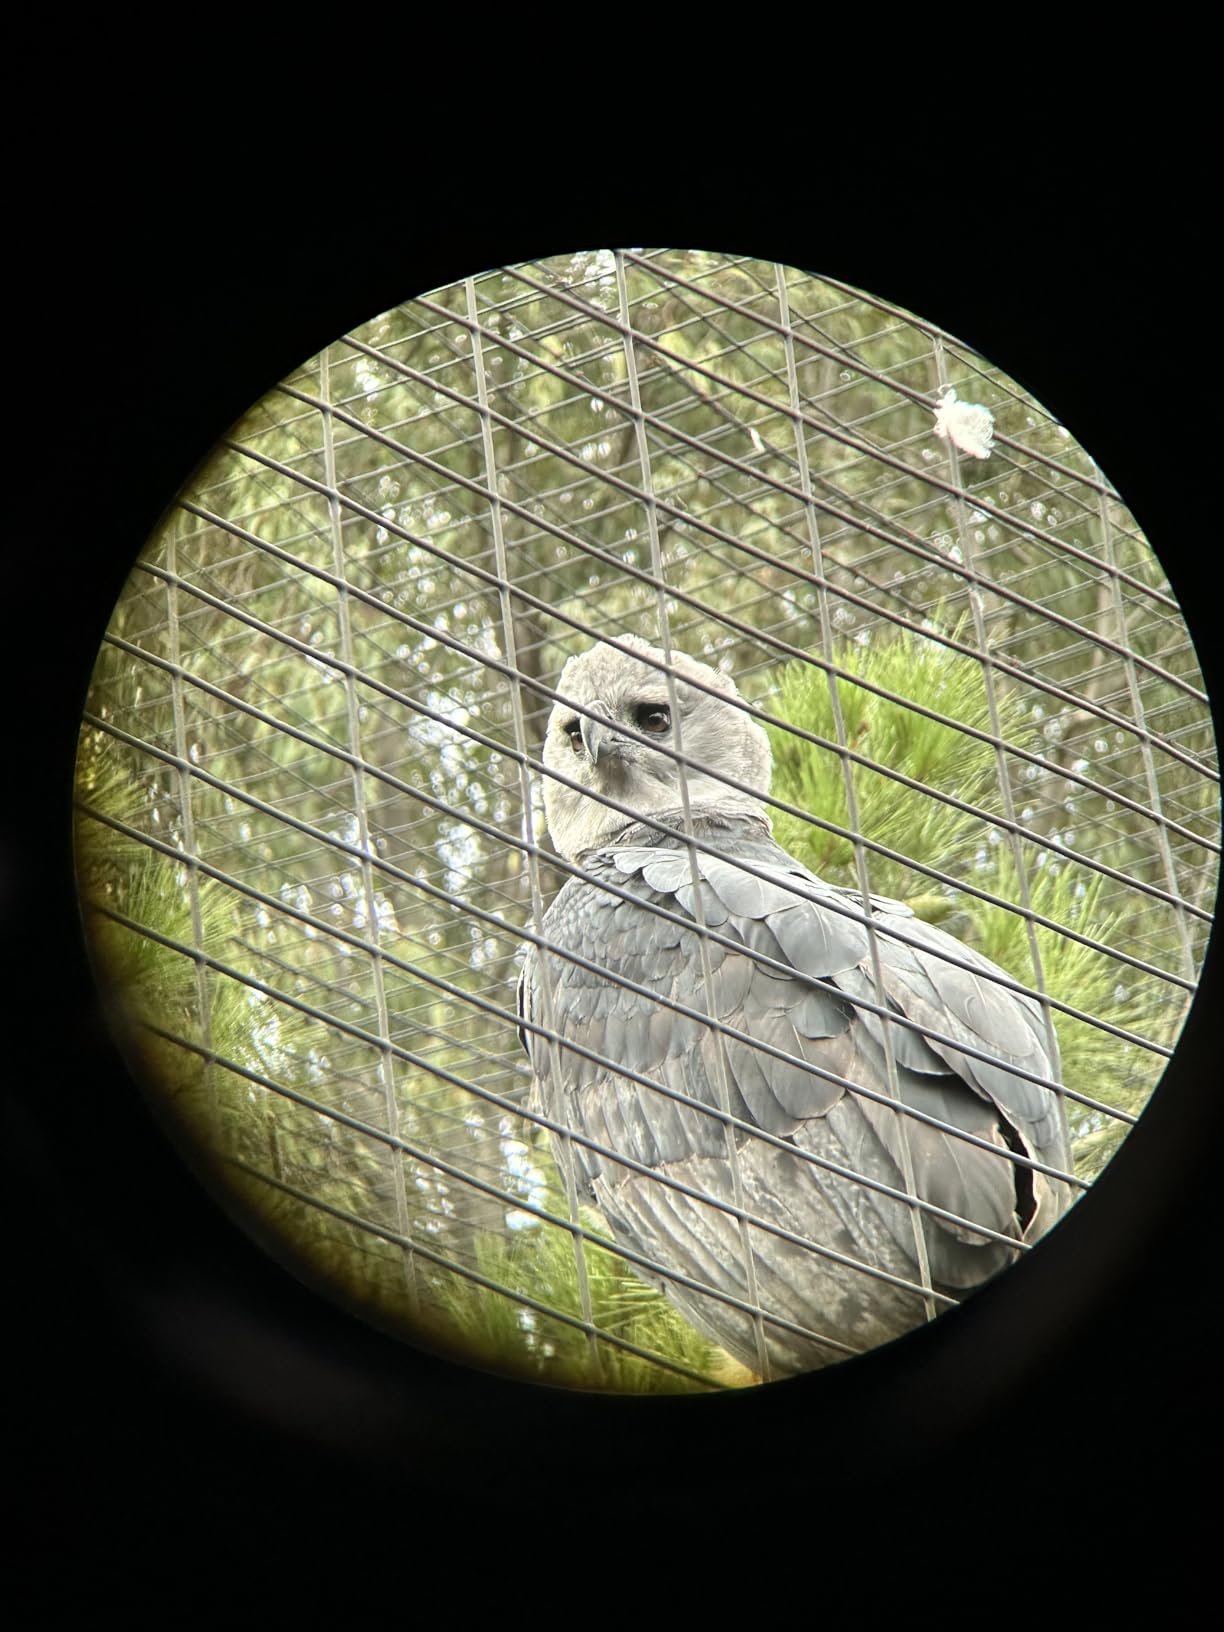
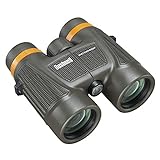
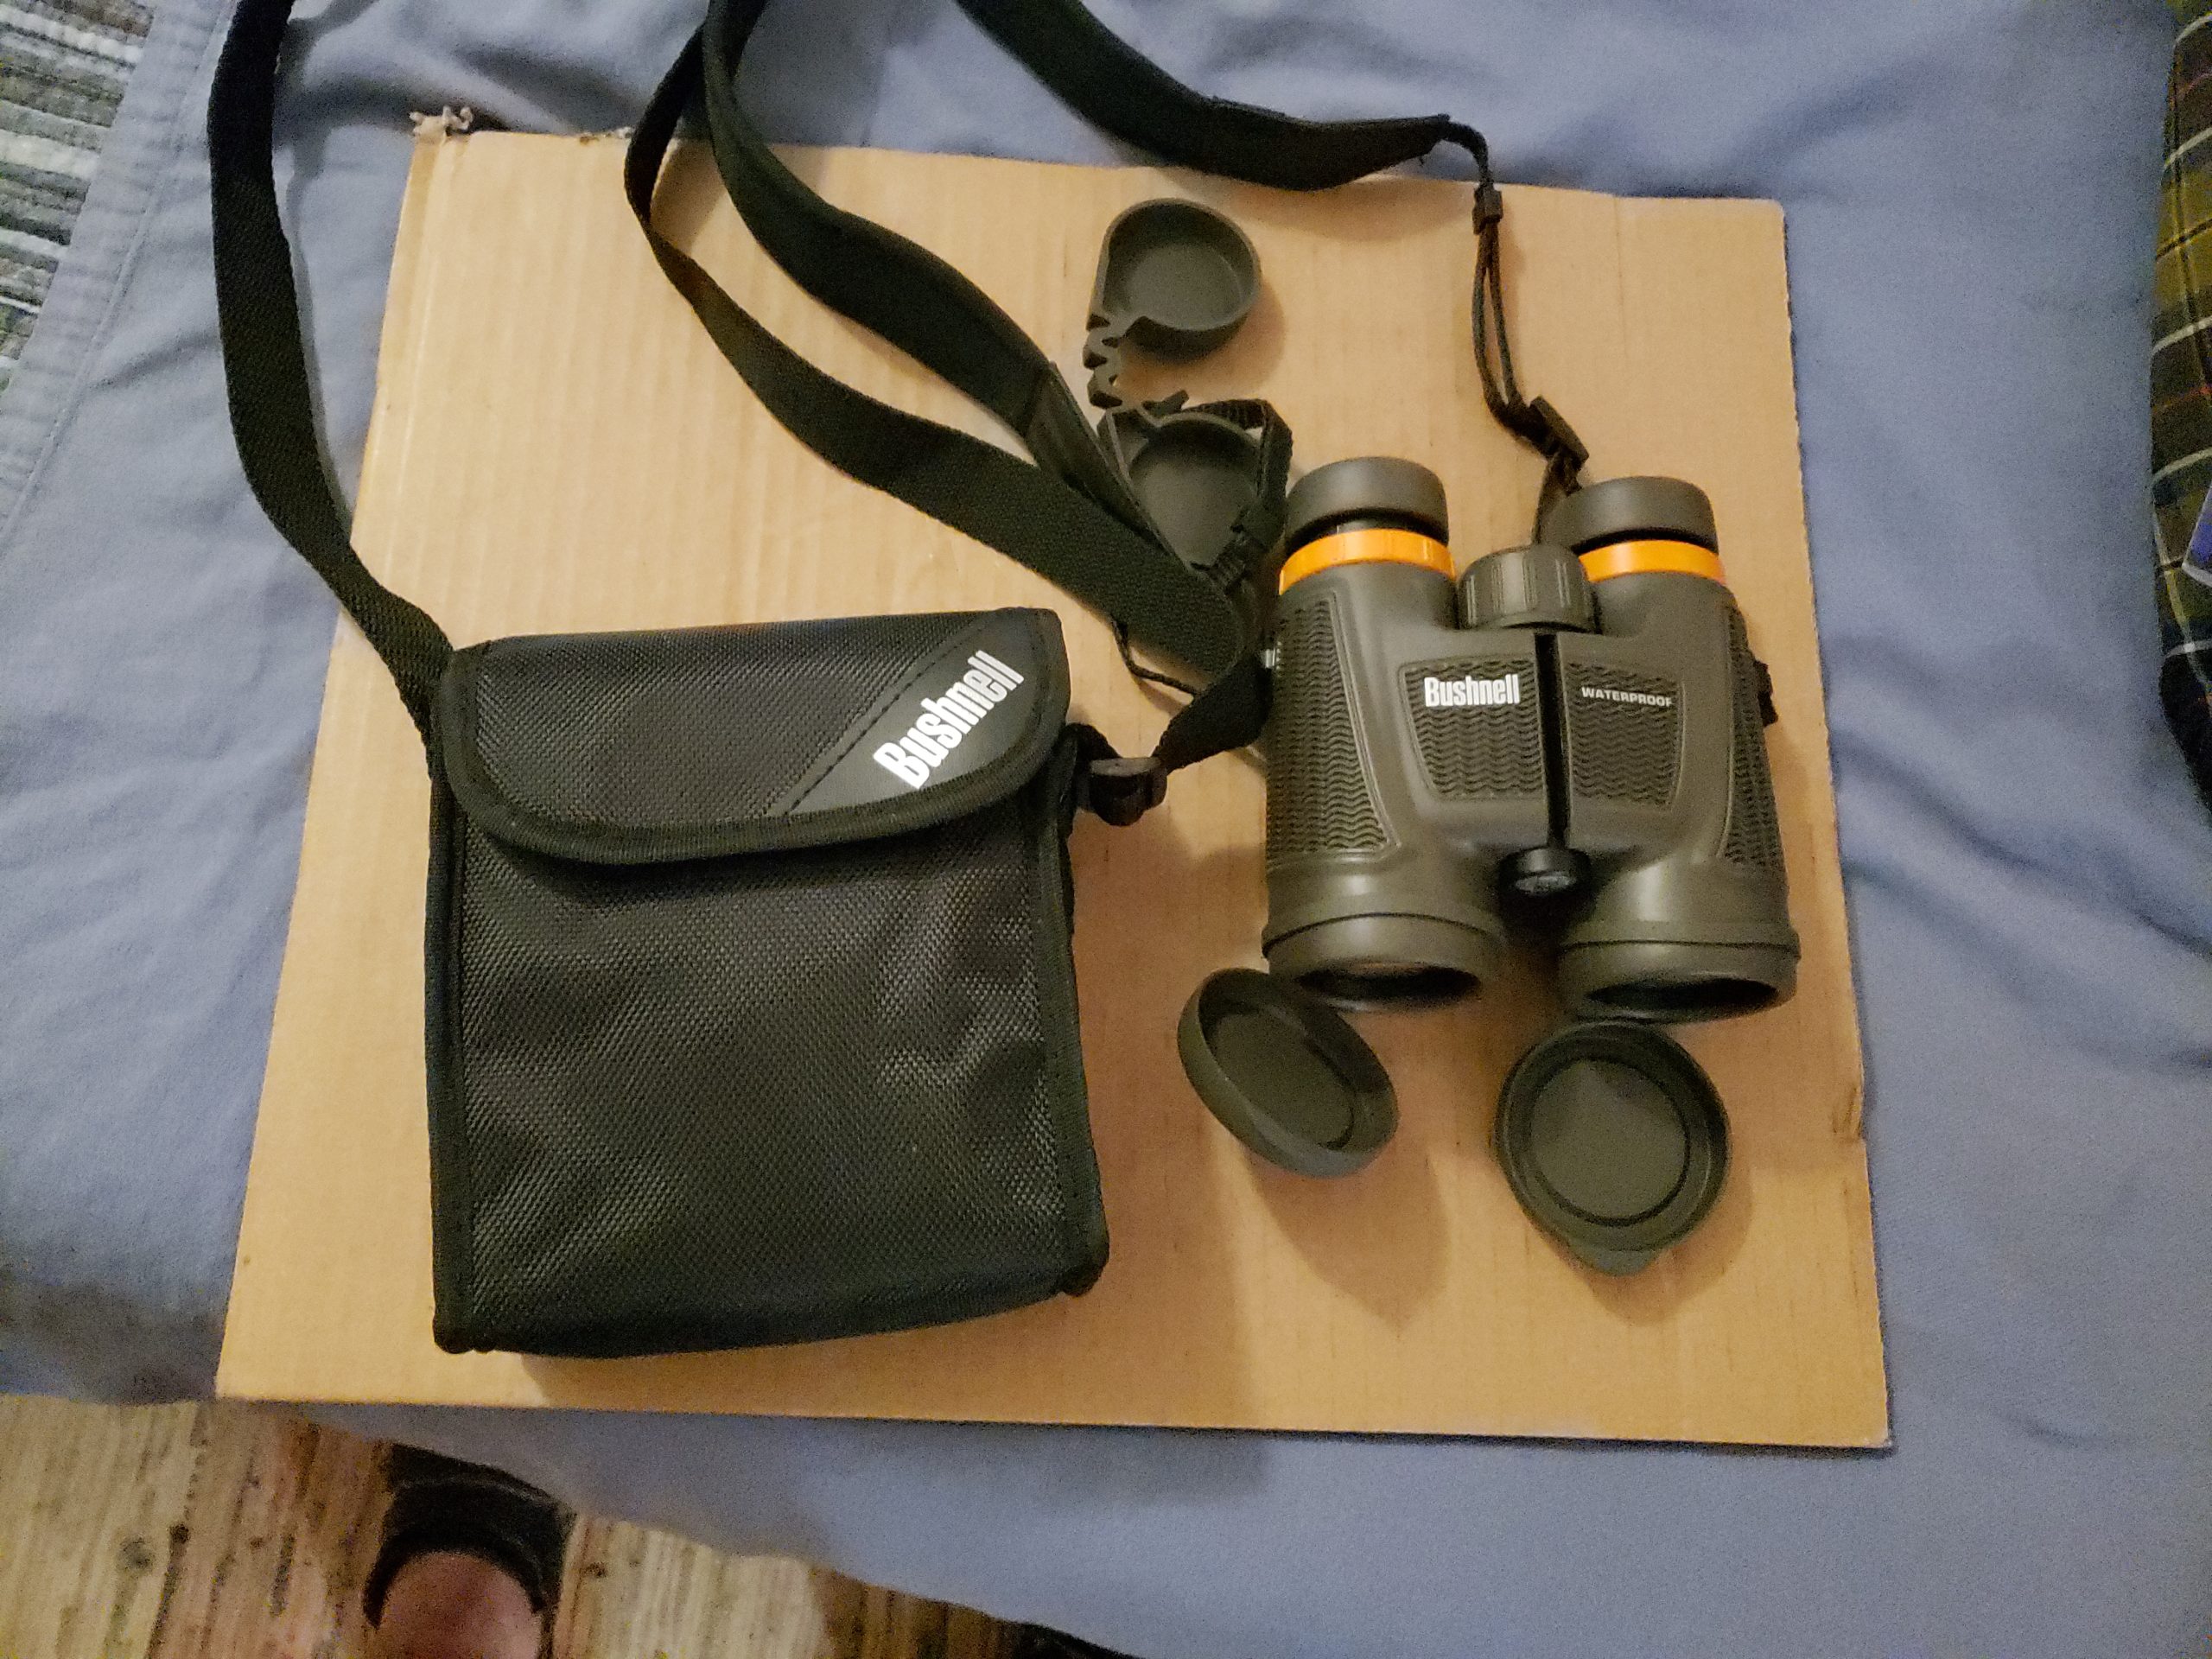
The Bushnell H2O Xtreme 10×42 is built for users who do not let rain stop their viewing. The IPX7 waterproof rating means it can survive accidental submersion, and the nitrogen purging keeps internal lenses fog-free across temperature swings. If you bird in coastal fog, hunt in wet conditions, or simply want a binocular that can handle getting rained on, this is one of the most weather-ready options at this price.
The adjustment quirk worth knowing: the diopter on this model lives on the central focus shaft, not on the right eyepiece. This is the center-column diopter design covered earlier in this guide. If you cannot find a diopter ring near the right ocular, look for a small ring tucked behind the main focus wheel.
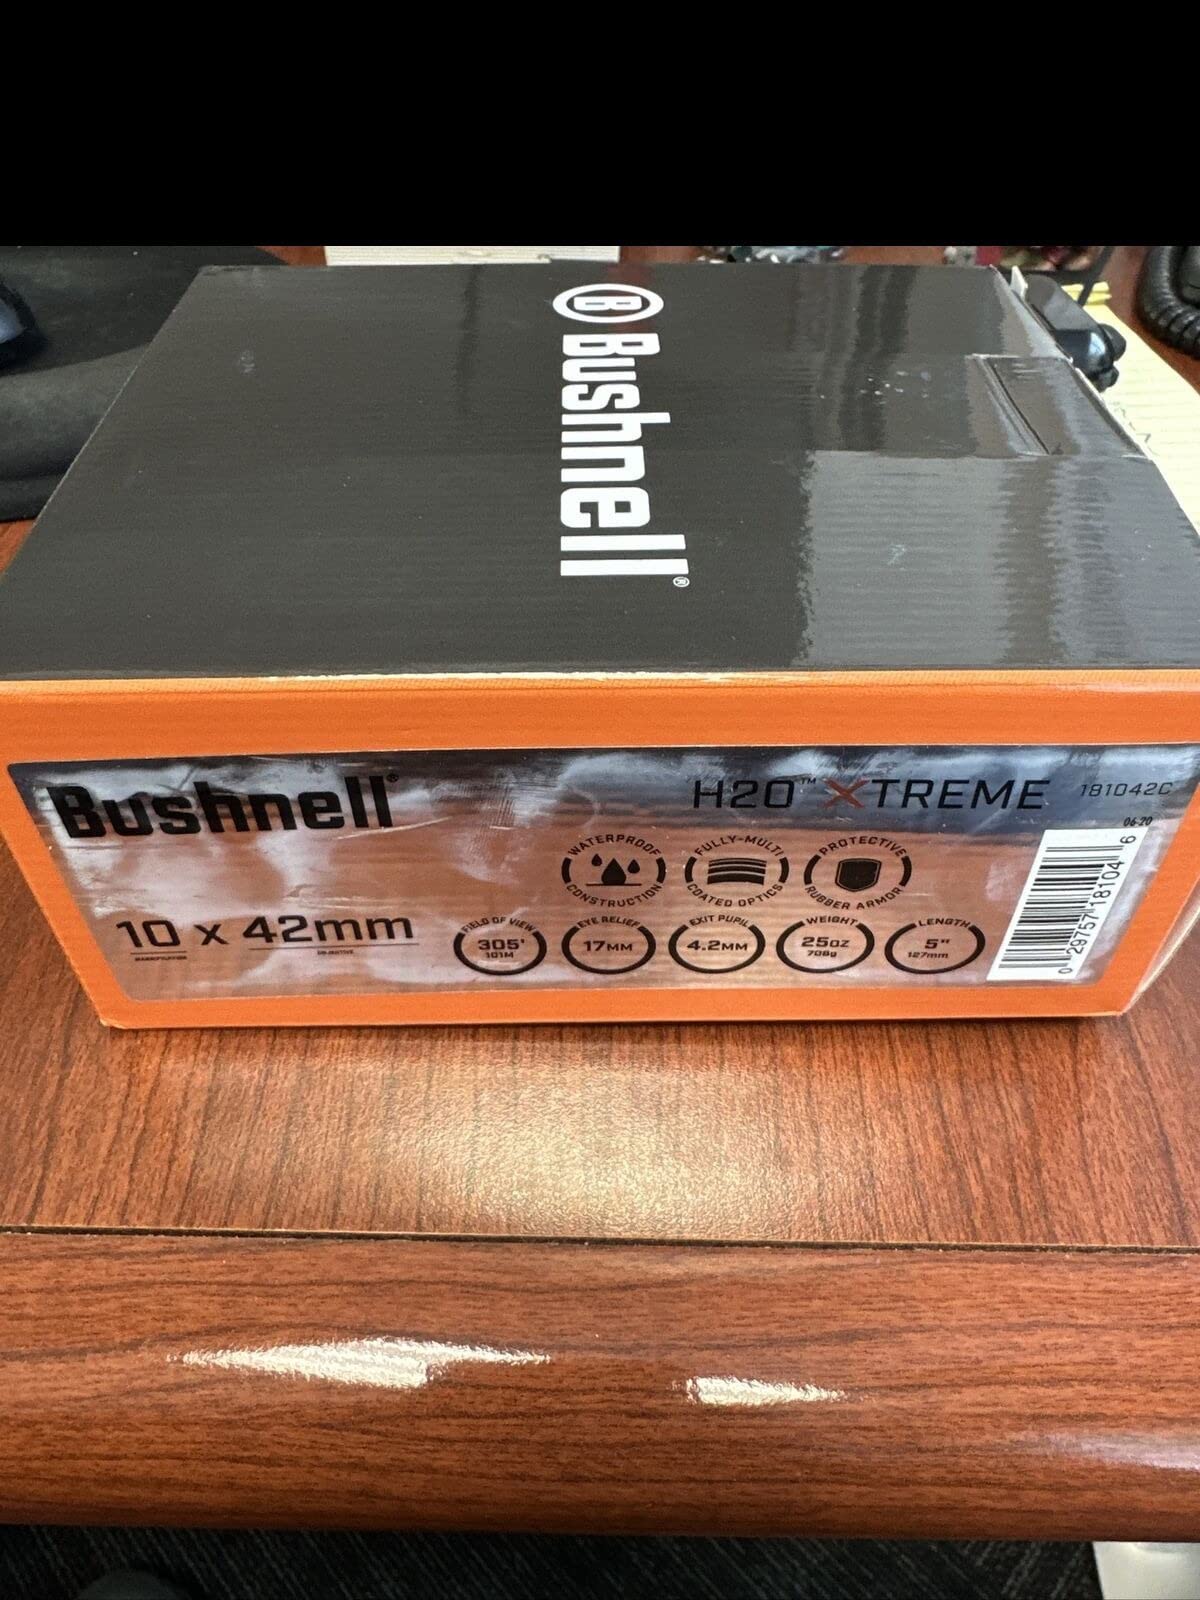
The non-slip rubber armor with deep texturing stays grippy even when soaked, which is a real safety feature for active users. At 709 grams, the H2O Xtreme is also lighter than most 10×42 models. The 17mm eye relief accommodates glasses wearers, and the twist-up eyecups click into firm detents.
The Bushnell Ironclad warranty provides solid protection, and the BaK-4 prisms with fully multi-coated optics deliver sharp, bright images for the price. The main trade-off is slightly less brightness than Vortex HD series in low light, but for daytime viewing in wet conditions, this is a strong pick.

Porro prism
10x50 magnification
InstaFocus lever
300 ft FOV
Non-slip grip
The Bushnell Falcon 10×50 is the lowest-cost way to learn binocular adjustment on a real optical instrument. With more than 6,500 reviews and a 4.5-star average, it is one of the most trusted entry-level binoculars ever made. If you want to practice the four-step adjustment process before investing in premium glass, the Falcon is a low-risk training tool.
The InstaFocus lever system is the biggest adjustment difference from the other models on this list. Instead of a separate diopter ring and central focus wheel, the Falcon uses a single lever that focuses both eyes at once. This is simpler for beginners to understand but does not compensate for vision differences between your eyes.
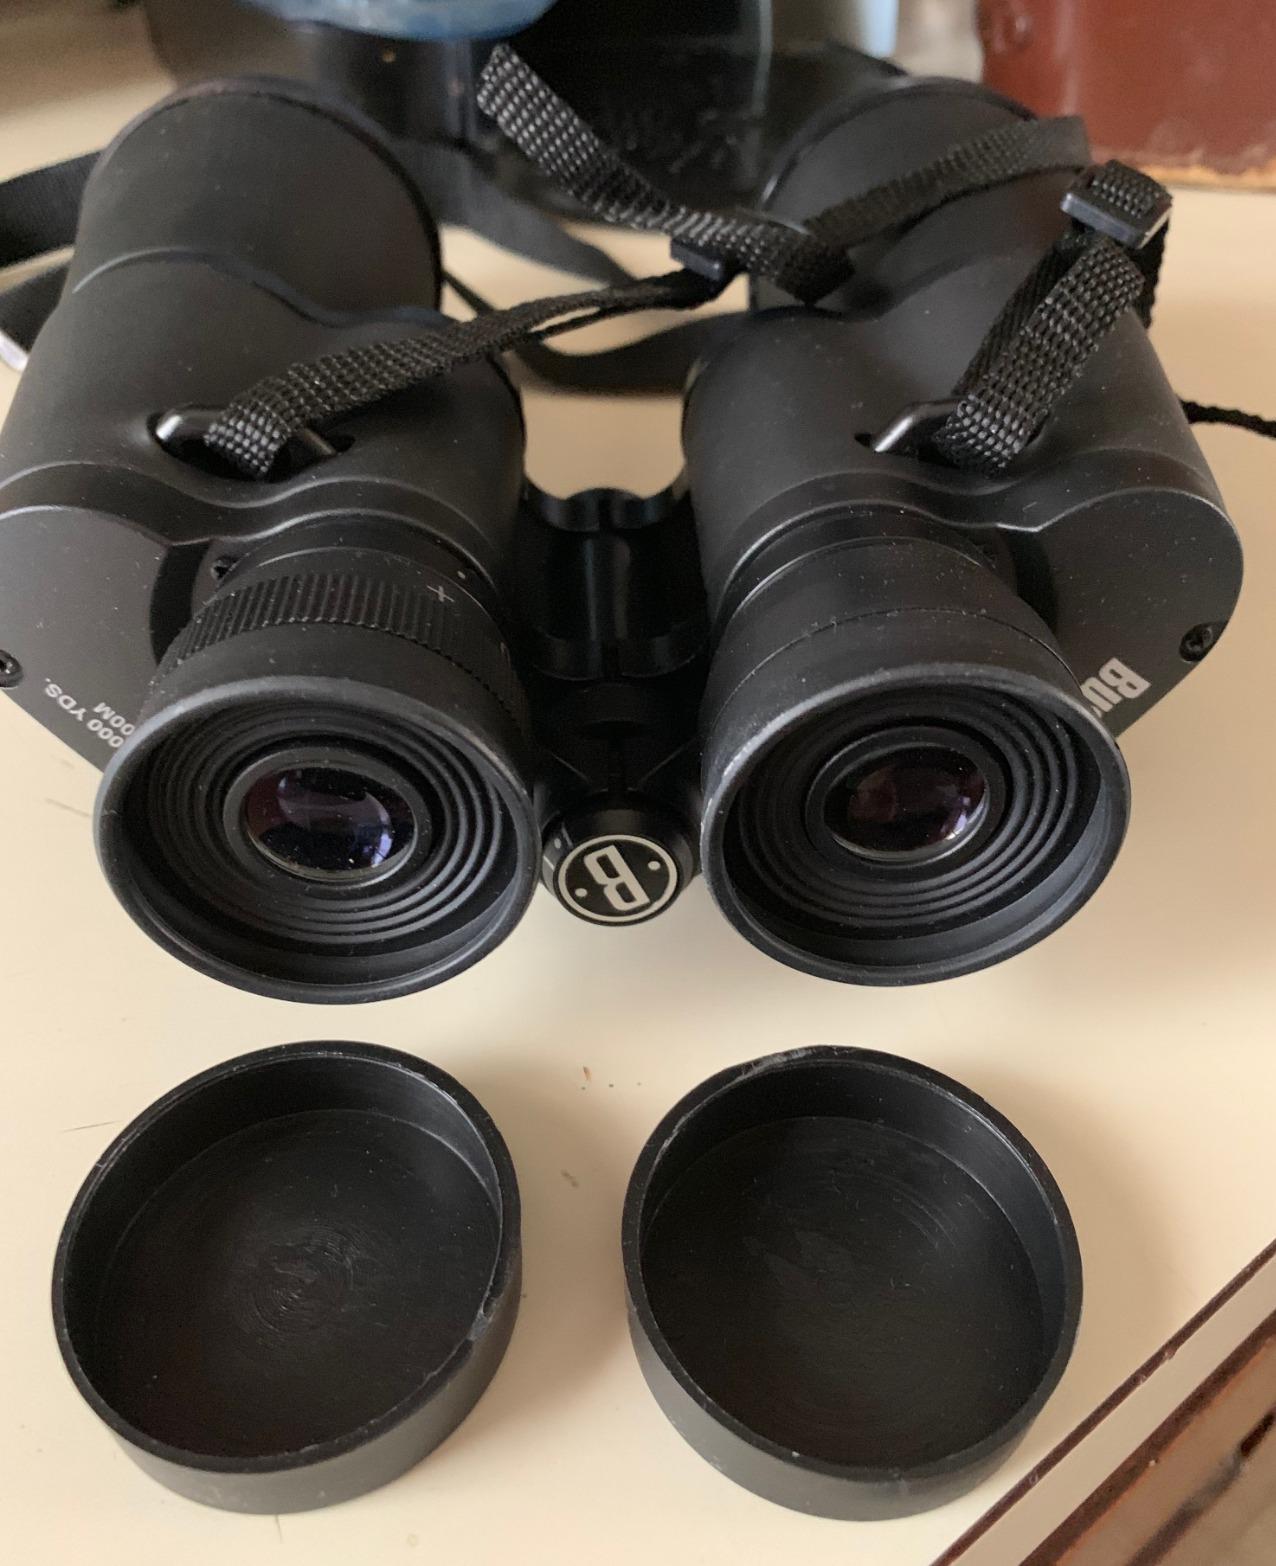
The 10×50 configuration (10x magnification, 50mm objective lenses) gathers abundant light for low-light use, which is why this design has remained popular for astronomy and wildlife observation for decades. The 300-foot field of view is wide and forgiving, and the porro prism design produces a deep, immersive image.
The trade-offs are real: only 9mm of eye relief means this is not a glasses-friendly model, and at 830 grams it is heavier than modern roof-prism designs. But for users without glasses who want to learn binocular fundamentals without a big investment, the Falcon is a genuine classic.
Think of it as a learning tool. Master the four-step adjustment process on the Falcon, then upgrade to a model with a true diopter, longer eye relief, and modern coatings when you know exactly what features matter to your viewing style.
Even with perfect initial adjustment, you will eventually run into issues. Here are the five most common problems binocular users report, with solutions drawn from optics professionals and real forum discussions.
Seeing double through your binoculars typically means misalignment or incorrect IPD setting. The first step is to check your IPD adjustment, since most double vision issues come from the barrels being too close together or too far apart. You should see one perfect circle, not two.
If your IPD is correct but you still see double, your binoculars may need professional collimation (internal prism alignment). Mild double vision can sometimes be resolved by gently adjusting the IPD while looking at a distant target, but persistent double vision is a service issue, not a user-fixable problem. Do not attempt to adjust the prisms yourself, because I have seen users permanently damage their binoculars this way.
Professional collimation typically costs between $50 and $100 and is well worth it for quality binoculars. Nikon and Vortex both offer lifetime alignment services on their premium models, so check with the manufacturer first.
Dark crescents around the edges of your view almost always point to incorrect eyecup position or IPD setting. First, try adjusting the eyecups. Glasses wearers should have them fully retracted, non-glasses wearers fully extended, and everyone should adjust one click at a time until the dark edges disappear.
If the eyecups are correct but you still see dark areas, check your IPD. Barrels too close together cause dark edges on the outside of your view, while barrels too far apart cause dark edges in the middle. Make small adjustments until the entire field of view is bright.
For users with wide-set eyes (IPD over 70mm), some compact binoculars simply will not adjust wide enough. Full-size models like the Vortex Diamondback HD 8×42 typically have a wider IPD range and are more forgiving for users at the upper or lower ends of the spectrum.
If images stay blurry after focusing, first redo the diopter adjustment process from Step 3, making sure you are focusing on an object at least 50 yards away. Many users try to set their diopter on close objects, which leads to poor distance performance.
Dirty lenses cause more focus problems than people realize. I have seen users struggle with blurry views for weeks when all they needed was proper binocular cleaning. Use a microfiber cloth and proper lens cleaning solution. Never use paper towels, your shirt, or household cleaners, which can damage anti-reflective coatings.
Sometimes the focus wheel itself develops issues. If the wheel feels loose, gritty, or jumps when turning, the internal lubrication may have failed. This requires professional service, but most quality brands offer repair options.
Eye strain after extended use usually points to incorrect IPD or your eyes fighting against the diopter setting. If you wear glasses, make sure your binoculars have at least 15mm of eye relief so you can see the full field of view. The Nikon PROSTAFF P3 8×42 with 20.2mm eye relief is a strong choice for strain-prone glasses wearers.
Take regular breaks during long sessions. The 20-20-20 rule works well: every 20 minutes, look at something 20 feet away for 20 seconds. This relaxes the eye muscles and prevents the kind of strain that builds up over hours of viewing.
Some users experience strain from using binoculars with too much magnification. For handheld use, 8x is usually more comfortable than 10x or 12x. Higher magnifications require tripod mounting to prevent shake-induced eye strain.
Sometimes DIY adjustment is not enough. Seek professional service if you experience persistent double vision, focus mechanisms that feel rough or loose, fogging between internal lenses, or physical damage from drops. These are all signs that internal service is needed rather than user-level adjustment.
Typical service costs include collimation ($50-$100), internal cleaning ($75-$150), and focus mechanism repair ($100-$300 depending on parts). Always get estimates first, especially for older or less expensive models where repair might exceed replacement cost.
Different brands have unique adjustment features that affect how you should approach the four-step process. Here are tips from experienced users for the most common brands.
Nikon Binoculars: Nikon typically places the diopter on the right eyepiece with a locking mechanism. On Monarch M5 and PROSTAFF P3 models, press and hold the diopter button to adjust, then release to lock your setting. This prevents accidental changes, a feature many users appreciate once they have lost their diopter to drift on other models.
Vortex Binoculars: Vortex is known for generous eye relief (16 to 20mm on most models), making them glasses-friendly. Their diopters typically have click-stops for precise adjustment. The Diamondback HD and Crossfire HD both use the right-eyepiece diopter design. Vortex’s VIP lifetime unconditional warranty covers adjustment issues, so contact customer service if anything drifts or fails.
Bushnell Binoculars: Many Bushnell models place the diopter on the central focus wheel rather than the right eyepiece. The H2O Xtreme uses this center-column design, so look behind the main focus wheel for a small adjustment ring. Budget models like the Falcon use the InstaFocus lever system instead of a separate diopter.
Celestron Binoculars: Celestron often uses a standard right-eyepiece diopter with a smooth ring rather than click-stops. The Nature DX and SkyMaster lines are popular for astronomy and birding. Celestron offers a Limited Lifetime US Warranty from their California headquarters.
Other Popular Brands: Swarovski offers smooth helicoid focus wheels with exceptional build quality. Leica uses high-quality click-stop diopters on their premium lines. Budget brands may have limited diopter ranges, so check the +/- range in the spec sheet before buying if you have a strong vision difference between eyes.
Regular maintenance keeps your binoculars performing at their best. I recommend checking your adjustments weekly if you use them frequently, or before each major outing if you use them less often.
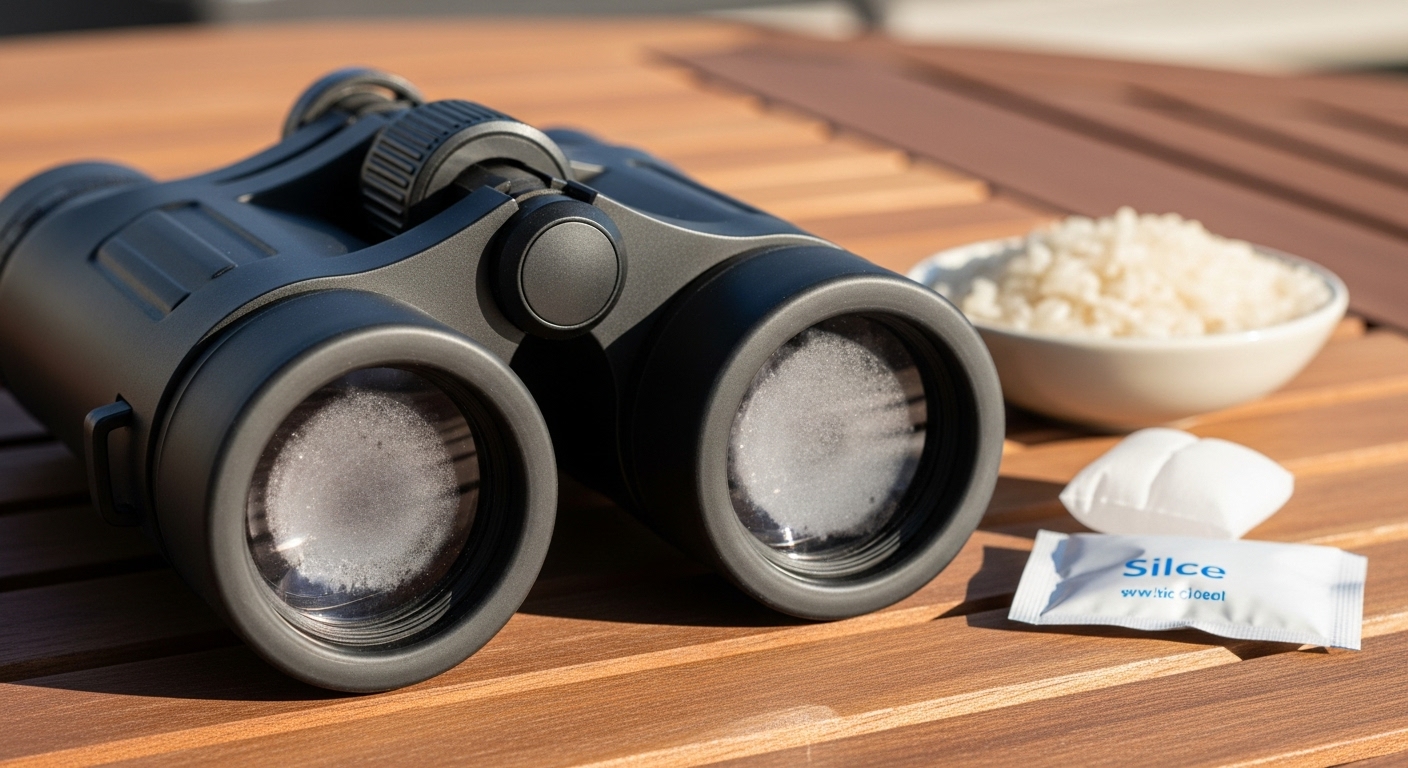
Store binoculars in a dry place with silica gel packets to prevent internal fogging. Avoid extreme temperature changes. Let them acclimate for 20 to 30 minutes when moving from cold to warm environments, which prevents condensation on internal lenses.
Mark your personal settings (IPD and diopter) if you share your binoculars. Use a small piece of tape or a dot of nail polish for quick reference. This saves time and frustration when switching between users, especially if your diopter tends to drift.
Understanding what the numbers on binoculars mean helps with adjustment expectations. Higher magnification like 10x or 12x requires more precise focusing, while larger objective lenses (42mm, 50mm) gather more light but may need more frequent cleaning. An 8×42 model is the most popular all-around configuration because it balances magnification, light gathering, and field of view.
Looking for new binoculars? Our guide to the best low-light binoculars covers models that hold their adjustments well in challenging conditions. For birding-specific recommendations, see our best binoculars for birding guide.
Always clean your binocular lenses before doing a full adjustment setup. Even a thin film of dust or oil on the lenses will throw off your focus and diopter settings, leading you to chase problems that are actually just dirty glass.
Use a blower brush to remove loose dust first. Then apply a small drop of lens cleaning solution to a microfiber cloth (never directly to the lens) and wipe gently in a circular motion from the center outward. Follow with a dry section of the cloth to remove any streaks.
Skip paper towels, tissues, your shirt, or household cleaners. These can scratch anti-reflective coatings or leave residue that makes the problem worse. A proper microfiber cloth and lens cleaning fluid cost under $15 and will last for years.
Neck strap fit affects binocular stability, which affects how easy adjustments are to maintain during use. A poorly fitted strap causes binoculars to bounce while hiking and makes steady viewing harder, especially at higher magnifications.
Adjust the strap so binoculars sit just below your collarbone when hanging. They should be easy to lift to your eyes without strain but not flop around while walking. For active users, a binocular harness distributes weight across your shoulders and keeps the optics from bouncing during movement.
Rubber armor helps grip, but the strap should still be snug enough that you can move quickly without the binoculars swinging. If you find yourself constantly readjusting the strap or chasing bouncing binoculars, a harness upgrade will solve both problems.
Start with eyecup adjustment (extended without glasses, down with glasses). Then set the width for your eye spacing. Next, focus your left eye with the central wheel and adjust the diopter for your right eye. Finally, use only the central focus for all viewing. This entire process takes 2-3 minutes once mastered.
Always focus your left eye first using the central focus wheel. Cover or close your right eye, focus on a distant object with your left eye, then adjust the diopter for your right eye without touching the central focus. This sequence ensures proper compensation for vision differences between your eyes.
Proper sighting starts with correct IPD adjustment – you should see one perfect circle, not two. Hold binoculars steady with both hands, keep your elbows against your body for stability, and relax your eyes. Avoid squinting or straining – proper adjustment should feel natural and comfortable.
First check your IPD setting and diopter adjustment. If alignment issues persist, the prisms likely need professional collimation. Don’t attempt DIY prism adjustments – this requires specialized tools and expertise. Contact the manufacturer or a qualified optics repair service for realignment.
Twist eyecups fully down or fold them flat to bring your eyes closer to the lenses. Look for models with at least 15mm eye relief. Set your IPD as usual, then perform diopter adjustment while wearing your glasses. Some users find they need a slightly different diopter setting with glasses.
Only during initial diopter setup – keep both eyes open for normal viewing. During diopter adjustment, you’ll cover or close one eye at a time to set each side independently. For regular use, both eyes should remain open to enjoy the full binocular experience and prevent eye strain.
Double vision usually means incorrect IPD setting or prism misalignment. First, adjust the barrel width until you see one circular image. If double vision persists, the binoculars likely need professional collimation. This can happen from drops or rough handling affecting the internal prism alignment.
Check your IPD and diopter settings each time you use your binoculars, especially if others have used them. Fine-tune focus regularly during viewing. Re-do the full adjustment process if you notice strain, blurry edges, or if someone else has changed the settings significantly.
This is normal and is exactly why the diopter exists. Each eye can have different vision, so binoculars are designed so only one side (usually the right) has the diopter adjustment. Set the left eye with the central focus, then fine-tune the right eye with the diopter ring. Once set, both eyes will focus together.
Start by adjusting the barrel width until you see one perfect circle (IPD). Then set the left eye focus with the central wheel, and finally adjust the diopter for your right eye. If alignment problems persist after these three steps, the binoculars may need professional collimation service.
Mastering how to adjust binoculars comes down to repeating the four-step process until it feels natural: eyecups, width, diopter, central focus. After a few sessions, the whole sequence takes under three minutes, and the viewing experience improvement is dramatic. Many users tell me they had no idea their binoculars could look that good until they finally adjusted them correctly.
If you are shopping for a new pair, start with your primary use case. For all-around versatility and a forgiving learning curve, the Vortex Diamondback HD 8×42 is hard to beat. For birding on a budget, the Vortex Crossfire HD 10×42 delivers premium features at a fraction of the cost. Glasses wearers should prioritize the Nikon PROSTAFF P3 8×42 with its 20.2mm eye relief. Wet-weather users will appreciate the Bushnell H2O Xtreme, and the Celestron Nature DX 8×42 remains the best value for beginners who are still learning what they want from a binocular.
For those upgrading to premium optics, the Monarch M5 10×42 offers the color fidelity and locking diopter that serious birders appreciate. If you want the lowest-cost way to practice the four-step adjustment technique before investing in premium glass, the Bushnell Falcon 10×50 remains a trusted classic with thousands of positive reviews.
Remember the key takeaways: adjust IPD until you see one perfect circle, set the diopter for your right eye only (your left eye uses the central focus), keep both eyes open during regular viewing, and do not hesitate to seek professional service for persistent issues. With the right pair and proper adjustment, your binoculars will reveal details you never knew were there, from intricate feather patterns on a distant bird to subtle color shifts in the night sky.
Take your time with the initial adjustment, practice regularly, and enjoy the views that await. Once your binoculars are dialed in for your eyes, you will wonder how you ever used them without proper setup.