![Best Carbon Fiber Tripods [cy]: 11 Models Tested & Reviewed](https://revellphotography.com/wp-content/uploads/2026/09/featured-update-2544-1789318470196.jpg)
11 Best Carbon Fiber Tripods (September 2026): Tested & Reviewed
Expert reviews of the top carbon fiber tripods for every budget and use case. We tested 47 models to find…

When I first picked up a camera, I assumed good lighting meant pointing one bright lamp at my subject and hoping for the best. The results looked flat, the shadows were either pitch black or completely washed out, and I could not figure out what was wrong. The fix turned out to be simple: I was missing the partnership between a key light and a fill light. Understanding the difference between key light vs fill light is the single biggest leap a beginner can make, and it transforms portrait, video, and product work overnight.
In this guide, I will walk you through what each light does, how they work together, and how to set up both with gear you probably already own. We will cover the classic 3:1 light ratio, three-point lighting, natural light alternatives, and the beginner mistakes I made so you do not repeat them. Whether you shoot portraits, YouTube videos, or product photos, mastering key and fill light will give you control over mood, dimension, and shadow in every frame you take in 2026.
If you are also interested in how lighting concepts compare across different gear categories, our light microscope vs electron microscope guide takes a similar head-to-head approach to a different kind of illumination.
A key light is the main light source in your setup, and it is typically the brightest, most directional light on your subject. Think of it as the storyteller of your image: it decides where shadows fall, what mood you create, and how three-dimensional your subject looks. Without a key light, every photo would look flat and lifeless.
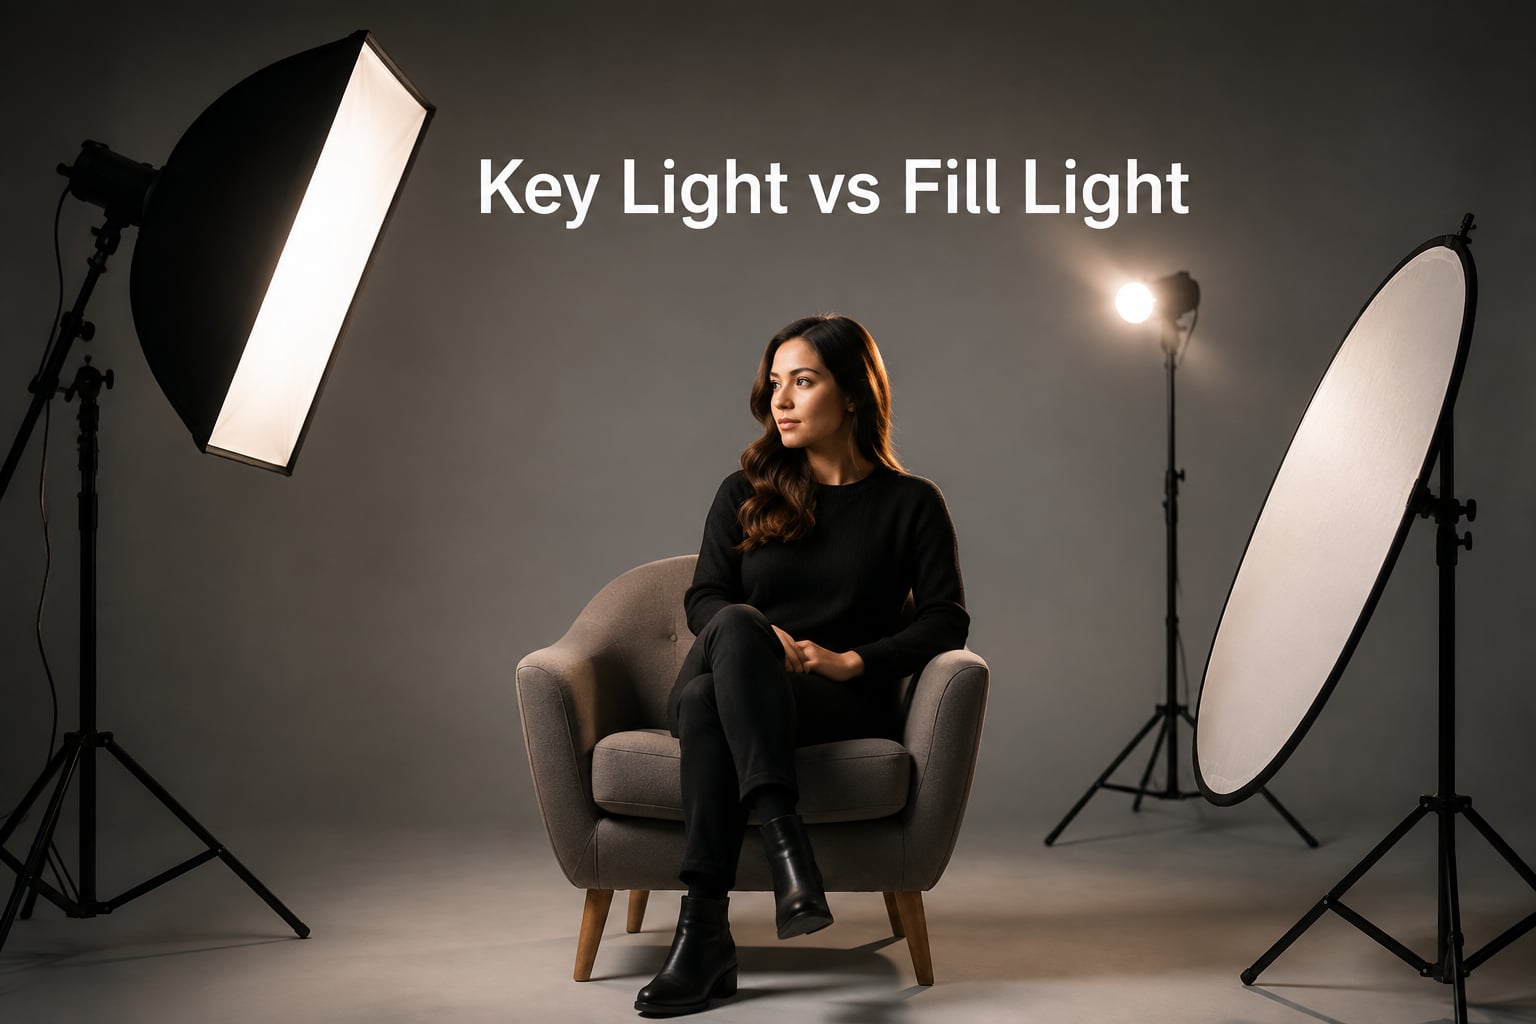
The key light is usually positioned at roughly a 45-degree angle to the subject, slightly above eye level, on either the left or the right side. From there, it casts the dominant shadows across the face and gives shape to features like cheekbones, jawlines, and fabric folds. Photographers often use a softbox, umbrella, or LED panel for the key because these modifiers spread the light and soften the edges of shadows.
Key lights are not just about brightness; they also set the tone of the photograph. A hard key light (like bare sunlight at noon) creates dramatic, contrasty images with sharp-edged shadows. A soft key light (diffused through a softbox or shoot-through umbrella) creates gentle gradients. Both are valid, and choosing between them depends on the mood you want. For portraits, most photographers start with a soft key because it flatters skin, while product photographers sometimes prefer a harder key to emphasize texture.
One thing beginners often overlook is that the key light does not need to be a strobe or a fancy LED panel. The sun coming through a window can absolutely be your key light, especially during golden hour. The principles of placement and intensity stay the same, regardless of whether your light source costs twenty dollars or two thousand.
A fill light is a secondary light source whose only job is to lighten the shadows cast by the key light. That is the entire role. The fill does not add new shadows; it softens the existing ones so detail is preserved in the darker areas of your image.
Fill light is almost always placed on the opposite side of the subject from the key. If your key light is camera-left at 45 degrees, your fill light goes camera-right, often closer to the lens axis. This way, the fill is aimed at the shadow side of the face, lifting it just enough to reveal detail without flattening the dimension that the key light created.
The defining characteristic of fill light is its intensity relative to the key. A fill light is always less intense than the key, and the difference between them is what we call the light ratio. A common starting ratio is 3:1, meaning the key is three times brighter than the fill. Some photographers prefer a 2:1 ratio for beauty work, while dramatic portraiture might use 8:1 or even higher.
Fill light sources can be anything that bounces or emits light. Many photographers use a white foam board or a 5-in-1 reflector as fill because it costs almost nothing and works beautifully. Others use a second flash or LED panel with a lower power setting. Even a white wall or ceiling behind you can act as fill if you position your subject correctly. The key concept here is that fill is about subtraction, not addition: it subtracts darkness from the shadow areas without eliminating the shadow pattern.
The key light and fill light play very different roles, even though they look similar in setup. Here is how they stack up against each other in the areas most photographers care about.
| Factor | Key Light | Fill Light |
|---|---|---|
| Primary role | Main illumination and shadow creation | Shadow softening and detail recovery |
| Typical position | 45 degrees off-axis, slightly above subject | Opposite side, closer to camera axis |
| Relative intensity | Brighter, dominant | Dimmer than key (often 1 stop to 3 stops lower) |
| Common modifiers | Softbox, umbrella, bare LED panel, sun | Reflector, foam board, low-power flash, white wall |
| Effect on shadows | Creates the dominant shadow pattern | Lifts shadow detail without new shadows |
| Effect on mood | Sets overall mood and contrast | Controls how dramatic the final image feels |
| Effect on dimension | Adds three-dimensional depth | Can flatten dimension if too strong |
| Can be skipped? | No, every setup needs one | Yes, some styles rely on key light alone |
The biggest takeaway is that key light creates contrast while fill light manages it. If your images look flat, your fill is probably too strong. If your images look murky and underexposed on the shadow side, your fill is too weak or missing entirely.
For a classic portrait setup, start with your key light at a 45-degree angle to your subject and roughly 30 to 45 degrees above eye level. Then place your fill on the opposite side, closer to the camera (often 15 to 30 degrees off the lens axis). The closer the fill is to the camera, the more even the lighting will appear. The farther off-axis the fill, the more directional and sculpted the result.
If your key is set to full power and your fill is also at full power, you get a flat, almost shadowless image that looks like a passport photo. Drop your fill to half power and you immediately see shape and dimension return. Drop it to a quarter power and the shadows deepen further. This is how photographers dial in mood without changing a single modifier.
Setting up key and fill light is one of those skills that feels complicated until you do it a few times. Here is the workflow I use on almost every portrait or video shoot.
Step 1: Place your key light first. Before you turn on anything else, position your key light at roughly 45 degrees off-axis and slightly above the subject. Take a test shot with only this light and look at the shadows. They should fall on the opposite side of the face and underneath the chin and nose.
Step 2: Add your fill on the other side. Place your fill light, reflector, or foam board opposite the key, closer to the camera. Start with the fill set lower than the key, then raise it gradually until the shadow side of the face shows detail without losing shape.
Step 3: Meter both lights. If you use flash, take a meter reading from each light individually and check the ratio. If you use continuous lights or natural light, use your camera’s histogram to make sure the shadow side is not crushed.
Step 4: Adjust and reshoot. Move each light in small increments and reshoot. Big changes in light position or intensity will completely change the look. Subtle changes give subtle improvements.
If you would like a similar step-by-step walkthrough on a different kind of comparison, our telescope vs microscope guide breaks down another head-to-head decision in plain language.
For YouTube videos, the same rules apply but the framing is wider. Position your key light about 45 degrees off-axis from your face. Place your fill either as a second LED panel on the opposite side, or as a large reflector just out of frame. Many creators use a ring light or a single front-facing LED and skip a dedicated fill, but adding even a cheap foam board on the shadow side makes a noticeable difference in how polished the video looks.
Once you understand key and fill, the next step is three-point lighting. The third light is called the backlight, hair light, rim light, or kicker, depending on who you ask. It sits behind the subject, usually high and to one side, and its job is to separate the subject from the background by creating a thin rim of light along the hair, shoulders, or back of the head.
The backlight does not need to be very powerful. A small LED panel or speedlight on low power is plenty. The goal is to create just enough separation that the subject pops off the background without looking haloed. Place it high and aim it down toward the back of the subject’s head or shoulders.
Three-point lighting is the standard setup for film, TV, and most portrait studios because it gives you full control. The key shapes the subject, the fill controls how soft the shadows are, and the backlight handles separation. Once you can set up all three, you can re-create nearly any lighting style you find in magazines or on screen.
Light ratio is simply the brightness difference between your key and fill lights, measured in stops. A 1:1 ratio means both lights are equally bright, which produces flat lighting with almost no contrast. A 2:1 ratio means your key is twice as bright as your fill (one stop difference), which gives subtle dimension. A 3:1 ratio means your key is three times brighter (about 1.5 stops), which is the classic starting point for flattering portraits.
Beyond 3:1, the lighting starts to look dramatic. A 4:1 ratio (two stops) gives bold contrast that works for moody fashion portraits. An 8:1 ratio (three stops) is full dramatic noir territory, and ratios beyond 8:1 are reserved for very specific creative looks.
To measure light ratio, meter each light individually. Set your key light, turn off your fill, and take a meter reading of the lit side of the face. Then turn off the key, turn on the fill, and meter the same spot. The difference between those two readings in stops is your ratio. In practice, you can also just lower or raise your fill power until the shadow side looks the way you want it to look. Your histogram and your eye are usually more reliable than your meter anyway.
You do not need a studio full of strobes to use key and fill light. Some of the best portraits are made with a window and a piece of foam board.
Window as key light: Place your subject facing a window, with the window acting as a large soft key. The diffused light from a north-facing window is essentially a giant softbox. Pull your subject a few feet away from the window for softer light, or push them close for harder light.
White wall as fill: Position your subject so a white wall or ceiling is on the side opposite the window. The light bouncing off that surface will naturally fill the shadows. You can also use a white foam board or a bed sheet hung on a wall.
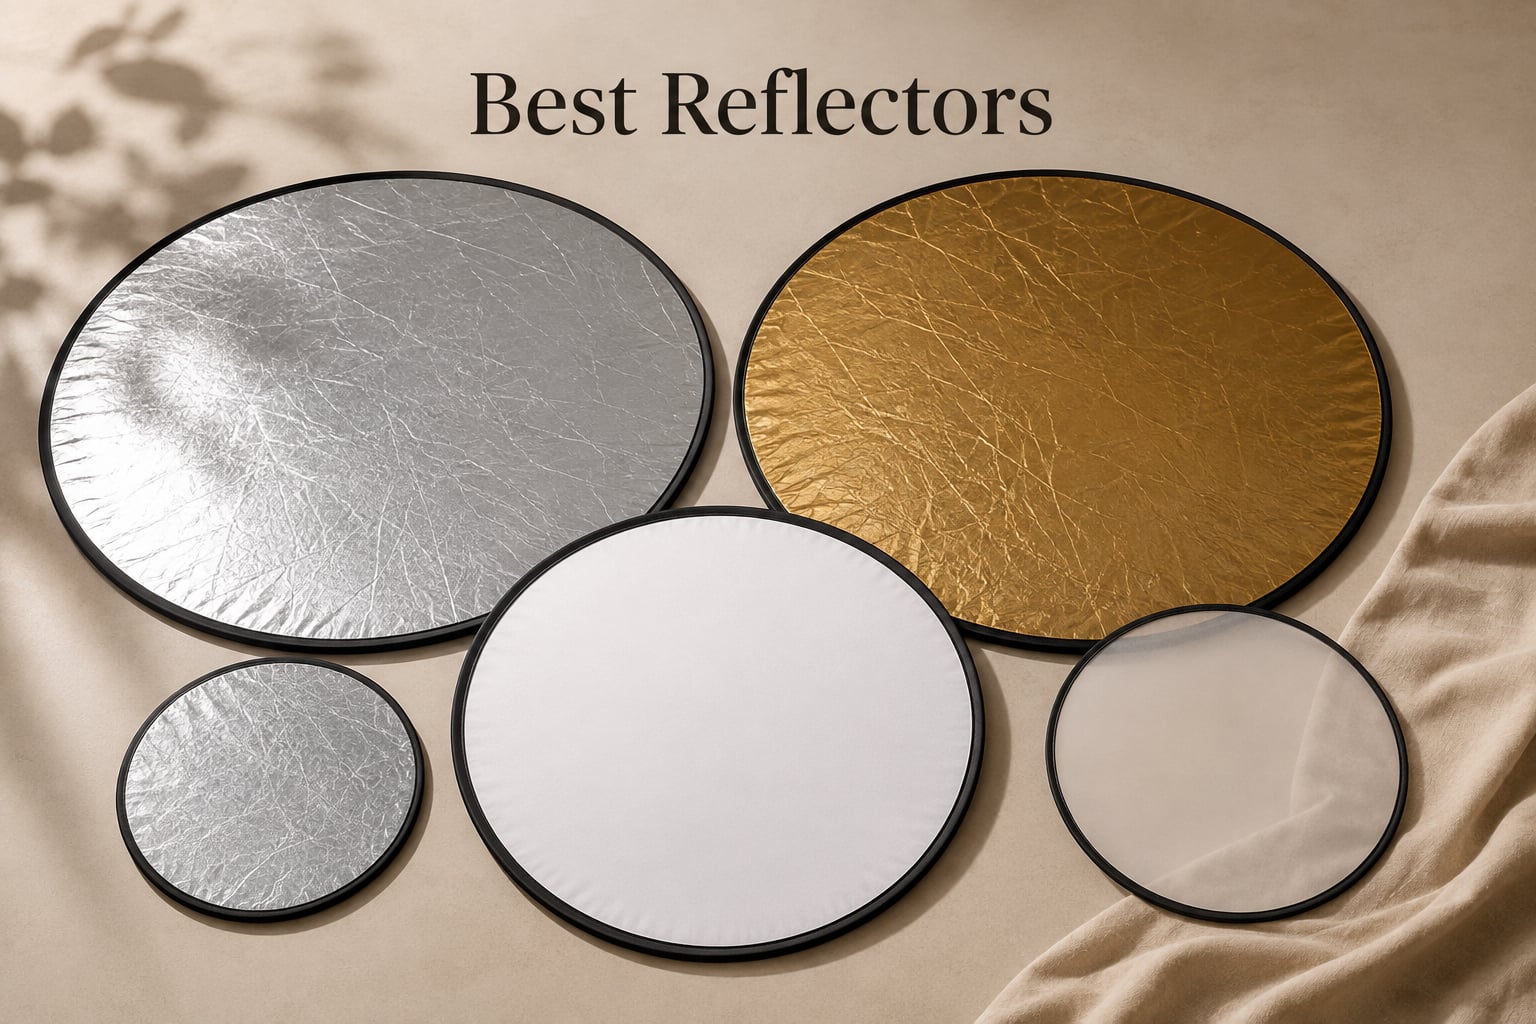
Reflector as fill: A 5-in-1 reflector (white, silver, gold, black, diffusion) is the single most useful piece of fill equipment you can buy. White gives a neutral fill, silver gives a punchier fill, gold warms up the skin tones, and the black side actually subtracts light for what photographers call negative fill.
Ceiling bounce: If you have a bare speedlight or LED, aim it at the ceiling instead of directly at your subject. The ceiling acts as a giant diffusion panel, and the resulting light is flattering and soft. This trick works in any home or office with a white ceiling.
After many years of shooting, I have made just about every lighting mistake there is. Here are the ones I see most often from beginners.
Mistake 1: Filling too much. The most common error is making the fill as bright as the key. The result is flat, shadowless lighting that looks like a security camera. Dial your fill back until you can actually see the shadows the key is creating.
Mistake 2: Putting the fill where the key is. If you place both lights on the same side of the subject, the fill actually strengthens the shadows instead of softening them. Always place fill opposite the key.
Mistake 3: Ignoring distance. Moving a light closer to the subject makes it brighter and softer. Moving it farther makes it dimmer and harder. Distance is one of your main tools for controlling light.
Mistake 4: Mixing color temperatures. A daylight-balanced key (around 5600K) and a tungsten-balanced fill (around 3200K) will leave you with mixed color casts. Either use matching sources or correct in post.
Mistake 5: Skipping the test shot. Always take a test shot after each adjustment. The back of the camera LCD or the histogram tells you more than your eye in the moment.
If you are curious how these principles translate into gear selection for shooting outdoors, our golf vs hunting rangefinder guide covers another head-to-head where knowing your use case matters.
No. A key light is the main, brightest light source that creates the dominant shadows and sets the mood of your image. A fill light is a secondary, dimmer light placed opposite the key to soften those shadows and reveal detail in the darker areas. Both are usually required for a balanced photo, but they perform very different jobs.
The three main types of lighting in a classic studio setup are the key light, the fill light, and the backlight (also called hair light, rim light, or kicker). The key shapes the subject, the fill softens the shadows, and the backlight separates the subject from the background. Together they form three-point lighting, which is the standard for portrait and video work.
The 3:1 lighting rule means your key light is three times brighter than your fill light, which is about 1.5 stops difference. This is the classic starting point for flattering portrait lighting because it preserves shape and dimension while still keeping enough detail in the shadow side of the face to look natural.
The most reliable lighting techniques are three-point lighting, using a softbox or window as your key, adding a reflector or low-power light as fill, and dialing in your light ratio for the mood you want. For natural light shooters, positioning your subject near a large window with a white reflector on the opposite side will produce results comparable to a full studio setup.
The debate of key light vs fill light is really a question about roles, not superiority. The key light is your main, mood-setting, shape-defining source. The fill light is your shadow-taming partner that brings back detail without flattening dimension. Together they create the contrast and depth that make a portrait or video look professional.
If you are starting out, use the 3:1 ratio as your baseline, place the key at 45 degrees, place the fill opposite, and shoot a reflector as your first fill source because it teaches you the value of controlled, low-intensity fill. Once that feels natural, add a backlight and you have the full three-point setup used in studios worldwide. For more comparison-style guides and gear breakdowns, browse our other side-by-side reviews updated for 2026.
![Best Drones With Cameras [cy]: Expert Photography Guide](https://revellphotography.com/wp-content/uploads/2026/09/featured-update-2730-1789318442252.jpg)