How to Use Rangefinder in Any Light (September 2026): Complete Guide
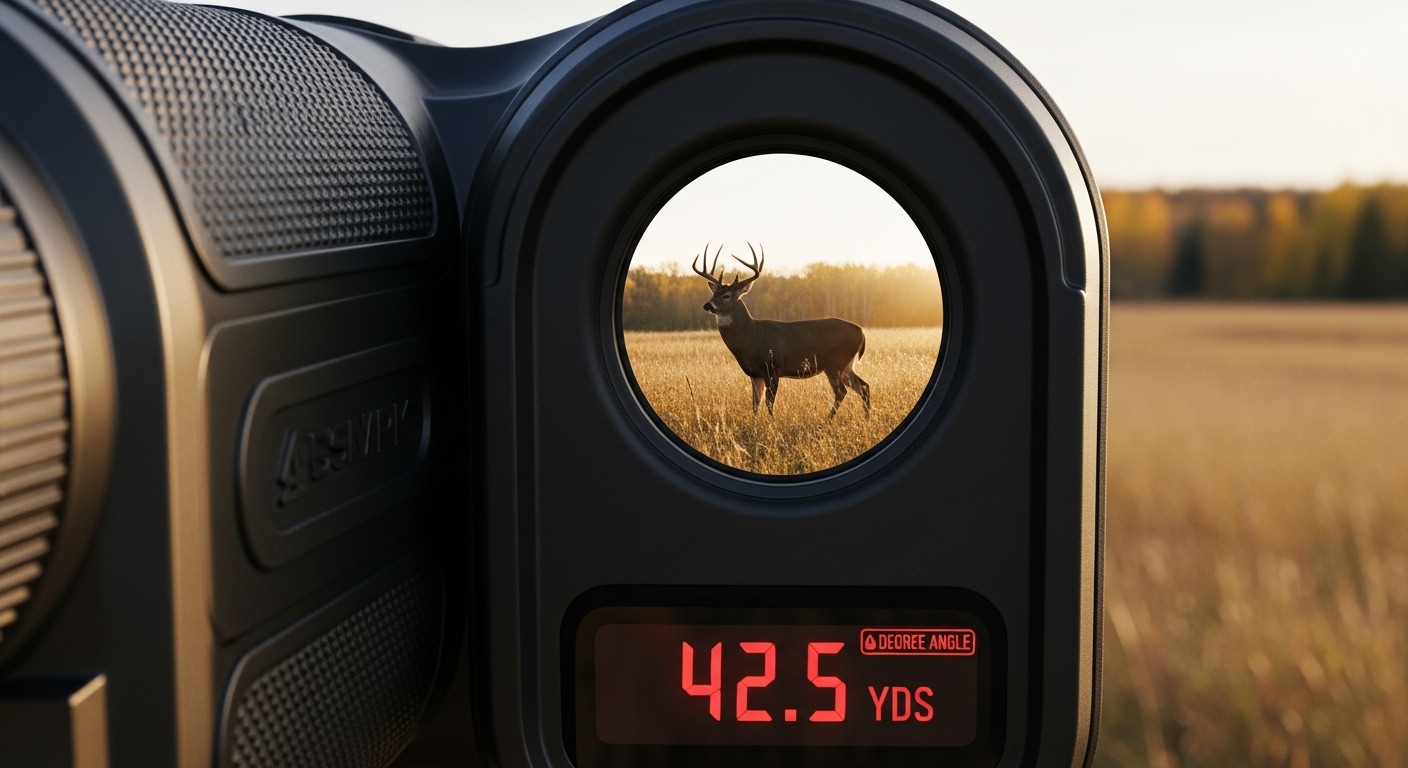
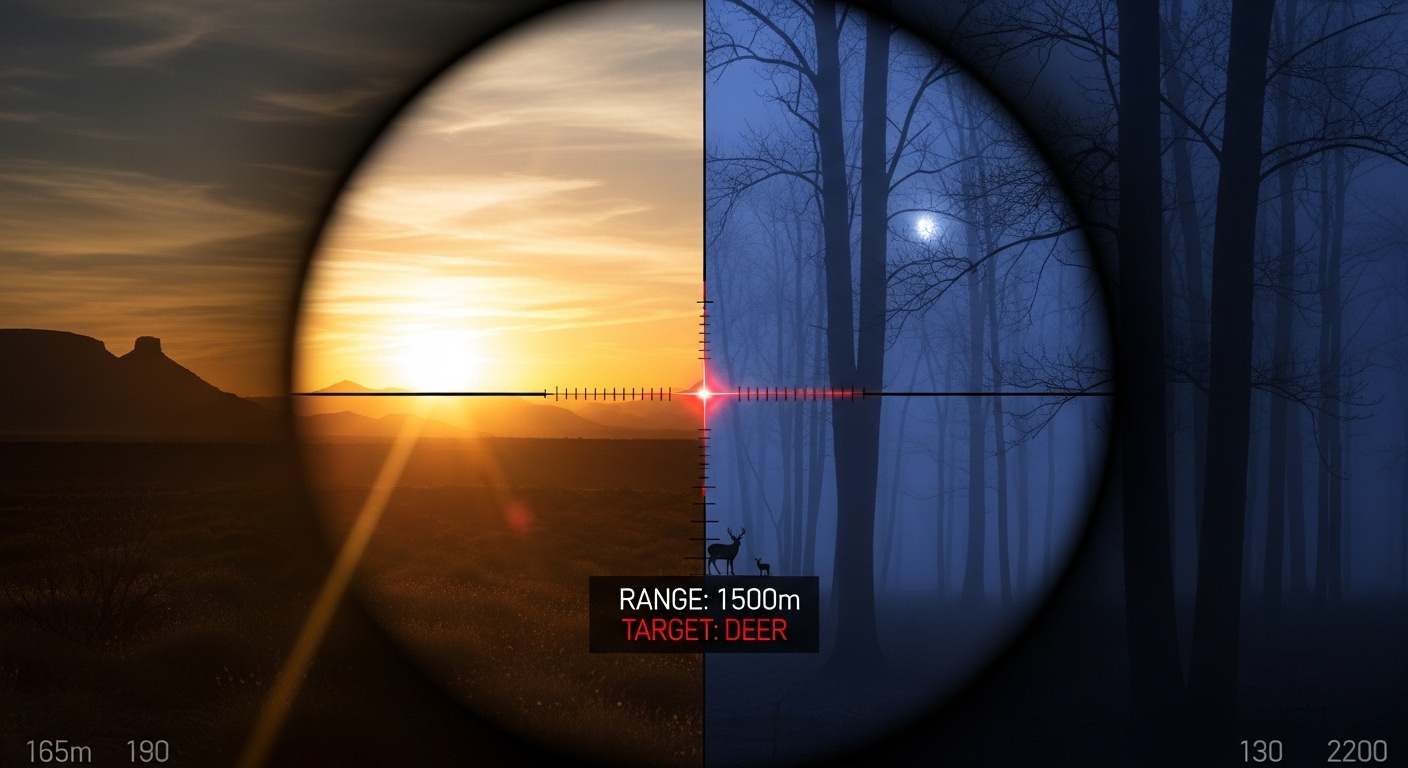
Master rangefinder use in any lighting condition with expert techniques for dawn, dusk, and night use. Learn display technology differences…

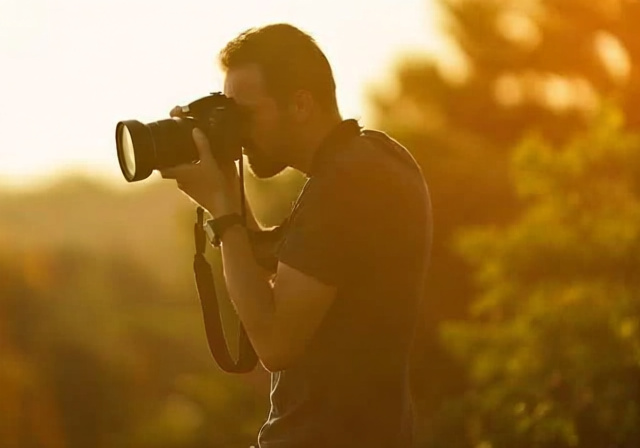
Every photographer eventually hits a creative wall. I know because I’ve faced mine more times than I can count—standing in my backyard at golden hour, watching the same maple tree I’ve shot a hundred times, wondering what I could possibly capture that would feel fresh. The answer wasn’t another destination or a fancier camera. It was learning to look at what was already in front of me with new eyes.
That’s what this guide is really about. Outdoor photography ideas aren’t just a checklist of techniques to memorize. They’re different ways of paying attention—small mental shifts that turn a familiar sidewalk into a gallery of patterns, or a rainy Tuesday into a study in reflections and color. The best part? You can practice every single one of them this week without booking a flight or buying new gear.
Below you’ll find 21 outdoor photography ideas I’ve tested across thousands of shoots in cities, suburbs, forests, deserts, and coastlines. Some are quick wins you can try in your lunch break. Others ask for patience, planning, and a willingness to fail a few times. Together, they form a complete creative toolkit for 2026—a roadmap to help you build the kind of eye that sees photographs everywhere it goes.
Whether you’re picking up a camera for the first time or trying to break out of a five-year creative rut, there’s something here for you. Let’s get started.
Golden hour sits at the top of nearly every outdoor photographer’s cheat sheet for good reason. The hour right after sunrise and the hour right before sunset deliver light so flattering it almost feels like cheating. Shadows stretch long, skin glows, and even ordinary subjects look cinematic.
What makes golden hour light special is its angle. The sun hangs low, filtering through more atmosphere, scattering blue tones and leaving behind warm reds, ambers, and golds. This directional light wraps around subjects, creating dimension you simply cannot get at noon. For portraits, position your subject with the sun at roughly 45 degrees from their face—this creates flattering shadows under the chin and nose while lighting the eyes.
Pro tip: arrive 30 minutes early. The best color often happens just before the sun crosses your ideal horizon mark. Use a sun-tracking app like PhotoPills or Sun Surveyor to predict exact times for your exact spot. And don’t pack up the second the sun disappears—that last five minutes often delivers the richest colors of all.
Most beginners are taught to keep the sun behind them. That’s the safe move—but safe isn’t always interesting. Backlighting, where your light source sits behind your subject, is one of the most rewarding outdoor photography ideas to learn. It separates subjects from backgrounds, creates rim lighting around hair and shoulders, and turns translucent objects like leaves and flower petals into glowing stained glass.
For nature work, backlighting reveals details that front lighting flattens. Leaves become jewels. Petals look lit from within. Spider webs catch the light and reveal themselves as silver threads. In portraits, a backlit subject gets a soft halo effect that adds atmosphere and dimension.
The trick is exposure. Meter for your subject’s face or the shadows, not the bright background. Spot metering helps. So does adding +1 to +2 stops of exposure compensation. Watch your histogram—if the highlights are clipping, dial back. If shadows are too dark, raise the shadows in post or use a fill reflector.
Clear blue skies feel productive, but cloudy days are quietly some of the best for shooting. The cloud cover acts like a giant softbox, scattering sunlight into soft, even illumination. This eliminates harsh shadows under eyes, noses, and chins—exactly what you want for portraits, flowers, food, and detail work.
I actively look forward to overcast mornings now. Without the harsh contrast of direct sun, colors stay saturated. Skin tones look natural. I can shoot handheld all day without worrying about blown highlights or dark shadows fighting for attention. For flower photography, the diffused light reveals textures and color variations that disappear under direct sun.
The trick on gray days is to seek out color. The soft light is a perfect canvas for vibrant subjects—red flowers, autumn leaves, colorful clothing, painted walls, or even a bright umbrella in a sea of gray. Watch for fog, too. Overcast mornings often bring mist that adds depth and mystery to ordinary scenes.
Just before sunrise and just after sunset, the sky goes deep cobalt and indigo. This is blue hour, and it delivers some of the most cinematic light you’ll ever shoot in. For cityscapes, architecture, and landscapes, blue hour balances artificial lights against a still-readable sky, creating a magical window where neither the sun nor the streetlights dominate.
You’ll need a tripod. Exposures typically run 2-10 seconds at low ISO, and trying to handhold them will only give you blur. Set your camera to manual, use a 2-second timer or remote release, and bracket your exposures. The window is short—usually 20-40 minutes—so arrive early, scout your spot, and stay late.
The most magical light often appears 25-35 minutes after sunset, when the sky is at its deepest blue and the first stars become visible. Be patient. Stay past the moment your instinct says to leave, and you’ll often be rewarded with images that look like they belong in a different world.
The smallest subjects often make the biggest photos. Macro photography pulls back the curtain on textures, patterns, and structures most people walk past every day. A patch of moss becomes a forest. A water droplet becomes a crystal ball containing an inverted world. Tree bark turns into abstract art.
You don’t need a dedicated macro lens to start. Many standard kit lenses focus close enough to capture compelling detail. A 50mm prime at its minimum focus distance, plus some patient framing, will deliver shots most people assume require specialist equipment. For smartphone shooters, clip-on macro lenses are inexpensive and shockingly capable.
Depth of field is razor thin in macro work—even a few millimeters of subject movement can throw things out of focus. Use a small aperture (f/8 or smaller), a tripod, and a focus rail or manual focus. Stack multiple exposures in post for tack-sharp results throughout. And remember: even one square meter of forest floor can keep you shooting for hours.
Forests are depth playgrounds. Trees create natural layers—foreground, midground, background—that you can compose with to make flat scenes feel three-dimensional. The trick is finding a viewpoint that includes multiple layers and using the right focal length to compress or expand them.
Longer lenses (70-200mm) compress these layers, stacking trunks and leaves into dense, lush compositions. Shorter wide-angle lenses exaggerate the layers, drawing the eye from a striking foreground element deep into a receding middle ground. Both work—your choice depends on the story you want to tell.
Misty mornings transform forests into something otherworldly. The fog simplifies busy backgrounds, gives trees a soft glow, and adds the kind of moody depth that no filter can replicate. Look for paths, streams, slashes of light, or curved tree lines that guide the eye through your frame. And shoot vertically—tall trunks reaching upward often make stronger compositions than horizontal landscapes.
Water is a built-in special effect. Still lakes, calm ponds, tidal pools, even the smallest puddle after a rain—all of them create natural mirrors that double the visual power of any scene. The most dramatic reflection shots happen on windless mornings, when the water surface reads like glass.
Get low. The closer your lens is to the water, the more of the frame the reflection occupies. Sometimes just an inch or two above the surface makes the difference between a “nice shot” and a “wow shot.” A polarizing filter cuts glare on the water and can deepen the reflection’s contrast, but rotate it carefully—too much polarization will eliminate the reflection entirely.
Don’t ignore imperfect reflections. Rippled water creates painterly, impressionistic effects that often beat perfect mirror symmetry. For longer exposures (1-2 seconds with a tripod and ND filter), even small ripples smooth out into a soft, dreamlike blur while preserving the reflection’s structure. Experiment with both, and let the water tell you what it wants.
You do not need to fly to Africa to photograph wildlife. Urban and suburban areas host a surprising amount of biodiversity once you start looking. Robins in parking lot trees. Herons on golf course ponds. Foxes at the edges of suburban developments. Hawks riding thermals above the local school. The trick is slowing down and tuning in.
Early morning is golden—literally and figuratively. Animals are most active at dawn, light is at its best, and human disturbance is at its lowest. I keep a pair of compact binoculars in my camera bag, which lets me scout subjects from a distance before approaching with a long lens. Approach slowly, predict where the animal will move, and pre-focus on that spot.
For sharp wildlife shots, use the fastest shutter speed your light allows—1/1000s minimum for birds in flight, 1/500s for perched birds and small mammals. Shoot in burst mode to capture wing positions and expressions. And practice patience, because some of the best moments require waiting 30 minutes or more in one location for a single frame.
Cities are not concrete wastelands—they are environments where human design and natural persistence collide. A dandelion forcing its way through a sidewalk crack. Trees framing a glass tower. A peregrine falcon nesting on a bridge. These are some of the most rewarding outdoor photography ideas for city dwellers, and they exist on every block if you know how to look.
I love shooting in city parks through different seasons. The same bench tells completely different stories beneath cherry blossoms, beneath autumn leaves, and beneath a foot of snow. The same fountain shows a different face in morning mist, midday glare, and twilight glow. Pick a location and return to it across weeks and months—you’ll build a personal archive of one place in time.
For street-and-nature work, wider focal lengths (24-35mm) include context. Look for the human moments—a child chasing pigeons, hands offering breadcrumbs to a sparrow, a commuter pausing under a blossoming tree. These small interactions between people and the green things that persist around us are some of the most quietly powerful urban images you can make.
Buildings are some of the most photographable subjects on earth—and most people barely scratch the surface. Forget the postcard shot. Instead, spend an hour with one building, watching how light moves across it through the day. The same wall looks completely different at 8 a.m., noon, and 4 p.m.
Look for shadows creating geometric patterns across facades. Look for reflections in glass towers that pull in clouds and birds. Look for textures—weathered brick, peeling paint, oxidized copper—that age has turned into abstract art. Older buildings reveal more in raking side-light. Modern glass buildings transform at sunrise and sunset as their surfaces catch fire.
Make a habit of returning to the same architectural subjects in different seasons. Winter light is colder and lower. Summer light is harsh and overhead. A building you dismissed in July might become your favorite subject in December. The longer you spend with one structure, the more of a relationship you build with it—and that relationship shows in the photos.
Botanical gardens, community gardens, rooftop plots, and even the planters outside the corner coffee shop are concentrated nature in the city. These spaces combine human design with wild growth, and they offer some of the most controlled-yet-spontaneous outdoor photography ideas you’ll find.
Arrive early. Not only is the light better at dawn, but gardens are typically empty, and the absence of crowds lets you move slowly, get low, take your time. Look for the contrast between structure and chaos: tidy paths against spilling vines, geometric raised beds against natural flower clusters, weathered wood against soft petals.
Don’t pack up when the weather turns gray. Winter gardens have a stark, sculptural beauty that summer crowds ignore. Frost on seed heads. Snow weighing down bare branches. The architectural skeletons of trees against winter sky. The off-season often delivers the most original work, because everyone else has put their camera away.
Rain is one of the great gifts most photographers waste. Wet surfaces reflect light, colors saturate to almost impossible richness, and people move with intention. Puddles become mirrors. Umbrellas become color spots against gray skies. Steam rises from grates. The whole city transforms into a different place, and most people are inside complaining about the weather.
Protect your gear first. A dedicated rain cover is best, but a simple plastic bag with a hole for your lens works in a pinch. Lens hoods block rain from hitting the front element. Microfiber cloths should live in every pocket. After the storm, look for “petrichor shots”—scenes where the wet ground creates deep, saturated colors, especially in forests and gardens.
Look for reflections in puddles, water beading on leaves, raindrops on windows creating soft-focus backgrounds, and people with umbrellas adding bright color to gray compositions. A slow shutter speed turns rain into silver streaks, while a fast shutter speed freezes individual drops mid-air. Both can be beautiful—try both.
Safety First: Never photograph during thunderstorms. Lightning can strike miles away from the storm center. If you hear thunder, seek shelter immediately. Protect your gear from heavy downpours and never shoot with metal tripods in open areas during lightning activity.
Fog is a natural Photoshop layer. It simplifies busy scenes, hides distracting backgrounds, isolates subjects, and adds a sense of depth and mystery that turns ordinary landscapes into moody, almost cinematic images. Trees emerge from white nothing. Streetlights become soft glowing orbs. Architecture floats in cotton.
Get out early on foggy mornings—mist often burns off within an hour or two of sunrise. The longer you wait, the thinner the layer becomes, and the more you lose the heavy, atmospheric look. Look for subjects that stand out against the fog: a single tree, a streetlight, a person crossing an empty street, a bridge disappearing into the distance.
Fog confuses autofocus. Switch to manual focus and use live view to magnify your subject for precise focus. Spot meter for your subject, not the bright fog, or you’ll end up with muddy gray images. Add a little contrast in post, but be gentle—the mood of fog depends on its softness, and over-processing kills that.
Fresh snow is one of the most transformative gifts nature gives photographers. It turns familiar scenes into brand-new compositions, blanketing the chaos of urban and natural environments in clean white. But your camera’s meter is trying to ruin it—left on automatic, snow reads as 18% gray and you get dingy, underexposed results.
Compensate by adding +1 to +2 stops of exposure compensation. Check your histogram—it should be pushed toward the right side but not clipped at the highlights. Shoot in RAW for maximum flexibility in recovering detail. Modern cameras handle snow much better than older models, but the +1 to +2 stop trick still applies as a starting point.
Look for contrast in snowy scenes. Dark tree trunks against white snow. A child in a red coat. Footprints creating leading lines. Animal tracks trailing into the distance. Snow without contrast reads as a featureless white field, but a single dark element transforms it. Early morning and late afternoon light add welcome warmth and long shadows that bring the snow to life.
The rule of thirds is the first compositional principle most photographers learn, and for good reason: it works. Imagining a 3×3 grid over your frame, placing key elements along those lines or at their intersections almost always produces a more dynamic image than centering the subject.
Most cameras and smartphones now let you overlay this grid on the screen. Turn it on. Practice placing horizons on the top or bottom third line, never through the middle. Position your subject at one of the four intersection points for the strongest compositions. Use the lines to align vertical elements like trees, lamp posts, or people.
Once you’ve internalized the rule, learn when to break it. Centered compositions work beautifully for symmetrical subjects—reflections, architecture, single flowers against clean backgrounds. Sometimes you want a sense of stability, balance, or quiet. The rule is a starting point, not a prison. The best photographers know both when to follow it and when to leave it behind.
Leading lines are the highways of your image—they guide the viewer’s eye from one part of the frame to another, creating depth, energy, and a clear sense of where to look. Roads, paths, fences, rivers, shorelines, shadows, and architectural features all qualify. Your job is to find them and compose with intent.
Diagonal lines create more energy than horizontal ones. Starting a line from a corner—especially the bottom corners—pulls viewers deeper into the frame, almost forcing them to follow it. Curved S-shapes are especially elegant; a winding road or river that snakes through your composition is almost impossible to mess up.
Watch where your lines lead. The best leading lines end somewhere interesting—the subject of your shot, a vanishing point, a face, a splash of color. A road that leads nowhere is just a road. A road that leads to a person, a tree, or a sunset is a story. Always ask: where does the eye end up, and is that where I want it?
Natural frames are an underrated tool. They add depth, context, and a sense of discovery—as if the viewer is peeking into another world. Tree branches, archways, windows, doorways, rock formations, gaps in foliage, and even people can all serve as frames that focus attention on your subject.
The key is balance. The frame should guide attention to your subject, not compete with it. If the frame is busy, brightly colored, or sharp, it pulls the eye away. A common technique is to use a wide aperture (f/2.8 to f/4) to blur the framing element while keeping the subject tack-sharp, creating layered depth without distraction.
Look for frames everywhere. The space between two trees. A window overlooking a garden. The opening of a tunnel framing the far end. The arc of a bridge. The arch of a doorway. Once you start looking, you’ll see frames in places you walked past a hundred times without noticing. They are some of the easiest outdoor photography ideas to add to your toolkit.
Flat landscapes are forgettable. Landscapes with strong foreground interest feel immersive, almost three-dimensional. The technique is simple: find an interesting element in the foreground—a rock, a flower, a wave, a texture—and let it anchor your composition while the background recedes.
Get low. The lower you are, the more your foreground element dominates the frame and the more depth you create. Sometimes a hand’s width off the ground is all the difference between a snapshot and a photograph. Look for foreground subjects that add scale, color, texture, or story. Wildflowers at the edge of a forest. Tide pools in front of a coastline. Foliage framing a distant mountain.
Use a small aperture (f/8 to f/16) to keep everything from foreground to background sharp. Focus about one-third of the way into the scene for maximum depth of field throughout. Check the corners of your frame—sometimes foreground elements at the edges can be distracting. If they pull attention away, recompose, or use a slight crop in post.
Light painting is photography as performance art. You set a long exposure—10 to 30 seconds—and during that exposure, you move a flashlight, sparkler, LED wand, or other light source to “paint” the scene. The result is images where the photographer’s hand is invisible, but the light’s path is captured like a brushstroke.
You’ll need a tripod, a dark location, and patience. Start simple: a single flashlight painting light across a tree trunk or rock face. As you get comfortable, layer multiple light sources, change colors with gels, or use multiple exposures to build a complex final image. The 5 C’s of photography—Camera, Composition, Color, Contrast, and Connection—apply here even more strongly than usual, because every choice you make shows up in the final frame.
Watch for hot spots. If you linger too long in one area, you’ll burn out detail. Keep the light moving constantly, vary the distance from the subject, and use different intensities to create depth. Even cheap flashlights work; the more you practice, the more you understand how light falls, wraps, and reveals form.
Intentional camera movement (ICM) breaks the cardinal rule of sharp photography on purpose. You use a slow shutter speed—1/4 to 1 second—and deliberately move the camera during the exposure. The result is abstract, painterly images where reality blurs into suggestion. Trees become vertical smears of color. Beaches become horizontal washes. Flowers become soft halos.
Pick a direction that matches your subject. Vertical motion works beautifully in forests, where the trunks become rhythmic strokes. Horizontal motion suits seascapes and horizons. Circular or figure-eight motion creates abstract, dreamlike textures. The exposure should be long enough to blur detail but short enough to keep some structure—start around 1/4 second and adjust from there.
Expect to fail. ICM has a learning curve, and most of your first attempts will be unprintable. That’s part of the process. Bracket aggressively—shoot the same subject at multiple shutter speeds and motion types. The keepers are often unexpected, and a “mistake” with the wrong motion in the right light can become your best image of the day.
Panoramas let you capture wider scenes than any single frame can hold. Modern phones and cameras handle stitching automatically, but manual panoramas give you more creative control. The 80/20 rule applies here: spend 80% of your time on setup, exposure, and movement—and 20% pressing the shutter.
Use manual exposure for panoramas. If the camera adjusts between frames, you’ll get ugly banding where the brightness shifts. Overlap each shot by 30-50%. Keep the camera level, rotate around the lens’s center axis (not your body), and try to keep the same vertical position in each frame. A small tripod head with a click-stop helps.
Don’t limit yourself to horizontal landscapes. Vertical panoramas of tall trees, waterfalls, or canyons are striking. Multi-row panoramas capture ultra-high resolution. Some of the most compelling panoramas tell stories by including multiple related elements in one wide view—a winding road passing through changing landscapes, or a cityscape transitioning from day to night.
The internet is full of “essential gear” lists designed to make you spend money. Most of them miss the point. The best outdoor photography ideas rarely depend on the most expensive equipment. They depend on the photographer’s choices, timing, and attention. That said, a few pieces of gear do meaningfully expand what you can do outdoors.
You can create genuinely stunning outdoor photos with whatever camera you have right now. I started with a ten-year-old entry-level DSLR and a kit lens, and the images still hold up. The body matters less than the lens and the photographer. That said, certain gear choices make outdoor work easier and more rewarding.
A versatile zoom lens (24-105mm full-frame equivalent, or 18-135mm on crop sensors) covers roughly 80% of the outdoor situations you’ll encounter—from wide landscapes to medium portraits. Add a fast prime like a 50mm f/1.8 for low-light work, environmental portraits, and selective focus. These “nifty fifty” lenses are inexpensive, sharp, and teach you a lot about exposure by forcing you to think more deliberately.
If you shoot with a smartphone, you’re not at a disadvantage. Modern phone cameras handle most outdoor conditions beautifully. The biggest upgrades are external: a clip-on wide-angle lens, a clip-on macro lens, and a small portable tripod. Together, these cost less than a single mid-range lens and turn your phone into a serious outdoor camera.
A tripod is the single most useful accessory for outdoor photography. Blue hour, long exposures, light painting, panoramas, macro stacking—all of them require a stable platform. You don’t need a $500 carbon fiber tripod to start. A solid aluminum tripod under $100 will serve you well for years. Look for stability over weight savings, and make sure the head is smooth and locks down firmly.
Carry a small beanbag or two. I keep one in my bag at all times. It weighs almost nothing, takes up almost no space, and provides stable support on rocks, fence posts, car hoods, low walls, and other surfaces where a tripod is impractical. For wildlife, low-angle landscapes, and ground-level compositions, a beanbag is often faster and more flexible than a tripod.
A remote release or cable release is also worth packing. Touching the camera to press the shutter introduces vibration, and at long exposures or with telephoto lenses, that vibration is enough to blur your shot. A simple $15 wired remote solves the problem. Many modern cameras also let you use your phone as a remote trigger through a Wi-Fi connection.
Some of the best outdoor photography ideas depend on showing up when other photographers stay home. That means rain, snow, mist, wind, and dust. Your gear needs to survive what you put it through, and you need to be comfortable enough to keep shooting when conditions turn rough.
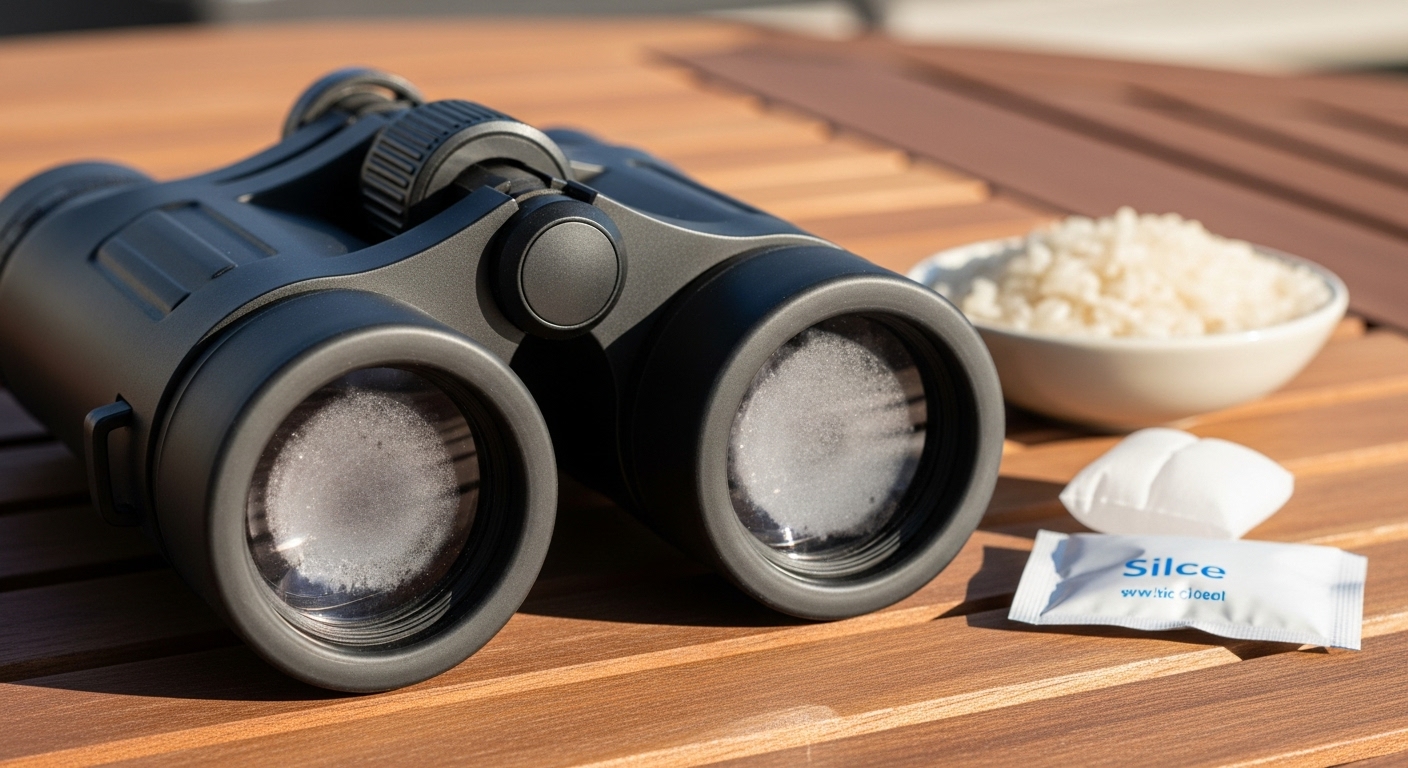
A rain cover is a smart investment. Even a $20 cover will keep light rain and spray off your camera and lens. In a pinch, a large plastic bag with a hole for the lens does the job. I also keep a small dry bag with silica gel packets inside my camera bag, so any moisture that sneaks in gets absorbed before it can damage electronics or grow mold on lenses.
Microfiber cloths are not optional. Pack at least three. Lenses attract water spots, fingerprints, and dust the moment you step outside. One cloth for wet, one for dry, and one for emergency backup. Replace them often. Combined with a rocket blower for dust, a few microfiber cloths will keep your images clean and your gear running for years.
Every outdoor photographer runs into the same handful of problems. Knowing how to recognize and solve them on the spot is the difference between bringing home keepers and going home frustrated.
Problem: Hard shadows under eyes and noses, blown highlights on skin, washed-out skies, and a general sense of flatness across the image. Midday light is direct, overhead, and unforgiving.
Solution: Find open shade—a doorway, a large tree, the shadow of a building. Use a 5-in-1 reflector or a small diffuser to soften the light on your subject’s face. Or, embrace the harsh contrast: convert to black and white, look for graphic shadow patterns, and use the strong directional light to create bold compositions. The midday sun is not your enemy; it’s a different tool.
Problem: Flowers and leaves blur in your shot. Long lenses pick up camera shake from gusts. Branches whip into frame at the worst moment.
Solution: Increase your shutter speed—at least 1/500s for most outdoor work, faster for telephoto and macro. Use your body as a windbreak, position yourself between your subject and the wind, or use a clip-on diffuser as a small physical barrier. Alternatively, lean into it: slow shutter speeds turn wind into painterly motion blur, and that can be exactly the creative effect you want.
Problem: Hazy, low-contrast images with weird colored circles or polygons showing up in the frame. Lens flare happens when direct light hits the front element of your lens.
Solution: Use a lens hood—it blocks stray light from hitting the front element and is one of the cheapest, most effective accessories you can buy. Adjust your angle slightly so the sun is just out of frame. Block direct light with your hand, a hat, or a piece of cardboard. Sometimes flare is unwanted; sometimes it’s a beautiful creative effect. Knowing the difference is part of the craft.
Skill in outdoor photography comes from showing up. Not from buying the next lens, not from watching one more tutorial, and not from planning a trip to an exotic location. It comes from the daily, weekly, monthly habit of pointing a camera at the world and paying attention. The 5 C’s of photography (Camera, Composition, Color, Contrast, and Connection) are useful as a checklist, but they only develop through repetition.
Commit to a small, consistent practice. Fifteen minutes a day is more valuable than a four-hour session once a month. Walk the same block every morning for a week. Photograph one tree through the seasons. Document your local park monthly. Pick one outdoor photography idea from this list and try it five times in a row—then move to the next. Consistency compounds. The photographers who improve fastest are the ones who never stop shooting.
Create personal projects that pull you outside on purpose. A “52 weeks” project, where you shoot one frame every week, is a classic. A “100 strangers” street project, where you photograph one new person each week, builds confidence and connection. A “same place, different light” series, where you return to a single location across the year, teaches you more about light than any course. Pick a project that excites you enough to show up for it.
Share your work, even when it feels unfinished. Online photography communities, local camera clubs, and social media groups are filled with photographers at every skill level, and most of them genuinely want to help. Ask for feedback. Look at other people’s work. Notice what you like and why. Notice what you don’t like and why. The conversations you have about images will teach you as much as the time you spend making them.
For more specialized techniques, check our night sky photography guide to expand your outdoor photography into astrophotography. If you’re interested in wildlife observation, our guide on using binoculars with glasses will help you spot subjects before photographing them.
At Revell Photography, we believe outdoor photography is about seeing the extraordinary in ordinary places. With these 21 ideas and regular practice, you’ll develop a unique vision that transforms how you see the world around you. The rest is just showing up.
One of the best outdoor photography ideas you can adopt is to think seasonally. The same location behaves like a completely different place across the year, and photographers who shoot the calendar get a library of work that no one-season shooter can match. Here’s a quick framework for each season.
Spring rewards early risers. Soft light, misty mornings, blossoms, and migrating birds all peak between late March and early May. Look for cherry blossoms, magnolias, daffodils, and tulips. Spring rain creates saturated colors and reflective surfaces. Wildlife is at its most active, with males displaying and nesting behaviors happening everywhere.
Summer offers long golden hours, dramatic thunderstorms, and abundant greenery. The trade-off is harsh midday sun and crowds. Shoot early morning and late evening, use shade creatively, and don’t fight the busy conditions—embrace them for street photography, festivals, and crowded urban scenes. Summer is also peak time for macro work, with insects, flowers, and water drops in full swing.
Autumn is the photographer’s favorite for good reason. Warm light, falling leaves, fog, and dramatic skies all combine. Plan to shoot in October and early November if you can. Look for reflections in still water, low-angle light through fall foliage, and early morning mists. The colors don’t last long, so shoot early and often.
Winter is the most underrated season. Snow transforms familiar scenes. Frost creates intricate patterns. Bare trees reveal architectural structure that summer foliage hides. The light is soft, low, and warm during golden hour. Yes, it’s cold—dress in layers, keep batteries warm, and protect your gear from moisture. The reward is some of the most original imagery of the year, simply because most other photographers are staying inside.
Start with golden hour lighting, the rule of thirds, and finding reflections in water or windows. These three ideas teach you the most about light, composition, and seeing—and they require no special gear. Practice them for two weeks before adding more advanced techniques like light painting or intentional camera movement.
The 80/20 rule (Pareto principle) in photography suggests that 80% of your best results come from 20% of your efforts—usually a few key techniques, locations, or habits. Identify the small set of skills, locations, and conditions that consistently produce your strongest work, and invest most of your time there instead of spreading yourself thin across everything.
The 5 C’s of photography are Camera (your gear and settings), Composition (how you frame the shot), Color (your palette and color relationships), Contrast (light, shadow, and tonal range), and Connection (the emotional bond between subject and viewer). Strong images balance all five. Beginners often focus on Camera; experienced photographers spend more time on the other four.
The 3/4 rule is a common mix-up with the rule of thirds, which divides your frame into a 3×3 grid. Place important elements along these lines or at their intersections rather than centering them. A related technique, the 3/4 portrait pose, positions the subject turned slightly away from camera with the eye line crossing the frame.
Earth tones (olive, brown, burgundy) work in natural settings, while blues and greens pop against autumn foliage. Avoid busy patterns that distract from your face. In winter, jewel tones (ruby red, emerald green) create beautiful contrast against snow. White is risky outdoors because it can blow out in bright sun and clash with backgrounds.
Shoot during golden hour for warm, directional light. Use the rule of thirds for stronger compositions. Include foreground interest to create depth. Move around your subject to find the best angle. Pay attention to background clutter. Use a small aperture (f/8 to f/11) for landscapes. Add a human element for scale in nature shots. Shoot in RAW for flexibility.
The 20-60-20 rule suggests composing landscape images with 20% foreground, 60% middle ground, and 20% background. This creates balanced depth and visual flow. Rules are meant to be broken—dramatic compositions sometimes use different ratios depending on your subject and creative vision. Use it as a starting point, not a constraint.
The rule of 3 in landscape photography typically refers to the rule of thirds (a 3×3 grid overlay) or including three key compositional layers: foreground, middle ground, and background. This creates visual harmony and depth. Another interpretation is using groups of three subjects, as odd-numbered arrangements feel more dynamic and natural to the eye than even-numbered ones.
Great outdoor photography isn’t about exotic locations, expensive gear, or natural talent. It’s about the slow accumulation of small choices: to step outside when you’d rather stay in, to look up when everyone else is looking down, to take one more frame when you think you’re done. The 21 ideas in this guide are starting points, not destinations. Each one can be explored for years.
The photographers I admire most are the ones who shoot consistently, share generously, and stay curious long after the gear-lust fades. They notice light on a Tuesday morning commute. They stop for the puddle. They return to the same tree in different seasons. They make the ordinary feel sacred, and they do it because they showed up—not because they had the right camera.
The most rewarding part of outdoor photography is how it changes how you see the world. You start noticing how light falls across your kitchen counter. You catch yourself framing a sunset in your head. You pause for that one weird cloud. This heightened awareness doesn’t end when you put the camera down—it becomes a way of being outdoors that stays with you forever.
Pick one idea from this list. Maybe two. Practice them this week. Then add more. Don’t worry about perfection—worry about consistency. Before you know it, you’ll have developed a unique style that reflects how you see the world, and a body of work that proves you showed up.
Now grab your camera and head outside—the best photograph of your life is waiting to be taken today.