Artificial Light Photography: Complete Guide for 2026
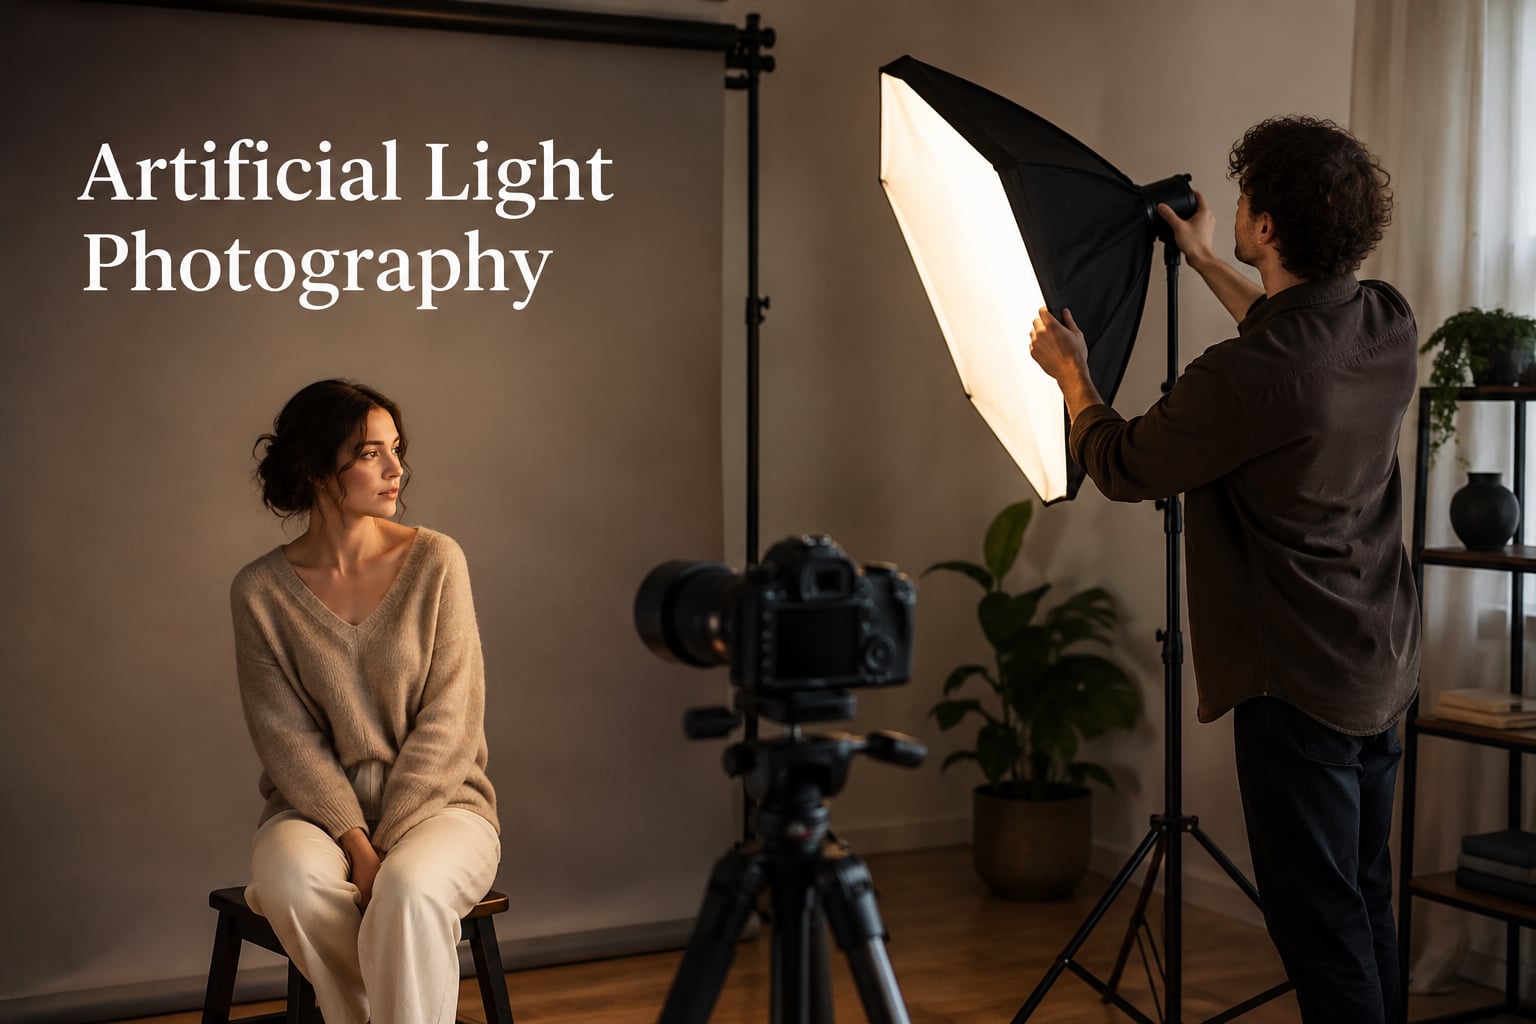
Artificial light photography uses man-made light sources such as flashes, LED panels, and strobes to illuminate your subject instead of…

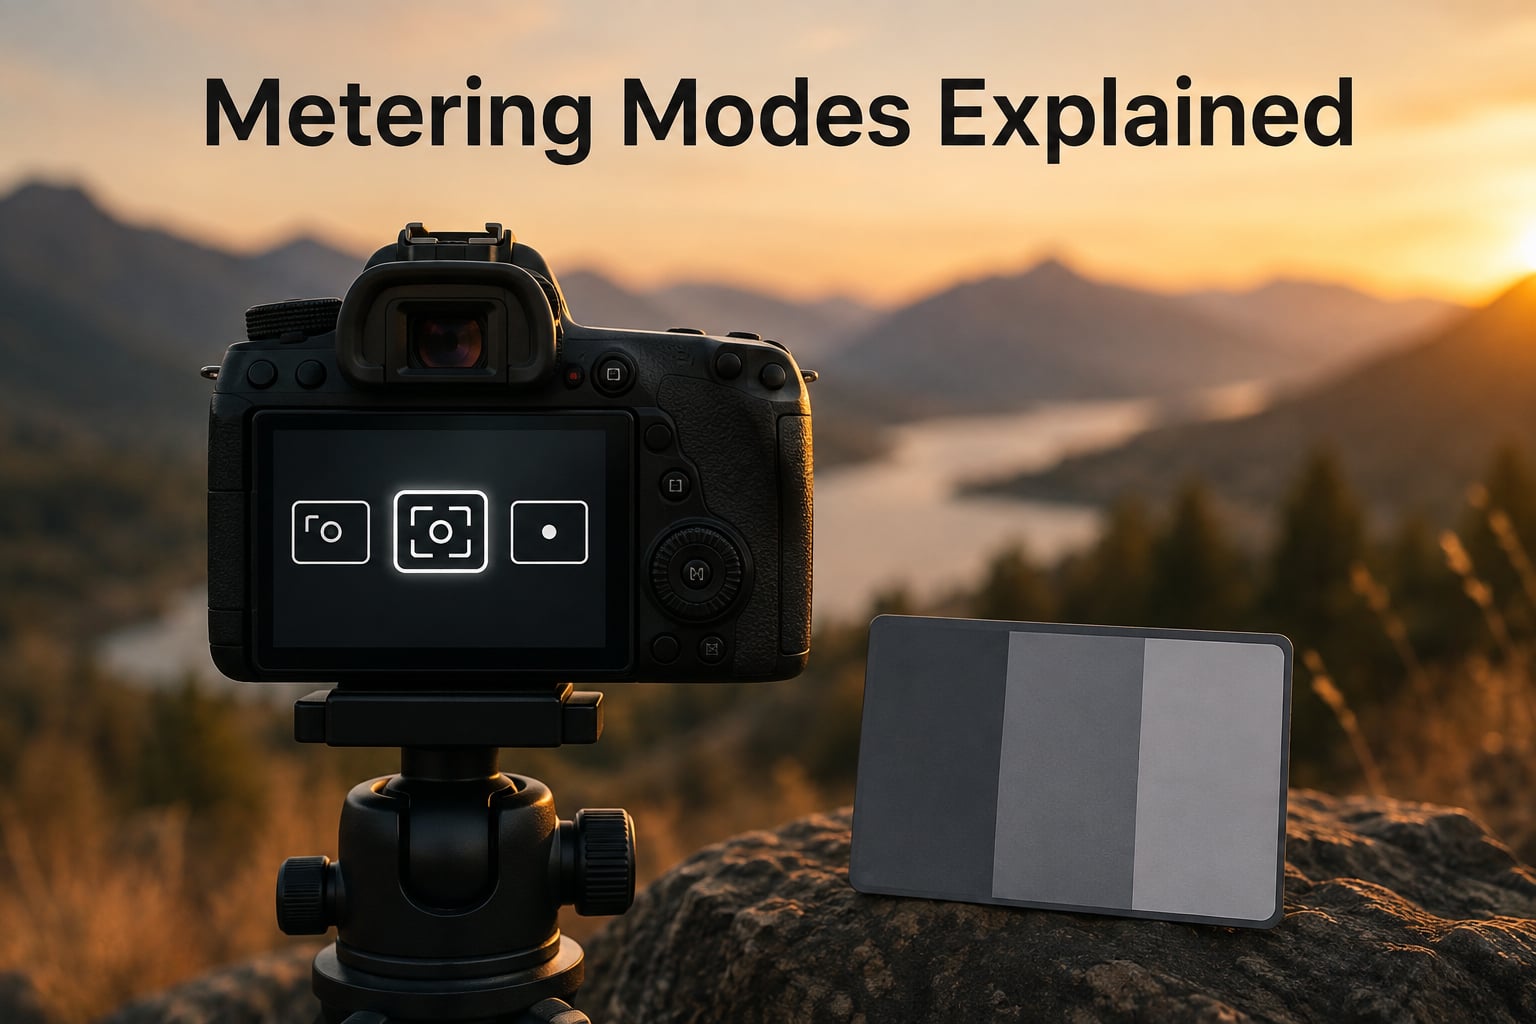
Metering is how your camera evaluates the light in a scene to decide the correct shutter speed, aperture, and ISO. Metering modes explained simply mean the four to five different ways your camera can take that light reading, and each one tells your camera which part of the frame to prioritize. Pick the right mode and your exposures land where you want them; pick the wrong one and even a perfectly composed shot comes back from the sensor blown out or muddy.
I’ve spent more than a decade shooting weddings, wildlife, and landscapes, and metering mode is the single biggest exposure lever most beginners never touch. I left my camera on evaluative metering for the first two years and cursed my “broken” histogram every time snow came out gray. Once I learned to switch modes, exposure problems dropped by about 80 percent. In this guide I’ll walk you through every metering mode your camera offers, when to use each one, and how Canon, Nikon, Sony, and Fujifilm name them differently.
Camera metering is the process of measuring reflected light off your subject and the surrounding area, then calculating an exposure that should, in theory, render the scene as a middle gray. The reference point is called 18 percent gray, sometimes written as 18% gray. It’s a neutral midtone that the camera’s internal light meter assumes your scene averages to, even when it doesn’t.
This assumption is the root of most metering complaints. A snowy field reflects a lot of light, so the meter darkens the scene to make the snow match gray. A black cat on a dark sofa reflects very little light, so the meter brightens everything until the cat matches gray. Neither result is what your eye sees. Once you understand 18% gray, you understand why your camera makes the choices it does, and metering modes become tools instead of mysteries.
| Mode | Coverage | Best For |
|---|---|---|
| Evaluative / Matrix / Multi-Segment | Entire frame, weighted to focus area | General shooting, landscapes, street |
| Center-Weighted | Entire frame, weighted to center 60-80% | Portraits, centered subjects |
| Spot Metering | 1-5% of frame (active AF point) | Wildlife, backlit subjects, high contrast |
| Partial Metering | 10-15% of frame (center) | Stage, concerts, bright backlight |
| Highlight-Weighted | Entire frame, prioritizes bright tones | Snow, weddings, theater (Sony/Fuji) |
Evaluative metering divides the entire frame into hundreds of small zones, analyzes the brightness and color of each zone, and combines the results with data from the autofocus system, scene recognition, and sometimes even face detection. Canon calls it Evaluative, Nikon and Sony call it Matrix, Fujifilm calls it Multi, and Pentax calls it Honeycomb. They all do the same job.
The meter weighs exposure toward the area your active focus point covers, which is why evaluative metering tends to work so well with modern subject-tracking autofocus. When the camera sees a face or eye in focus, it biases exposure toward that subject even if the background is bright sky or dark shadow. My Sony A7 IV nails portraits in evaluative mode roughly 90 percent of the time, and the Canon R5 does the same on its default setting.
Reach for evaluative metering whenever the scene has balanced light and your main subject is reasonably close to the average brightness the camera expects. Landscapes with even light, street photography, travel snapshots, group portraits in open shade, and most casual shooting all benefit from evaluative metering. It is also the right choice when the light changes fast, like a wedding ceremony, since the camera recalculates exposure every frame.
Pros: handles most situations automatically, works with face and eye detection, and rarely needs compensation in even light. Cons: in high-contrast scenes like sunset portraits or backlit wildlife, evaluative metering often averages everything to gray and produces a silhouette you did not want. The exposure can also shift unpredictably between shots if you recompose with a different focus point.
Center-weighted metering reads the entire frame but biases roughly 60 to 80 percent of the weighting to a circle in the middle of the viewfinder, typically covering 8 to 12 mm or about 12 to 20 percent of the frame area. The corners and edges still contribute, but the center dominates. This mode existed long before evaluative metering and remains popular with portrait and studio photographers who learned on film.
I keep center-weighted metering as my default for environmental portraits where the subject sits in the middle of the frame. On my Nikon Z8, switching from matrix to center-weighted for headshots reduces the number of frames I need to bracket by about half, because the meter ignores the bright window behind my subject and exposes for the face.
Center-weighted metering shines when your subject sits in or near the center of the frame and you want the camera to prioritize that subject without locking exposure to a tiny spot. It works well for portraits, product photography on a seamless background, centered compositions, and scenes where the corners are darker than the subject. It is also a forgiving mode for beginners because it behaves more predictably than evaluative metering when you recompose.
Pros: predictable and repeatable, exposes for the subject you compose in the center, and ignores distracting bright corners. Cons: less accurate for off-center compositions, ignores face detection in some implementations, and still gets fooled by very bright or very dark backgrounds that fill most of the frame.
Spot metering reads light from only 1 to 5 percent of the frame, usually tied to the active autofocus point. On most cameras that is a circle roughly the size of the active AF point, sometimes shown in the viewfinder as a small dot. Spot metering measures only what you point it at, so it is the most precise mode but also the mode that punishes careless use.
Spot metering is the wildlife and bird photography default. When a great gray owl sits on a sunlit branch and the background is dark pine, evaluative metering averages the whole scene and underexposes the owl. Spot metering on the owl’s breast feathers exposes that bird perfectly and lets you recover the dark background in post. I shot an entire winter of owls with spot metering locked to my AF point, and exposure was right on the bird about 95 percent of the time.
Use spot metering whenever the brightness of the area you care about differs sharply from the average brightness of the scene. That covers wildlife against busy backgrounds, theater and concert photography where a spotlight hits one performer, the moon and night sky, and high-contrast landscapes where you want to expose for a specific highlight or shadow. Spot metering is also the foundation of zone metering, where you place the spot on a known midtone and lock that exposure with AE-L.
Pros: unmatched precision for tricky lighting, lets you expose exactly for the subject you care about, and pairs naturally with subject-tracking autofocus. Cons: the meter is unforgiving if the spot lands on the wrong area, exposure shifts dramatically as you recompose, and beginners often get frustrated when the background looks wrong even though the subject is correct.
Partial metering sits between spot and center-weighted. Canon uses partial metering to cover about 10 to 15 percent of the center of the frame, larger than a spot but smaller than center-weighted. Partial metering is essentially a slightly larger spot mode for situations where a true spot is too narrow but center-weighted would still average in too much bright background.
Partial metering was originally designed for stage and concert photography, where a spotlight on the performer is surrounded by dark surroundings that would trick evaluative metering. It is also useful when shooting backlit subjects against a very bright sky and you want a slightly broader reading than spot metering provides.
Highlight-weighted metering is the newer mode found on Sony and Fujifilm mirrorless bodies. Instead of trying to expose everything to midtone gray, the camera tries to preserve highlight detail and lets shadows fall where they will. On a Sony A7R V with highlight-weighted metering enabled, I can shoot snow scenes with almost no exposure compensation, whereas evaluative metering requires plus one and a third stops. Highlight-weighted is a powerful mode for weddings, snow, theater, and any scene where blown highlights are the bigger risk than crushed shadows.
One of the most common questions I see on photography forums is “why does my friend’s Nikon call it Matrix and my Canon calls it Evaluative?” The short answer: every brand invented its own marketing name. Here is how the four main brands name the equivalent metering modes.
| Function | Canon | Nikon | Sony | Fujifilm |
|---|---|---|---|---|
| Evaluative / Pattern | Evaluative | Matrix | Multi | Multi |
| Center-Weighted | Center-weighted average | Center-weighted | Center | Center-weighted |
| Spot | Spot | Spot | Spot | Spot |
| Partial | Partial (about 6.2% on most EOS bodies) | Not available | Not available | Not available |
| Highlight Priority | Highlight tone priority | Highlight-weighted metering | Highlight-weighted | Highlight-weighted |
Canon is the only major brand that ships a true partial metering mode as a separate option. Nikon and Sony cover the same territory either with a slightly larger spot circle or by using highlight-weighted metering instead. The behavior is similar, but if you switch from a Canon to a Nikon and rely on partial metering, you will find a slightly different result until you adjust. If you are deciding between systems, our comparison guide on optical instruments walks through a similar naming-difference exercise for another piece of gear.
Changing the metering mode is a quick button press on most modern cameras, but the exact location varies by brand. Here is how to do it on the three most common systems in 2026.
Press the Q button or Info button to bring up the quick menu, then use the directional pad or touch screen to select the metering icon. On higher-end bodies like the EOS R5 and R6, you can also remap the metering button directly. The metering icon looks like a small rectangle with a circle and dot inside.
Hold the metering button on the top left of the camera body, marked with the same rectangle-and-dot icon, and rotate the main command dial until the desired option appears in the top display or viewfinder. On Nikon Z mirrorless bodies, you can also change metering through the i menu.
Press the Fn button, open the metering menu, and choose between Multi, Center, Spot, Entire Screen Average, and Highlight. On A7 IV and newer bodies the menu path is Shoot Mode then Metering Mode. Sony also lets you register metering mode to a custom button for faster changes mid-shoot.
Exposure compensation is the dial you turn when the metering mode is correct but the camera’s interpretation of the scene is wrong. In Program, Aperture Priority, and Shutter Priority modes, exposure compensation tells the camera to brighten or darken its calculated exposure by a chosen amount, typically up to plus or minus three stops in one-third stop steps.
The classic example is a snowy landscape. Evaluative metering reads the bright snow and darkens the scene to midtone gray. Dial in plus one and two-thirds stops of exposure compensation and the snow comes back to white. The same logic works in reverse for dark scenes; subtract exposure compensation to keep a black cat from coming back as a gray cat. This trick of reading a known tone is the same idea behind reticle reference systems, where you aim at a known reference instead of guessing at the average.
Exposure compensation pairs especially well with spot and center-weighted metering. Take your spot reading, lock it with AE-L, then dial in compensation as needed before recomposing. This combination gives you the precision of spot metering with the flexibility to fine-tune the result.
Use evaluative or matrix metering as your default for everyday shooting. Switch to spot metering for high-contrast subjects, wildlife, and stage photography. Use center-weighted metering for portraits with a centered subject. Reach for highlight-weighted metering when shooting snow, weddings, or theater where blown highlights are a bigger risk than crushed shadows.
Canon offers Evaluative, Partial, Spot, and Center-weighted average metering. Evaluative covers the entire frame and weighs toward the active AF point. Partial covers about 6 to 15 percent of the center for tricky backlight. Spot covers about 1 to 5 percent of the active AF point. Center-weighted average biases about 60 to 80 percent of the reading to the center of the frame.
Spot metering tied to the active autofocus point is the best metering mode for wildlife photography. It exposes exactly for the bird or animal in your focus area, ignoring a busy or contrasting background. Many wildlife photographers also enable highlight-weighted metering to preserve bright feather detail and then recover shadows in post.
For most shooting, leave your camera in evaluative or matrix metering mode. It handles the widest range of scenes automatically and works with face and eye detection. Switch to spot metering for high-contrast or backlit subjects, center-weighted metering for centered portraits, and highlight-weighted metering for snow, weddings, or stage lighting.
Mastering metering modes comes down to remembering one idea: the camera is trying to make every scene average out to 18% gray. Once you understand that, you can choose the mode that best protects the part of the scene you actually care about. For most shooters that means evaluative metering for everyday work, spot metering for wildlife and backlit subjects, center-weighted for portraits, and exposure compensation to handle the rest.
Start by switching metering modes during your next shoot and watching how exposure shifts on the histogram. Within an hour you will know which mode your camera behaves best in for each scene, and metering will stop being the exposure problem and start being the exposure solution. For more on camera settings and how they interact, see our guides on understanding optical systems and other photography fundamentals.