Natural Light Photography Guide 2026: Tips & Techniques
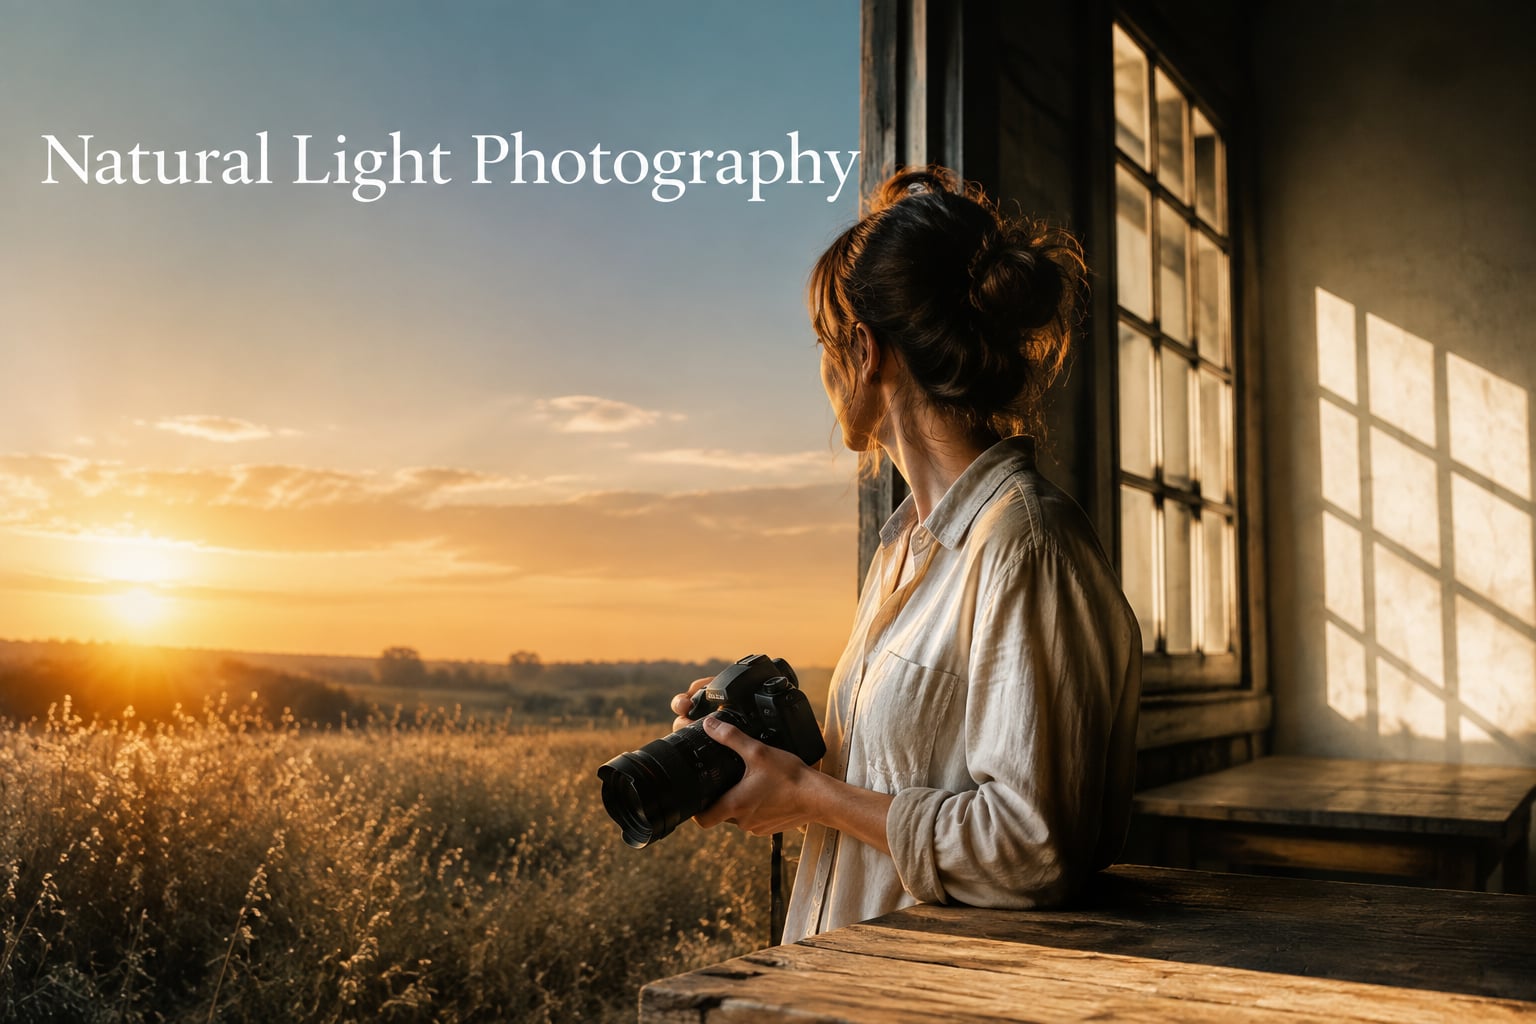
Natural light photography is the practice of using sunlight as your primary light source instead of strobes or flashes, capturing…

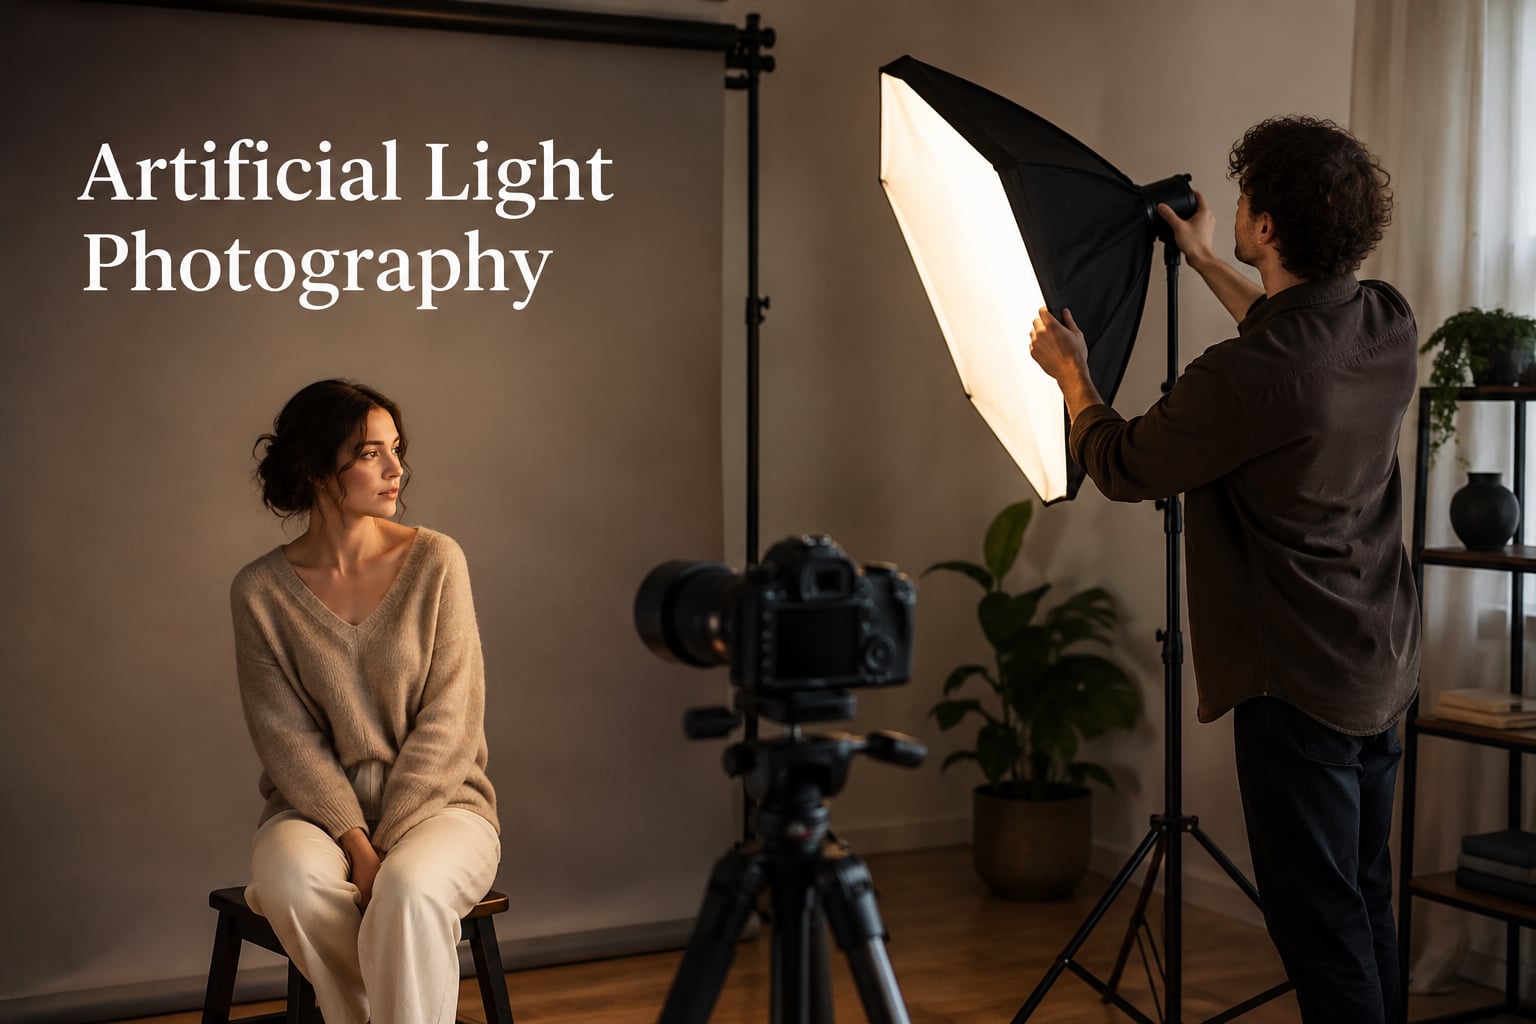
Artificial light photography uses man-made light sources such as flashes, LED panels, and strobes to illuminate your subject instead of relying on the sun. It gives photographers complete control over direction, intensity, color, and quality of light, making it possible to shoot consistently regardless of weather, time of day, or location.
I picked up my first speedlight five years ago after struggling with dim indoor portraits. Since then, I have shot thousands of frames with continuous lights, strobes, and LED panels across portrait, product, and food work. This guide shares everything I have learned so you can start shaping light like a pro.
In this complete guide, you will learn the core types of artificial light sources, how to set up a classic three-point lighting kit, the modifiers that shape and soften light, color temperature fundamentals, and practical tips for mixing natural with artificial sources. By the end, you will know how to create flattering, repeatable lighting in any environment.
Artificial light photography is any photographic technique that uses light sources created by humans rather than the sun. These sources include flashes, speedlights, strobes, continuous LED panels, tungsten lamps, fluorescent tubes, and even household bulbs fitted with modifiers. Photographers choose artificial light when consistency and control matter more than spontaneity.
The core advantage is full command over exposure, color, shadows, and direction. You can shoot a portrait at midnight and still match the warmth of golden hour, or freeze motion with a 1/8000-second flash burst that no shutter speed can replicate with ambient light alone.
For a deeper look at how light shapes visual storytelling, our forced perspective photography guide shows how lighting direction can transform an ordinary scene into something surreal.
Natural light comes from the sun and shifts constantly with weather, season, and time. Artificial light comes from electrical sources and stays consistent until you decide to change it. That single difference reshapes your entire workflow.
| Feature | Natural Light | Artificial Light |
|---|---|---|
| Source | Sun (direct or diffused) | Flash, strobe, LED panel, lamp |
| Availability | Weather and time dependent | On demand, any time |
| Control | Limited (reflectors, scrims) | Full (power, direction, color) |
| Consistency | Changes every minute | Identical across frames |
| Cost to start | Free | Entry speedlights or LED kits |
| Learning curve | Lower | Moderate to steep |
| Best for | Travel, lifestyle, candid | Studio, product, commercial |
On Reddit’s r/photography, photographers often describe starting with natural light, then investing in artificial sources once high ISO stopped delivering sharp, clean files. That pattern matches what I have seen in my own studio: natural light teaches you to see, artificial light teaches you to build.
There are four primary families of artificial light used in photography today. Each has strengths that suit different genres and budgets.
Continuous lights stay on the entire time you shoot. LEDs, tungsten bulbs, and fluorescent panels fall into this group. What you see is exactly what the camera records, which makes them perfect for beginners learning lighting ratios.
Modern LED panels have become my go-to for both stills and video. They run cool, last thousands of hours, and many offer adjustable color temperature from warm tungsten to daylight-balanced white.
Speedlights are portable flash units that mount on your camera’s hot shoe or sit on a stand off-camera. They deliver a powerful burst of light in around 1/1000 to 1/50000 of a second and are battery-powered.
A single speedlight paired with a softbox or umbrella can produce portrait-quality light for a fraction of the cost of a studio strobe. Many wedding and event photographers rely on two or three speedlights for fast, mobile setups.
Studio strobes are larger, more powerful flash heads designed for in-studio work. They offer higher watt-second outputs, faster recycle times, and consistent color across hundreds of pops. Product and fashion photographers favor strobes for their raw power and durability.
Strobes also accept a wider range of light modifiers, including large softboxes, beauty dishes, and strip lights that shape light with surgical control.
The newest category blends continuous and flash in a single unit. These hybrid lights let you preview the exact lighting effect before firing a high-power flash. Photographers shooting both photo and video on the same set love this versatility.
Three-point lighting is the foundation of nearly every studio setup. It uses three lights, each with a specific role, to sculpt your subject with depth and dimension.
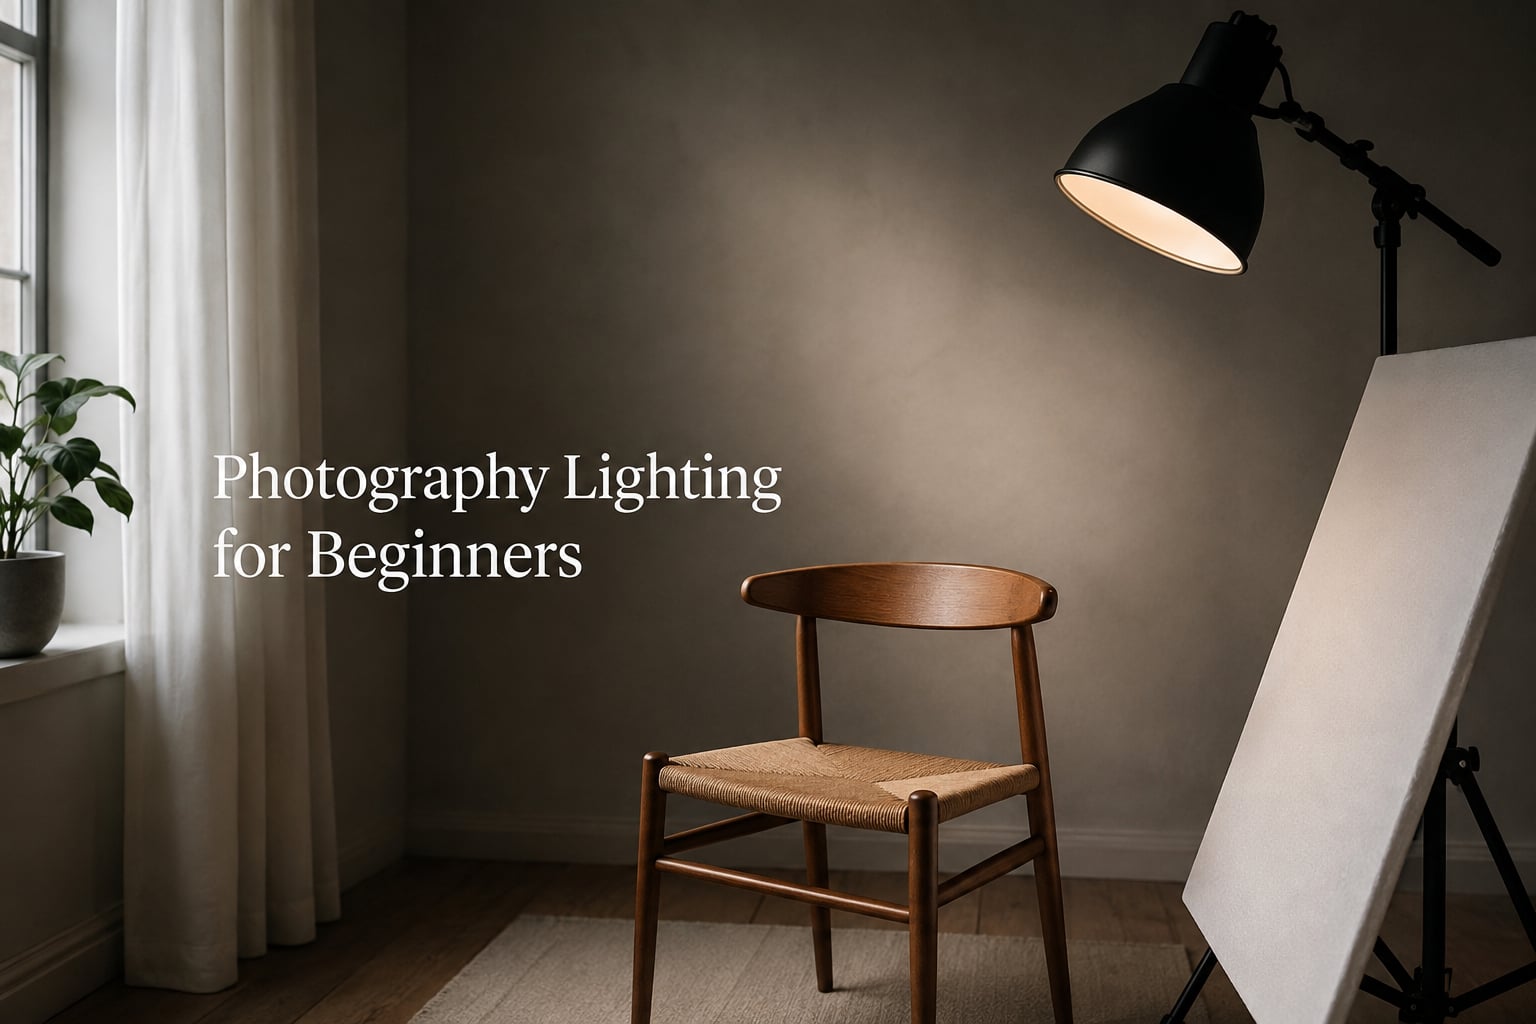
The key light is the main, dominant light source. Place it at roughly a 45-degree angle from your subject, slightly above eye level, to create natural-looking shadows that define facial structure or product form.
I usually start by setting the key light, taking a test shot, and adjusting power until the shadow side of the subject reads about one stop darker than the highlight side.
The fill light softens and controls the shadows created by the key light. Place it on the opposite side of the key, closer to the camera axis, and at lower power.
The fill light does not eliminate shadows. Its job is to balance contrast so detail remains visible in the darker areas without flattening the dimensional look the key light established.
The back light sits behind the subject, angled toward the camera, and separates the subject from the background. It creates a rim of light along the hair, shoulders, or edges of a product.
Without a back light, subjects can blend into dark or busy scenes. With one, they pop forward and the image gains professional separation.
Modifiers change the quality, direction, and shape of your light source. The same bare speedlight can look harsh and unflattering, or soft and beautiful, depending on what you put in front of it.
Softboxes are fabric boxes that fit over your light and diffuse the beam. Larger softboxes produce softer shadows and wrap light around the subject. They come in square, rectangular, octagonal, and strip shapes for different effects.
Umbrellas are inexpensive, fast to set up, and create a broad, even spread of light. Shoot-through umbrellas soften light further, while reflective umbrellas produce slightly more contrast.
Beauty dishes create a focused, slightly contrasty light with a quick falloff. Beauty and fashion photographers favor them because they sculpt cheekbones and jawlines with crisp definition.
Snoots concentrate light into a tight circle. Grids narrow the beam further to prevent spill. Barn doors flag light in precise directions. Together, they create dramatic accents, hair lights, or background highlights.
Color gels are placed over lights to change their color temperature or add creative color. CTO (color temperature orange) gels warm light to match indoor ambient. CTB gels cool light to match daylight windows.
Color temperature, measured in Kelvin (K), describes the warmth or coolness of a light source. Tungsten lights sit around 3200K and look orange. Daylight sits around 5500K and looks neutral. Overcast skies can reach 8000K and feel icy blue.
White balance tells your camera how to interpret those colors. Set a custom white balance from a gray card under your light source for accurate color, or shoot RAW and adjust later.
Modern LED panels let you dial in any Kelvin temperature from roughly 2700K to 6500K. This flexibility makes matching existing ambient sources much easier, especially when blending flash with tungsten room lights.
For scientific perspective on how light behaves, our light microscope versus electron microscope breakdown explores the physics of illumination in detail.
Distance is the simplest modification. Moving a light closer to your subject makes the light bigger relative to the subject, which softens shadows and increases wraparound. Moving it farther away hardens shadows and reduces intensity.
Use the inverse square law to your advantage. Double the distance between light and subject and you cut the light’s intensity to one quarter. This is why small adjustments in light position change exposure so dramatically.
Bouncing a flash off a white ceiling or wall creates a giant, soft light source for almost no cost. White foam boards and 5-in-1 reflectors let you redirect or soften light without buying dedicated modifiers.
For tighter control, clip-on diffusers soften harsh speedlight output, and folding fabric scrims create large soft light panels on a budget.
Mixing natural and artificial light gives you the best of both worlds. The most common technique is to use natural light as a soft fill and add artificial light for shaping, accents, or catching the eye.
To balance them, set your camera for the ambient exposure, then add flash or LED fill at a power that complements rather than overpowers. A simple starting point is two stops below the key ambient reading.
Use CTO gels on your flash when shooting indoors under tungsten lamps, or CTB gels when shooting outdoors under daylight, to unify color temperature across the entire frame.
New photographers often make the same five errors when starting with artificial light. Avoiding them will save hours of frustration.
Different genres call for different artificial lighting strategies. Here is how I approach the most common ones.
For portraits, a single speedlight with a 36-inch softbox placed at 45 degrees creates a flattering, wraparound light. Add a reflector or second light as fill and a hair light for separation.
Products demand even, controlled lighting to show texture and color accurately. Two soft lights at 45 degrees on either side, plus a back light or background light, creates the classic product look. A light tent or sweep can simplify the process for small items.
For more inspiration on product-focused photography, check our jewelry photography ideas guide for tips on capturing reflective subjects.
Food benefits from soft, directional light that mimics window light. A single diffused source from the side, with a white reflector opposite, brings out texture without flattening the dish.
Macro work uses continuous LED ring lights or twin flashes for even illumination on tiny subjects. Because depth of field is razor thin, lighting helps separate subject from background.
You do not need expensive gear to start. Here are the three most effective DIY approaches I have tested.
A clamp-on desk lamp fitted with a daylight LED bulb and a sheet of white diffusion paper makes a credible continuous source for product and still life work.
A used speedlight paired with a piece of white foam board as a bounce creates portrait-quality soft light for almost nothing. Add a colored gel for creative effects.
Even a sheet of white foam board placed opposite your window turns daylight into a balanced two-source setup for free.
Light does not just change brightness. The quality, direction, and color of your light source shapes every pixel of your final image. A clean, well-controlled artificial source lets you shoot at low ISO, fast shutter speeds, and narrow apertures for tack-sharp detail.
When you cannot achieve enough quality from raising ISO alone, artificial light becomes essential. That is why so many forum users report investing in off-camera lighting after exhausting ambient options.
Artificial light in photography refers to any man-made light source used to illuminate a subject. Common examples include speedlights, studio strobes, LED panels, and tungsten lamps. These sources give photographers complete control over brightness, direction, and color temperature regardless of natural conditions.
To create fake sunlight, use a bare-bulb strobe or a hard light source placed high and slightly behind to mimic the sun. Add a flag or snoot to control spill, then balance exposure on the shadowed areas. A CTO gel can warm the output to match golden-hour color temperature.
Natural light comes from the sun and shifts with time and weather, offering limited control. Artificial light is provided by flashes, strobes, and LEDs and stays consistent until you change it. Artificial sources give full control over intensity, direction, color temperature, and quality of light.
Common uses include portrait lighting with softboxes, product photography with even diffused light, food photography with directional soft sources, and freezing motion with high-speed flash. Artificial light is also used for filling shadows, creating rim accents, and matching ambient color temperatures.
The three lighting rule refers to three-point lighting, a studio setup that uses a key light, fill light, and back light. The key light shapes the subject, the fill light controls shadows, and the back light separates the subject from the background for depth and dimension.
Artificial light photography unlocks consistency, creativity, and control that natural light alone cannot offer. Whether you start with a single speedlight and a foam board or invest in a full studio strobe kit, the principles remain the same: shape the key light, balance with fill, and separate with a back light.
I encourage you to grab a single light source this week and practice three-point lighting on a willing subject. After ten sessions, the relationships between distance, power, and modifier size will click, and you will start seeing light everywhere you look. That is when artificial light photography stops being a technique and becomes a way of seeing.