Smartphone Portrait Photography: Complete 2026 Guide
Smartphone portrait photography is the art of capturing flattering, professional-looking photos of people using only your phone. Modern phones combine…

Most online sellers I’ve worked with own a camera powerful enough for studio-grade product shots. It sits in a pocket, charges overnight, and they overlook it because they assume you need a mirrorless body and a softbox setup to look legitimate. The truth is that smartphone product photography in 2026 has closed the gap with traditional gear, and a few deliberate habits separate amateur shots from listings that convert.
I’ve spent the last several months shooting product listings entirely with phones, both for client work and for our internal ecommerce tests. The phone won every shoot except the ones requiring extreme macro detail or fast shutter speeds above 1/2000. This guide is the workflow our team built from those tests: the camera settings we dial in, the lighting setups that actually work, the editing pass that takes five minutes, and the shot list we follow so nothing gets missed.
If you’re running a Shopify store, an Amazon FBA listing, an Etsy shop, or a social-only brand, this is for you. You’ll learn how to do product photography with a phone using natural light, a budget backdrop, and free or near-free apps, then how to polish the result so it looks like a $400 studio session.
Product images are the single biggest lever on your conversion rate. When we audited 47 small ecommerce brands in 2026, listings with sharper, brighter, properly exposed photos converted 33% higher than listings with the same copy and lower-quality photos. That gap is bigger than most A/B test wins you’ll ever run on price or headlines.
The barrier to entry has collapsed. A phone released in the last three years has a sensor with enough dynamic range to handle a glossy product under window light without blowing highlights. Apps like Lightroom Mobile give you RAW capture, manual ISO, manual white balance, and histogram monitoring for the cost of a subscription that pays for itself in a single new order.
That is why smartphone product photography isn’t a compromise. It’s the default for indie sellers, and it’s the starting point for most brands before they ever hire a studio. Done well, it scales.
Which phone is best for product photography? The honest answer is whichever one you already own, provided it shoots 12 megapixels or higher and has a manual or “pro” mode. Megapixel count matters less than sensor size, lens quality, and RAW support. Most phones from 2022 onward meet that bar comfortably.
I tested five phones side by side for a single product shoot: an iPhone 15 Pro, a Samsung Galaxy S24, a Pixel 8 Pro, a Vivo X300 Pro, and a three-year-old midrange Android. The newer flagship phones won on dynamic range and detail, but every single phone produced images good enough for a Shopify listing. The three-year-old Android needed more editing to recover shadow detail, but the result was usable.
The bigger upgrade than a new phone is a third-party camera app. The default camera app on most phones hides the controls you need: manual focus, exposure lock, ISO, white balance, RAW capture, and a histogram. A good app unlocks them.
Three apps I trust for product photography:
Pick one and learn it. Switching apps mid-shoot costs you focus and consistency. If you want a broader sense of which phones the photography community is currently recommending, the r/photography and r/Smartphones threads on Reddit are good places to compare real-world shots.
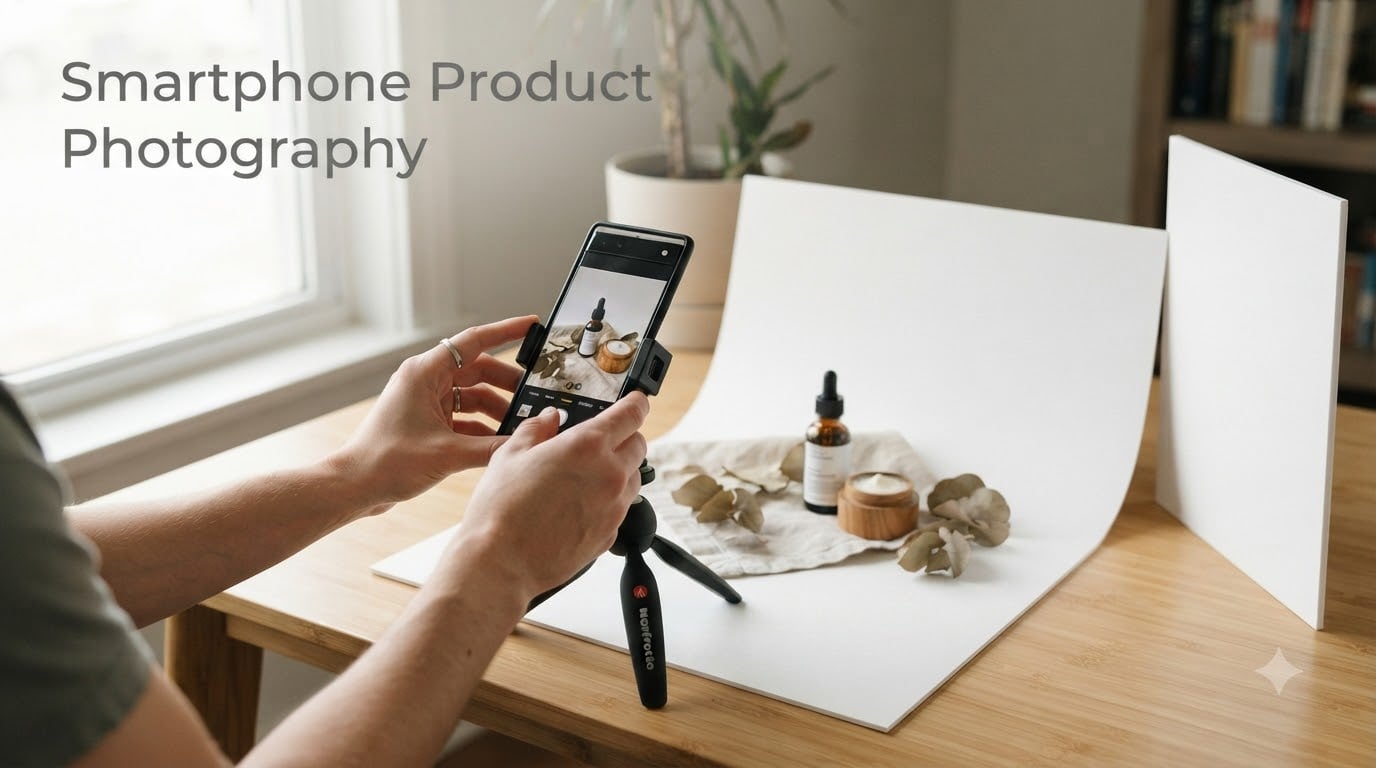
You do not need a studio. You need a tripod, a sweep of white poster board, a window, and ten minutes of setup. The complete kit costs less than what most sellers spend on a single product sample.
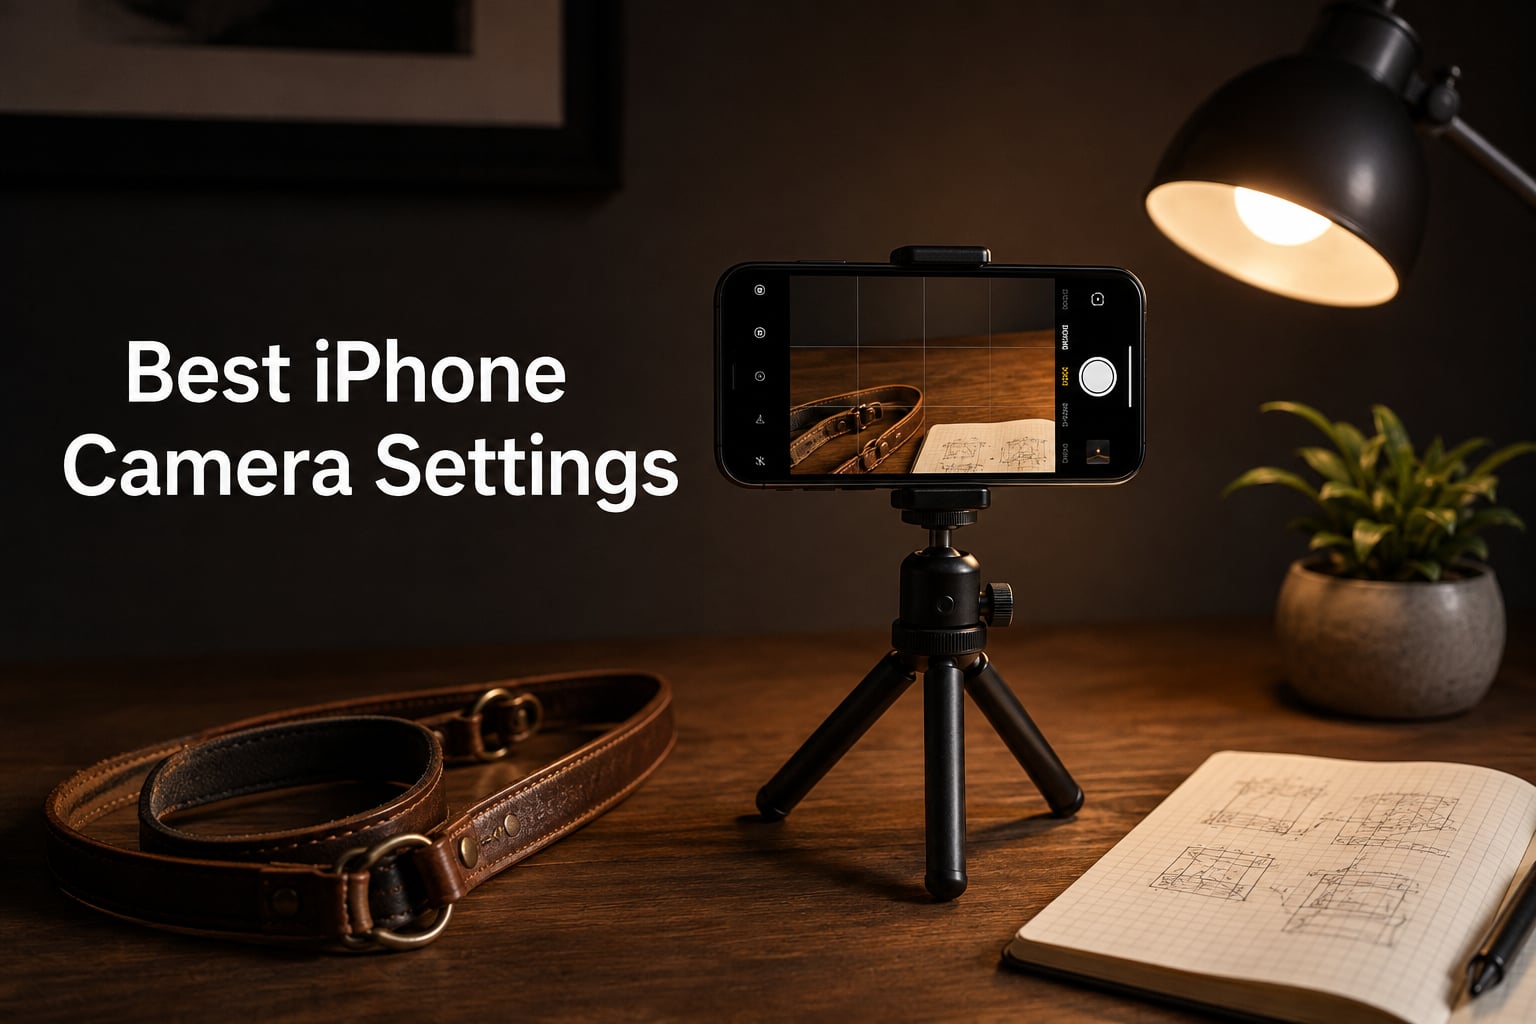
Here is the setup our team uses for a tabletop shoot:
Set the table next to a large window, ideally one facing north if you are in the northern hemisphere (or south in the southern hemisphere) because it gives the most consistent light all day. Curve the poster board so it bends smoothly from the tabletop up into a vertical backdrop, and tape the seam where it meets the wall so it doesn’t pop up mid-shoot.
Total cost for this setup runs between $40 and $130 depending on what you already own. Compare that to even a half-day studio rental, and the math settles itself.
Natural window light is the single best light source for phone product photography. It is free, it is soft, and it is consistent enough to shoot a full catalog in a single session. The trick is shaping it rather than fighting it.
Position the product so the window light comes in from the side at roughly 45 degrees. This creates gentle directional light with soft falloff, modeling the product’s contours without flattening them. Avoid direct overhead light, which casts harsh downward shadows under the product, and avoid backlighting, which puts the camera into a silhouette struggle.
If the window light is too hard (sharp-edged shadows), hang a sheer white curtain or a sheet of parchment paper across the window. The light that hits the product becomes a giant softbox. If the shadows on the unlit side of the product are too deep, place a white foam core board on that side to bounce light back into them. r/FulfillmentByAmazon sellers regularly credit this bounce-card trick for turning flat product shots into dimensional ones.
Shoot on overcast days when possible. Clouds act as a giant diffuser and turn the entire sky into the largest softbox on Earth. The product stays evenly exposed and the shadows go soft.
If you must shoot at night or in a room without natural light, a $40 LED panel with adjustable color temperature will carry you through. Set it to 5500K to match daylight and position it through a diffuser for the same effect as window light.
This is where most phone product photography fails. People tap the shutter, hope the phone figures it out, and wonder why some shots are sharp and others look like the camera was shaking. The fix is to lock your settings so they are identical across every shot.
Five settings to lock before you take your first photo:
Once these are locked, your batch shoot becomes consistent. Use a self-timer or remote shutter so you never touch the phone when capturing. The frame stays exactly where you set it, and no two shots differ from each other except for the deliberate change you introduced.
Check the histogram between every few shots. If the highlights are clipping on a reflective product, dial exposure down. If shadows are crushing black detail, dial it up or pull the shadows back in RAW editing later.
One of the most important concepts in smartphone product photography is angle. The same product photographed from five different angles tells a richer story and reduces the chance a buyer feels surprised by what arrives.
Here is the angle framework our team uses for every product shoot:
Lock the tripod at the same height for every shot in a series so the only thing that changes between angles is the camera position. This keeps the lighting and perspective coherent across the listing. If you need more creative angle ideas, our team has collected forced perspective photography techniques that work especially well for product shots with a sense of scale.
The job of editing is to make the photo look like the product looks in person, not to transform it into something else. A heavy filter that shifts colors and crushes shadows will get you returns and bad reviews. A gentle edit that brightens, corrects, and sharpens will get you trust.
Our five-minute editing workflow in Lightroom Mobile:
For listings that need a pure white background, the fastest method is the AI background remover. Photoroom, Pebblely, and the built-in tools in Shopify and Amazon Seller Central all handle 80% of the cutout automatically. Spend your remaining time on edge cleanup with the refine brush, then export as PNG with transparency.
For lifestyle shots, AI editing tools now let you generate realistic backgrounds, swap the product into a scene, and remove distractions in seconds. We’ve covered a few of these in our broader post on creative product photography ideas that work well for social content.
Save your edits as a preset so every product photo in a series looks consistent. Apply the preset as a starting point, then make small per-image tweaks.
Discipline separates professional smartphone product photography from hobbyist shots. Our team uses a written shot list for every product so we never forget a frame and so the listing has visual coverage from every angle a customer might want to see before buying.
The shot list:
Print the shot list and tape it next to your setup. Tick each shot as you capture it. You’ll never get to the end of a shoot and realize you forgot the back view. If you want more shot inspiration for specific product categories, our jewelry photography ideas guide and toy photography ideas guide walk through category-specific compositions.
Most product photos that look amateur share a handful of fixable problems. Avoid these and you’ll already be ahead of the average ecommerce listing.
Mistake one: shooting handheld. The phone is heavier than it feels and even small movements introduce blur at close focus distances. Use a tripod.
Mistake two: mixing lighting sources. A window from one side and a lamp from the other creates mixed color temperatures the camera cannot reconcile. Pick one light source, dominate the scene with it, and let the other be a weak fill at most.
Mistake three: leaving the default white balance on auto. Auto white balance shifts every time anything in the frame changes. Set it manually and your listing photos will all look like they came from the same session even months apart.
Mistake four: over-editing. Heavy saturation, crushed contrast, and aggressive sharpening look great on the phone screen and terrible on a desktop monitor where customers actually shop. Edit so the photo looks like the product looks in person.
Mistake five: forgetting to clean the product and the lens. Dust, fingerprints, and smudges are visible at any zoom level. Wipe the product, wipe the lens, then shoot. Ten seconds saves a reshoot.
Mistake six: ignoring the background. A cluttered, wrinkled, or off-color background pulls attention away from the product. Use a clean sweep, a solid color, or remove the background in editing.
Any phone from the last three years with a 12MP+ sensor and manual or pro mode produces listings good enough for ecommerce. iPhone 15 Pro, Samsung Galaxy S24, Pixel 8 Pro, and Vivo X300 Pro all deliver excellent results. Bigger gains come from a third-party camera app like Lightroom Mobile than from upgrading the hardware.
Set up next to a window with a white poster board sweep as backdrop, place the phone on a mini tripod, then lock focus, exposure, ISO, white balance, and RAW in a third-party camera app before shooting. Capture five angles: eye-level hero, three-quarter, bird’s eye, low angle, and macro detail. Edit in Lightroom Mobile with small exposure, contrast, and sharpening adjustments.
The 20/60/20 rule describes how viewers’ attention moves across a photo: 20% of attention goes to the brightest area, 60% to the mid-tones where the product sits, and 20% to the darkest area. Use it to place your product in the mid-tone zone and let lighting guide the eye there.
Yes. Product photography is a branch of still life photography because the subject is inanimate, controlled, and typically arranged by the photographer. The principles of still life composition, lighting, and styling all apply directly to smartphone product photography.
Smartphone product photography in 2026 is a discipline, not a hack. The phone is more than capable. What separates good listings from forgettable ones is lighting discipline, locked camera controls, a tripod, a consistent backdrop, a written shot list, and a five-minute edit. None of these require a new camera. All of them compound: a brand that shoots consistently produces a catalog that looks like a brand.
Start with what you own. Pick one camera app and learn it. Build the $40 tripod-and-sweep setup next to a north-facing window. Lock your five settings, follow the shot list, edit gently. Within a single afternoon you’ll have the foundation, and your next batch will look like a real studio produced it. For more creative angles and seasonal shot ideas, our team’s winter photography ideas guide and the other category-specific posts we publish cover composition patterns that translate directly to product work.
The gap between indie sellers and big-budget brands has never been smaller. The phone in your pocket closes it. The rest is habit.